
Beginners Guides
New CPSC Standard for Bicycle Helmets: What You Need to Know
Journey through the labyrinth of the new CPSC standard for bicycle helmets to unlock essential safety insights and protect your ride.

As we pedal through the landscape of helmet safety, the unveiling of the new CPSC standard for bicycle helmets beckons our attention. Understanding the intricate details of this standard is like navigating a complex maze with hidden treasures awaiting discovery.
Join us as we unravel the layers of this critical development, shedding light on what cyclists need to know to enhance their safety on the road.
Key Takeaways
- Stronger chin straps mandated for secure helmet attachment.
- Children up to age five require helmets covering more of the head.
- CPSC label ensures compliance with new mandatory safety standards.
- Changes aim to enhance overall helmet safety and reduce head injuries.
Overview of CPSC Bicycle Helmet Standard
In our examination of the CPSC Bicycle Helmet Standard, we find a crucial focus on enhancing head protection in bicycle incidents. Bicycle helmets provide a vital safety measure, especially considering that over 900 individuals, 200 of whom are children, lose their lives yearly in bike accidents, with 60% of these fatalities involving head injuries.
The CPSC standard plays a pivotal role in reducing such incidents by ensuring that all helmets made or imported for sale in the U.S. meet specific safety criteria. Studies show that helmets can decrease the risk of head injuries by up to 85%, underscoring the importance of complying with these standards.
Notably, the new CPSC standard mandates that helmets for children up to age five cover more of the head to offer enhanced protection. This aligns with the overarching goal of safeguarding individuals while they enjoy the freedom of cycling, making adherence to CPSC bicycle helmet standards imperative for all.
Key Changes in CPSC Helmet Requirements

With the implementation of the new CPSC standard for bicycle helmets, significant changes have been introduced to enhance head protection and overall safety measures.
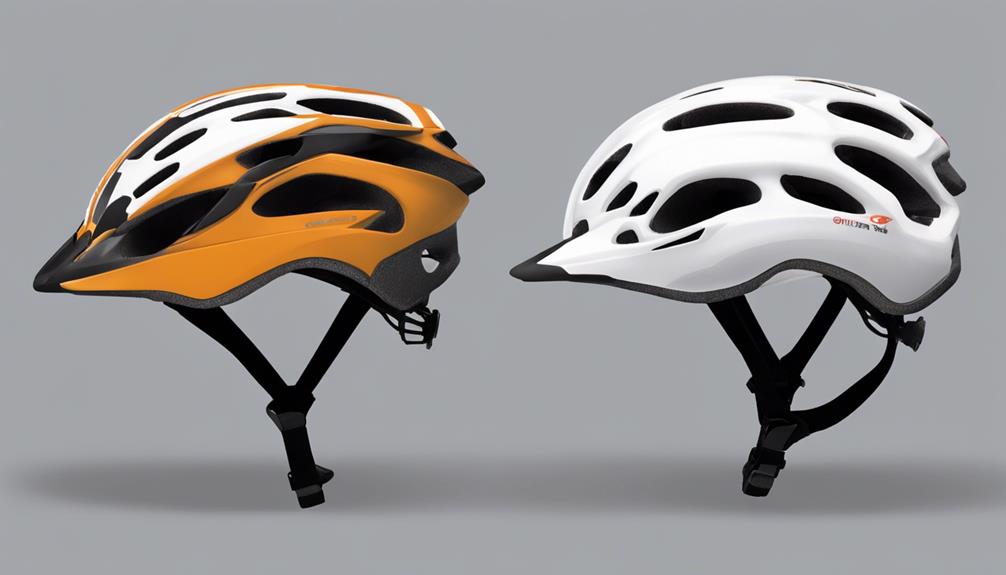
One key change is the mandate for stronger chin straps on helmets to prevent them from coming off during falls, ensuring a more secure fit.

Additionally, helmets designed for children up to age five are now required to cover more of the head to provide enhanced protection for this vulnerable age group.
The new standard sets rigorous safety standards that all bike helmets made or imported for sale in the U.S. must meet, replacing previous voluntary standards with mandatory regulations.
Helmets meeting the new CPSC standard will feature a certification sticker for easy identification by consumers, indicating that they've undergone rigorous impact tests to ensure they meet the enhanced safety requirements.
These changes aim to improve overall helmet safety and reduce the risk of head injuries while cycling.
Impact on Helmet Safety and Design
Enhancing helmet safety and design, the new CPSC standard introduces crucial measures to reduce head injuries in bicycle incidents. To ensure helmets provide adequate head protection, they must meet the CPSC standard if made or imported for sale in the U.S.
The inclusion of strong chin straps is now mandatory to prevent helmets from coming off during falls, thereby enhancing overall safety. Additionally, children up to age five are required to wear helmets that cover more of the head, increasing protection in case of accidents.
The CPSC label on helmets signifies compliance with the new mandatory standard, replacing previous voluntary standards for improved safety. These changes signify a significant step forward in enhancing helmet safety and design, ultimately aiming to reduce the number of head injuries in bicycle incidents.
Compliance and Enforcement of CPSC Standard
Implementing the CPSC standard ensures that all bicycle helmets made or imported for sale in the U.S. must meet rigorous safety requirements to reduce the risk of head injuries. Manufacturers are obligated to ensure their helmets comply with the CPSC standard to enhance overall safety and effectiveness.
Helmets meeting the CPSC standard must feature strong chin straps to prevent them from detaching during falls, providing added protection to users. Enforcement of the CPSC standard is crucial in upholding the safety of helmets available in the market, safeguarding users from potential head injuries.
The CPSC standard sets stringent guidelines that manufacturers must adhere to, specifically designed to protect users, especially young children, by establishing a high level of safety and performance in bicycle helmets. By enforcing compliance with the CPSC standard, authorities aim to create a safer environment for cyclists and reduce the incidence of head injuries resulting from bicycle accidents.
Resources for Understanding CPSC Helmet Standard
Our guide provides comprehensive information on understanding the CPSC helmet standard, ensuring clarity and knowledge for consumers and manufacturers alike. Here are four essential resources to help you grasp the CPSC standards for bicycle helmets:
- Consumer Product Safety Commission (CPSC) Website: The CPSC website offers detailed information on the new standard, including FAQs, guides, and updates on helmet safety to keep you informed.
- Helmet Safety Videos: Various online platforms provide videos demonstrating proper helmet fitting and usage according to CPSC guidelines, ensuring you and your loved ones stay safe while cycling.
- Local Bike Shops: Visit your nearest bike shop for hands-on assistance in selecting a CPSC-certified helmet that fits correctly and meets safety standards to protect against head injuries.
- CPSC Label Guide: Learn how to identify the CPSC label on helmets, indicating compliance with the mandatory standard, to make informed purchasing decisions and prioritize safety.
Frequently Asked Questions
What Are the Safety Standards for Bicycle Helmets?
We understand safety concerns regarding bicycle helmets. Various standards like CPSC, EN-1078, ASTM F1952, and SNELL B-95 exist. These certifications set impact standards and test methods ensuring helmets meet safety requirements. It's essential to wear a properly certified helmet for protection.
What Is the CPSC Standard for Helmet Testing?
We ensure helmets meet CPSC standards by evaluating peripheral vision, retention strength, stability, and impact protection. Compliance is key for head safety. Projections that break away on impact and provide clear 105° vision are required.
Are All Bike Helmets CPSC Approved?
Yes, not all bike helmets are CPSC approved. It's crucial to look for the CPSC label when purchasing a helmet. Safety first! Make sure your helmet meets the standard for protection on your rides.
What Is the EN 1078 Safety Standard for Bicycle Helmets?
The EN 1078 safety standard for bicycle helmets focuses on cycling, skateboarding, and roller skating. It allows for lighter helmets by testing at lower heights. To meet EN 1078, helmets must transmit less than 250 Gs to the headform, potentially requiring more coverage.
Conclusion
In conclusion, the new CPSC standard for bicycle helmets is a game-changer in promoting safety for cyclists. By ensuring helmets meet stringent requirements and have strong chin straps, this standard is a vital step towards reducing head injuries.
Remember, when it comes to protecting your noggin on the road, it's better to be safe than sorry!

Olivia’s writing is not only informative but also inspiring. She has a knack for telling stories that capture the essence of cycling and the joy it brings to people’s lives. Her writing has been praised by readers and industry experts alike for its clarity, depth, and authenticity.
In addition to her writing, Olivia is also an avid cyclist. She enjoys exploring new trails and routes and has participated in several cycling events and races. Her first-hand experience with cycling gives her a unique perspective on the sport, reflected in her writing.
Overall, Olivia is a talented writer passionate about cycling and dedicated to producing high-quality content for FlatironBike. Her contributions to the magazine have helped make it a go-to source for cycling enthusiasts worldwide.


Beginners Guides
Cost-Effective Ways to Ship Your Bicycle on an Airplane
Journey into the realm of cost-effective bicycle shipping on airplanes, where hidden gems await for savvy travelers seeking budget-friendly options.
When it comes to finding cost-effective ways to ship your bicycle on an airplane, navigating through the options can be like sifting through a maze of possibilities. From comparing specialized bike shipping services to understanding airline transport policies, there are key considerations that can impact both your wallet and your bike's safety.
Let's explore some practical strategies and tips that can help you navigate the world of bike shipping with ease and peace of mind.
Key Takeaways
- Utilize BikeFlights or ShipBikes for affordable bike shipping.
- Check airlines' policies and fees beforehand to avoid surprises.
- Consider lightweight bike cases for convenient air travel.
- Seek local bike shops for free or discounted shipping boxes.
Comparison of Shipping Services
When comparing shipping services for bicycles, consider the various options provided by BikeFlights, UPS, FedEx, and third-party shippers like Shipbikes.com for cost-effective and reliable transportation. BikeFlights stands out for its competitive rates, often on par with shipping giants UPS and FedEx, making it a popular choice among bike shops.
For those seeking convenience, third-party shippers like Shipbikes.com offer door-to-door pick-up services at attractive prices. When it comes to common carriers, USPS, UPS, and FedEx are reliable options for shipping bikes. Additionally, Alaska and Delta Airlines treat bikes as regular luggage, providing a hassle-free way to transport bicycles via air travel.
Whether you prefer the ease of major carriers like UPS or the personalized service of BikeFlights and Shipbikes.com, there are plenty of options available to suit your bike shipping needs.
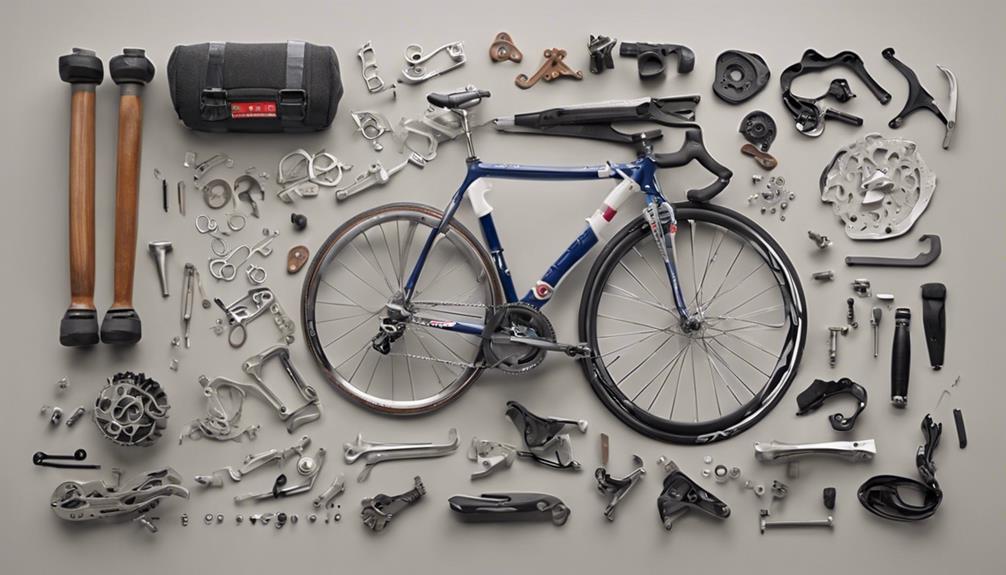
DIY Bike Packing Tips
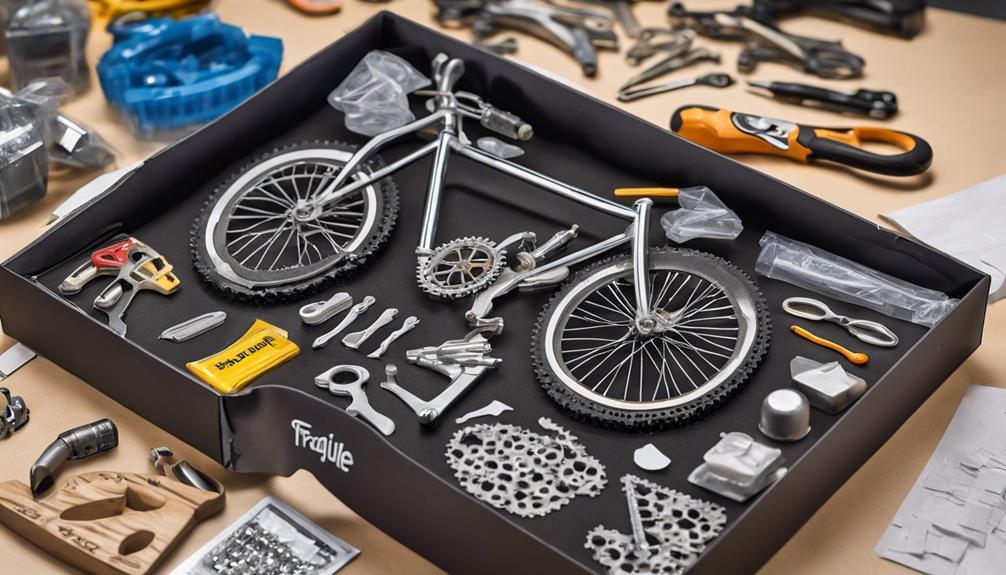
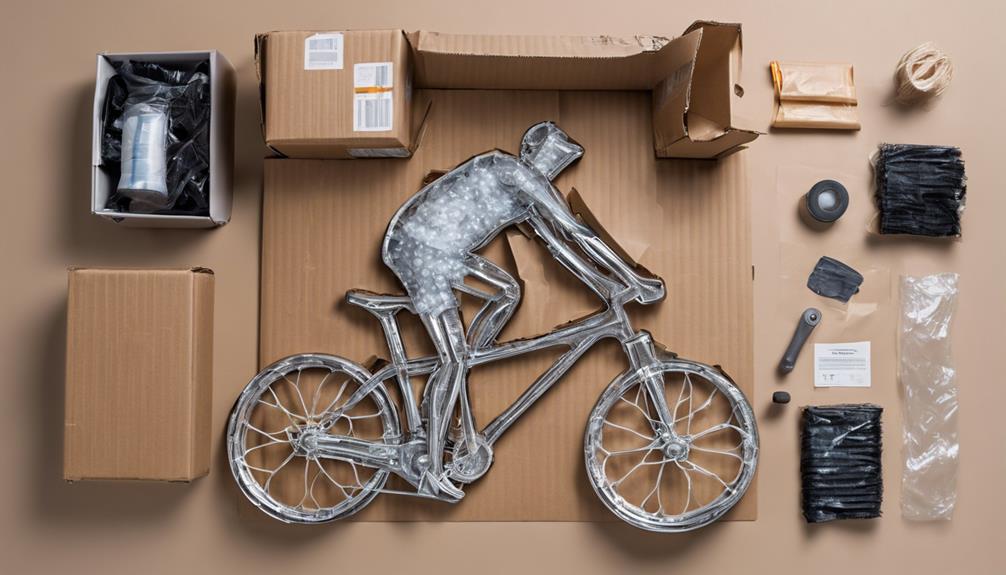
To ensure the safe transportation of your bicycle when shipping it yourself, it's crucial to properly disassemble and pack fragile components like the rear derailleur, pedals, and seatpost. When engaging in DIY bike packing, consider the following tips:
- Disassemble Fragile Parts: Take apart delicate components to prevent damage.
- Use Protective Coverings: Wrap fragile parts in foam tubing to provide cushioning.
- Securely Pack Everything: Shake the container to ensure nothing inside moves excessively.
- Consider Professional Packing: If unsure, consult a bike mechanic or opt for professional packing services for added peace of mind.
Lightweight Bike Case Options
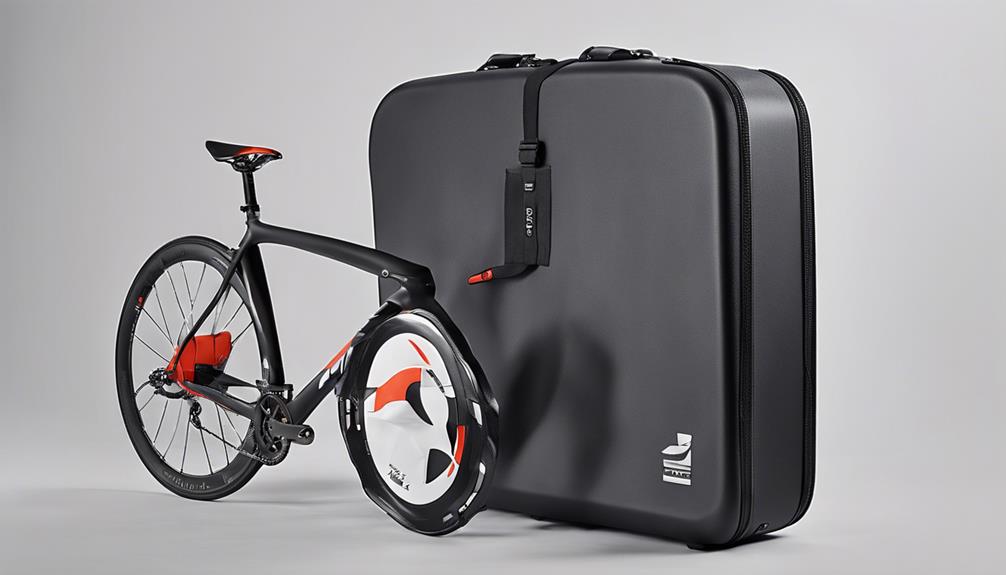
As we explore options for lightweight bike cases, it's important to consider models like the Ruster Sports Hen House, Thule RoundTrip Pro XT, Evoc Bike Travel Bag, Scicon Aerocomfort 3.0 TSA, and Biknd Helium V4 for their portability and protective features.
| Bike Case | Weight | Features |
|---|---|---|
| Ruster Sports Hen House | 12 lbs | Lightweight and easy to transport |
| Thule RoundTrip Pro XT | 19 lbs | Ideal for air travel with lightweight protection |
| Evoc Bike Travel Bag | 8.8 lbs | Provides padding while remaining light |
| Scicon Aerocomfort 3.0 TSA | 17 lbs | Balances weight and protection |
| Biknd Helium V4 | 9.9 lbs | Perfect for air travel convenience |
These bike cases offer a range of weights and protective features suitable for air travel. Whether you prioritize lightweight design, ample padding, or overall convenience, there is an option for every cyclist. The Evoc Bike Travel Bag stands out for its low weight and padding, while the Thule RoundTrip Pro XT balances weight and protection effectively. Consider your specific needs when selecting the right bike case for your next air travel adventure.
Airline Bike Transport Policies

In navigating the realm of airline bike transport, understanding the varied policies and fees set by different carriers is crucial for a smooth and hassle-free journey. When it comes to airline bike transport policies, there are a few key points to keep in mind:
- Bike Shipping Fees: Airlines may charge upwards of $150 to check a bike for transport on an airplane.
- Risks of Damage or Loss: It's important to be aware that risks of damage or loss exist when checking a bike as luggage on an airplane.
- Compliance with Policies: Some airlines have specific policies and fees for transporting bikes on their flights, so it's essential to comply with their rules regarding bike packaging and weight limits.
- Advance Checking: Checking with the airline in advance can help avoid surprises and ensure a smooth bike transport process.
Budget-Friendly Bike Shipping Strategies

Navigating the realm of airline bike transport policies involves exploring savvy strategies for cost-effective bike shipping that won't break the bank. When looking to save on shipping costs, utilizing services like BikeFlights or ShipBikes can offer affordable options. For instance, BikeFlights provides ground transport for as low as $62.95, making it a budget-friendly choice. Specialized shippers also offer economical rates, ranging from $62.95 to $83.95 for ground transport.
If you're shipping coast to coast, prices can still remain cost-effective, with services like BikeFlights quoting around $100. Additionally, local bike shops can be a valuable resource for packing and shipping your bike economically. Many shops offer free or discounted boxes, helping you keep costs down. Opting for cost-effective methods like ground transport through specialized bike shippers, such as FedEx and UPS, can further save you money while ensuring your bike reaches its destination safely.
Frequently Asked Questions
What Is the Least Expensive Way to Ship a Bicycle?
Shipping a bicycle economically involves exploring various options like using local bike shops for boxes or negotiating rates with carriers. Researching and leveraging business accounts may allow for better shipping rates, potentially saving money.
How Much Does USPS Charge to Ship a Bike?
We ship bikes via USPS based on distance and weight, costing between $204.95 to $250.50. This option is budget-friendly for long travels. Final charges depend on specifics. USPS Retail Ground handles packages under 70 lbs, making it a convenient choice.
How Do I Ship a Bike With Bike Flights?
Shipping a bike with Bike Flights is hassle-free. Get a quote online, enjoy door-to-door pick-up, and trust major carriers like UPS for reliable service. We've found it convenient, cost-effective, and secure for our bike travels.
Is It Expensive to Fly a Bike?
Flying a bike can be costly, with airlines charging $100-$200. Additional fees for oversized or overweight baggage may apply, making it important to check specific airline policies before booking. Costs vary based on route and status.
Conclusion
In the world of shipping bicycles, finding the right method can feel like navigating a maze. But with a little research and creativity, you can uncover hidden gems that save you time and money.
It's like discovering a secret shortcut on a bike trail – once you know it's there, you'll never look back.
Happy trails and safe travels!
Olivia’s writing is not only informative but also inspiring. She has a knack for telling stories that capture the essence of cycling and the joy it brings to people’s lives. Her writing has been praised by readers and industry experts alike for its clarity, depth, and authenticity.
In addition to her writing, Olivia is also an avid cyclist. She enjoys exploring new trails and routes and has participated in several cycling events and races. Her first-hand experience with cycling gives her a unique perspective on the sport, reflected in her writing.
Overall, Olivia is a talented writer passionate about cycling and dedicated to producing high-quality content for FlatironBike. Her contributions to the magazine have helped make it a go-to source for cycling enthusiasts worldwide.
Beginners Guides
Essential Tips for Traveling With Your Bicycle on Amtrak
Meticulously plan your next cycling journey by discovering essential tips for traveling with your bicycle on Amtrak – your adventure awaits!

Have you ever wondered if traveling with your bicycle on Amtrak is a feasible option for your next journey? Well, let's explore the ins and outs of this convenient transportation method for cyclists.
From navigating size restrictions to understanding reservation protocols, there are key considerations to keep in mind. By following a few essential tips, you can ensure a seamless experience traveling with your bike on Amtrak.
So, let's delve into the details and make your next cycling adventure a smooth ride from start to finish.
Key Takeaways
- Book your Amtrak ticket early with a bike reservation for guaranteed space.
- Pack and prepare your bike in the Amtrak bicycle box following guidelines.
- Understand Amtrak bike policies, including limits and accessory removal.
- Navigate stations by locating bike-friendly cars, seeking assistance, and following loading instructions.
Booking Your Amtrak Ticket
When traveling with your bicycle on Amtrak, the first step is to book your ticket, including a reservation for your bike. Making an advance reservation ensures that there's space available for your bicycle on the train.
The bicycle fee for most routes is $20, but some specific routes may have a $10 fee. It's essential to have your travel document, such as an eTicket, which should include your bike reservation.
Booking early is crucial as it guarantees that there will be room for your bicycle on the train. You can make reservations online, through the app, at a kiosk, over the phone, or in person. Remember that different routes may have varying fees, so it's important to check the specific details for your journey.
Packing Your Bicycle Properly
To pack your bicycle properly for travel on Amtrak, utilize an Amtrak bicycle box for secure transportation. When preparing your bike for the journey, consider the following packing guidelines:
- Partial Disassembly: To ensure your bicycle fits snugly inside the box, partially disassemble it by removing the wheels, pedals, and handlebars. This will help prevent any damage during transit.
- Proper Identification: Attach a tag with your name and address to the box. This will help you identify your bicycle easily upon arrival and prevent any mix-ups with other passengers' bikes.
- Early Check-in: Make sure to check your bicycle at least an hour before your scheduled departure. This allows ample time for the staff to safely stow your bike and ensures a smooth boarding process.
Understanding Amtrak Bike Policies

As travelers prepare to board an Amtrak train with their bicycles, understanding the specific bike policies in place is paramount for a smooth and hassle-free journey. When it comes to Amtrak's bike policies, passengers can bring standard size bicycles for carry-on service, with each person limited to one bike. However, certain accessories must be removed before securing the bike on designated bike racks. Electric bikes and folding scooters are accepted under specific conditions, making Amtrak quite bike-friendly. It's essential to arrive at least 30 minutes before departure to ensure proper handling of the bike by Amtrak crew members. For checked bicycles, passengers should follow loading instructions provided by the crew. Remember, for electric bikes and folding bicycles, extra care may be needed. Below is a table summarizing key points of Amtrak's bike policies:
| Topic | Description | Additional Information |
|---|---|---|
| Carry-on Bike | Standard size bikes allowed | One bike per passenger |
| Designated Racks | Remove certain accessories before loading | Electric bikes and folding scooters accepted |
| Loading Instructions | Arrive 30 minutes early | Follow crew member guidance |
Navigating Amtrak Stations With Your Bike
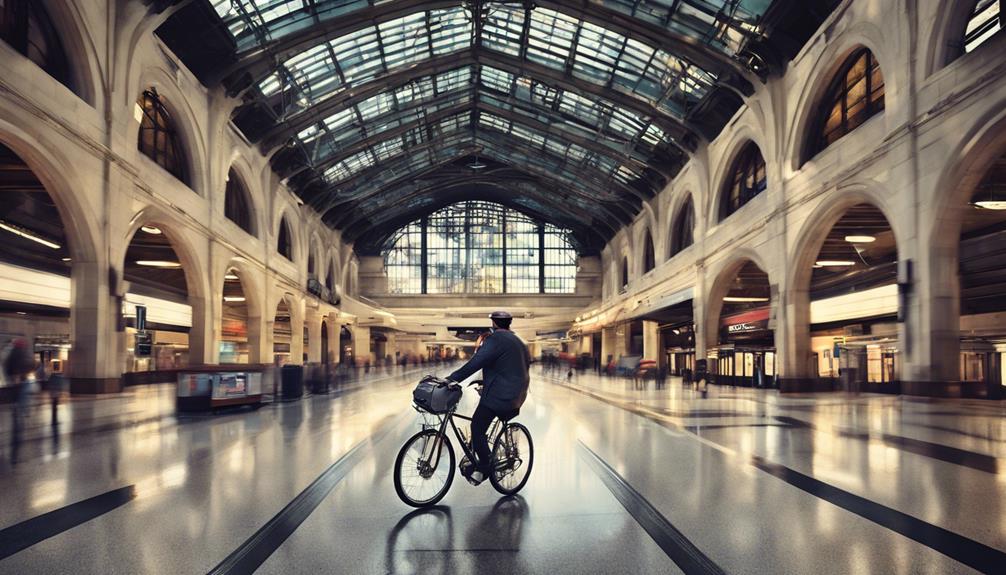
Upon entering an Amtrak station with your bike, keep an eye out for the Bike Friendly sticker to easily spot designated train cars for convenient bike storage. When navigating Amtrak stations with your bike, here are some essential tips to ensure a smooth experience:
- Seek Assistance from Amtrak Conductors: If you're unsure about where to board with your bike, don't hesitate to ask Amtrak conductors for guidance.
- Utilize Loading Instructions: Pay attention to loading instructions in the designated bike rack area to efficiently secure your bike before the journey.
- Lift Your Bike to Shoulder Height: Be prepared to lift your bike to shoulder height for loading into the designated racks, ensuring it's securely stored for the trip.
Tips for a Smooth Bike-Friendly Journey
Embark on a seamless bike-friendly journey by following these essential tips for hassle-free travel with your bicycle on Amtrak. To ensure a smooth journey, make sure to arrive at least 30 minutes before departure time.
Look out for the Bike Friendly sticker to locate designated train cars with bike racks inside. When loading your bike, be ready to lift it to shoulder height for placement in the racks and follow the loading instructions provided in the bike storage area.
If you need assistance, don't hesitate to ask the Amtrak crew members who are there to help with loading and securing your bike. Remember to pack efficiently, utilizing handlebar bags for easy access to your essentials during the trip.
Frequently Asked Questions
What Is the Rule for Bikes on Trains?
Bikes on trains must adhere to specific rules. Most Amtrak services allow bicycles for an extra fee. Standard bikes are carry-on. One bike per passenger. Electric bikes and folding scooters have tailored guidelines. Store bikes in designated areas.
How Do You Board a Train With a Bike?
When boarding a train with a bike, we arrive early, locate the Bike Friendly cars, lift our bikes, and follow loading instructions. Amtrak crew members help secure bikes in designated racks, ensuring a smooth travel experience.
Does Amtrak Charge for Bikes?
Yes, Amtrak charges for bikes. The fee is typically $20 for most routes, but some may cost $10. This ensures space for your bike on the train. Reservations can be made online, via app, kiosk, phone, or in person.
How Do You Take a Bike on a Train?
We handle taking a bike on a train by checking the guidelines for bike size and arrival time, then we secure it in designated areas. One bike per passenger is allowed, and electric bikes or folding scooters have specific rules.
Conclusion
In conclusion, traveling with your bicycle on Amtrak is like embarking on a two-wheeled adventure through the rails.
By following the rules and guidelines, you can pedal your way to a seamless and enjoyable journey.
So, pack your bags, fold up your bike, and hop on board for a ride that's sure to be a wheely good time!
Olivia’s writing is not only informative but also inspiring. She has a knack for telling stories that capture the essence of cycling and the joy it brings to people’s lives. Her writing has been praised by readers and industry experts alike for its clarity, depth, and authenticity.
In addition to her writing, Olivia is also an avid cyclist. She enjoys exploring new trails and routes and has participated in several cycling events and races. Her first-hand experience with cycling gives her a unique perspective on the sport, reflected in her writing.
Overall, Olivia is a talented writer passionate about cycling and dedicated to producing high-quality content for FlatironBike. Her contributions to the magazine have helped make it a go-to source for cycling enthusiasts worldwide.
Beginners Guides
Make Your Own Bicycle Dynamo at Home: Easy DIY Guide
Wish to generate electricity as you pedal? Discover how this DIY guide can help you create your own bicycle dynamo at home.
Back in the day, we all used to look for creative ways to tackle energy challenges, and making your own bicycle dynamo was a popular solution.
Have you ever thought about generating electricity as you pedal your way around town? It's a rewarding project that not only promotes sustainability but also offers a sense of accomplishment.
Stay tuned to discover how this DIY guide can help you harness the power of pedaling and create a simple yet effective energy source right in your own home.
Key Takeaways
- Build a sturdy dynamo stand for efficient power generation.
- Securely mount the dynamo to the front wheel for optimal performance.
- Monitor battery voltage closely to prevent overcharging.
- Regularly adjust tension and maintain connections for reliable operation.
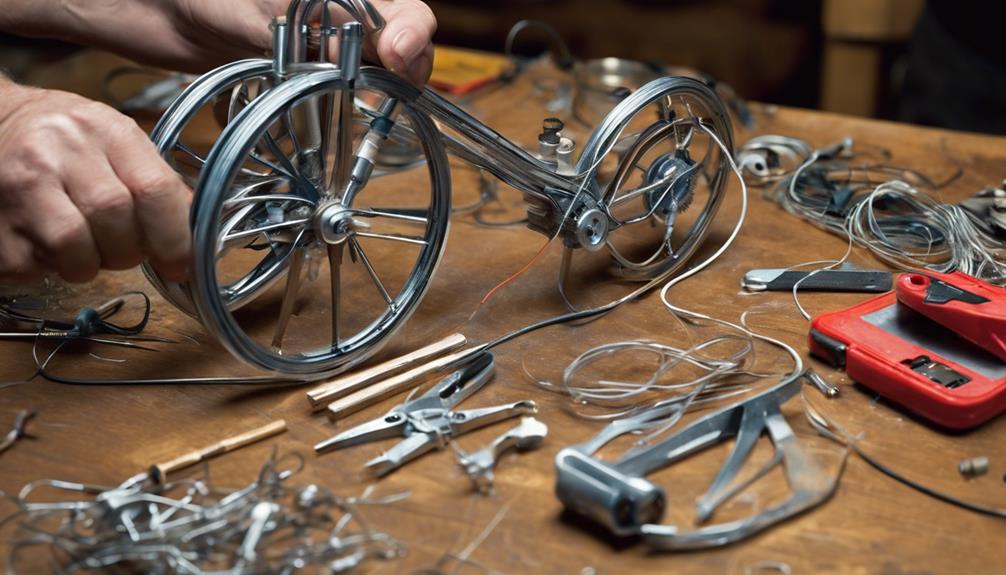
Required Materials and Tools
Utilizing an adverb of frequency to enhance readability, we typically gather all the required materials and tools before commencing the construction of a homemade bicycle dynamo.
The key components for this project include a DC motor, charge controller, lead-acid battery, diode, voltage divider, MOSFET, angle aluminum for structural support, and spade connectors for secure electrical connections.
To ensure optimal performance and safety, proper heat management is crucial, particularly for components like the diode. When selecting materials, consider using sturdy box section steel for durability, along with nuts, bolts, and brake cables for assembly.
It's essential to have tools such as a hacksaw, drill, metal file, spanners, wire strippers, and a soldering iron at hand for construction. These tools will aid in cutting, shaping, and assembling the various parts needed to build the dynamo efficiently.
Remember to pay attention to detail when using spade connectors or soldering to make robust electrical connections that will withstand the rigors of generating power from your bicycle dynamo.
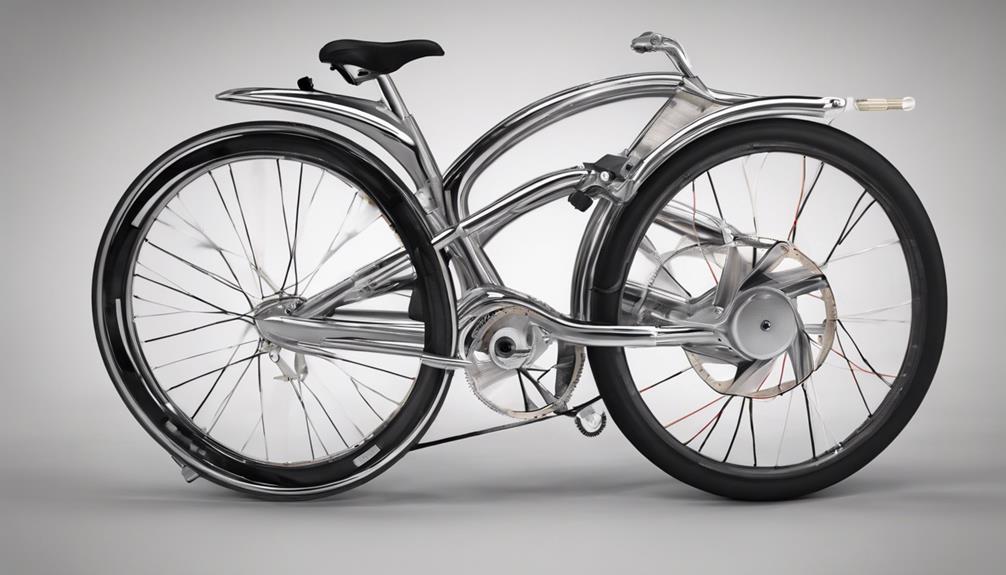
Building the Dynamo Stand

To ensure stability and proper alignment of the dynamo, a sturdy stand must be constructed using materials like metal or wood capable of withstanding the dynamo's weight and movement. The dynamo stand plays a crucial role in providing support to the dynamo setup, preventing vibrations that could affect its performance during power generation. It's essential that the stand is adjustable to accommodate various bike sizes and frame geometries for universal use.
When assembling the dynamo stand, attention should be paid to securing the dynamo firmly to the stand to avoid any movement that could lead to misalignment. The materials chosen for the stand should be durable enough to endure the weight and dynamic forces exerted by the dynamo during operation. Proper alignment of the dynamo on the stand is key to efficient power generation, ensuring that the components work together seamlessly.
Attaching the Dynamo to the Bike
Now, let's move on to attaching the dynamo to the bike by mounting it securely to the front wheel using a suitable bracket. Proper installation is crucial for efficient power generation. Check out the table below for a detailed guide on attaching the dynamo to your bike:
| Step | Description | Tools Needed |
|---|---|---|
| 1. Mount Bracket | Attach the bracket to the front wheel securely | Screwdriver |
| 2. Secure Dynamo | Fix the dynamo onto the bracket | Wrench |
| 3. Align Dynamowheel | Ensure dynamo aligns properly with the wheel | Allen key |
| 4. Route Wiring | Guide wiring along the bike frame | Cable ties |
| 5. Check Tension | Regularly adjust tension for optimal power gen. | Adjustable wrench |
Connecting the Dynamo to the Battery
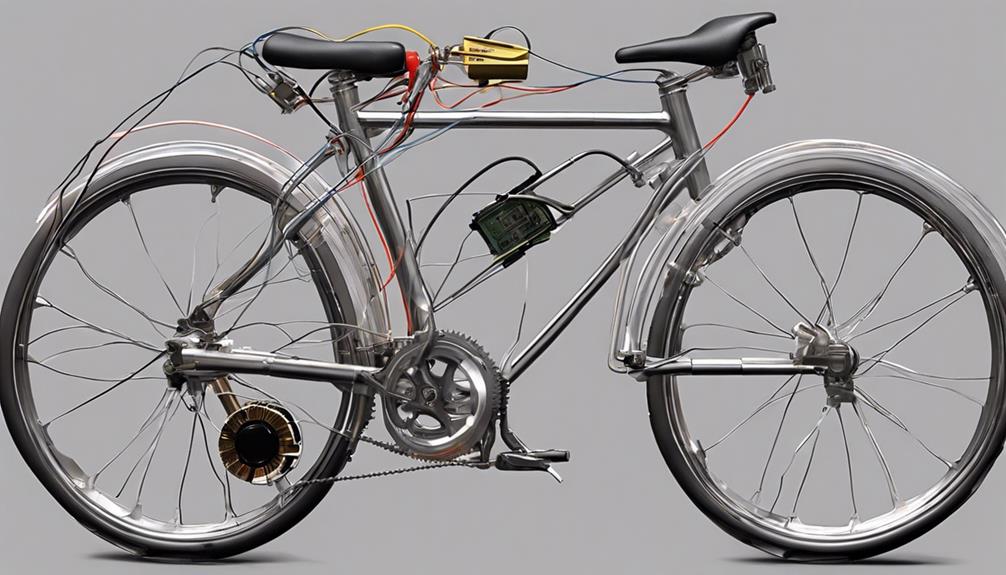
When connecting the dynamo to the battery, ensure that the output wires are securely linked to the battery terminals to facilitate effective charging. Proper polarity matching between the dynamo and battery connections is crucial to prevent damage. Using appropriate connectors like spade terminals or soldering will ensure a secure electrical connection, preventing power loss during charging.
Here are some key steps to consider:
- Check Polarity: Before connecting, verify that the positive and negative terminals of the dynamo match with the corresponding terminals on the battery to avoid short circuits.
- Use Secure Connectors: Opt for reliable connectors such as spade terminals or soldering to create a stable connection that can handle the charging current without overheating or disconnecting.
- Monitor Voltage: Continuously monitor the battery voltage while charging to prevent overcharging, which can damage the battery. Use a voltage monitor to keep track of the charging process and ensure it stays within safe limits.
Testing and Using Your Dynamo

After successfully connecting the dynamo to the battery, the next step is to test and utilize its functionality by measuring voltage output using a multimeter while pedaling the bike. Ensure the generator is securely attached to the bike frame, and the drive belt is properly aligned for efficient power generation. To test the voltage output, connect the multimeter to the dynamo terminals and start pedaling. Experiment with different loads like light bulbs, cell phones, laptops, and blenders to gauge the dynamo's performance under varying power requirements. Monitor the battery's voltage level to ensure efficient charging and consider adding a voltage divider for accurate readings. Below is a table summarizing the testing and usage process:
| Task | Description | Tips |
|---|---|---|
| Connect Multimeter | Measure voltage output while pedaling | Ensure proper connection |
| Align Drive Belt | Ensure proper alignment for efficiency | Adjust tension if necessary |
| Test with Load | Connect small appliances to test dynamo | Start with low power devices |
| Monitor Battery | Check voltage level for efficient charging | Add voltage divider for accuracy |
| Experiment | Vary loads to assess dynamo performance | Record results for future adjustments |
Frequently Asked Questions
How to Make Dynamo at Home Easy?
We can create a dynamo at home easily by utilizing a small DC motor and basic tools. Attaching it to the bicycle wheel allows electricity generation while riding. This DIY project is cost-effective and educational.
How to Make a Simple Bike Generator?
To make a simple bike generator, attach a DC motor to the back wheel, connect it to a battery through a charge controller, and use an inverter for power conversion. Understanding wiring is crucial for proper function.
What Materials Are Needed to Make a Dynamo?
We need a small DC motor, a wheel with a rim, wires, a rectifier, and basic tools to make a dynamo. The motor generates electricity when the wheel spins, the rectifier converts AC to DC, and wires connect everything.
How Do You Manually Generate Electricity?
We generate electricity by converting mechanical energy, like pedaling a bicycle, into electrical energy. This process involves using a dynamo, a device that produces electricity when in motion. Dynamo hubs on bicycles can generate power for various applications.
Conclusion
In conclusion, building your own bicycle dynamo at home is a rewarding and practical project that can provide sustainable energy solutions for various devices.
Remember, 'where there's a will, there's a way' – with determination and effort, you can create a functional generator that not only helps you save energy but also allows you to explore the world of clean electricity generation.
So, get started on your DIY journey and enjoy the benefits of pedal-powered innovation!
Olivia’s writing is not only informative but also inspiring. She has a knack for telling stories that capture the essence of cycling and the joy it brings to people’s lives. Her writing has been praised by readers and industry experts alike for its clarity, depth, and authenticity.
In addition to her writing, Olivia is also an avid cyclist. She enjoys exploring new trails and routes and has participated in several cycling events and races. Her first-hand experience with cycling gives her a unique perspective on the sport, reflected in her writing.
Overall, Olivia is a talented writer passionate about cycling and dedicated to producing high-quality content for FlatironBike. Her contributions to the magazine have helped make it a go-to source for cycling enthusiasts worldwide.

How Many Spokes For A Gravel Bike

East Lake Sammamish Bike Trail When Will The Final Gravel Portion Be Paved
How Much Does A Diamondback Haanjo Metro Gravel Road Bike — 2016 Weight
How To Add A Dropper Post To Diamondback Comp Carbon Gravel Bike
How To Enter A Gravel Road From Asphalt Road On A Sport Bike
How To Measure Bicycle Handlebars
How To Make A Gas Powered Bicycle

How To Date A Schwinn Bicycle
Where Is The Serial Number On A Schwinn Bicycle
How To Build A Four-Wheel Bicycle

-
 Electric Bike2 months ago
How To Turn Your Bike Into An Electric Generator
-
 Bike1 month ago
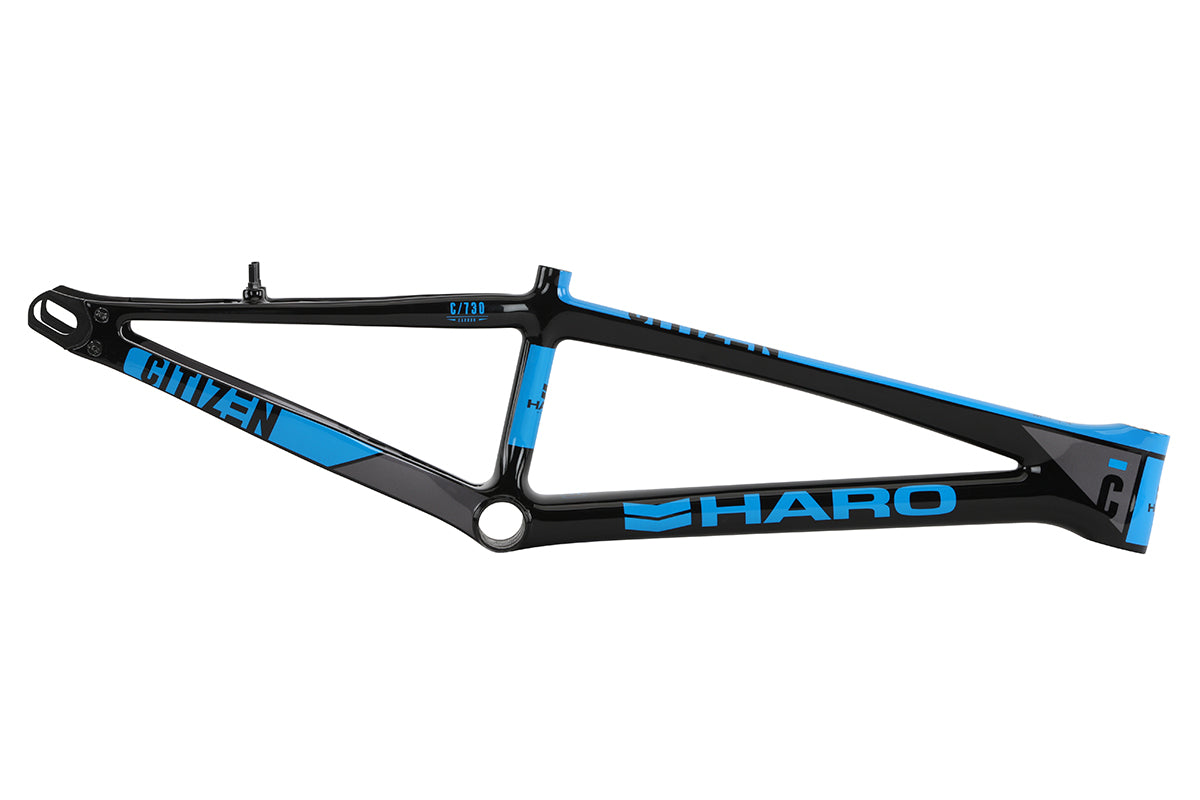
Advantages and Disadvantages of a Carbon Fiber Bike Frame
-
 Beginners Guides1 month ago
A Guide to Right Hybrid Bike Posture: How to Sit on the Bike for Optimal Performance
-
 Vetted3 months ago
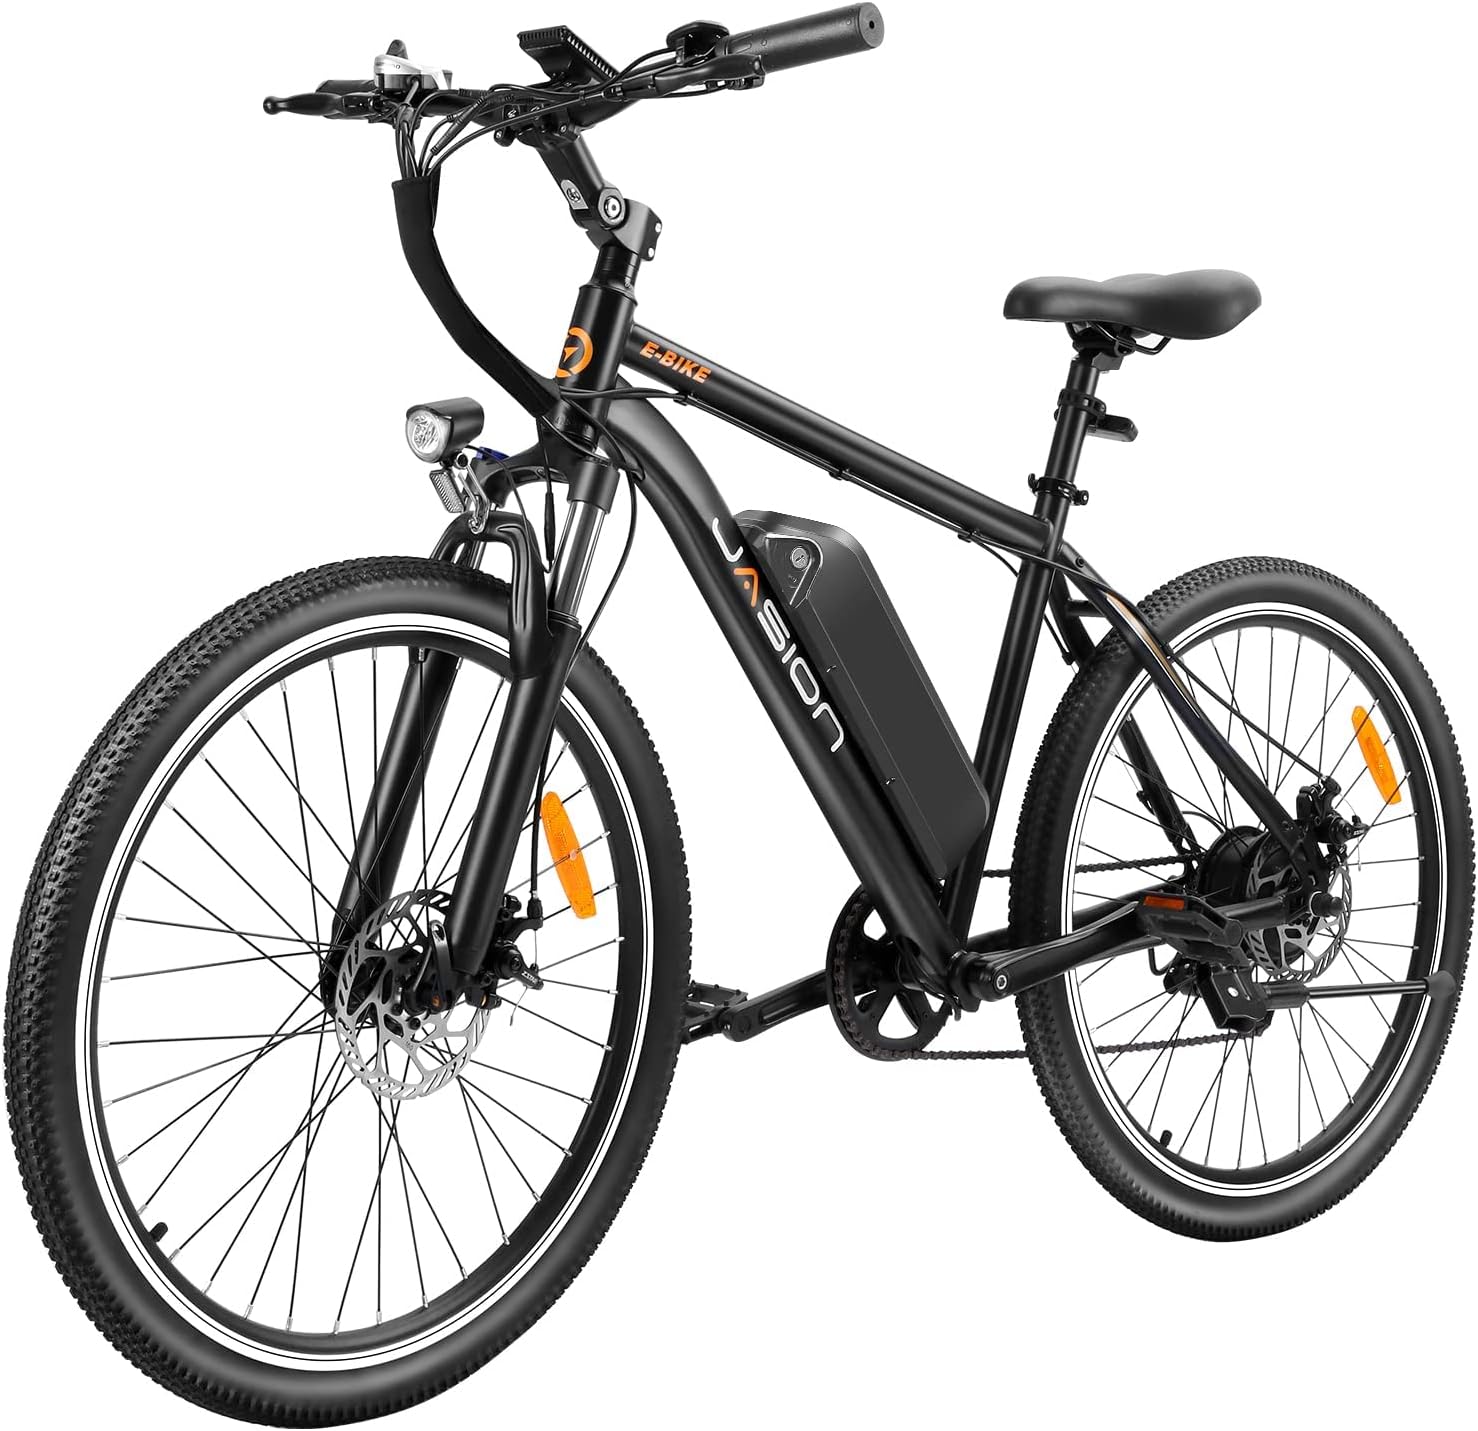
Jasion EB5 Electric Bike Review: Commute Mountain Bike for Adults
-
 Beginners Guides1 month ago
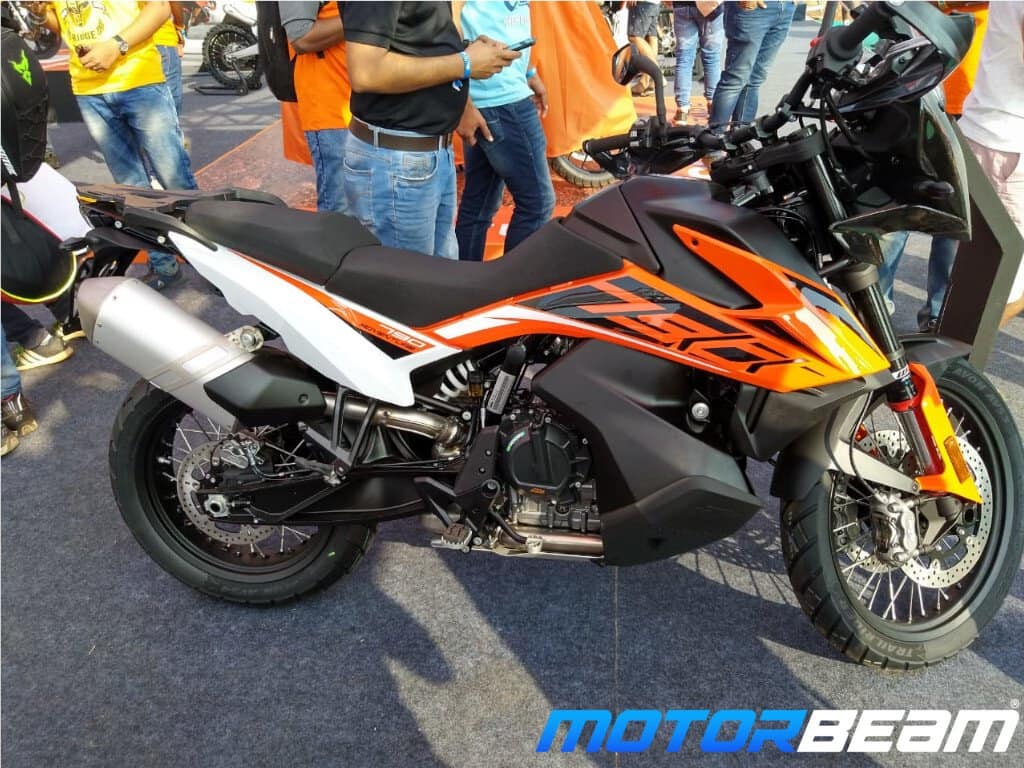
Where Are KTM Motorcycles Made?
-
 Electric Bike2 months ago
Where To Get Free Electric Hybrid Bike
-
 Vetted2 months ago
Review: 80CC Motorized Bicycle Gas Engine Kit with Performance Carburetor
-
 Electric Bike2 months ago
How To Program Electric Bike Controller For More Speed