As an avid cyclist, I’ve always been fascinated by the idea of turning my bike into an electric-powered machine. And now, I’m thrilled to share with you the step-by-step process of how to make your bike electric powered.
In this article, we’ll delve into the basics of electric bike conversion kits, help you choose the right kit for your bike, guide you through gathering the necessary materials, and provide detailed instructions on installation, adjustment, and maintenance.
So, let’s embark on this electrifying journey together!
Key Takeaways
- Regularly clean and lubricate moving parts (chain, gears)
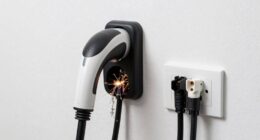
- Check battery connections for charging problems
- Wear helmet and protective gear
- Utilize pedal-assist mode for extended battery range
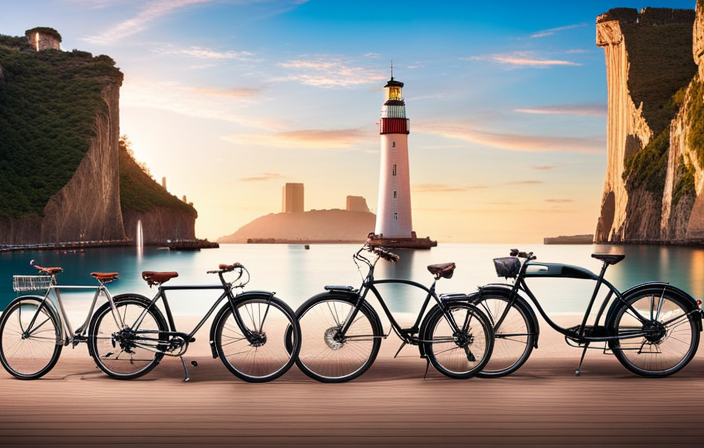
Understand the Basics of Electric Bike Conversion Kits
Now you can understand the basics of electric bike conversion kits. Electric bikes offer numerous advantages, such as increased speed, reduced effort, and decreased impact on the environment.
To convert your regular bike into an electric bike, you will need a conversion kit. There are several types of electric bike conversion kits available on the market. The most common ones include front wheel, rear wheel, and mid-drive conversion kits.
Front wheel kits are the easiest to install and suitable for bikes with front-wheel drive. Rear wheel kits provide better traction and are ideal for off-road riding. Mid-drive kits offer a balanced weight distribution and are perfect for hilly terrains.
Understanding the different types of conversion kits will help you choose the right one for your bike, ensuring a seamless transformation into an electric-powered machine.
Choose the Right Conversion Kit for Your Bike
Selecting the appropriate conversion kit for your bicycle is crucial. With so many options available in the market, it can be overwhelming to make the right choice. To help you navigate through this process, here are the pros and cons of electric bike conversion kits:
Pros:
- Cost-effective: Conversion kits are generally more affordable compared to buying a brand new electric bike.
- Customization: You have the freedom to choose the components that best suit your needs and preferences.
- Easy installation: Most conversion kits come with user-friendly instructions, making the installation process hassle-free.
Cons:
- Limited compatibility: Not all bikes are compatible with conversion kits, so it’s important to check the compatibility before making a purchase.
- Added weight: The conversion kit components can add extra weight to your bike, affecting its overall performance.
- DIY skills required: Installing a conversion kit may require basic mechanical knowledge and skills.
When choosing the right battery for your electric bike conversion, consider the following factors:
- Battery capacity: Determine the range you need and choose a battery with sufficient capacity.
- Voltage: Ensure that the battery voltage matches the requirements of your conversion kit.
- Battery type: Consider the pros and cons of different battery types, such as lithium-ion or lead-acid.
Now that you have an understanding of the pros and cons of electric bike conversion kits and how to choose the right battery, let’s move on to the next section and gather the necessary materials and tools.
Gather the Necessary Materials and Tools
Gathering all the necessary materials and tools is an essential step in the process of converting a bicycle into an electric-powered vehicle. When it comes to choosing the right battery, it is important to consider factors such as voltage, capacity, and weight. Lithium-ion batteries are commonly used due to their high energy density and long lifespan. However, exploring alternative power sources like solar panels or fuel cells can also be considered for a more sustainable option.
In addition to the battery, other materials and tools that you will need include a motor, controller, wiring, and various mounting brackets. These components will enable you to convert your bike into an electric-powered vehicle efficiently and effectively.
Now that we have gathered all the necessary materials and tools, let’s move on to the next step: preparing your bike for the conversion.
Prepare Your Bike for the Conversion
To prepare for the conversion, you’ll need to inspect your bicycle for any necessary adjustments or repairs. This step is crucial to ensure that your electric bike functions smoothly and safely. Start by checking the tire pressure and making sure they are adequately inflated.
Next, examine the brakes and make sure they are in good working condition. Additionally, check the chain and gears for any signs of wear or damage.
Now, let’s talk about two important aspects of the conversion process: choosing the right battery and ensuring proper wiring. The battery you choose will determine the range and power of your electric bike, so it’s crucial to select one that suits your needs.
When it comes to wiring, make sure to follow the manufacturer’s instructions carefully to avoid any electrical issues.
Now that your bike is ready, let’s move on to installing the electric bike conversion kit.
Install the Electric Bike Conversion Kit
Now that you’ve prepared your bicycle, it’s time to install the electric bike conversion kit.
The first step is to install the electric bike motor. Begin by removing the existing pedals and crank arms from the bike. Then, attach the motor to the bottom bracket of the frame using the provided brackets and bolts. Ensure that the motor is securely fastened and aligned with the chainring.
Next, it’s time to install the battery. Locate a suitable spot on your bike to mount the battery pack, such as the frame or rear rack. Secure the battery pack using the provided straps or brackets. Make sure the battery is easily accessible for charging and disconnection.
Once the motor and battery are installed, it’s time to connect and test the electrical components.
Connect and Test the Electrical Components
Once you’ve securely fastened the motor and battery, it’s time to connect and test the electrical components.
This crucial step ensures that your electric bike will function properly and safely.
First, double-check the connections between the motor, battery, and controller, making sure they are tight and secure.
Then, carefully connect the throttle, brake sensors, and any other necessary components according to the manufacturer’s instructions.
Once everything is connected, it’s time to test the system.
Turn on the battery and check if the motor spins when you engage the throttle.
If it does not, check the connections and troubleshoot any potential issues.
Testing the electrical components is essential to avoid any problems or accidents while riding.
With the system tested and functioning correctly, you can now move on to adjusting and fine-tuning your electric bike for optimal performance.
Adjust and Fine-Tune the Electric Bike
Before you start adjusting and fine-tuning, ensure all the electrical connections are secure and functioning correctly. Troubleshooting common issues is an essential part of maximizing battery life and optimizing the performance of your electric bike.
One common issue that riders encounter is a decrease in battery range over time. To address this, check for any loose connections or worn-out cables that may be affecting the electrical flow.
Additionally, make sure to regularly clean and lubricate the moving parts of your electric bike, such as the chain and gears, to minimize friction and improve efficiency.
Maintain and Care for Your Electric Bike
Regularly cleaning and lubricating the moving parts of your e-bike, such as the chain and gears, will help minimize friction and improve efficiency. Proper maintenance is crucial for keeping your electric bike running smoothly and preventing common issues.
To maintain your e-bike, start by inspecting the chain for any dirt or debris. Use a brush and soapy water to clean it, then dry and lubricate it with chain oil. Additionally, check the brake pads for wear and adjust them if necessary. Keep an eye on the tire pressure and make sure it is within the recommended range. Troubleshoot common issues like battery charging problems by checking the connections and ensuring proper charging technique.
Now, let’s move on to the next topic: staying safe and following local laws and regulations.
Stay Safe and Follow Local Laws and Regulations
To ensure your safety while riding, always obey local laws and regulations when using your e-bike. Safety precautions and legal requirements are essential to ensure a smooth and secure ride.
Firstly, make sure to wear a helmet and other protective gear. This will protect you in case of any accidents or falls.
Secondly, familiarize yourself with the speed limits and traffic rules specific to e-bikes in your area. Adhering to these regulations will prevent accidents and potential legal consequences.
Additionally, ensure that your e-bike is equipped with proper lighting and reflectors for visibility, especially during low-light conditions.
Lastly, always yield to pedestrians and follow the designated bike lanes when available.
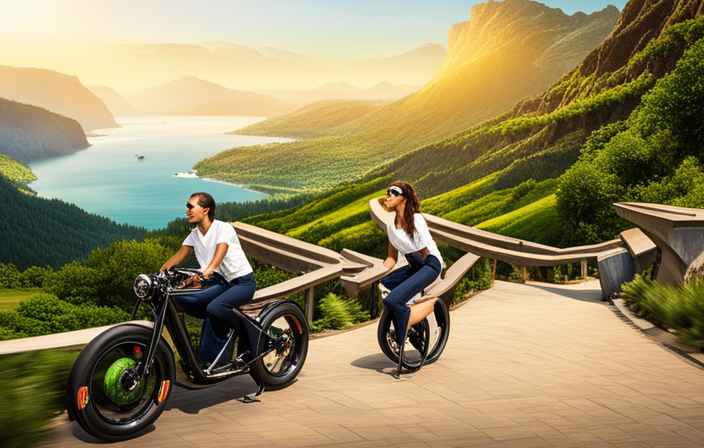
Enjoy Your New Electric-Powered Bike
Remember, it’s important to have fun and explore new places while riding your e-bike. Here are some riding techniques to enhance your experience and maximize your battery lifespan:
- Proper body positioning: Maintain a relaxed posture to ensure stability and control.
- Smooth acceleration and deceleration: Gradually apply power and gently release it to conserve battery life.
- Utilize pedal-assist mode: Engage the pedal-assist feature to extend the battery range while still getting a workout.
- Plan your route: Opt for routes with less incline and traffic to minimize battery usage.
- Regular maintenance: Keep your bike in optimal condition by checking tire pressure, cleaning the chain, and charging the battery according to manufacturer guidelines.
By implementing these riding techniques and taking care of your e-bike, you can enjoy longer rides and prolong the lifespan of your battery.
Happy riding!
Frequently Asked Questions
Can I convert any type of bike into an electric-powered bike using a conversion kit?
Yes, any type of bike can be converted into an electric-powered bike using a conversion kit. This option provides several benefits, such as increased speed and range, reduced effort while riding, and a more eco-friendly transportation alternative.
How long does it typically take to install an electric bike conversion kit?
Typically, the installation of an electric bike conversion kit takes around 2-3 hours. Factors affecting installation time include the complexity of the kit, the skill level of the person performing the installation, and any modifications required.
Is it possible to remove the conversion kit and revert my bike back to its original state?
Yes, it is possible to remove the electric conversion kit and revert the bike back to its original state. This involves disconnecting the electrical components, removing the battery, and reinstalling the original non-electric parts.
What is the average cost of an electric bike conversion kit?
On average, an electric bike conversion kit can cost around $500 to $1000. While the benefits include increased speed and distance, the drawbacks include the initial cost and the need for occasional maintenance.
Are there any restrictions or guidelines regarding the use of electric-powered bikes in public spaces?
There are regulations and safety guidelines for electric bikes in public spaces. It is important to follow these rules to ensure the safe and responsible use of electric-powered bikes in public areas.
Conclusion
In conclusion, converting your bike into an electric-powered machine is a rewarding and thrilling project. As the saying goes, ‘The journey of a thousand miles begins with a single step.’
This journey starts with understanding the basics of electric bike conversion kits. By choosing the right kit, gathering the necessary materials, and following the installation process with precision, you can transform your regular bike into a powerful electric ride.
Remember to prioritize safety, follow local laws, and enjoy the exhilarating experience of riding your new electric bike. Happy cycling!