
To replace your bike’s brake pads, start by gathering the right tools, including pliers, screwdrivers, and the correct replacement pads for your model. Secure your bike and remove the wheel to access the caliper. Take out the old pads, check the rotor for damage, and retract the pistons carefully using a piston tool or lever. Install new pads, make sure everything is aligned, and then test the brakes. Want to master each step? Keep exploring for detailed guidance.
Key Takeaways
- Secure the bike and remove the wheel to access the brake caliper safely.
- Remove old brake pads and inspect the rotor and caliper for damage or contamination.
- Retract caliper pistons carefully and install new brake pads with proper orientation.
- Reassemble the caliper, ensuring all hardware and springs are correctly positioned.
- Test the brake function by pumping the lever and checking for smooth, effective stopping.
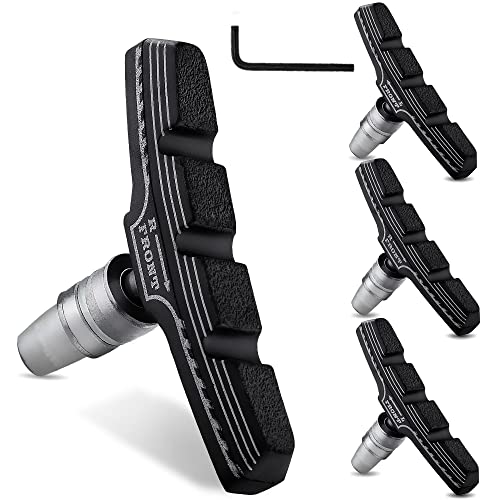
Hapleby 4PCS Premium Bike Brake Pads, Professional Mountain Bicycle V-Brake Pads, Bike Brake Blocks Kit, for Free Hex Wrench
- Durable Material: Hyathetic fiber and nitrile rubber construction
- Long-lasting Performance: Over 8,000 uses at 12.5km/h
- Extended Replacement Interval: Replace after 4,000 miles on flat terrain
As an affiliate, we earn on qualifying purchases.
As an affiliate, we earn on qualifying purchases.
Gathering the Necessary Tools and Materials
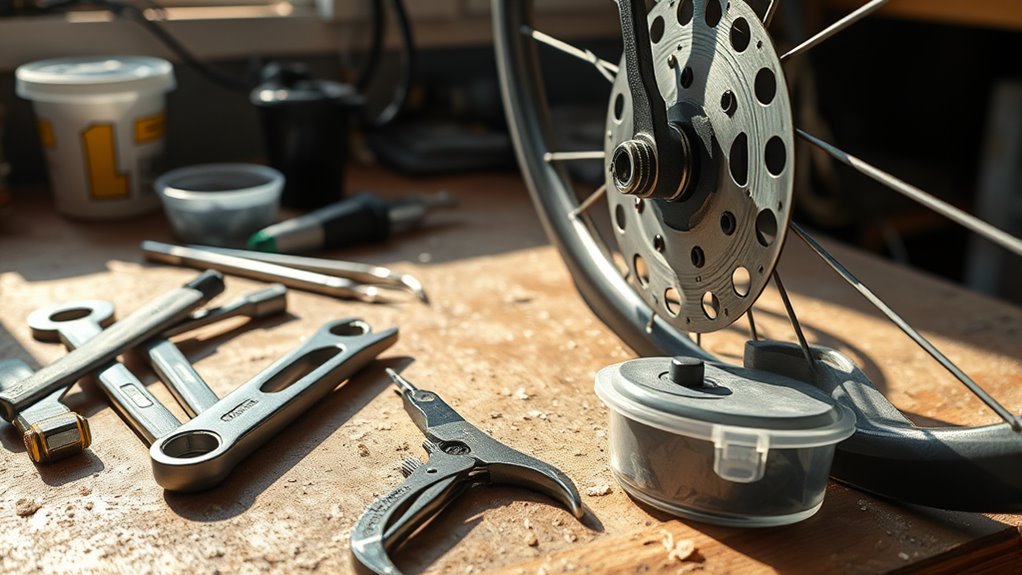
Before starting your brake pad replacement, it’s essential to gather all the necessary tools and materials. First, collect specialized tools like needle nose pliers, a flat surface tool such as PP-1.2, and the appropriate screwdrivers or wrenches compatible with your brake caliper design. Make sure you have the correct replacement brake pads that match your bike’s make, model, and brake system—whether hydraulic or mechanical. It’s also helpful to have a caliper or feeler gauge on hand to measure pad thickness accurately and confirm if they’re worn below the manufacturer’s minimum, usually around 1mm. To make the process easier, use a repair stand or elevate your bike securely. Properly inspecting your brake system ensures safety and optimal performance. Additionally, understanding the contrast ratio of your brake system can help you evaluate the effectiveness of the brake pads under different conditions. Recognizing the importance of industry standards can guide you in choosing high-quality replacement parts. It’s also advisable to check the resistance levels of your brake components to ensure they function correctly after replacement. Incorporating manufacturer specifications into your selection process can further ensure compatibility and safety. Finally, don’t forget safety gear like gloves and eye protection to prevent injuries during the replacement.
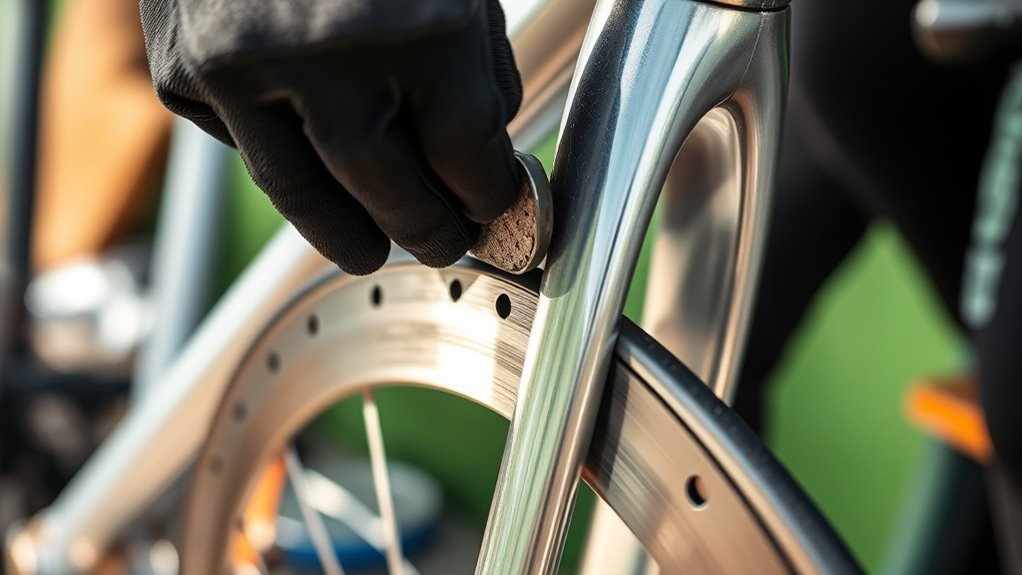
Preparing Your Bike and Removing the Wheel

Start by securing your bike in a repair stand or flipping it upside down to access the wheels easily. Shift the brake lever to release tension, making wheel removal smoother and safer. Carefully loosen the axle or quick-release skewer, then remove the wheel and inspect the brake components for any damage or wear.
Secure Bike in Stand
Securing your bike in a repair stand is essential for easy access to the brake calipers and wheel. A stable mount keeps your bike steady, allowing safe and efficient work. To do this, choose a stand compatible with your bike’s frame and lock it securely in place. Before removing the wheel, shift into a gear that prevents chain slack, and disengage any quick-release levers or thru-axles. Use the right tools, like a wrench or quick-release lever, to loosen and remove the wheel carefully. Support the wheel during removal to avoid stress on the brake components. Keep track of all spacers, washers, and hardware to ensure proper reinstallation. This setup creates a solid foundation for replacing your brake pads smoothly and safely.
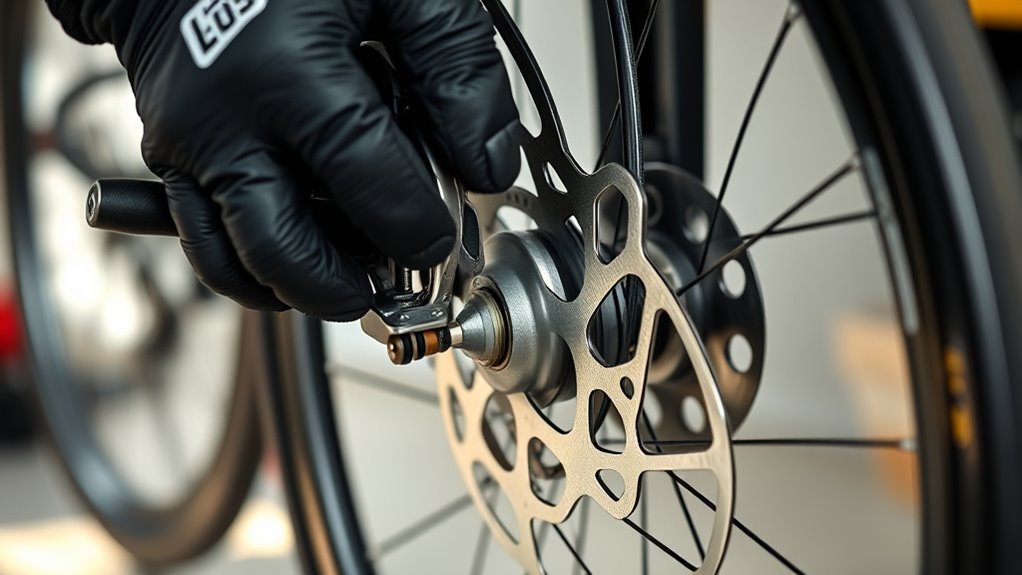
Remove the Wheel Carefully
To remove the wheel safely, begin by securing your bike in a repair stand or flipping it upside down for easy access. Shift into the highest gear or loosen the quick-release lever to make removal smoother. Loosen and remove the axle nuts or quick-release skewer, then carefully pull the wheel out from the dropouts. If your bike has disc brakes, gently slide the rotor out of the caliper, taking care not to damage it or the brake pads. Keep track of any spacers or washers you remove during this process so you can reinstall everything correctly later. Handle the wheel carefully to avoid bending or scratching components. Once the wheel is free, set it aside in a safe place, ready for brake pad replacement. Additionally, inspecting your Pool & Backyard features can ensure your bike storage area remains safe and organized. Properly bike maintenance can extend the lifespan of your components and enhance safety during rides. Regular checks on your bike’s brake system can prevent issues and ensure optimal performance. Remember to check the wheel alignment to ensure proper functioning when reinstalling the wheel. Also, verifying the tire condition before reinstalling can help prevent flats and improve ride quality.
Inspect Brake Components
With the wheel removed, you can now closely examine the brake components. Check the brake pads for signs of excessive wear, contamination, or damage. Inspect the rotor for warping, scoring, or dirt buildup that could affect braking performance. Use appropriate tools to carefully remove retaining pins, clips, or springs holding the pads in place. Take note of the orientation and position of the existing pads so you can install the new ones correctly later. Keep small parts like cotter pins or springs organized to prevent losing them during disassembly. This thorough inspection ensures you identify any issues that could compromise braking safety and helps you prepare for a smooth pad replacement. Additionally, understanding the proper brake maintenance techniques can help extend the lifespan of your brake components and ensure optimal performance. Regularly inspecting and maintaining your brake system can also prevent brake failure during critical moments. Being aware of the beneficial ingredients in your brake pads can also improve their longevity and effectiveness. Incorporating routine inspections into your maintenance routine is essential for consistent riding safety. Moreover, paying attention to spiritual insights from angel numbers can remind you to stay attentive and proactive in maintaining all aspects of your bike, including the brake system.
Removing the Old Brake Pads
Start by removing any retaining components like pins, clips, or cotter pins that hold the brake pads in place. Gently disengage the old pads, being careful not to damage nearby parts or pistons. Before proceeding, inspect the pads and caliper for any signs of damage or contamination. Ensure you understand the types and features of toilets to avoid confusion during replacement or maintenance. Additionally, reviewing the essential camping gear can be helpful if you plan to do maintenance outdoors or on the go. Recognizing potential hazards like wildlife encounters or sudden weather changes can help you stay safe during outdoor repairs. Being familiar with privacy policies related to online tools can also be useful if you consult digital resources for repair guidance. Knowing the divorce process and requirements in Cuba can also be relevant if you’re adapting to different legal or procedural environments, especially when working in international or multicultural settings.
Remove Retaining Components
Before removing the old brake pads, you’ll need to clear out any retaining pins, clips, or cotter pins that hold them in place. Use needle nose pliers to carefully bend, slide, or pull these components out. Be mindful of springs attached to calipers; detach them gently, noting their orientation for reinstallation. If the pads are held by magnets or clips, carefully slide or pull them free without damaging nearby parts. For stubborn pads, use appropriate tools to loosen caliper adjusters or retaining screws, making removal easier. Also, inspect the caliper area for debris or contamination that could interfere with your new pads. Keeping these components organized ensures a smoother process when it’s time to install the new brake pads. Additionally, understanding the horsepower of electric dirt bikes can help you appreciate the performance capabilities of your bike after maintenance.
Disengage Brake Pads
How do you effectively disengage the old brake pads? First, remove the wheel to access the brake calipers easily and keep everything stable. Locate and remove any retaining pins, cotter pins, or clips that hold the pads in place, using needle nose pliers or screwdrivers. If your system has springs, carefully take them out along with the pads, paying attention to their orientation for reinstallation. For pads held by magnets, detach the spring first, then slide the pads out from the caliper, either from the top or bottom, depending on the design. If needed, fully retract the caliper pistons to create enough space for the new pads. This process guarantees a smooth removal of the old brake pads and prepares your bike for the next step.
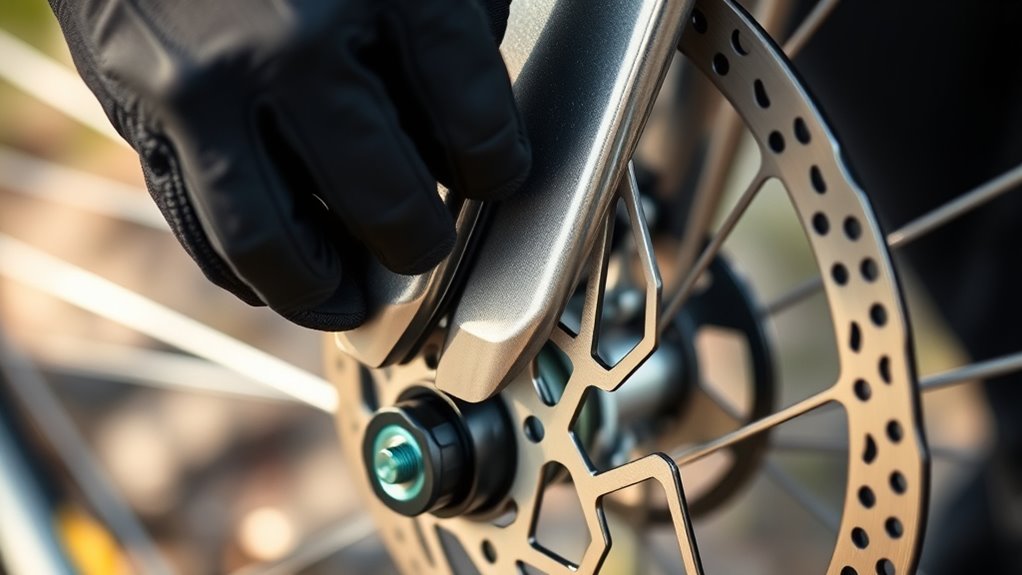
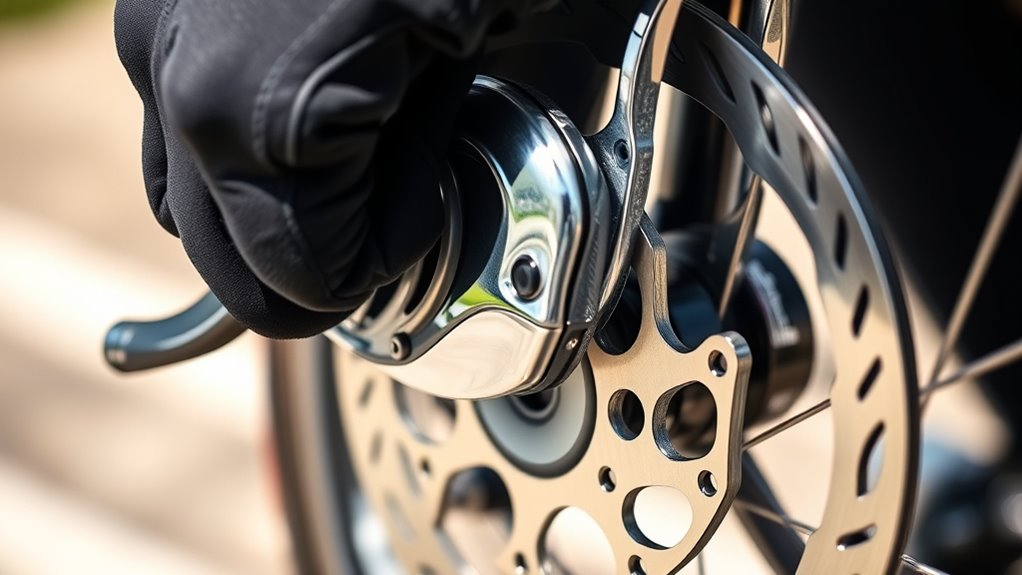
Inspect for Damage
Carefully examine the brake pads for signs of excessive wear, cracks, or contamination like oil or grease, as these issues can reduce braking effectiveness. Remove the brake caliper from the rotor to access the pads, making sure the brake hose or line stays protected from damage. Check the thickness of the brake pad material; if it’s less than 1mm or heavily worn, it’s time to replace them. Look for uneven wear, which could signal caliper misalignment or sticking, and consider servicing the caliper if needed. Additionally, inspect for broken or missing springs, delaminated pad material, or damaged backing plates that could hinder proper function. Regular inspection assures your brake system remains reliable and safe during every ride.
- Excessive wear or cracks
- Oil or grease contamination
- Thickness less than 1mm
- Uneven wear patterns
- Damaged springs or backing plates
Retracting the Brake Pistons
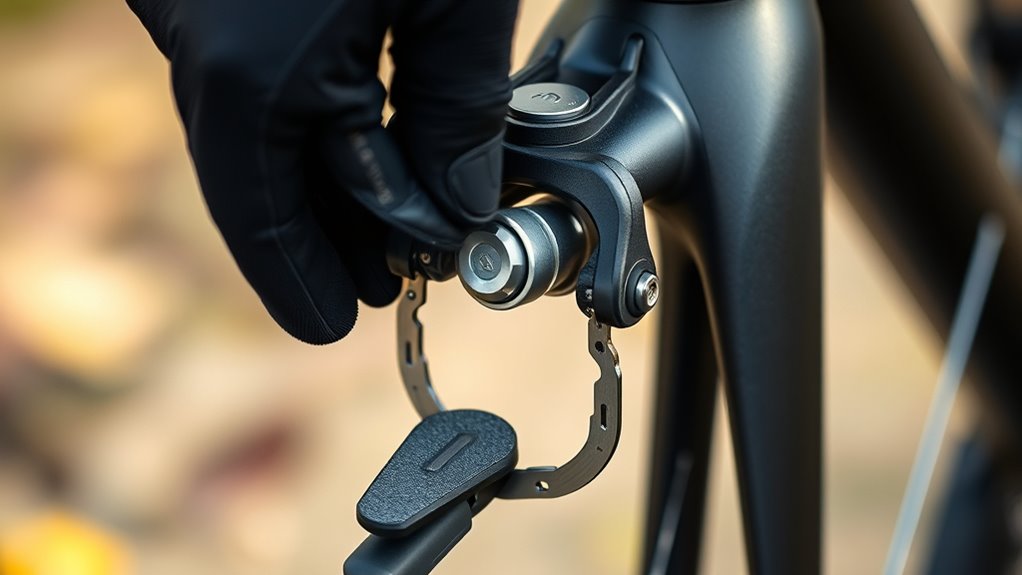
To retract the brake pistons, you’ll need a suitable tool such as a brake piston press, tire lever, or a dedicated piston retraction tool to push them back into the caliper housing. For hydraulic disc brakes, press the pistons evenly to prevent uneven retraction or damage to the caliper and brake hose. Do this slowly and carefully, especially if the brake fluid reservoir is full, to avoid overflow or spillage. If you have mechanical calipers with screw or adjuster mechanisms, turn the adjuster counterclockwise until the pistons are fully retracted. If the pistons resist movement, check for debris or corrosion; cleaning the caliper or replacing worn components may be necessary before proceeding. Take your time to ensure smooth, even retraction.
Installing the New Brake Pads
When installing new brake pads, start by aligning them with their designated slots in the caliper, making sure they match the original orientation and shape. For hydraulic brakes, gently press the pistons back into the caliper using a suitable tool to create space for the new pads. Insert the inner pad first, ensuring it seats properly against the piston or magnet, then install the outer pad in the correct position. To secure the pads, reinstall retaining pins, clips, or springs, making sure they’re properly seated and locked.
- Confirm the pads are correctly oriented
- Use the appropriate tools for pistons
- Make certain all retaining hardware is fully engaged
- Check that the pads sit flush in the caliper
- Prepare for reassembly with clean components
Final Checks and Brake Function Test
After installing new brake pads, it’s essential to perform final checks to guarantee everything functions correctly. First, pump the brake lever several times to build hydraulic pressure and ensure the pads engage properly against the rotor. Spin the wheel and look for any rubbing or uneven contact; adjust the caliper alignment if needed. Check the brake lever feel—it should be firm, not spongy, and require minimal force. Gently squeeze the lever to test brake performance, confirming the pads engage smoothly and stop the wheel effectively. Finally, take a short test ride to verify the brakes respond promptly, without unusual noises or vibrations. These steps ensure your brake system is safe, reliable, and ready for riding.
Frequently Asked Questions
Can I Replace Bike Brake Pads Myself?
Yes, you can replace your bike’s brake pads yourself if you have basic tools and understand your brake system. Make sure to inspect the worn pads first, then remove them carefully, following your bike’s specific instructions. Use the right tools, like pliers and screwdrivers, and take safety precautions. With patience, you’ll save money and keep your bike’s braking performance in top shape.
How to Replace Brake Pads Step by Step?
When it comes to replacing your bike’s brake pads, you’re taking the bull by the horns. First, remove the wheel and locate the brake caliper. Carefully take out the retaining pins or clips, then fully retract the caliper pistons with the right tool. Install the new pads, making sure they’re properly aligned. Reassemble everything, reinstall the wheel, and test the brakes by spinning the wheel—smooth as silk.
Is Changing Bike Brake Pads Easy?
Changing bike brake pads is pretty easy, especially if you have basic tools and some mechanical confidence. You’ll need to remove the wheel, take out the old pads, and install new ones, making sure everything aligns properly. While it helps to have some experience, most riders find it a manageable DIY task. Just pay attention to details like alignment and reassembly to guarantee your brakes work smoothly and safely.
How to Replace Brake Pads on a Bicycle?
Think of replacing your bike’s brake pads like tuning a fine instrument. First, remove the wheel and extract the retaining pin or clip. Fully retract the caliper pistons, then install the new pads, making sure they align with the rotor. Reassemble everything and pump the brake to seat the pads. Check the pad thickness and rotor for wear or debris before riding. It’s straightforward with patience.
What Is the 30/30/30 Rule for Brakes?
The 30/30/30 rule helps you know when to replace your bike’s brake pads. You should check them every 30 rides or miles, and if the pad material wears down to less than 1mm—about 30% of its original thickness—or if your braking feels less effective by 30%, it’s time for a replacement. Following this rule keeps your brakes working smoothly, prevents rotor damage, and saves you money in the long run.
Conclusion
Now that you’ve replaced your bike’s brake pads, you’re all set for a safer ride. Have you tested the brakes thoroughly to guarantee everything works smoothly? Remember, proper maintenance keeps your bike in top shape and your rides enjoyable. Taking the time to do it right not only saves you money but also boosts your confidence on every journey. So, why not enjoy your freshly upgraded brakes and hit the road?