
To understand and replace bike brake pads, first identify your brake type—rim or disc—and check if your pads are worn below 1-2mm or show signs like squealing or reduced braking. Use the right tools to detach old pads, clean calipers, and install new ones, ensuring proper alignment. Adjust the pads for even contact and smooth operation. If you want to learn detailed steps and tips, keep exploring to improve your brake maintenance skills.
Key Takeaways
- Identify signs of wear, such as thinning pads below 1-2mm or squealing noises, to determine when replacing is necessary.
- Choose compatible brake pads based on your caliper type, brake system, and pad material for optimal performance.
- Use appropriate tools like hex wrenches and brake cleaner to safely remove old pads and prepare the caliper for new ones.
- Follow proper installation steps: insert new pads, align for even contact, and reassemble, ensuring no rubbing or misalignment.
- Regularly inspect and adjust brake pads for proper positioning, contact, and responsiveness to maintain safety and braking efficiency.
Types of Bike Brake Pads and Their Characteristics

Bike brake pads primarily come in two main types: threaded stud pads and smooth stud pads, each designed to fit specific caliper attachment systems. Brake pads are essential for stopping power and are made from various pad materials like organic, metallic, or semi-metallic compounds. Threaded stud pads feature a screw with washers or spacers, securing the pad directly to the caliper, making installation and replacement straightforward. In contrast, smooth stud pads attach via a pinched mechanism without threads, offering a different mounting approach. The shape and size of the brake pads vary depending on your bike’s brake system—larger pads suit hydraulic disc brakes, while specific shapes work with rim or caliper brakes. The choice of pad material influences wear, heat resistance, and stopping performance. Additionally, color accuracy in brake pads can influence visual inspection and monitoring of pad wear over time. Proper compatibility ensures optimal performance and safety during rides, and selecting the right pad type can also impact the overall maintenance requirements of your bike’s braking system. Regular inspection and understanding of pad wear are crucial for maintaining reliable braking performance and preventing accidents. Moreover, understanding the types of brake pads helps in choosing the most suitable option for your riding style and conditions.
Recognizing When Your Brake Pads Need Replacing
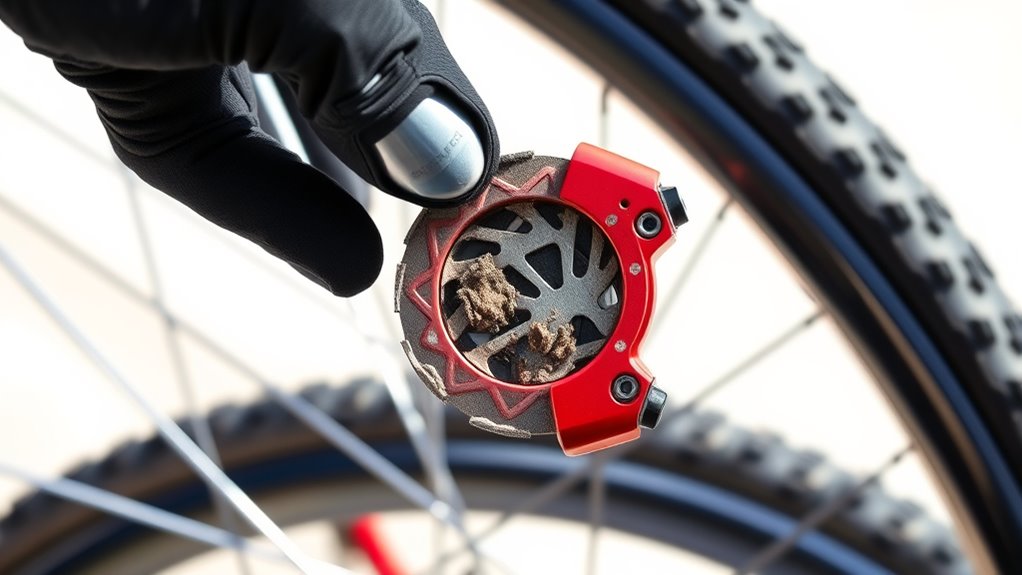
Knowing when to replace your brake pads is crucial for maintaining safe and effective stopping power. One clear sign is when the brake pads’ thickness drops below 1-2mm, which you can often see using wear indicators or through a visual inspection. Common signs include squealing noises, which indicate worn brake pads, or a noticeable reduction in braking performance. You might also notice grooves or uneven wear on the brake surface, signaling that the pads need replacement to guarantee consistent stopping power. Over time, brake pads can become glazed or hardened, decreasing grip. Regular inspections help you catch these signs early, preventing metal-on-metal contact that can damage rotors and compromise your braking ability. Regional statistics can inform your expectations regarding brake pad lifespan and replacement intervals. Additionally, understanding the performance effects of worn brake pads can help you prioritize timely replacements. Keeping track of brake pad wear is essential for safety, as neglecting this can lead to costly repairs and safety hazards. Implementing routine checks aligned with industry best practices ensures optimal safety and performance. Monitoring brake pad conditions regularly can extend the life of your braking system and improve overall vehicle safety. Replacing worn brake pads restores ideal braking performance and safety.
Tools and Materials Needed for Brake Pad Replacement

To successfully replace your brake pads, you’ll need a specific set of tools and materials designed for the task. Essential tools include hex wrenches (usually 2.5mm or 4mm), needle-nose pliers, and a flathead screwdriver. You’ll also need new brake pads compatible with your caliper type, such as organic or metallic. A work stand or repair stand makes the process easier by elevating your bike. Additionally, brake cleaner or isopropyl alcohol helps clean the caliper and rotor before installing new pads. Optional tools like a piston press or plastic tyre lever can assist in pushing pistons back into the caliper. Here’s a quick overview:
| Tool/Material | Purpose | Notes |
|---|---|---|
| Hex wrenches | Remove caliper bolts | Sizes vary (2.5mm, 4mm) |
| Brake pads | Replacement parts | Ensure compatibility |
| Caliper cleaner | Clean caliper and rotor | Use before installation |
| Needle-nose pliers | Handle small parts | Adjust or remove components |
| Piston press | Push pistons back | Optional but helpful |
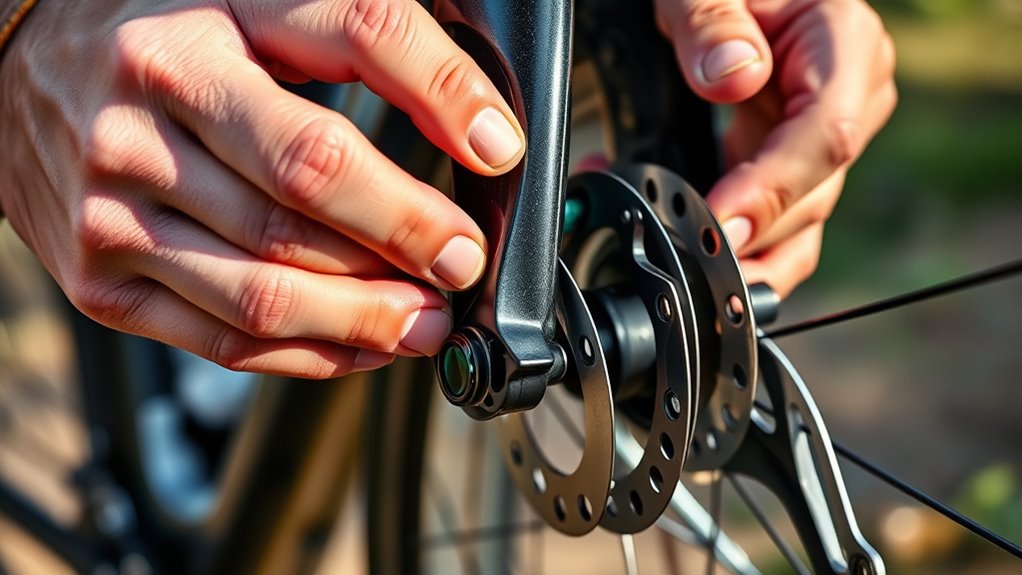
Step-by-Step Guide to Changing Rim Brake Pads
Changing rim brake pads involves a few key steps to guarantee your bike stops smoothly. First, you’ll remove the old pads and prepare the new ones, making sure they match your brakes. Then, you’ll install the new pads and adjust their alignment for maximum braking performance. To ensure long-term safety, it’s also important to periodically inspect your essential survival gear to verify its condition and readiness.
Removing Old Pads
Ever wonder how to safely remove old rim brake pads from your bike? Start by loosening any securing fasteners or retaining screws with the right hex wrench or screwdriver. Carefully detach the pad from the caliper arms, paying attention to its orientation and any spacers or washers involved. Use needle-nose pliers to remove small clips, pins, or retaining mechanisms holding the pad in place, keeping all parts organized for reinstallation. Before proceeding, inspect the brake caliper and rim for debris or damage, then clean them with a suitable brake cleaner to prevent contamination. Confirm the proper orientation of the old pad, noting any directional markings or side-specific features. Removing old pads correctly guarantees a smooth transition to installing new ones later, especially considering the support hours available for assistance if needed. It’s also important to ensure that the new brake pads are compatible with your specific rim type to ensure optimal braking performance. Additionally, understanding the environmental impact of brake pad materials can help in choosing eco-friendly options. Regular maintenance and awareness of potential wilderness hazards can also aid in preserving your bike’s components and safety during rides. Being aware of credit card insights can help ensure your financial safety when purchasing replacement parts online.
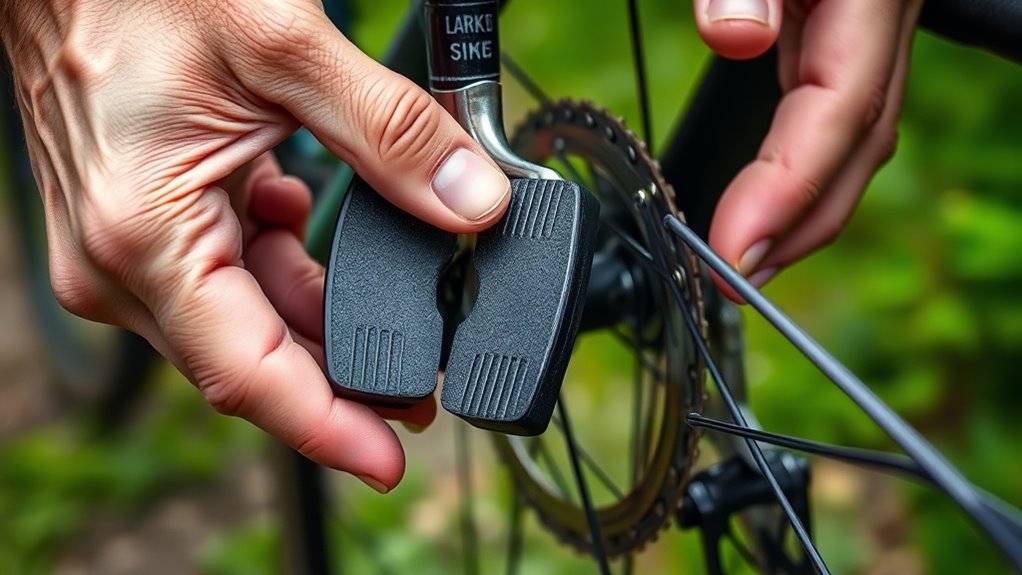
Installing New Pads
Start by removing the wheel to gain clear access to the brake pads. This makes inspecting the old pads easier and helps when replacing the pads. Once the wheel is off, detach the old brake pads by loosening any screws or pins with your tools, like hex wrenches or pliers. Check the orientation of the new pads to ensure the side markings are correct, with the closed side facing the rim front. Insert the new brake pads into the caliper, aligning the grooves with the retention clips, and secure them tightly to prevent movement during braking. After installing the new pads, reattach the wheel and adjust the pad positioning so they contact the rim evenly. Test ride your bike to ensure proper braking function. Additionally, understanding sound vibrations can help you appreciate how different materials and techniques are used to improve braking performance and durability. Regular inspection routines are crucial for identifying wear early and maintaining optimal braking safety. To ensure maximum performance, check the compatibility of your new brake pads with your bike’s braking system before installation. Considering the effects of wave and wind on the bike’s environment can also help in understanding how external factors influence braking and riding conditions.
Adjusting Brake Alignment
How can you guarantee your brake pads are properly aligned for peak performance? First, loosen the brake cable fixing bolt to free the caliper from tension. Next, align the brake pads so they sit evenly against the rim, ensuring full contact without touching the tire or sidewalls. Make sure the pads are centered over the rim and not touching any brake hardware. Tighten the caliper mounting bolt securely to hold the pads in place. Use the brake lever to check pad contact, adjusting the pad position slightly if needed to achieve even, full rim contact without rubbing when you release the brake. For fine-tuning, loosen the mounting bolt, reposition the pads, and re-tighten until the alignment is perfect for ideal braking performance.
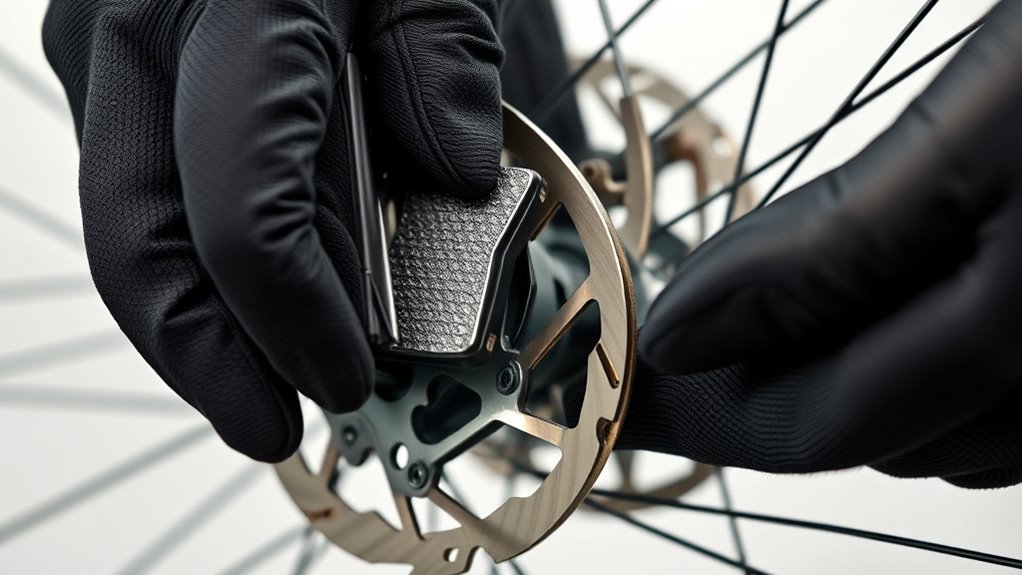
Replacing Disc Brake Pads on Your Bike
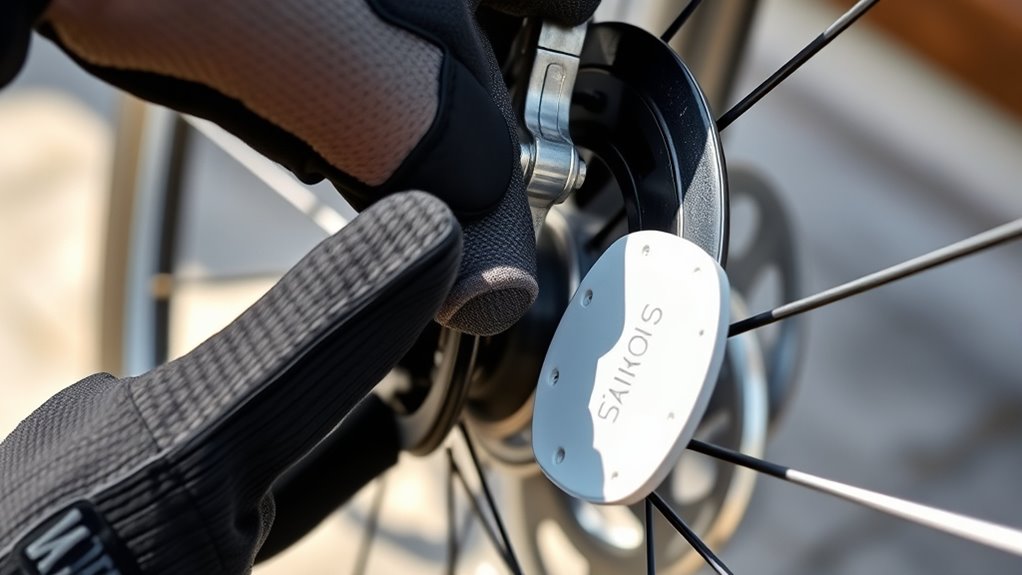
Replacing disc brake pads on your bike involves a few straightforward steps to guarantee your braking system functions properly. First, remove the wheel to access the caliper and brake pads. Use the appropriate tools, like hex wrenches or pliers, to detach the old brake pads from the caliper. Before installing new pads, push the pistons back into the caliper using a piston press or a plastic lever—this creates space for the new material. Clean the caliper and rotor with isopropyl alcohol or brake cleaner to prevent contamination. Insert the new brake pads into the caliper, ensuring they face the rotor correctly. Reassemble the retaining clips or pins, reinstall the wheel, and bed-in the new pads with controlled braking to achieve ideal stopping power.
Selecting the Right Brake Pad for Your Riding Style
Choosing the right brake pad depends on your riding style and the conditions you typically encounter. If you mainly ride on dry roads, organic brake pads are a good choice—they’re quiet, gentle on rotors, and ideal for light riding. For mountain biking or aggressive riding, metallic (sintered) pads deliver superior stopping power and heat resistance, handling demanding terrain better. If you often descend long, heavy braking sections, finned brake pads like Shimano’s Ice Tech can help dissipate heat and prevent fade. Match your brake pad material to your environment: organic for dry conditions, metallic for wet or rugged terrain. Also, guarantee the brake pads are compatible with your specific brake system to secure proper fit and peak performance.
Tips for Proper Brake Pad Alignment and Adjustment
Proper brake pad alignment is key to ensuring ideal braking performance and longevity. When adjusting your brake pads, make sure they contact the rim or rotor fully without touching the tire or fork/frame. Always set the pad so the leading edge contacts first, boosting response and reducing squeal. Use the caliper’s adjustment screws or barrel adjusters to center the pads evenly on both sides of the rim or rotor. Check that when you release the brake, the pads don’t rub against the tire or fork/frame, allowing smooth wheel rotation. Regularly inspect and fine-tune pad alignment, especially after installation or noticing uneven wear or decreased braking. Here’s a quick guide:
| Step | Action | Result |
|---|---|---|
| 1 | Check pad contact | Full contact with rim/rotor |
| 2 | Adjust leading edge | Faster response, less squeal |
| 3 | Center pads | Even wear, consistent braking |
| 4 | Release brake | No rubbing |
| 5 | Recheck regularly | Maintains ideal performance |
Maintaining Your Brake System for Optimal Performance
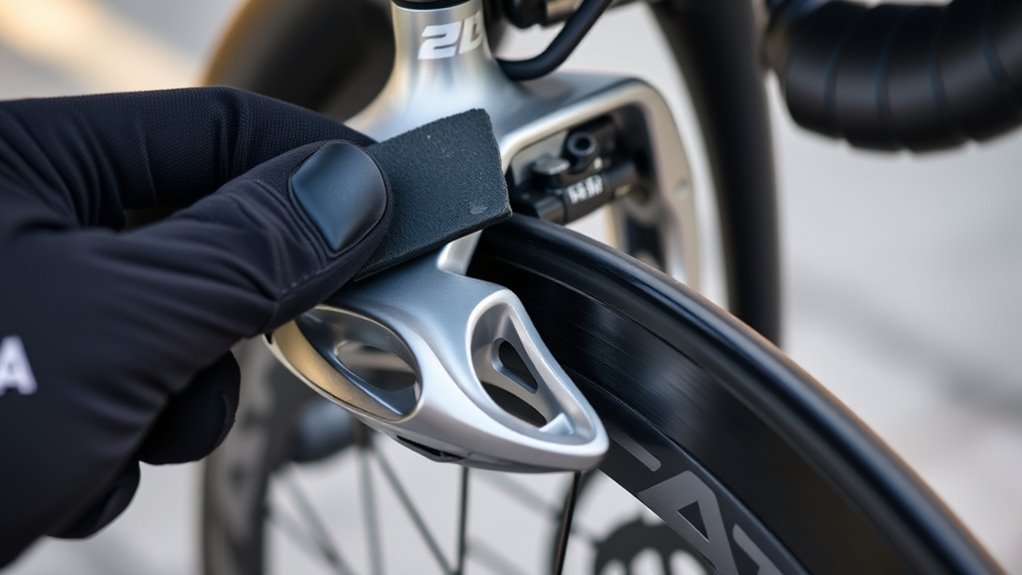
To keep your bike’s braking system performing at its best, regular maintenance is essential. Start by inspecting your brake pads for wear indicators like grooves or glazing, which signal it’s time to replace them. Keep the caliper and rotors clean using isopropyl alcohol or disc brake cleaner to prevent contamination that can reduce braking power. Properly align and adjust your brake pads so they make even contact with the rim or rotor, ensuring effective braking and even wear. Replace brake pads before they’re completely worn out to avoid metal-on-metal contact that can damage rotors. If you install new brake pads, bed them in through controlled stops to establish ideal contact, which improves braking consistency and performance over time.
Frequently Asked Questions
What Is the 30/30/30 Rule for Brakes?
The 30/30/30 rule tells you when to replace your bike brake pads. You should do so when they have about 30% of their material left or are worn down to 1-2 millimeters thick. This helps prevent damage to your rotors and keeps your braking dependable. Regularly checking and replacing your pads before they reach this point ensures safe, effective braking during your rides.
How Do I Know What Brake Pads I Need for My Bike?
To find the right brake pads for your bike, first identify your brake type, like rim or disc. Check your current pads for markings or arrows showing correct orientation. Measure their thickness to see if they need replacing. Know your brake system’s brand and model, and refer to your bike’s manual for compatible pads. Matching these details ensures you get the right fit and maximum braking performance.
Is Changing Bike Brake Pads Easy?
Changing bike brake pads is a walk in the park once you get the hang of it. You just need to remove the wheel, detach the old pads, install the new ones, and fine-tune the brake alignment. It’s pretty straightforward, especially with basic tools like Allen wrenches. With a little practice and patience, you’ll find it’s a task you can handle yourself, saving time and money on maintenance.
How to Know When to Replace Bike Brake Pads?
You’ll know it’s time to replace your bike brake pads when you see they’re worn down to about 1-2 millimeters thick or notice grooves and lines on their surface. If your braking feels less effective, takes longer to stop, or you hear squealing, those are signs they need changing. Also, if you hear metal-on-metal contact or see reduced braking power, it’s urgent to replace the pads to prevent rotor damage.
Conclusion
By understanding the different types of brake pads and mastering their replacement, you’ll keep your bike stopping on a dime—faster than a cheetah chasing a gazelle. Regularly check your pads and perform maintenance to guarantee peak performance and safety. With the right tools and a bit of practice, you’ll be your own bike mechanic, transforming brake pad replacement from a chore into a quick, satisfying fix. Keep your rides smooth, safe, and unstoppable!
Related Posts:


Zane rides her bike because she loves it, but also because she is mindful of the need to leave a better world for her children.