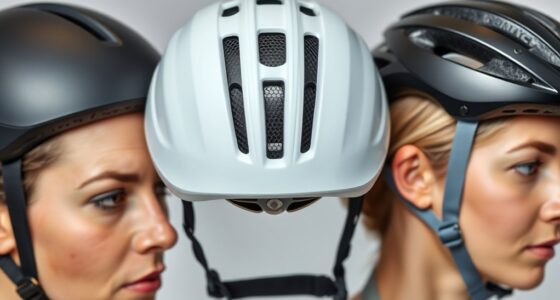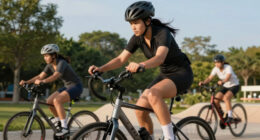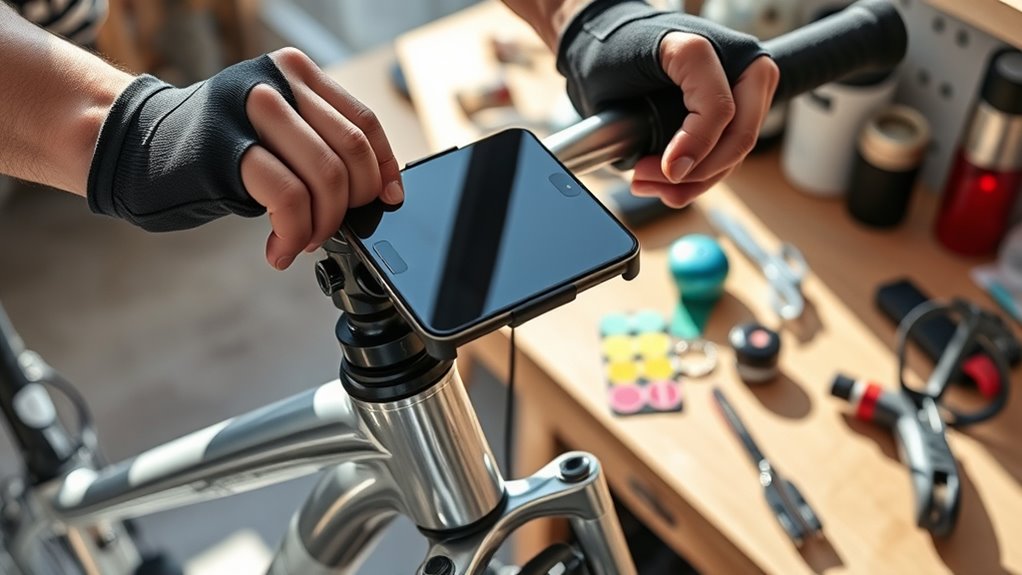

When installing bike accessories, first check that everything is compatible with your bike’s make and model, paying attention to mounting points like eyelets or bosses. Use the right tools, such as Allen wrenches and screwdrivers, and follow manufacturer instructions carefully. Secure locks, racks, and lights properly, tightening bolts to recommended torque. Confirm luggage stays balanced and hydration bottles are secure. For a smooth, safe setup, keep an eye on your accessories’ condition and stay informed on best practices.
Key Takeaways
- Check compatibility of accessories with your bike model and frame mounting points before installation.
- Gather essential tools like Allen wrenches, screwdrivers, and torque wrenches for secure fitting.
- Follow manufacturer instructions carefully to attach locks, racks, and lighting securely and correctly.
- Ensure all fasteners are tightened to the specified torque, and inspect fittings regularly for safety.
- Secure luggage and hydration accessories properly, distributing weight evenly for safe riding.

ROCKBROS Bike Water Bottle Holder Ultra-Light Bicycle Bottle Cages with Screws Tool, Universal Bike Cup Holder Rack for Road MTB Bikes…
Secure and Sturdy:The water bottle cage is suitable for bikes with pre-drilled screws holes, if the package received…
As an affiliate, we earn on qualifying purchases.
As an affiliate, we earn on qualifying purchases.
Choosing the Right Accessories for Your Bike
Choosing the right accessories for your bike begins with ensuring compatibility with your specific make and model. Start by selecting bike accessories like a water bottle holder that fits your frame and matches your riding style. A reliable security lock is essential to protect your bike from theft, so prioritize high-quality options suited for your area. Proper lighting, including front and rear lights, enhances safety during low-light conditions and should be compatible with your bike’s mounting points. Consider your terrain and riding habits when choosing these accessories to maximize performance and comfort. Materials and features like waterproofing or reflective elements can also improve durability and visibility. Additionally, understanding the importance of contrast ratio can help you choose accessories that improve visibility and safety in various lighting conditions. Being aware of durability factors ensures your accessories will withstand different weather conditions and riding environments. It’s also beneficial to evaluate ease of installation to ensure you can set up your accessories without hassle. For electric bikes, such as those with high horsepower, selecting accessories that can handle increased power and weight is crucial. By focusing on compatibility and quality, you’ll ensure your accessories support a safer, more enjoyable ride.

Sportneer Bike Lock: Heavy Duty Anti Theft Bike U Lock with 5ft Security Steel Cable – 17mm Shackle Bicycle U-Locks with 2 Keys & Mounting Bracket for Road Mountain Bike, Size 7.76''x5.02'', 1.64lb
Portable & Rugged: The Sportneer bike u lock is both portable and heavy-duty. It measures 7.76×5.02inches, with a…
As an affiliate, we earn on qualifying purchases.
As an affiliate, we earn on qualifying purchases.
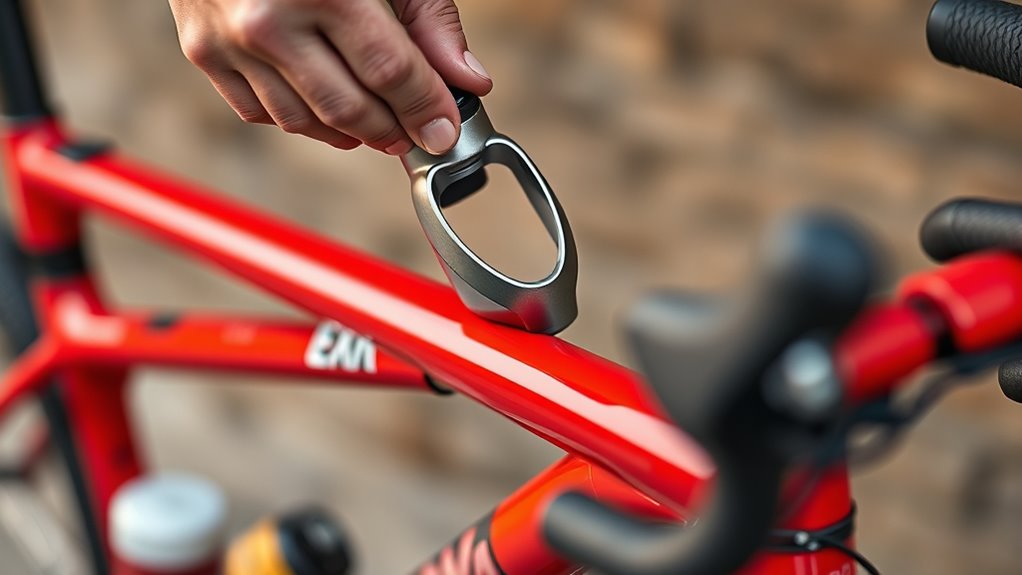
Understanding Compatibility and Mounting Points
Ever wondered how to guarantee your bike accessories fit securely and function properly? It all comes down to understanding compatibility and mounting points on your frame. Most accessories attach to specific mounting points like threaded bosses or eyelets, which vary by bike type. To ensure a proper fit, you need to match the accessory’s mounting standards and sizes with your frame’s mounting points. For example, bottle cages typically require 6mm or 8mm threaded bosses. Some accessories, like lights or pumps, use clamps designed for standard tube diameters. Check your bike’s frame to identify available mounting points and measure diameters before purchasing accessories. Proper identification of mounting points can prevent compatibility issues and ensure secure attachment. Understanding frame geometry can also help you choose accessories that fit seamlessly and enhance your riding experience. Additionally, verifying the materials used in your frame can influence the type of mounting hardware you should select for durability and safety. Recognizing the mounting hardware standards common across various bike models can streamline your accessory selection process. Use this table for quick reference:
| Accessory | Mounting Point Type | Compatibility Tip |
|---|---|---|
| Bottle Cage | Threaded bosses | Match bolt size (6mm or 8mm) |
| Bike Light | Handlebar clamp | Measure handlebar diameter |
| Fenders | Eyelets | Confirm eyelet placement |
| Rack | Frame eyelets | Ensure mounting points are suitable |

Suruid Bike Light Mount, 2 Pack Aluminum Alloy Bike Light Holder, Bike Light Mounting Bracket, Adjustable Size, Suitable for Installation Bike Bracket Diameter 21mm-23mm
Adjustable Size: Dual-clamp design secures rod-shaped objects or tabletops with diameters ranging from 0.9 to 0.98 inches. bike…
As an affiliate, we earn on qualifying purchases.
As an affiliate, we earn on qualifying purchases.
Essential Tools and Equipment for Installation

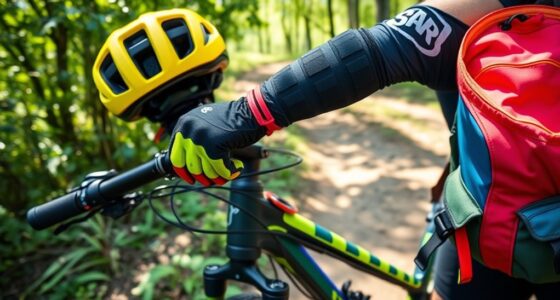
To install bike accessories properly, you need the right tools and equipment. A multi-tool with Allen keys, screwdrivers, and Torx bits is essential for fastener work, while a bike-specific floor pump guarantees correct tyre pressure. Having spacers, washers, and cutters on hand helps address compatibility and ensures a secure, safe fit. Incorporating proper sound therapy techniques into maintenance routines can also promote focus and reduce stress during assembly. Additionally, using essential oils for focus and relaxation, such as peppermint or lavender, can create a calming environment that enhances concentration and reduces tension throughout the installation process. Embracing a growth mindset during assembly can also improve problem-solving skills if unexpected issues arise. Moreover, understanding the benefits of high-quality tools can lead to more efficient and precise installation outcomes. Investing in durable and reliable equipment ensures longevity and performance during ongoing maintenance and upgrades.
Necessary Hand Tools
Having the right hand tools is essential for installing bike accessories smoothly and safely. Start with Allen wrenches in various sizes, typically from 2mm to 8mm, to fit different bolts and screws. A Phillips or flat-head screwdriver may be needed for accessories like lights or reflectors. A torque wrench guarantees you tighten bolts to the manufacturer’s specifications, preventing damage from over-tightening. Needle-nose pliers and adjustable wrenches help grip, hold, or tighten small components during installation. A multi-tool with integrated Allen keys, screwdrivers, and socket bits offers versatility and convenience for on-the-go adjustments. These hand tools are fundamental for a secure, proper installation, making your bike ready for riding while avoiding damage or mishaps. Proper tool maintenance ensures your equipment stays in good condition and performs reliably over time. Additionally, maintaining your tools regularly helps prevent tool failure during critical moments.
Safety and Compatibility
Ensuring safety and compatibility during bike accessory installation is crucial to prevent accidents and damage. First, use the right tools, like Allen keys, screwdrivers, and tire levers, to secure accessories properly. Always check that your bike’s mounting points and frame bosses match the accessories you plan to install, such as racks or lights. Confirm compatibility between components, like Keo cleats with Keo pedals, to ensure proper clipping and safety. During installation, tighten parts to the manufacturer’s recommended torque with a torque wrench to avoid damage or failure. Additionally, wear safety gear such as gloves and eye protection to prevent injury from tools or slips. It’s also important to monitor the installation process closely and properly test the installed accessories before riding to ensure everything is secure and functions correctly. Regularly reviewing installation guidelines can further prevent common mistakes and ensure optimal performance. Staying informed about security zone info can help you understand potential risks and ensure your bike setup is secure. Being aware of regional local laws and regulations related to bike accessories can also help prevent legal issues and fines. Prioritizing safety and compatibility helps ensure a smooth, secure, and safe accessory installation.

Ibera Bike Rack – Bicycle Touring Carrier Plus+ for Disc Brake Mount, Frame-Mounted for Heavier Top & Side Loads, Height Adjustable for 26"-29" Frames
Frame-mounted for heavier top and side loads with disk mounts
As an affiliate, we earn on qualifying purchases.
As an affiliate, we earn on qualifying purchases.
Step-by-Step Guide to Installing Locks and Security Devices

Are you ready to secure your bike effectively? Start by selecting high-security bike locks rated at least Sold Secure Gold or Silver for maximum protection. When installing, position your lock through the bike frame and a fixed, immovable object, avoiding loose or easily cut parts. Use multiple security devices if possible, securing both the frame and wheels to prevent theft from different angles. Confirm the lock is fully closed and locked, with the key or combination securely engaged. Keep the key in a safe place for quick access. Regularly inspect your locks for signs of wear or damage, replacing them when needed to maintain their effectiveness. Proper lock installation is essential to deter thieves and protect your bike.
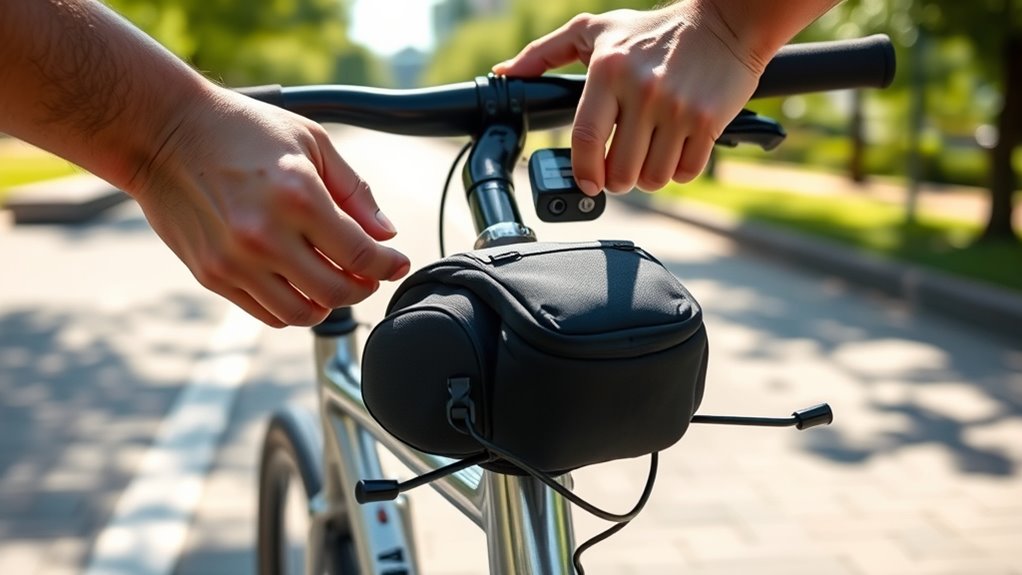
Attaching Luggage, Racks, and Storage Solutions

Choosing the right luggage options and installing racks correctly are key to maintaining your bike’s balance and safety. Make sure to use compatible mounting systems and align everything properly to prevent shifting during rides. Regularly check fasteners and straps to keep your gear secure on long trips.
Choosing Suitable Luggage Options
Selecting the right luggage options for your bike depends on the type of ride and your storage needs. Saddle bags are compact and attach easily to the sides of your seat, ideal for short trips or daily commuting. Panniers offer more capacity, making them perfect for long-distance rides or touring. When choosing luggage, check your bike’s mounting points to guarantee compatibility with racks or direct-attaching bags like bikepacking gear. Racks mounted on the rear or front provide a secure platform for panniers or saddle bags. Use securing straps to keep your luggage stable and evenly distributed, which helps maintain balance and handling. Properly chosen luggage and secure attachment are essential for a safe, comfortable ride, regardless of your adventure’s length.
Proper Rack Installation Techniques
To guarantee your luggage stays secure and your ride remains safe, proper rack installation is essential. First, verify that the rack fits your bike’s mounting points, such as eyelets or seat stay mounts. Next, use the correct hardware—bolts and nuts—and tighten them to the manufacturer’s specified torque to ensure stability. When attaching luggage or panniers, secure them to the designated attachment points, distributing weight evenly for better stability. Finally, regularly inspect the rack and mounting points for signs of wear, cracks, or looseness. If needed, tighten or replace parts to maintain safety. Remember these key steps for proper installation:
- Confirm compatibility with mounting points
- Use appropriate hardware and torque specifications
- Secure luggage evenly for stability
- Perform routine inspection and maintenance
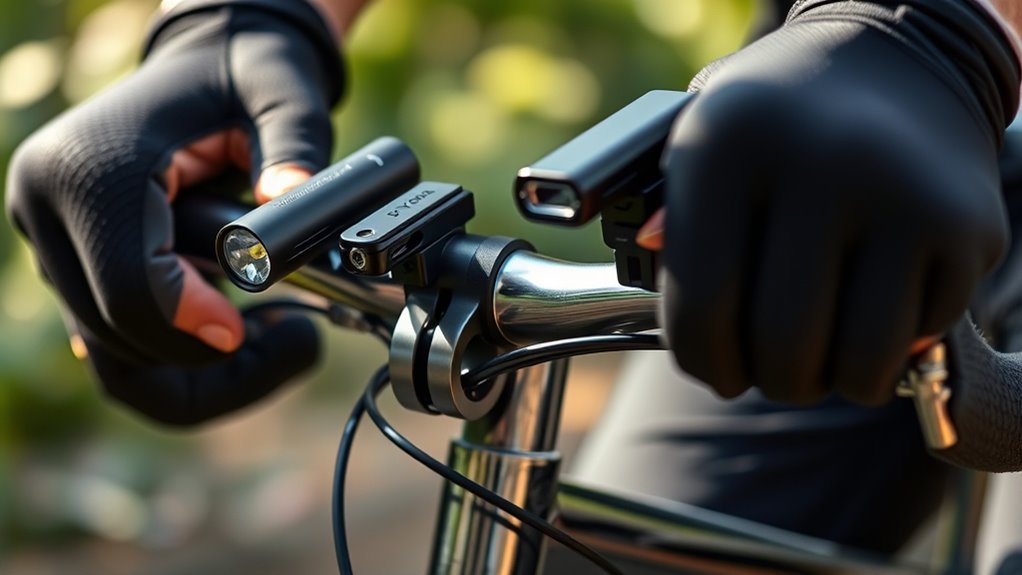
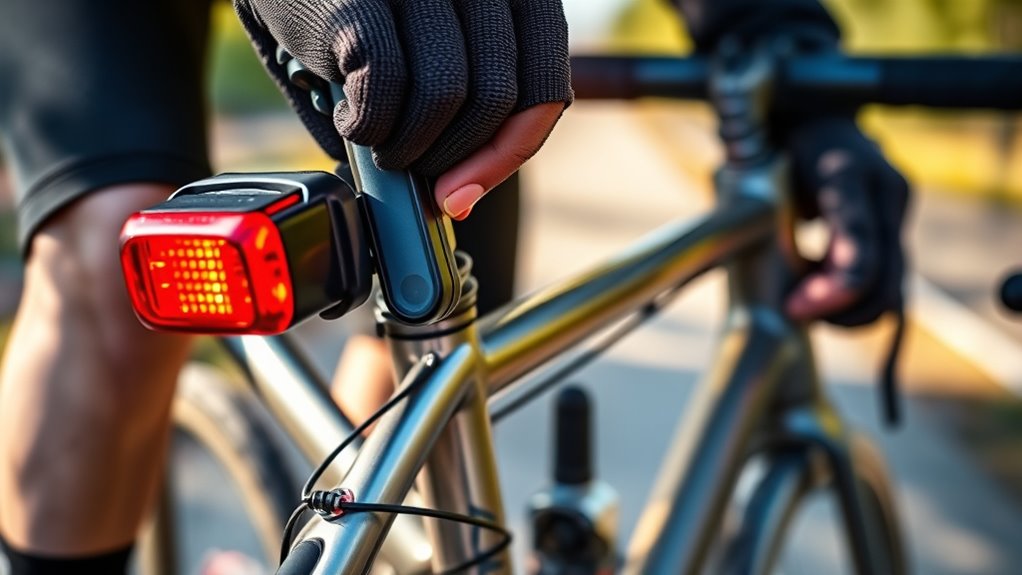
Installing Lighting and Visibility Enhancements
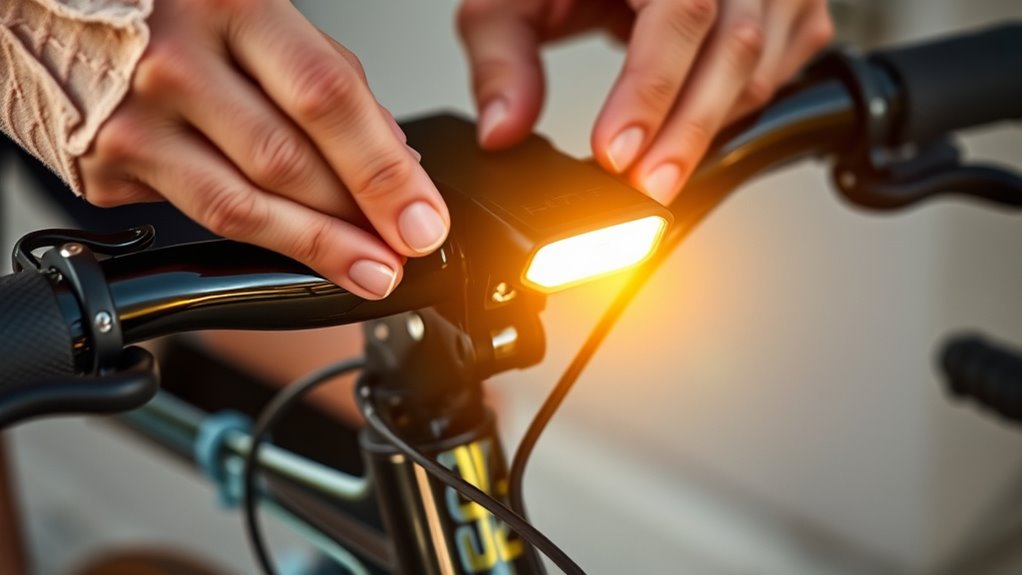
Installing lighting and visibility enhancements is essential for safe riding, especially in low-light conditions. You want your bike lights securely attached to handlebars, seat posts, or frame bosses, following the manufacturer’s instructions. Make sure your lights are compatible with your bike’s electrical system, especially if using rechargeable LED lights with lithium-ion batteries, to prevent damage. Adjust the beam angle and focus to illuminate the road without blinding others. Test all lighting modes—steady, flashing, high, and low—to ensure proper operation and battery life. Regularly check and tighten mounting brackets and battery connections during maintenance.
| Lighting Mode | Purpose |
|---|---|
| Steady | Continuous visibility |
| Flashing | Increased attention |
| High | Bright illumination |
| Low | Extended battery life |
| All | Ensure functioning before ride |
Fitting Bottle Holders, Hydration Accessories, and Comfort Items
Fitting bottle holders, hydration accessories, and comfort items correctly guarantees you stay hydrated and comfortable on your rides. To do this effectively, follow these steps:
- Locate the frame bosses on the downtube or seat tube and secure your bottle cage tightly using an Allen key to prevent movement.
- Ensure hydration accessories like water bottles or hydration packs are fitted securely in the bottle cage, with caps tightened to avoid leaks.
- Choose the right size and capacity of water bottles, typically 500ml to 750ml, to meet your hydration needs during long rides.
- For comfort items such as saddle bags, adjust straps and fastenings snugly to avoid interference with pedaling or bike handling, and check that all accessories are secure before each ride.
Tips for Maintaining and Checking Your Accessories Regularly
Regularly checking and maintaining your bike accessories helps guarantee they function properly and last longer. Start by inspecting your lighting batteries and connections weekly to assure your lights work reliably during night rides. Replace or recharge batteries as needed to maintain ideal visibility. Routinely clean and tighten accessories like bottle cages to prevent rattling or loosening over time. Examine your reflective gear and safety apparel for wear or damage; replace faded or torn items to stay visible. Don’t forget to perform periodic maintenance checks on electronic components such as lights and GPS devices to confirm they operate smoothly when you need them most. Consistent maintenance not only enhances safety but also extends the lifespan of your accessories, making your rides safer and more enjoyable.
Frequently Asked Questions
How to Assemble a Bike for Beginners?
When you assemble a bike for beginners, start by cleaning the frame and checking all parts are aligned. Attach the handlebars securely, tightening bolts evenly. Set the saddle at a comfortable height with a slight bend in your knee. Mount the wheels, ensuring they spin freely. Connect the chain and adjust derailleurs to ensure smooth gear changes. Take your time, double-check each step, and you’ll have a safe, ready-to-ride bike.
What Accessories Do I Need for My New Bike?
Think of your new bike as a trusty steed—you’ll want the right gear to keep it running smoothly. You’ll need a sturdy lock, a good pump, and spare inner tubes for roadside fixes. Bright lights and reflective gear make you visible, while a water bottle and storage bags keep you fueled and organized. Don’t forget a helmet and protective eyewear to ride safely—these essentials turn your bike into your best adventure partner.
Should My Leg Fully Extend on a Bike?
You shouldn’t fully extend your leg when cycling. When your pedal reaches the bottom of the stroke, your knee should have a slight bend of about 25-35 degrees. This position helps you pedal efficiently, prevents knee strain, and reduces fatigue. Make sure your saddle height allows for this slight bend, so your pedaling remains smooth and comfortable, maximizing power without risking injury.
In What Order Do You Assemble a Bike?
Think of assembling a bike like building a puzzle—you start with the frame, the core piece. First, attach handlebars, stem, and seat post to establish the basic structure. Next, install groupset components for shifting and braking. Then, mount pedals and cleats, followed by accessories like lights or racks. Finally, double-check all bolts, tightening to the recommended torque to guarantee everything’s secure and safe.
Conclusion
Now that you’ve installed your bike accessories, imagine your ride transforming into a smooth, confident journey, each feature seamlessly in place. Feel the sturdy locks keep your bike secure, the racks ready to carry your gear, and the lights illuminating your path. As you pedal, enjoy the harmony of your well-equipped bike, ready for every adventure. Keep checking your accessories regularly, so your ride stays safe, reliable, and ready to take you wherever the road leads.