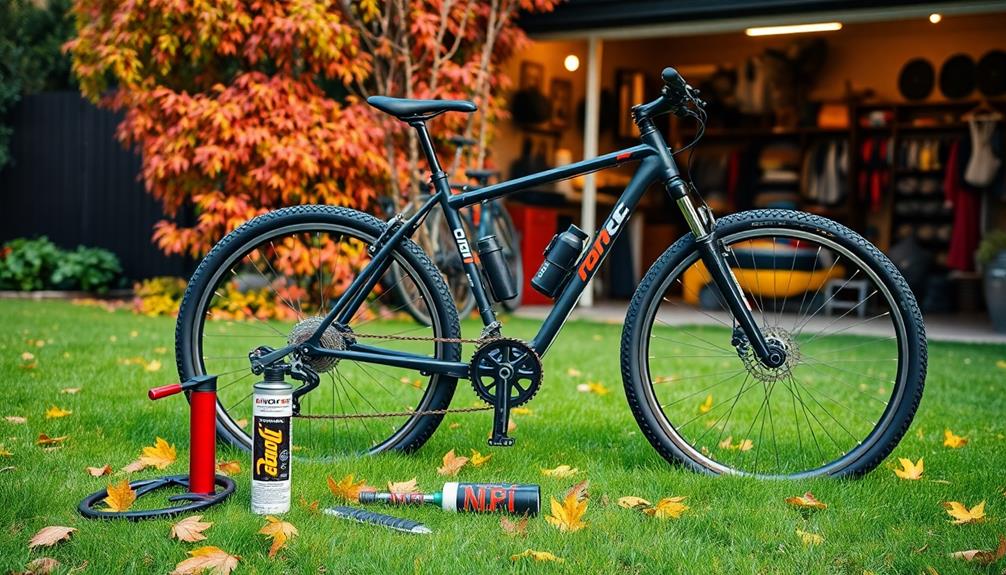

To perform a basic bike tune-up at home, start by gathering essential tools like a multi-tool, tire pump, brushes, and degreaser. Inspect your bike for damage, check tire pressure, and clean the frame and drivetrain. Adjust your brakes and gears, replace worn brake pads, and tighten loose bolts. Test ride and observe for issues. If you keep going, you’ll learn detailed steps to keep your bike in top shape and safe to ride.
Key Takeaways
- Conduct a thorough visual inspection of the frame, bolts, tires, brakes, and drivetrain for damage or wear.
- Clean the bike frame and drivetrain, then lubricate the chain and moving parts for smooth operation.
- Check and adjust tire pressure to the recommended PSI, ensuring proper inflation and tire condition.
- Inspect and replace brake pads if worn, and fine-tune derailleur and gear shifting for accurate performance.
- Test brakes, gears, and overall ride feel, then tighten bolts and make final adjustments for safety and efficiency.
Gathering Essential Tools and Supplies
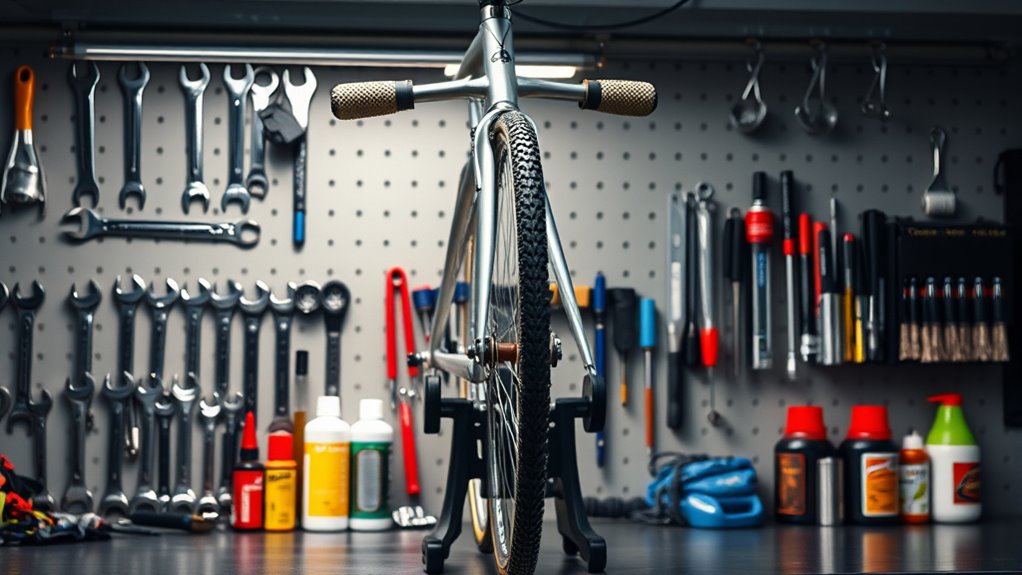
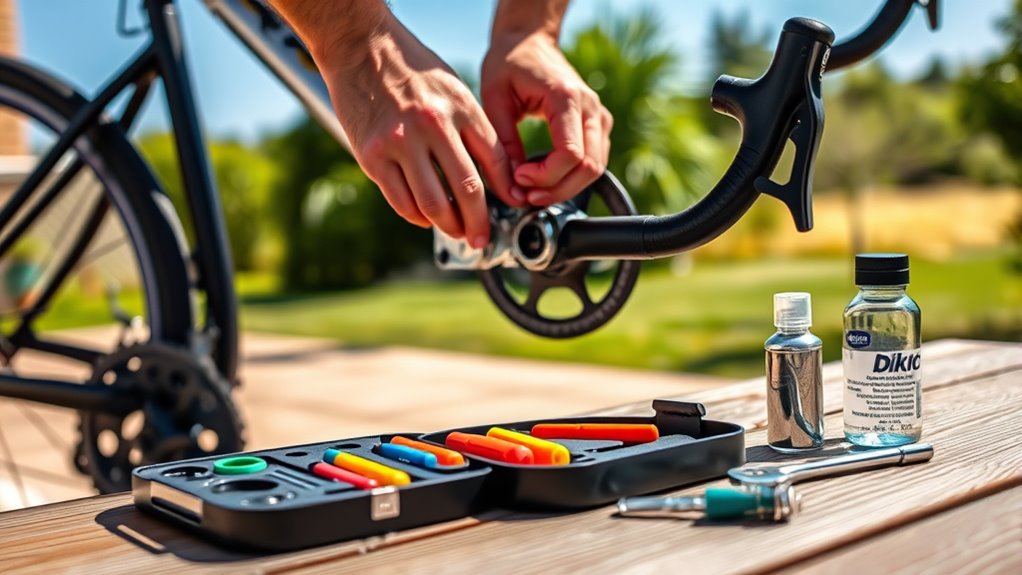
Before starting your bike tune-up, acquiring the right tools and supplies is essential. A multi-tool or hex wrench set is indispensable for quickly adjusting bolts and components, while a bike-specific chain tool helps you clean and maintain your chain effectively. A floor pump with a pressure gauge guarantees you can set tires to the correct PSI, improving ride quality. Keep brushes and degreaser handy for cleaning parts and removing grime, which is critical for proper tool and component maintenance. Using high-quality bike maintenance tools can make your DIY projects more efficient and effective. Trusted brands like Park Tool, Bontrager, and Finish Line offer reliable gear that lasts. Also, gather supplies like lubricants, rags, and replacement parts, keeping everything organized and accessible. Proper tool selection can significantly enhance your DIY maintenance experience, ensuring your bike stays in top condition. Additionally, understanding the importance of regular maintenance can help prevent costly repairs and extend the lifespan of your bike. With the right tools and supplies, your bike will be ready for a smooth, safe ride.
Conducting a Visual Inspection of Your Bike
Performing a thorough visual inspection is a crucial first step in your bike tune-up, as it helps identify any immediate issues that could affect safety or performance. Start by carefully examining the entire frame for cracks, dents, or signs of stress, especially around welds and junctions. Check all bolts and quick-release levers to ensure they’re tight and secure, focusing on the headset, seat post, and wheel axles. Inspect tires for cuts, embedded debris, and sidewall damage, and check that they’re inflated to the recommended PSI. Look over the brake pads for uneven wear or metal exposure, and verify that brake levers engage smoothly. Also, observe drivetrain components like the chain, cassette, and derailleurs for dirt, rust, or misalignment. Regular bike maintenance is essential to keep your ride safe and efficient. Additionally, inspecting the component alignment can help prevent uneven wear and improve overall handling. It’s also beneficial to check the condition of the lubrication, ensuring moving parts operate smoothly and quietly. Regularly monitoring toilet flushing mechanisms can prevent unexpected malfunctions during maintenance tasks. Keep an eye out for any signs of wear and tear, as early detection can save you time and money on repairs.
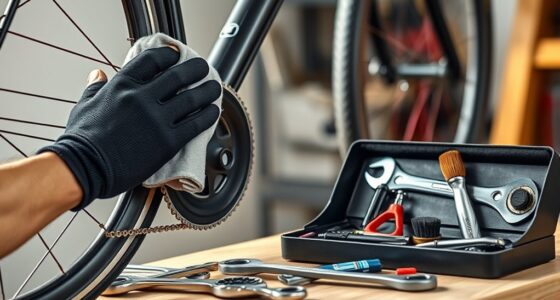
Cleaning the Frame and Drivetrain
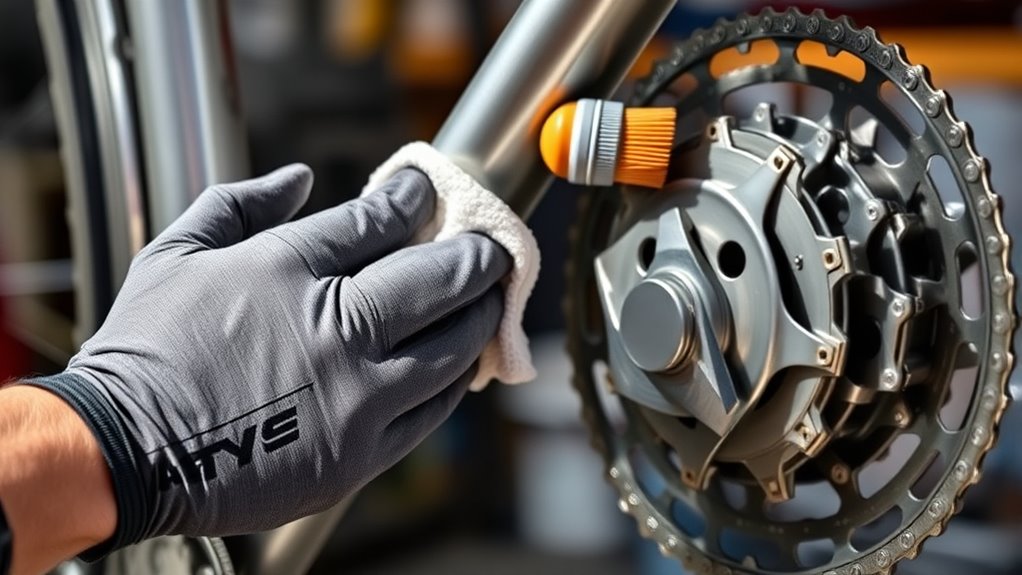
After completing your visual inspection, cleaning the frame and drivetrain helps keep your bike in top shape. Start with bike cleaning by wiping down the frame using a damp cloth and mild dish soap, avoiding sensitive parts like hubs and headsets. For the drivetrain, apply degreaser to the chain, cassette, and chainrings, then scrub with a soft brush to remove dirt and grime. Rinse everything thoroughly with water, ensuring no soap or degreaser remains. Dry the entire bike, paying special attention to the chain and cassette to prevent rust. Proper cleaning and lube ensure smooth operation and prolong your bike’s lifespan. Regular maintenance such as bike tuning can prevent issues caused by neglect and keep your ride performing optimally. Additionally, considering component upgrades can enhance your bike’s performance and durability. Using a portable cleaning kit designed for bikes can make this process easier and more effective. Incorporating scheduled inspections into your maintenance routine helps catch potential problems early and maintains optimal performance. Finally, apply a light coat of bike-specific lubricant to the chain before your next ride.
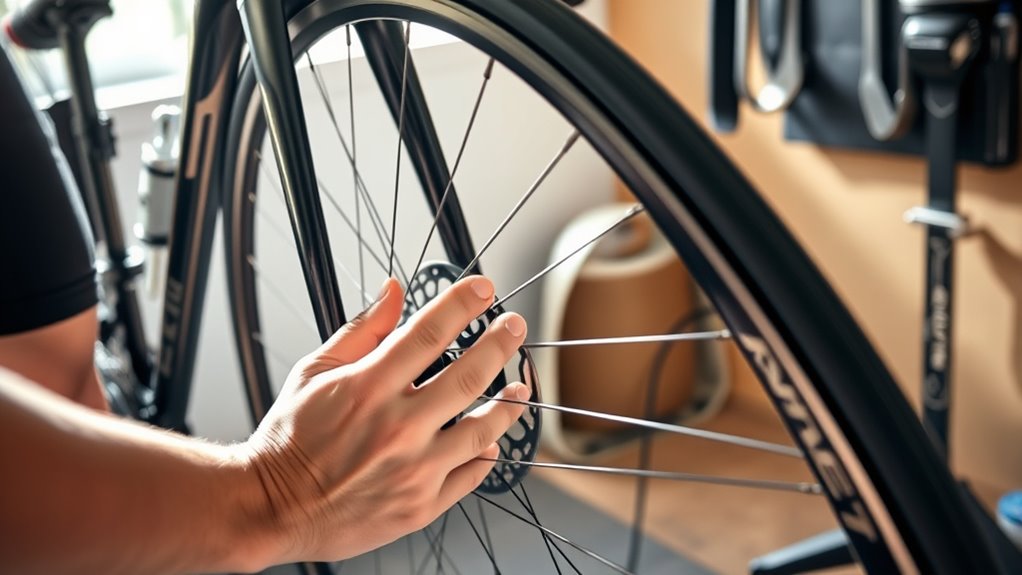
Checking and Adjusting Tire Pressure

Start by using a reliable tire gauge to check your PSI and guarantee it matches the recommended range on the sidewall. Adjust the pressure accordingly, paying attention to the front and rear tires, as they often need different levels. Regularly checking and maintaining proper PSI helps improve ride quality and prevents flats. Incorporating proper maintenance techniques ensures your bike stays in optimal condition. Additionally, considering smart home device integration in your garage or storage area can help you monitor and track your bike maintenance schedule more efficiently. Keeping a record of your maintenance routine allows for timely adjustments and prolongs the lifespan of your bike components. To further extend the longevity of your tires, inspect them for cracks or deformities regularly and replace them if necessary. Regularly inspecting your tires helps prevent unexpected flat tires and enhances overall safety.
Proper PSI Levels
To guarantee your bike rides smoothly and safely, checking and adjusting your tire pressure to the proper PSI is essential. First, locate the recommended PSI range on the sidewall of your tires—mountain bikes typically need 40-80 PSI, while road bikes can require up to 120 PSI. Use a reliable pump with a built-in pressure gauge to measure the tire pressure accurately. When inflating, do so gradually, periodically checking the gauge to prevent over- or under-inflation. Imagine these steps: 1. Visualize the pressure gauge needle moving as you inflate. 2. Picture yourself stopping to check the PSI frequently. 3. Envision the tires firm and evenly inflated, ready for a smooth ride. Proper tire pressure ensures better handling, comfort, and safety on every ride. Additionally, maintaining optimal tire pressure can help extend the lifespan of your tires and improve overall riding efficiency.
Using a Tire Gauge
Using a tire gauge is essential for accurately checking and adjusting your bike’s tire pressure. With a reliable bike-specific tire gauge, you can measure PSI precisely each time. Start by finding the recommended PSI range on your tire’s sidewall, usually between 40-80 PSI for mountain bikes or up to 120 PSI for road bikes. Gently remove the valve cap, then press the gauge onto the valve to get a reading. If the pressure is too low, inflate the tire gradually, stopping periodically to check with your gauge to prevent over-inflation. Adjust the pressure to suit your riding style, usually slightly lower in the front for better handling. Regularly checking and maintaining proper PSI ensures a smoother ride, reduces flats, and prolongs your tire’s lifespan.
Adjusting Front and Rear
How often do you check your bike’s tire pressure before rides? Properly adjusting front and rear tires is key to smooth riding. First, inspect the sidewall to find the recommended PSI range—usually 40-80 PSI for mountain bikes and up to 120 PSI for road bikes. Then, use a reliable bike pump with a gauge to inflate tires gradually, avoiding pinch flats or poor handling. Imagine:
- Visualizing the tire’s sidewall for suitable PSI.
- Listening for a consistent hiss as you inflate.
- Feeling the tire’s firmness before riding.
Don’t forget, maintaining correct tire pressure also impacts spoke tension and brake levers’ responsiveness. Regular maintenance involves checking and adjusting front and rear tire pressure, ensuring your bike rolls smoothly, grips well, and stays safe on the road or trail.
Inspecting and Replacing Brake Pads
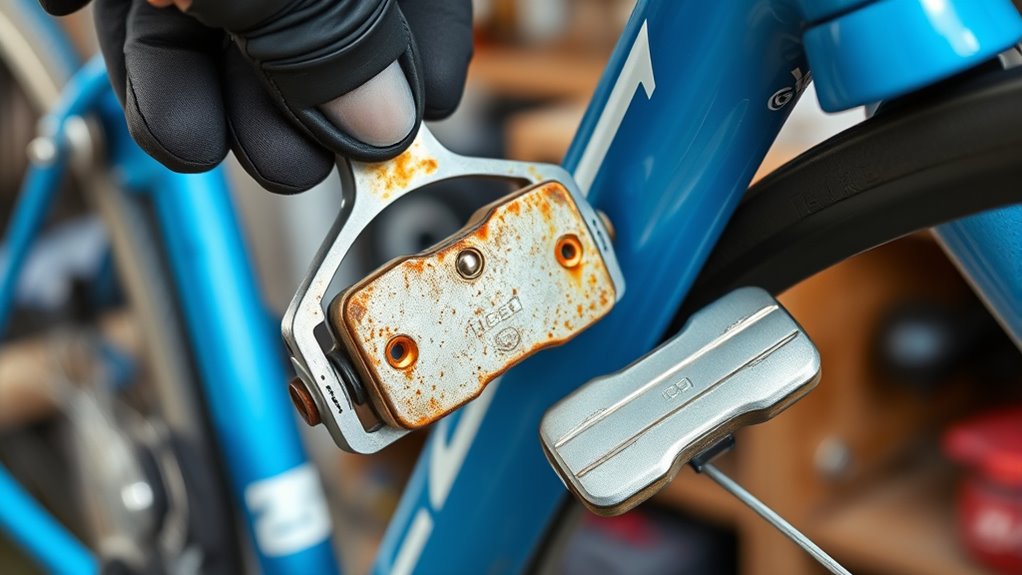
Start by inspecting your brake pads for signs of wear, such as thinning material or exposed metal. If they show uneven wear, cracks, or are worn down to the wear line, it’s time to replace them. Properly remove the old pads and install new ones, making sure they’re aligned and seated correctly before testing your brakes.
Recognizing Worn Pads
To determine if your brake pads need replacing, you should inspect them regularly for wear. Worn brake pads can reduce braking power, cause longer stops, and damage your rims. To check, remove the wheel and examine the thickness of the brake pads. If the pad material is less than 1-2mm thick, it’s time to replace them. Look for signs like:
- Metal showing through the brake pad material
- Squealing or grinding noises when braking
- Visible wear indicators or uneven pad wear
If you notice any of these signs, you need to inspect further and replace the worn brake pads promptly. Regular inspections help maintain safe braking performance and prevent rim damage. Don’t ignore signs of wear—timely replacement keeps your ride safe.
Replacing Brake Components
Inspecting and replacing brake pads is essential for maintaining safe and effective braking. Regularly check your brake pads for wear indicators or exposed metal, and replace them when they’re worn down. To replace brake pads, loosen the caliper bolts, remove the old pads, and insert new ones aligned with the rim or rotor. Tighten the caliper bolts securely to ensure proper contact. If your brake pads produce grinding noises or feel rough, sand them down to restore smooth contact. Also, check for uneven wear or dirt contamination, cleaning or replacing pads as needed. After installing new brake pads, adjust the caliper tension so the pads contact the rim or rotor evenly, providing responsive and safe braking performance.
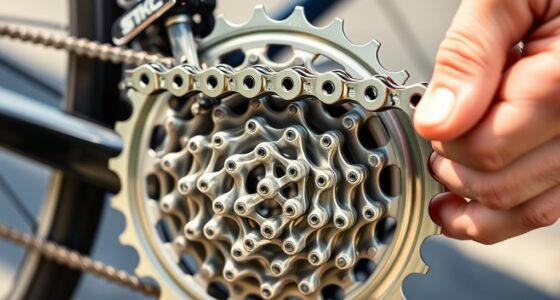
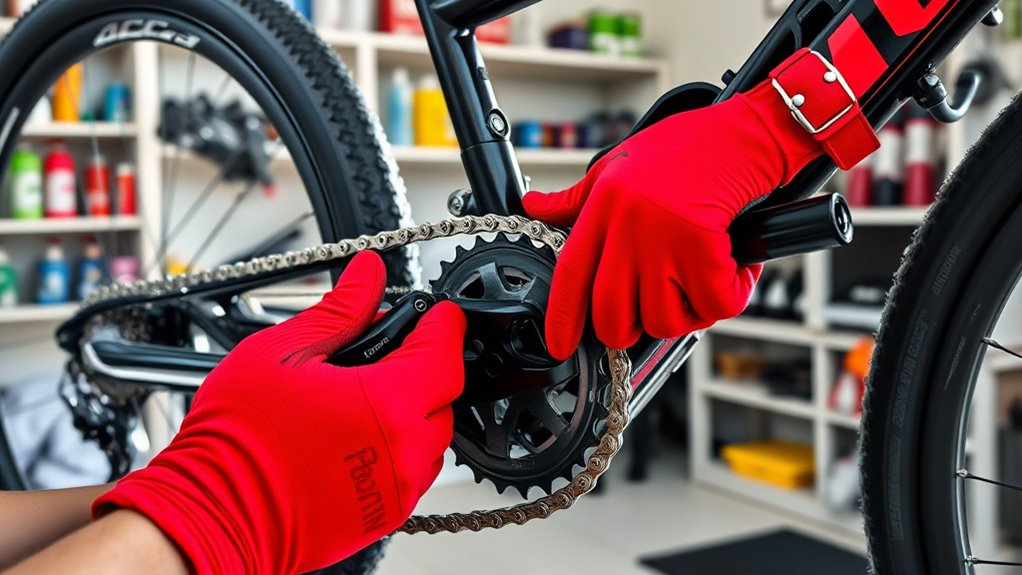
Lubricating the Chain and Moving Parts
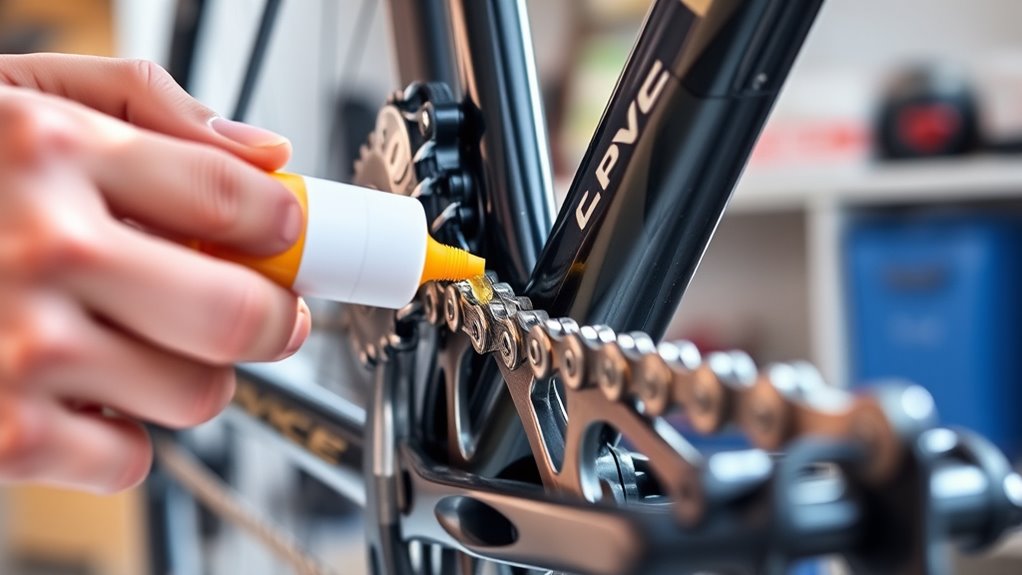
Lubricating the chain and moving parts is essential for keeping your bike running smoothly. After cleaning, apply a few drops of Teflon-based bike chain lubricant to each link, making sure to lubricate evenly.
Imagine these steps:
- Lubricate: Run the gears through all speeds to spread lubricant across the chain and drivetrain.
- Wipe: Use a clean rag to remove excess lube, preventing dirt from sticking.
- Maintain: Regularly lubricate derailleur and brake cables, as well as pivot points on derailleurs, brake levers, and shifters.
This process ensures smooth shifting, responsive braking, and reduces wear on your chain and moving parts. Proper lubrication keeps your bike in prime shape for every ride.
Fine-Tuning Gears and Derailleurs
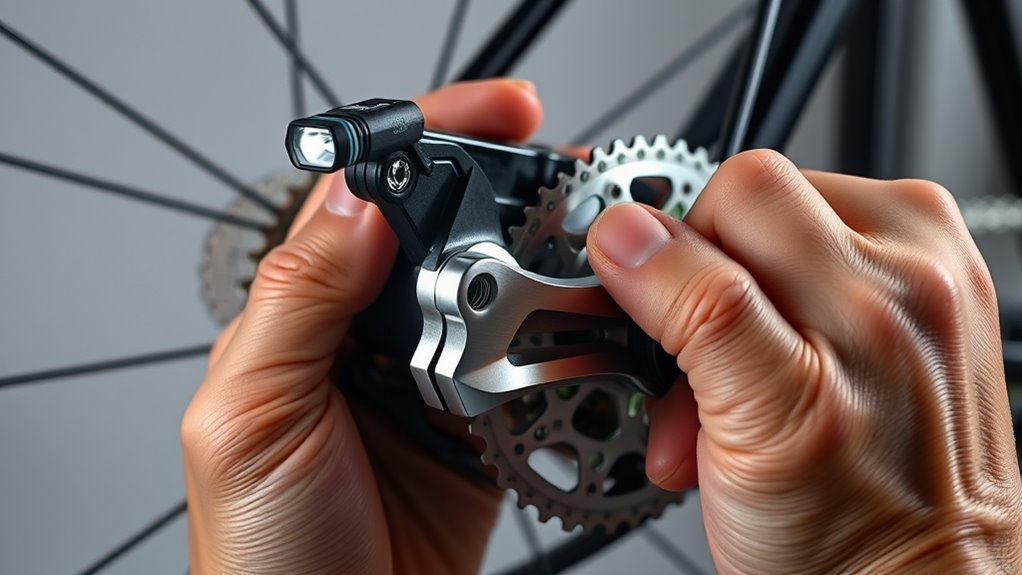
To get your gears shifting smoothly, start by adjusting the limit screws so the derailleur doesn’t go into the spokes or drop off the cassette. Next, check that your derailleur hanger is straight, as a bent hanger can cause shifting issues. Finally, fine-tune the cable tension with the barrel adjuster to guarantee precise shifts across all gears.
Adjusting Gear Limit Screws
Adjusting the gear limit screws is essential for ensuring your derailleur shifts smoothly and stays aligned. To do this, turn the shifter to the smallest gear, giving access to the limit screws for precise shift adjustment. Using a Phillips or flat-head screwdriver, carefully turn the screws to set the derailleur’s range.
- First, adjust the ‘L’ (low) limit screw so the derailleur lines up perfectly with the smallest sprocket, preventing chain drop.
- Next, fine-tune the ‘H’ (high) limit screw to keep the derailleur aligned with the largest sprocket, avoiding over-shifting into the wheel.
- Finally, test shifting through all gears, ensuring smooth movement and chain alignment, and re-adjust if needed. Proper limit screw adjustment guarantees reliable shift performance and chain safety.
Aligning Derailleur Hanger
Ensuring your derailleur hanger is properly aligned is key to smooth gear shifting and preventing unnecessary wear. Use a derailleur hanger alignment tool to check the hanger’s position, as even 0.5 mm misalignment can cause shifting issues. Loosen the derailleur mounting bolt, then gently adjust the hanger so it’s parallel to the wheel rim or cassette, confirming proper alignment with a hanger gauge. Once aligned, tighten the bolt to the manufacturer’s specified torque to keep the hanger from shifting during rides. Test your gears across all speeds, making minor adjustments to the derailleur limit screws if needed. Regularly inspect your derailleur hanger for bends or damage after impacts or crashes, as even slight misalignments can impair shifting and require bike repair.
Fine-Tuning Cable Tension
Fine-tuning cable tension is essential for smooth and accurate gear shifts. To do this, you’ll adjust the barrel adjuster to control cable slack, ensuring the derailleur moves precisely. First, shift to the smallest gear to set a baseline. Then, turn the barrel adjuster clockwise to tighten the cable if the gears hesitate or shift poorly, or counterclockwise to loosen if the derailleur overshoots.
Imagine these steps:
- Visualize the derailleur moving smoothly without hesitation.
- Picture the cable tension tightening as you turn the barrel adjuster.
- Envision the gears shifting seamlessly after proper adjustment.
Regularly check and re-tension cables, especially after riding through rain or dirt, to maintain ideal gear shifting and prevent chain skip or dropped chains.
Securing and Tightening Bolts and Components
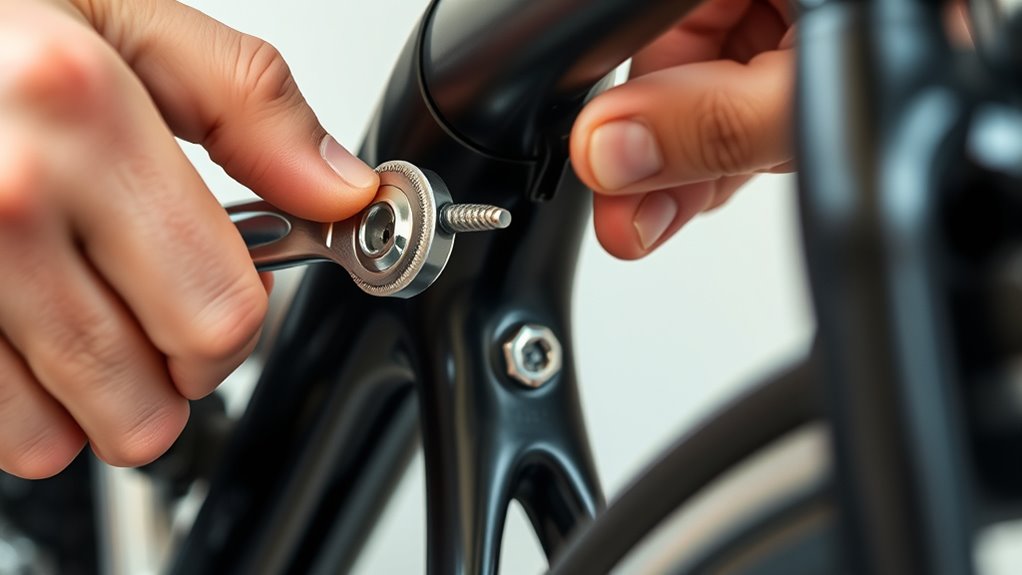
Securing and tightening your bike’s bolts is a crucial step in maintaining safe and reliable performance. Use a torque wrench or calibrated tool to tighten fasteners to the manufacturer’s specified torque. Focus on critical fasteners like stem bolts, handlebar clamps, seat post clamps, and brake calipers, tightening them in a cross pattern for even pressure. Check bolts regularly for signs of stripping or corrosion, replacing damaged fasteners immediately. Proper torque prevents component failure, poor handling, and accidents. Keep this table in mind:
| Bolt Type | Tightening Method | Importance |
|---|---|---|
| Stem bolts | Use torque wrench, cross pattern | Avoid steering issues |
| Handlebar clamps | Calibrated torque, even pressure | Ensure control and safety |
| Seat post clamps | Regular checks, replace if damaged | Prevent seat slipping |
Routine bolt checks are essential for a safe ride.
Testing Ride Performance and Safety Checks

How can you be confident that your bike is ready for the road? Start with a quick inspection and a test ride. First, perform a brake test by squeezing the levers to ensure the bike stops smoothly, without excessive pull or sponginess. Next, shift through all gears to confirm smooth and accurate shifting, listening for any grinding sounds that indicate derailleur issues. Finally, check your tires with a gauge to ensure proper pressure, matching the recommended PSI for your riding conditions. During your ride, pay attention to handling—notice any wobbling, unusual noises, or steering difficulty that could signal alignment or component problems. Afterward, do a quick inspection for loose bolts, brake pad wear, and chain condition to keep your bike safe and ready for your next adventure.
Maintaining and Updating Electronic Accessories
After ensuring your bike is safe and performs well on the road, it’s also important to keep your electronic accessories functioning properly. Regularly check and update the firmware on devices like GPS computers and power meters to guarantee accurate data and optimal performance. Always fully charge your accessories, including sensors, lights, and shifting batteries, before rides to avoid power loss mid-session. Replace batteries in components like e-shifters (Shimano Di2, SRAM eTap) at least once per season or when low battery alerts appear. Use manufacturer-recommended software or apps to perform firmware updates, which can improve connectivity, add features, and fix bugs. After updating, reset your electronics, such as power meters, to calibrate sensors and maintain measurement accuracy.
Frequently Asked Questions
What Does a Basic Bike Tune up Include?
A basic bike tune-up includes checking and adjusting your brakes, gears, and shifting for smooth operation. You’ll clean and lubricate the chain, drivetrain, and moving parts to prevent rust and boost efficiency. It also involves inspecting tire pressure and condition, tightening loose bolts, nuts, and quick-release levers, and performing a safety check on brake pads, cable tension, and the overall frame. This keeps your bike safe and riding smoothly.
How to Service a Bicycle at Home?
Imagine your bike as a rebellious teenager needing a pep talk. First, inspect and tighten all bolts with a torque wrench—no over-tightening! Check cables for proper tension, then clean and lubricate the chain. Inflate tires to the right PSI, and take it for a test ride. Adjust as needed to guarantee everything’s smooth and responsive. With patience, your bike will behave just like a well-trained pet.
How to Tune a Bike for the First Time?
When tuning your bike for the first time, start by reading the manufacturer’s manual for torque specs. Clean your bike thoroughly, especially the drivetrain and brakes. Use hex wrenches or a multi-tool to tighten bolts within recommended limits. Adjust the derailleur and gears by shifting through all gears, then fine-tune the limit screws and cable tension. Finally, check brake responsiveness and replace or adjust brake components as needed.
Are Bike Tune Ups Worth It?
Honestly, asking if bike tune-ups are worth it is like questioning if you need a shower. Regular tune-ups keep your bike happy, smooth, and ready to conquer hills or traffic jams. They prevent costly repairs, boost performance, and make every ride safer and more enjoyable. Skip it, and you’ll just pay more in the long run. Trust me, your bike—and your wallet—will thank you for staying on top of maintenance.
Conclusion
Now that you know how to perform a basic bike tune-up at home, you’re ready to keep your bike in top shape. Regular inspections, proper maintenance, and timely adjustments will ensure a smoother ride, safer adventures, and a longer lifespan for your bike. Stay attentive, stay consistent, and enjoy the ride—because a well-maintained bike isn’t just about performance, it’s about peace of mind, confidence, and the joy of cycling.