
To optimize your bikepacking checklist, first set your tire pressure according to terrain—softer for rough trails, firmer for pavement. Adjust your saddle height for comfort and efficiency, and fine-tune handlebar position to improve control. Confirm your bike’s gears shift smoothly, brakes respond precisely, and lighting boosts visibility. Regularly check maintenance essentials like chain lubrication and bolt tightness. Keep everything balanced for safety and performance. Keep exploring to discover even more tips to prep for your adventure.
Key Takeaways
- Proper tire pressure tailored to terrain improves grip, comfort, and reduces risk of flats.
- Correct saddle height and handlebar position optimize pedaling efficiency and rider comfort.
- Balanced bag setup with weight low and centered ensures bike stability and handling.
- Regular maintenance of brakes, shifting, and tire condition guarantees safety and performance.
- Adequate lighting with backup options enhances visibility and safety during low-light conditions.

SAVADECK T800 Carbon Gravel Bike, with Shimano GRX610 12-Speed, Hydraulic Disc Brakes, 700x40c Tires for Road & Off-Road Adventure, Men's/Women's Bicycle(Elegant White, 51cm)
【With SHIMANO GRX Drivetrain Setup】Equipped with SHIMANO GRX610 shifters and RX822 rear derailleur, matched with a 12-speed M6100...
As an affiliate, we earn on qualifying purchases.
Selecting the Right Tire Pressure for Different Terrains
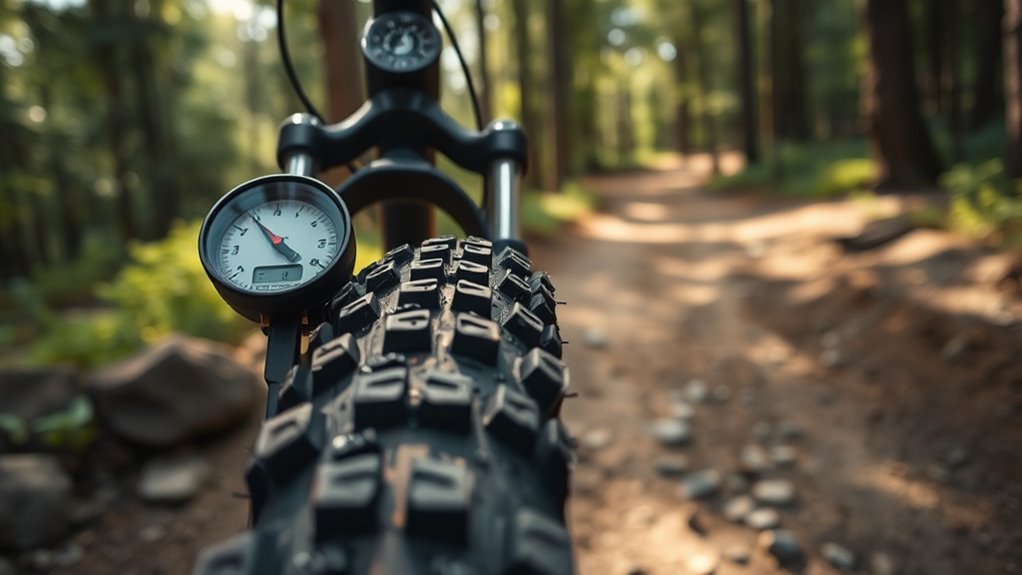
Have you ever wondered how to choose the perfect tire pressure for different terrains? Getting this right is key to terrain adaptation and a smoother ride. For rocky or uneven surfaces, lower tire pressure improves grip and absorbs shocks, giving you better control. On smooth pavement, higher tire pressure reduces rolling resistance, making pedaling easier. Sand or loose dirt also benefit from slightly reduced pressure, helping tires dig in. Be mindful not to go too low, as it can cause pinch flats. Adjust your tire pressure based on terrain conditions, rider weight, and tire width. Regularly check your pressure before long rides, and carry a pump or pressure gauge. Proper terrain adaptation through correct tire pressure keeps you safer and more efficient on your bikepacking adventures. Additionally, understanding the best beaches can enhance your overall outdoor experience, whether you’re relaxing after a ride or exploring new coastal terrains.

Schwinn Sporterra RX Gravel Bike, 700c Mens and Womens Bike, 14-Speed Drop Bar Gravel Bicycle, Mechanical Disc Brakes, Rigid Fork, Aerodynamic Riding Position, Quick Release Seat Post, Adult Bicycle
GRAVEL BICYCLE: Enjoy next level riding with the Sporterra RX by Schwinn. With 700c wheels, this mens and...
As an affiliate, we earn on qualifying purchases.
Adjusting Saddle Height for Comfort and Efficiency
Getting your saddle height right is key to riding comfortably and efficiently. When set properly, you’ll notice improved pedaling power and less fatigue. If your saddle is too high or low, you might feel discomfort or notice your legs aren’t fully extending. Regularly checking and adjusting your saddle height can prevent strain and improve overall riding performance. Proper maintenance of your bike components, including the saddle, ensures optimal comfort and efficiency during your rides.
Proper Saddle Height Setup
Adjusting your saddle height correctly is essential for both comfort and efficiency while bikepacking. Start by setting your saddle height so that when you’re seated, your leg is almost fully extended at the bottom of the pedal stroke, with a slight bend in the knee. Consider the saddle material, as softer options may require slight adjustments for comfort over long distances. The saddle shape also matters; a narrow, streamlined saddle suits speed, while a wider, cushioned one offers more comfort. Verify the saddle is level or slightly tilted based on your preferences. Proper height prevents knee strain and helps you maintain a steady cadence. Additionally, incorporating natural materials into your bikepacking setup can enhance comfort and durability. Take the time to fine-tune these factors so your ride feels smooth and comfortable from start to finish.
Impact on Pedaling Power
Setting your saddle height correctly directly impacts your pedaling power and overall efficiency. When your saddle is at the right height, you can generate maximum force with each pedal stroke, improving pedaling efficiency. If it’s too high, you’ll strain your hips and knees, reducing power and risking injury. Too low, and you’ll limit your range of motion, making pedaling less effective. Proper saddle height also helps you maintain consistent cadence control, which is key for smooth, sustained effort over long rides. When your saddle is correctly adjusted, you can pedal comfortably without wasting energy or risking discomfort. This balance optimizes your power output, making each rotation more effective and less fatiguing. Additionally, ergonomic alignment ensures that your joints and muscles work together efficiently, further enhancing your cycling performance. Ultimately, the right saddle height enhances both comfort and performance on your bikepacking adventures.
Signs of Incorrect Adjustment
If your saddle is too high or too low, you’ll notice discomfort and inefficiency during your ride. Poor bike fit can lead to uneven tire wear, as your weight isn’t distributed properly, causing faster tread degradation on one side. You might feel persistent knee pain, numbness, or sore spots, which indicate the saddle height isn’t right. If the saddle is too high, you’ll strain your hips and struggle to maintain a smooth pedal stroke. Conversely, if it’s too low, you’ll experience limited power and increased fatigue. These signs signal incorrect adjustment, affecting your comfort and performance. Regularly checking your saddle height helps guarantee optimal bike fit, reduces tire wear, and keeps rides enjoyable and efficient. Additionally, understanding Fokos can provide insights into maintaining a well-balanced cycling setup for better comfort.
Tommaso Siena - Shimano Tourney Gravel Adventure Bike with Disc Brakes Perfect for Road Or Dirt Touring, Matte Black - Small
QUALITY CYCLING PRODUCTS SINCE 1985: Our Italian-designed cycling shoes, bikes, and cycling products have made riders look like...
As an affiliate, we earn on qualifying purchases.
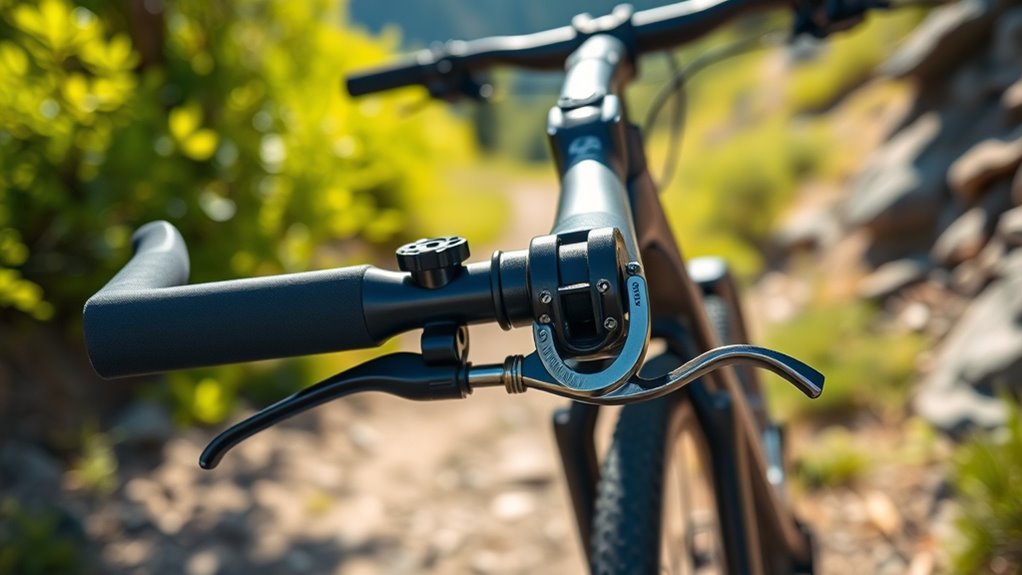
Optimizing Handlebar Position for Better Control

To gain better control and comfort on your bike, optimizing your handlebar position is essential. Proper handlebar ergonomics and grip positioning improve stability and reduce fatigue during long rides. Adjust your handlebars so they’re level with or slightly below your saddle height, ensuring a natural wrist angle. Focus on these key points:
Optimizing handlebar height and grip position enhances control and reduces fatigue on long rides.
- Handlebar height: Find a balance between control and comfort.
- Grip positioning: Keep your hands relaxed and avoid excessive stretching.
- Bar width: Choose a width that feels natural and offers good leverage.
- Regularly check and adjust your shifting techniques to maintain smooth gear changes and prevent drivetrain wear.
Experiment with small adjustments to find the most comfortable and controlled riding posture. Correct handlebar positioning not only enhances your handling but also minimizes strain, making your bikepacking journey smoother.
Tommaso Siena - Shimano Tourney Gravel Adventure Bike With Disc Brakes Perfect For Road Or Dirt Touring, Matte Black - Medium
QUALITY CYCLING PRODUCTS SINCE 1985: Our Italian-designed cycling shoes, bikes, and cycling products have made riders look like...
As an affiliate, we earn on qualifying purchases.
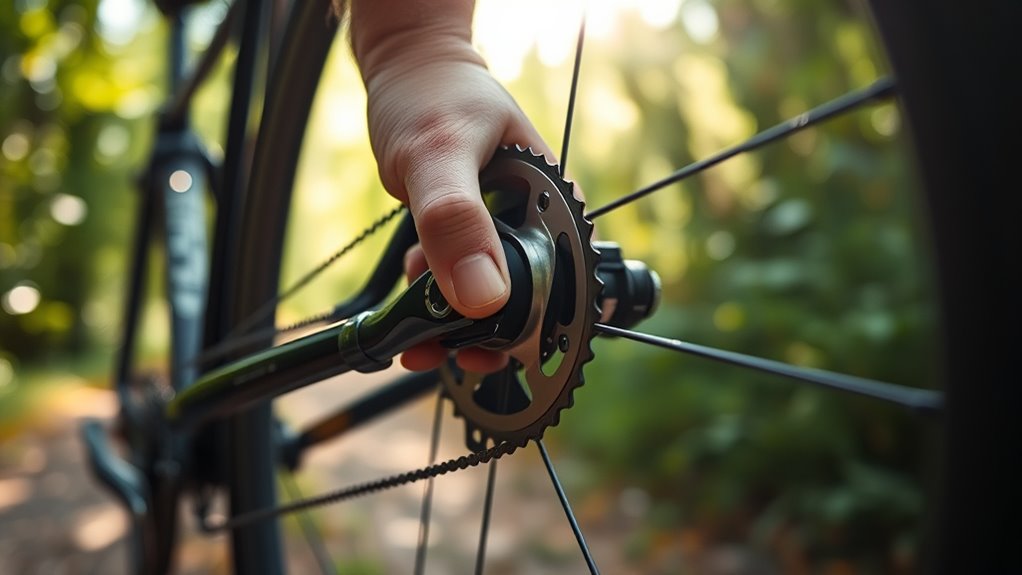
Choosing the Appropriate Gear Ratios for Endurance and Speed

Choosing the right gear ratios can considerably improve your endurance and speed on long rides. Effective gear ratio selection allows you to pedal smoothly whether you’re climbing steep hills or maintaining momentum on flat terrain. To optimize speed, select a gear that balances cadence and effort, preventing fatigue while maximizing power transfer. For endurance rides, a lower gear ratio helps you conserve energy during long climbs and extended pedaling. Conversely, for speed optimization on flat sections, higher gear ratios enable faster rotation with less pedaling frequency. Adjust your gear ratios based on terrain, load, and personal comfort, ensuring you can shift smoothly without losing momentum. Proper gear ratio selection is essential for efficient riding, reducing strain, and maintaining a steady pace throughout your bikepacking adventure. Additionally, understanding gear ratios can help you tailor your setup to different riding conditions and improve overall performance.
Configuring Suspension Settings for Varying Terrain Conditions
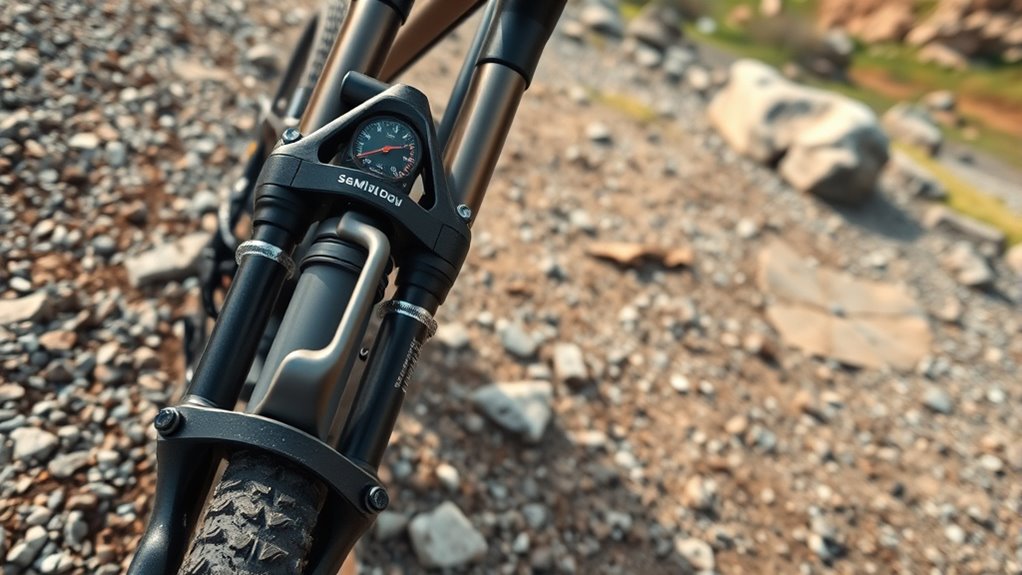
Adjusting your suspension settings based on terrain conditions is essential for a smooth and efficient ride. To optimize performance, focus on managing suspension travel and damping adjustments. When facing rough or technical terrain, increase suspension travel to absorb impacts better. For smoother surfaces, reduce travel to improve pedaling efficiency. Use damping adjustments to control rebound and compression, ensuring your suspension responds appropriately.
Adjust suspension travel and damping to match terrain for a smoother, more efficient ride.
- Increase suspension travel for rugged terrain and downhill sections
- Decrease travel for flat or smooth surfaces
- Fine-tune damping for better control and comfort during varied conditions
Setting Up Your Bikepacking Bags for Balance and Accessibility
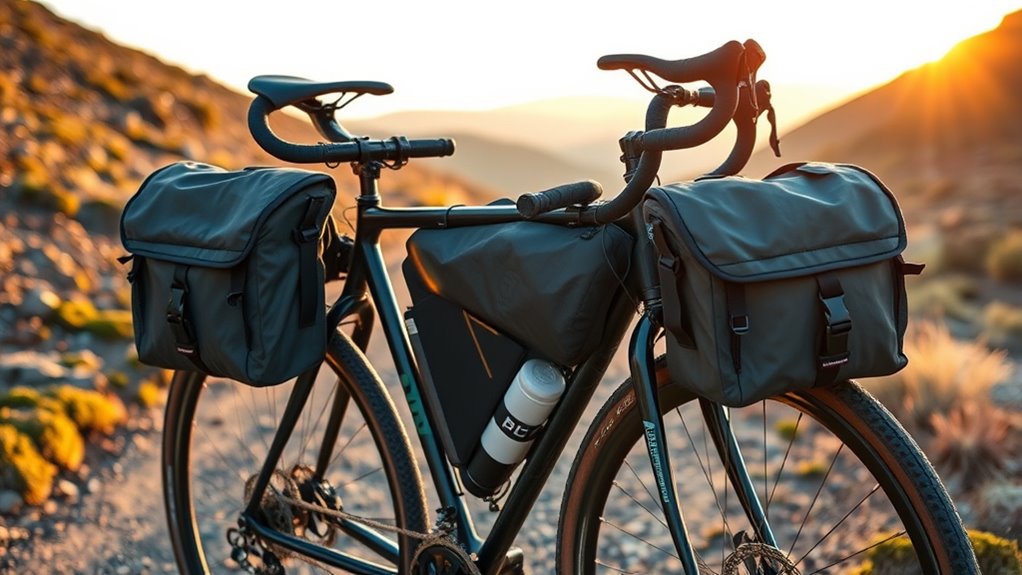
Properly setting up your bikepacking bags guarantees a balanced ride and quick access to essentials. Focus on bikepacking bag placement to maintain proper weight distribution, which is vital for stability. Place heavier items low and centered, such as in the frame bag or bottom of rear panniers, to keep the center of gravity low. Lighter items, like snacks and tools, should go in accessible spots like handlebar or top tube bags. Distribute weight evenly between the front and rear to avoid handling issues. Adjust bag placement if you notice your bike feels unsteady or pulls to one side. Regularly check that bags are securely fastened, and keep frequently used items within easy reach to streamline your ride and prevent imbalance. Additionally, understanding the contrast ratio of your gear can help you choose equipment that performs well under different lighting conditions, ensuring visibility and safety during your rides.
Fine-Tuning Brake Sensitivity and Performance
Fine-tuning your brake sensitivity guarantees reliable stopping power and a smooth riding experience. To achieve this, start by selecting the right brake pad for your riding conditions—softer pads for wet environments, harder pads for durability. Regular brake fluid maintenance is essential; check and replace fluid to prevent spongy brakes and ensure consistent performance. Adjust your brake levers for ideal reach and response. Consider these key points:
- Choose brake pads suited for your terrain and weather conditions
- Maintain brake fluid levels and replace it periodically
- Fine-tune brake calipers and levers for precise engagement
- Be aware that eye patch benefits include hydration and anti-aging effects, which can be beneficial for overall eye comfort during long rides or after extended screen time.
Adjusting Shifting for Smooth and Reliable Gear Changes
Have you ever experienced jerky shifts or struggled to find the right gear? Properly adjusting your shifting system can make a huge difference. Start by checking your wheel alignment; misaligned wheels can cause inconsistent shifting. Ensure your derailleur hanger is straight, as this impacts gear accuracy. Next, focus on pedal ergonomics—comfortable, well-positioned pedals reduce strain and help you shift smoothly. Fine-tune your derailleur limit screws to prevent chain overshoot, and adjust the indexing so each click aligns perfectly with your gears. Regularly lubricate the shifter cables to maintain responsiveness. When your shifting feels precise and effortless, your bike will perform reliably, even on long bikepacking trips. Consistent adjustments will keep your gear changes smooth and dependable in any terrain. Additionally, understanding your bike’s component compatibility can help prevent troubleshooting issues and ensure optimal performance.
Managing Lighting and Visibility Equipment for Safety

Choosing the right brightness and beam pattern guarantees you’re visible without blinding others. It’s also smart to carry backup lighting options in case your main lights fail. Proper lighting setup keeps you safe, no matter the conditions. Utilizing hydrocolloid technology in your bikepacking lighting can help prevent glare and reduce eye strain during extended rides.
Subheading 1: Brightness and Beam Pattern
Ensuring your bike’s lighting is bright enough and has the appropriate beam pattern is vital for safety during your bikepacking adventure. Proper lighting helps you see obstacles and improves your visibility to others, whether mountain biking on rugged trails or navigating urban riding at night. To optimize your setup, consider these factors:
- Use a high-lumen front light for clear visibility on dark trails and city streets
- Choose a beam pattern that balances wide peripheral illumination with focused distance
- Adjust brightness levels based on riding conditions to conserve battery life without sacrificing safety
- Staying aware of AI safety measures in lighting technology can help prevent failures and ensure reliable performance.
Selecting the right brightness and beam pattern ensures you can spot hazards early and be seen by others, reducing accidents. Tailor your lighting to your environment, and make sure it’s reliable for both mountain biking and urban riding.
Subheading 2: Backup Lighting Options
To stay safe on your bikepacking trip, ensuring you have backup lighting options in case your primary lights fail or run out of power is vital. Consider carrying a set of rechargeable lights powered by solar power, which can recharge during the day and provide reliable illumination at night. Additionally, include a small, lightweight headlamp or handheld flashlight as a backup, especially for emergencies. Don’t forget essentials like emergency whistles, which can alert others if you’re in distress or need assistance. Combining solar-powered lights with traditional backups guarantees you won’t be left in the dark. Always test your backup lighting before your trip and keep them easily accessible. Proper planning here can prevent dangerous situations and keep you visible and safe throughout your adventure.
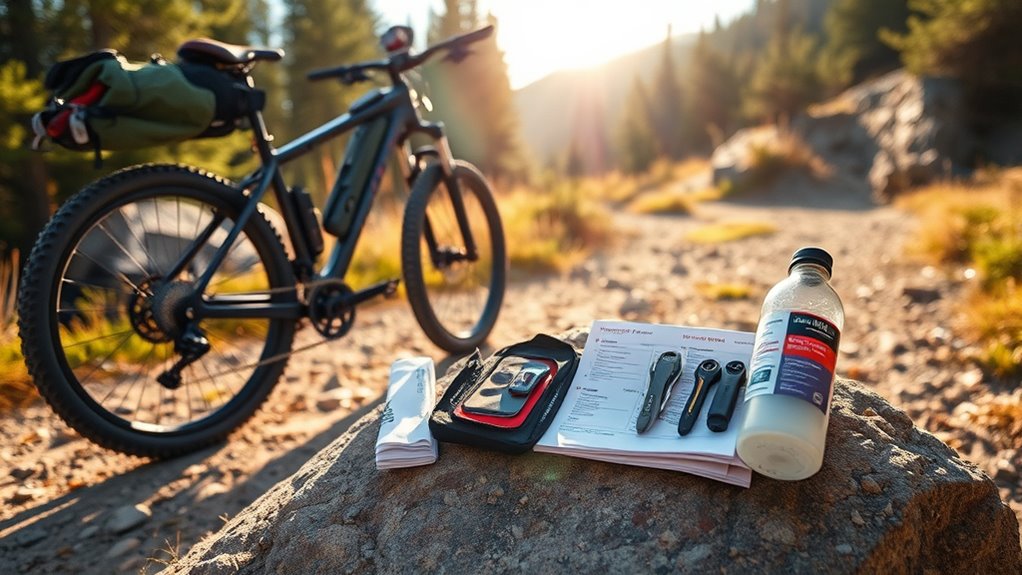
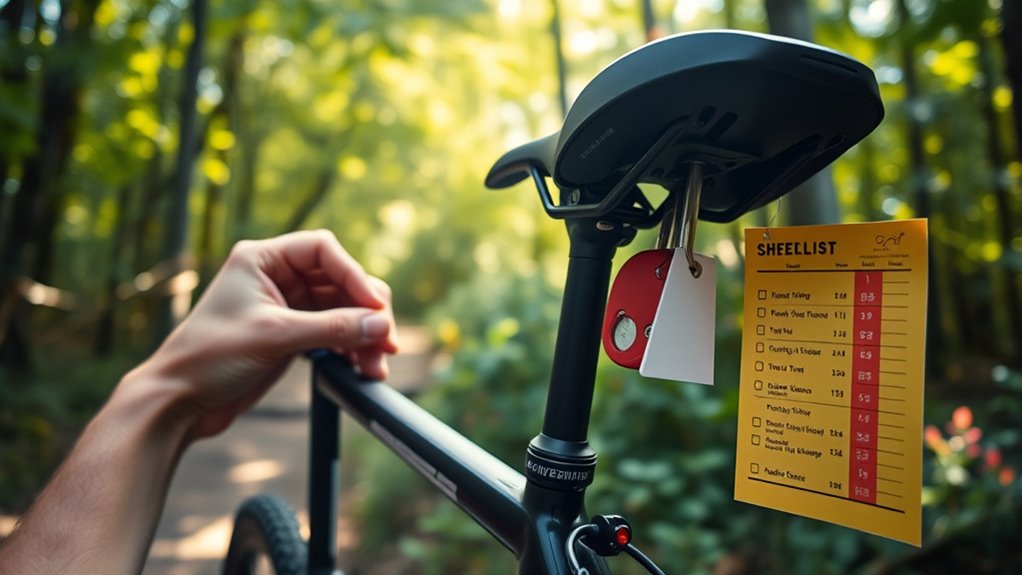
Preparing Your Bike’s Maintenance Checklist Before Departure
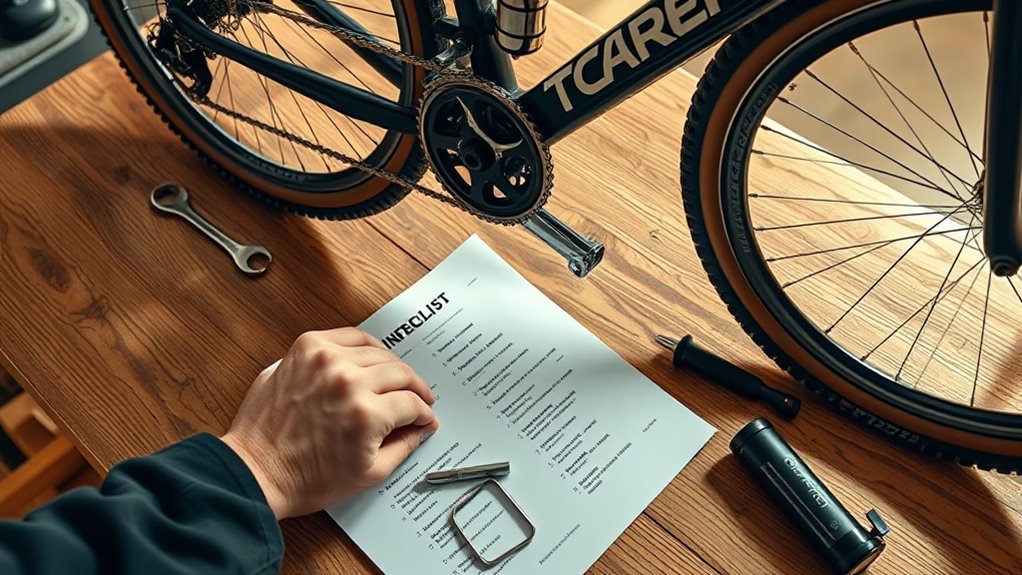
Before hitting the road, it’s essential to thoroughly review your bike’s maintenance needs to prevent any surprises along the way. Start by inspecting your bike frame for cracks or damage, ensuring it’s solid and safe for extended riding. Check pedal positioning to confirm your comfort and efficiency, adjusting as needed for peak power transfer. Remember that regular maintenance checks can help maintain the integrity of your bike, reducing the risk of unexpected breakdowns.
Create a maintenance checklist that includes:
- Tightening bolts on your bike frame and handlebars
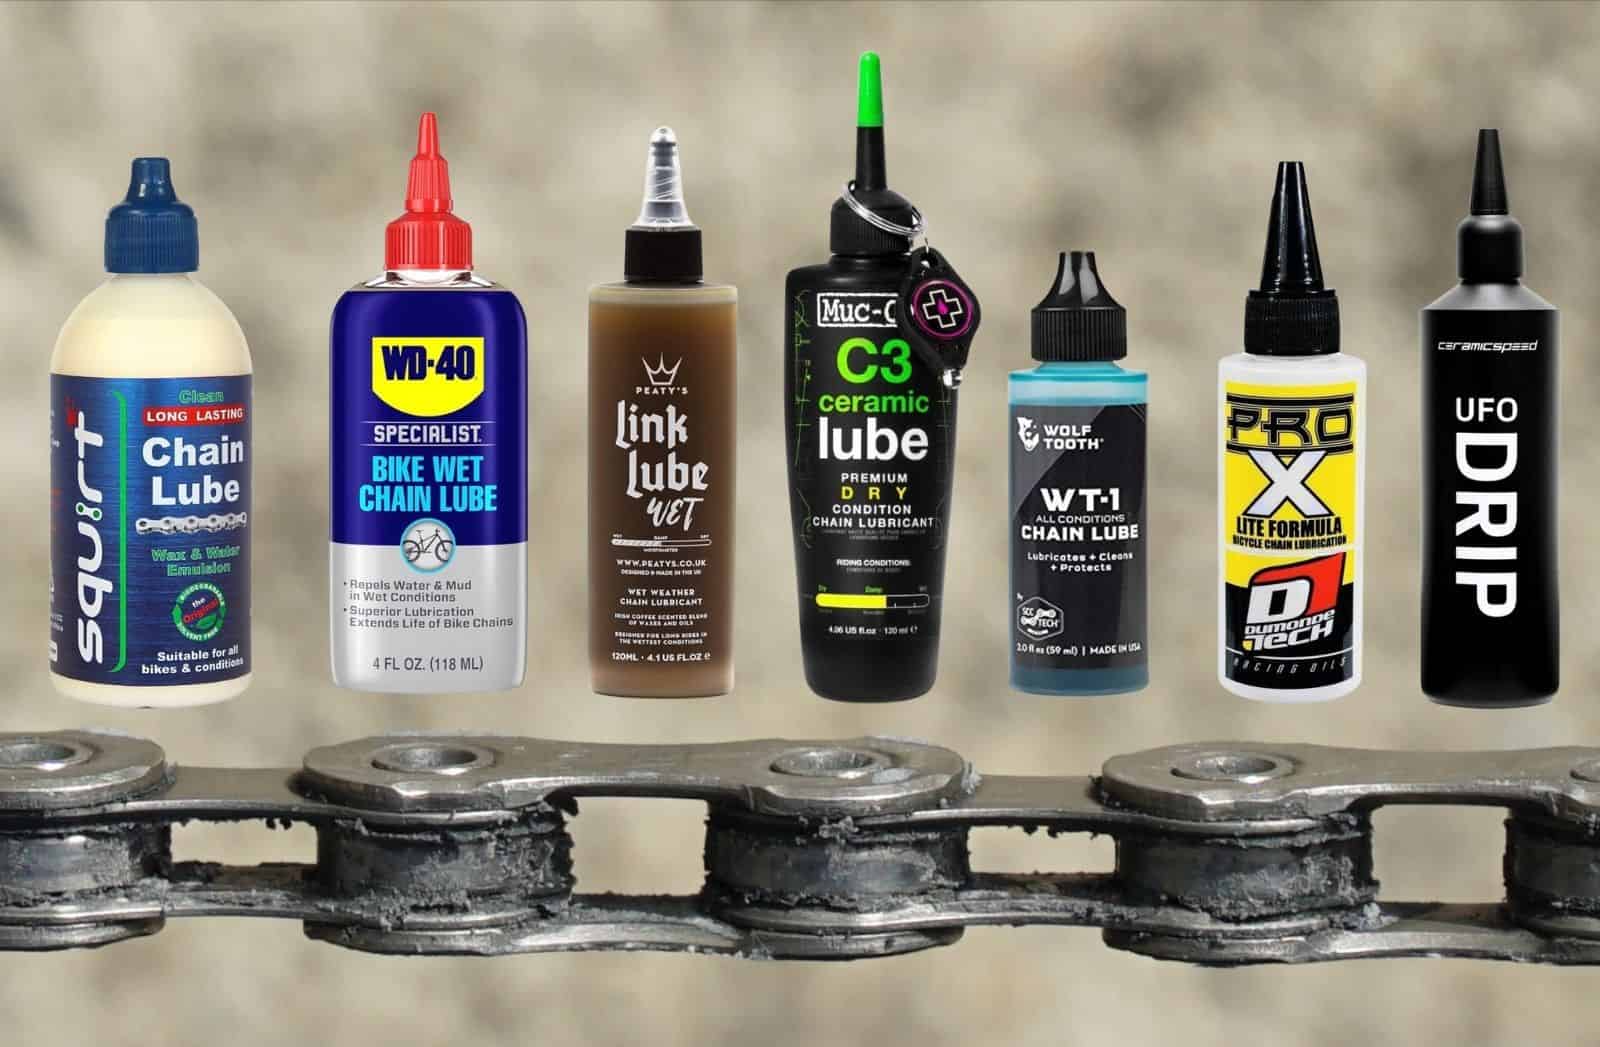
- Lubricating the chain and moving parts
- Inspecting brake pads and tire pressure
This proactive approach helps you catch issues early, saving time and avoiding breakdowns during your trip. Regularly reviewing these points guarantees your bike remains in prime condition, ready for the adventure ahead.
Frequently Asked Questions
How Do Weather Conditions Affect My Bikepacking Setup?
Weather conditions greatly impact your bikepacking setup by demanding greater weather adaptability and seasonal gear. You’ll need to modify your clothing, packing waterproof layers, and selecting appropriate insulation for cold or wet weather. Rain or extreme heat require different gear, so plan for seasonal variations. By staying flexible and packing multi-purpose items, you ensure comfort and safety regardless of weather changes, making your ride smoother and more enjoyable.
What Safety Gear Should I Include in My Checklist?
Imagine facing a storm or a sudden drop in visibility—you’ll want to be seen and protected. You should include helmet safety gear to shield your head from impacts and reflective gear to glow like a lighthouse in the dark. Don’t forget lights, a first aid kit, and a whistle. These items keep you safe, visible, and prepared for anything the trail throws at you.
How Can I Reduce Bike Weight Without Sacrificing Durability?
To reduce bike weight without sacrificing durability, opt for lightweight materials like titanium or carbon fiber for key components. Switch to compact gear that serves multiple functions to save space and weight. Remove unnecessary accessories and switch to minimalist options where possible. Regularly check your bike for extra weight and replace bulky parts with streamlined, durable alternatives. This approach keeps your bike lightweight yet resilient for demanding rides.
What Are Essential Tools for On-The-Go Repairs?
Imagine a tiny, crucial toolkit in your hands: a bike chain tool and a tire gauge. These essentials help you fix a loose chain or check tire pressure quickly, preventing a breakdown miles from help. With these on your bikepacking checklist, you stay prepared for on-the-go repairs, ensuring your ride stays smooth and safe. They’re compact, reliable, and your best allies on the road.
How Do I Choose the Right Clothing for Different Climates?
When choosing clothing for different climates, you should focus on layering and moisture management. Wear lightweight, breathable clothing as your base layer to wick sweat away from your skin. Add insulating layers in cold weather, and opt for moisture-wicking fabrics to keep you dry in humid conditions. Adjust layers as needed, and always carry extra clothing for unexpected weather changes, ensuring comfort and safety throughout your ride.
Conclusion
Getting your bike gear just right is like tuning a musical instrument—every setting plays a part in creating a smooth ride. By fine-tuning your tire pressure, saddle height, and other components, you’ll ride more comfortably, efficiently, and safely. Remember, preparation is key—double-check your maintenance list before heading out. With these ideal settings, you’ll be ready to conquer any terrain, making every adventure as enjoyable as a breeze on a sunny day.