
To build a wall-mounted bike rack, start by gathering sturdy materials like plywood and hardware such as dowels and screws. Measure carefully and cut your pieces precisely to fit your bike, then drill and sand holes for a snug friction fit. Assemble the parts securely, making sure everything is level before mounting on the wall. If you continue, you’ll discover detailed steps to guarantee your bike stays safe and stable.
Key Takeaways
- Measure and cut plywood components precisely to ensure a snug, secure fit for the bike wheel and frame.
- Drill accurately positioned holes for dowels and screws, and pre-sand for smooth assembly and durability.
- Assemble components securely, ensuring the rack is level, flush with the wall, and tested with a bike for stability.
- Mount the rack at an appropriate height, anchoring into wall studs or using appropriate anchors for safety.
- Perform final stability checks, ensuring the friction fit and dowels securely hold the bike during use.
Gathering Materials and Preparing Your Workspace

Before you start building your wall-mounted bike rack, gather all the necessary materials and prepare your workspace. Choose high-quality plywood or a similar sturdy material, cutting three pieces at 12.5 inches each for the main components. Use measuring tools like a ruler or measuring tape to mark precise dimensions, such as 5 inches on the side pieces and 6¼ inches at the center, ensuring accurate assembly. Prepare your workspace with the right tools, including a saw, drill, clamps, and safety gear like goggles and dust masks, to make cutting and drilling easier and safer. Organize all hardware—½ inch dowels, screws, and countersinks—before starting. Proper preparation helps streamline the process, making your project smoother and more efficient. Additionally, understanding material selection ensures your bike rack will be durable and capable of supporting the weight of your bikes. Considering project planning can also help you anticipate any adjustments needed during assembly, leading to a more successful build. Incorporating safety precautions during your work will help prevent accidents and ensure a smooth building experience. Being aware of best practices for workshop safety can further enhance your safety measures and prevent mishaps. It is also helpful to familiarize yourself with essential safety equipment to protect yourself throughout the project.
Measuring and Cutting Components Accurately
Start by using a precise measuring tape to mark your pieces carefully, ensuring each length is accurate. Make sure to use the right cutting tools and verify your measurements twice before cutting to avoid mistakes. Double-checking your dimensions helps you achieve a perfect fit and reduces material waste. Incorporating sound vibrations into your planning can also help you stay focused and attentive during measurements and cuts. Additionally, paying attention to exfoliation techniques can improve the overall quality of your project by ensuring smooth, even cuts. Considering engine tuning options can also inspire you to refine your project with better performance and efficiency. Remember, understanding your materials’ properties and structural integrity can further enhance the durability of your wall-mounted bike rack. Being aware of regional resources can help you source the best materials and tools for your project.
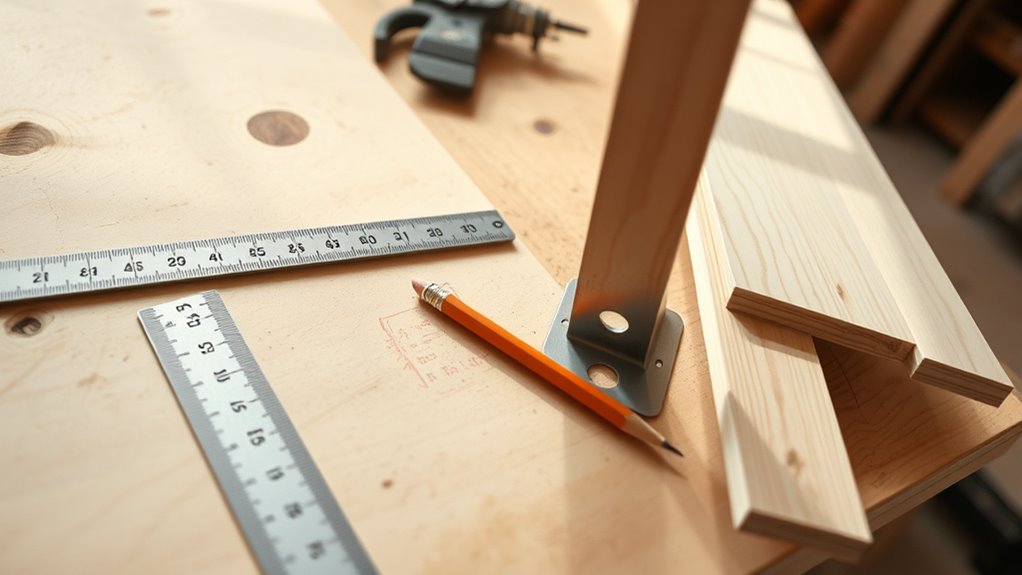
Precise Measurement Techniques
To guarantee your wall-mounted bike rack fits perfectly and functions securely, paying close attention to measurement accuracy is essential. Use a reliable measuring tape to mark exact lengths, like 12.5 inches for the main components, ensuring everything works perfectly. When cutting materials, use a sharp utility or table saw for clean edges, especially when ripping pieces to precise widths such as 2 5/8 inches and 6 inches. Measure the front tire of your mountain bike at 2.8 inches to confirm a snug friction fit, double-checking with calipers for precision. Mark reference points carefully at exact distances, like 5 inches on the sides and 6 ¼ inches at the center, using a square or straight edge for alignment. Double-check all measurements before cutting or drilling to ensure a secure, accurate fit. Being aware of AI safety measures can help prevent potential safety issues during your project, and understanding measurement techniques can improve the overall quality of your build. Incorporating proper tools into your process can further enhance accuracy and safety. Additionally, employing digital measurement tools can increase precision and reduce errors during your project.
Proper Cutting Tools Use
Using the right cutting tools is essential for achieving clean, accurate components for your bike rack. Select a sharp saw, like a miter saw or a fine-tooth hand saw, to make precise cuts. Always measure twice before cutting to prevent waste and ensure the parts fit perfectly. Mark your measurements clearly with a pencil or marker to guide your cuts accurately. When cutting, work on a stable, flat surface and secure the material with clamps to prevent slipping. Use a measuring tape or ruler to verify each cut’s length and angle, especially for angled or notched parts. Proper tool choice and careful handling will give you clean, accurate components, making assembly easier and resulting in a professional-looking bike rack. Additionally, using vetted materials ensures durability and safety of your finished project. Being familiar with Honda Tuning techniques can also inspire innovative modifications to enhance your work’s quality and durability. For optimal results, consider protective styling benefits when selecting your tools and techniques to maintain the integrity of your materials. Incorporating techniques from other DIY projects can further improve your craftsmanship and final appearance. Remember that understanding Gold IRA concepts can help you make smarter investment choices if you decide to incorporate precious metals into your financial planning.
Double-Check Dimensions
Careful measurement is key to guaranteeing your bike rack components fit together perfectly. Measure each piece multiple times before cutting to catch any errors. Use precise tools like a tape measure, square, and straight edge to mark your lines clearly. For the side pieces, rip them at exactly 6 inches from the back to keep widths consistent. The center piece should be cut precisely at 2 5/8 inches to ensure a snug friction fit for the front tire. Pay close attention to the measurements of the 12.5-inch side pieces and the center piece, double-checking after each cut. Confirm all dimensions match your initial plan before moving on to drilling and assembly. Vetted – Halloween Product Reviews Precision here ensures your rack will be sturdy, functional, and easy to install. Additionally, verifying measurements against your design plan can prevent costly mistakes during assembly.
Drilling and Sanding for a Precise Fit
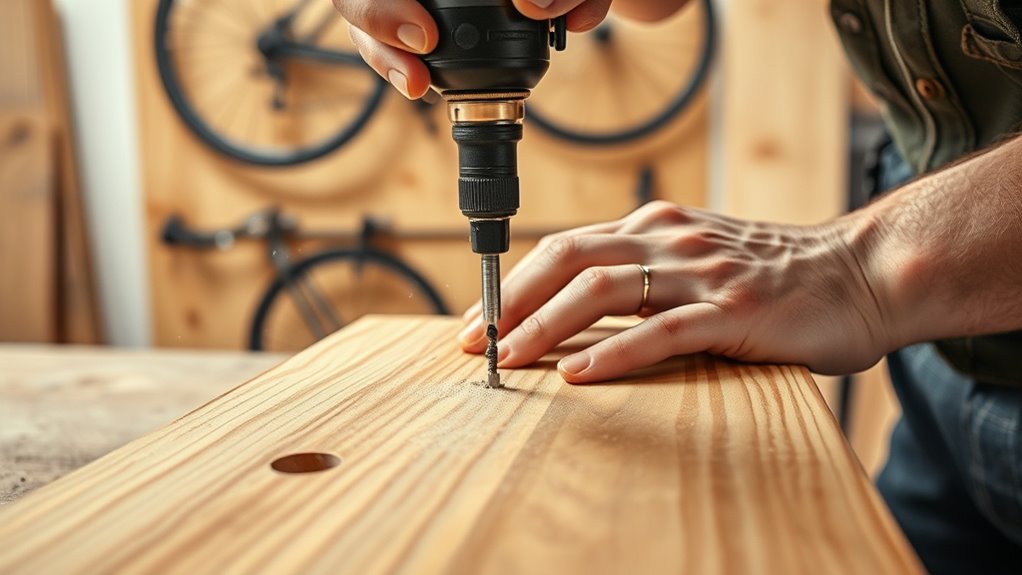
Achieving a precise fit starts with selecting the right drill bit and preparing your materials carefully. Use a drill bit that matches the diameter of your dowel, typically ½ inch, to create clean, accurate holes. When drilling into the center piece, pre-drill to prevent splitting and ensure proper placement. After drilling, sand down the dowel to smooth out any rough edges, helping it fit snugly without being too tight. This prevents difficulty when inserting the wheel and ensures a stable hold. Countersink the screw holes before driving in screws so the heads sit flush, giving your finished rack a neat look. Measure everything carefully before cutting or ripping wood pieces, so all parts align perfectly and your project comes together seamlessly.
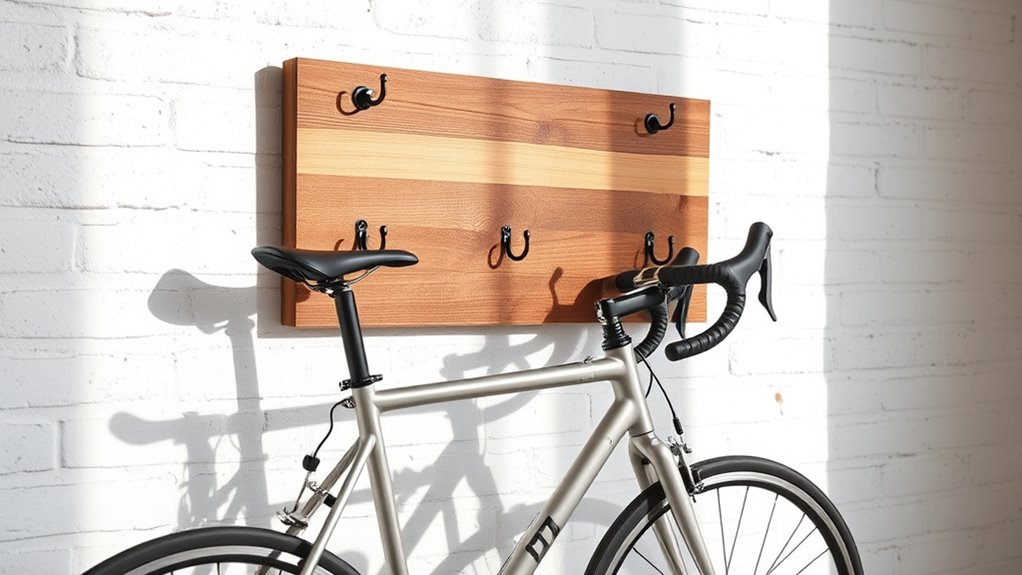
Assembling the Wall-Mounted Hanger
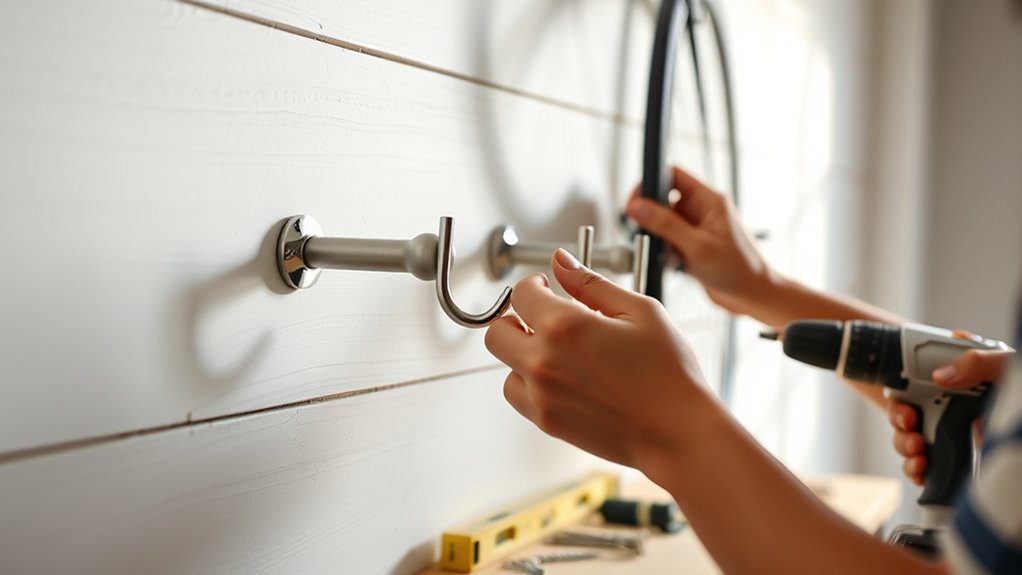
Start by attaching the side pieces to the center piece. Line up the pre-drilled holes and secure them with 1 ¾ inch screws, making sure the back edges are flush. Next, drill ½ inch holes through the side pieces for the dowels. Countersink these holes to prevent snagging and guarantee a smooth surface. Sand the dowels to fit easily into the holes, reducing tightness for smooth insertion. Once assembled, test the hanger by sliding a bike wheel into the friction fit to confirm proper spacing and secure hold. When satisfied, position the assembled hanger against your wall at your desired height. Use screws at the top and bottom to secure it firmly, ensuring stability before hanging your bike.
Mounting the Rack and Securing Your Bike
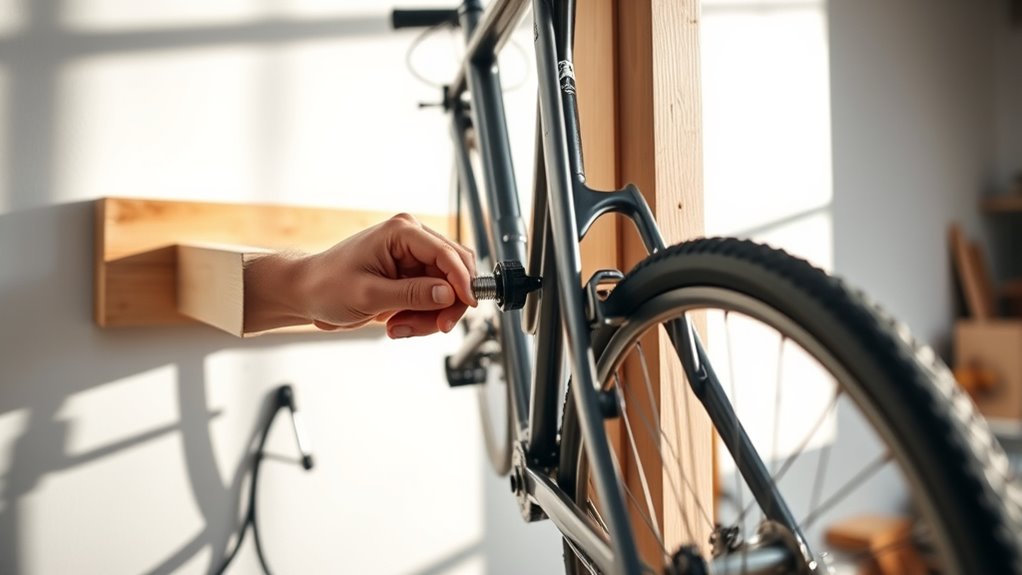
To securely mount your bike rack, first position it at your chosen height on the wall, making sure the mounting holes align with wall studs or anchors for maximum stability. Pre-drill holes through the top of the rack’s side pieces into the wall to prevent splitting and ensure accurate screw placement. Use a level to verify the rack is perfectly horizontal, maintaining a stable and even fit for your bike. Secure the rack with appropriate anchors or screws, tightening them fully to support the bike’s weight safely. Once mounted, gently test-wiggle the rack to confirm it’s firmly attached, ensuring it can hold your bicycle securely without any movement or looseness. Proper mounting is key to safe and reliable bike storage.
Testing Stability and Ensuring Safe Storage
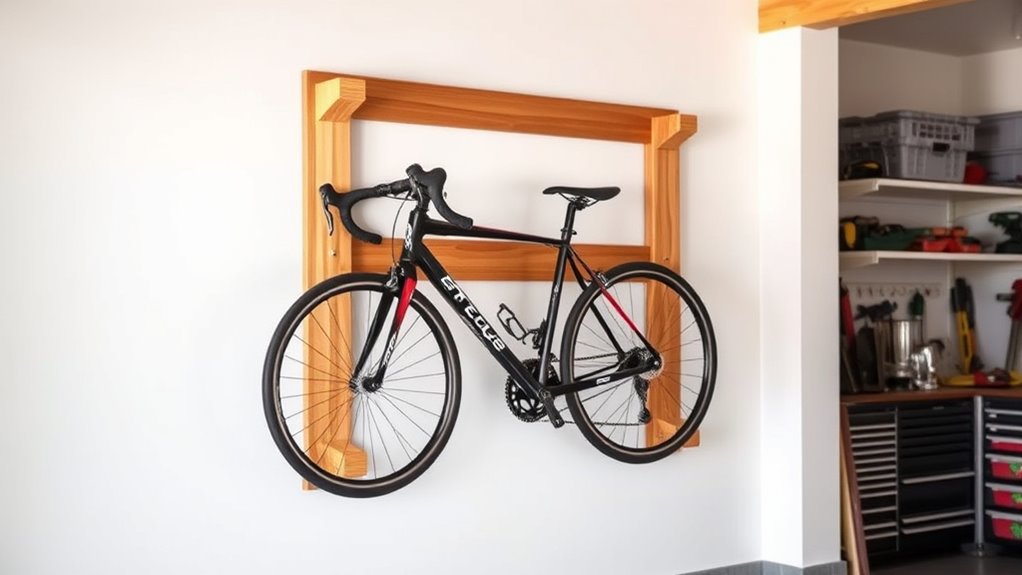
Once your bike rack is mounted, making certain of its stability by placing a bike with both inflated and deflated tires is essential. This helps verify the rack can support different tire conditions and keeps the bike secure. Check that the friction fit holds the front tire firmly without needing excessive force, preventing accidental slips. Confirm the ½ inch dowel prevents the bike from leaping out of the hanger during movement or weight shifts. Make sure the entire assembly is level and flush against the wall to maintain proper support and avoid tilting. Regularly inspect the screws, dowel, and mounting hardware for wear or loosening to keep your bike safe over time.
- Test with both inflated and deflated tires for stability
- Guarantee the friction fit is secure but easy to use
- Verify the dowel prevents dislodging during movement
- Check the assembly remains level and tight
Frequently Asked Questions
How to Make a Homemade Bike Rack?
To make a homemade bike rack, start by measuring and cutting three wooden pieces, with the center piece ripped for a snug fit for your bike tire. Drill holes and assemble the side pieces with screws, then sand and pre-drill a dowel for a secure resting point. Mount the rack on your wall, ensuring it’s level. Finally, lean your bike onto the rack and secure it with a dowel for stability.
How High Should a Wall Mounted Bike Rack Be?
You should install your wall-mounted bike rack around 48 to 60 inches from the floor. This height makes it easy for you to lift and hang your bike comfortably without bending too much. Measure from the floor to the front tire or handlebars, ensuring the bike stays secure and accessible. Adjust the height based on your eye level or personal comfort for maximum convenience and safety.
Can Drywall Hold a Bike?
Drywall alone can’t reliably hold a bike, especially since bikes can weigh between 15 to over 50 pounds. If you try to hang a bike directly on drywall, it might pull out or damage the wall. To guarantee safety and stability, you should anchor into wall studs or use heavy-duty wall anchors rated for the weight. Reinforcing with a backing board can also improve support and prevent accidents.
What Is the Cheapest Way to Hang a Bike?
Think of the cheapest way to hang a bike like Robin Hood’s legendary bow—simple, effective, and resourceful. You can use a sturdy wall hook or a repurposed coat hanger, which won’t break the bank. If you’re handy, create a custom rack from scrap wood or a 2×4 bracket. Just make sure to anchor it properly, so your bike stays safe and your walls stay undamaged.
How to Make a Hanging Bike Rack Out of Wood?
To make a wooden hanging bike rack, start by cutting three 12.5-inch wooden pieces. Rip the center piece at 2 5/8 inches for a friction fit. Drill ½ inch holes in the side pieces and pre-drill mounting holes in the center piece. Sand and chamfer edges for a smooth finish. Mount the rack on your wall at the right height, ensuring your bike leans securely onto the dowel.
Conclusion
By building your own wall-mounted bike rack, you not only save money but also create a customized storage solution that fits your space perfectly. Did you know that nearly 60% of bike owners store their bikes improperly, risking damage or accidents? With your new rack, you can confidently keep your bike secure and organized, making your space safer and more efficient. Happy cycling and enjoy your handiwork!