
To choose the right tubeless setup for MTB, start by matching your rims and tires, ensuring they’re tubeless-ready and compatible with your riding style and terrain. Adjust your pressures based on trail conditions, using lower pressures for soft or technical terrain. Use quality sealant and proper installation techniques to prevent leaks and unseating. Regular maintenance keeps your setup reliable. Keep exploring to learn detailed tips that help you optimize your tubeless system for every ride.
Key Takeaways
- Match tubeless-ready rims and tires with appropriate internal widths (19-30mm) for optimal sealing and performance.
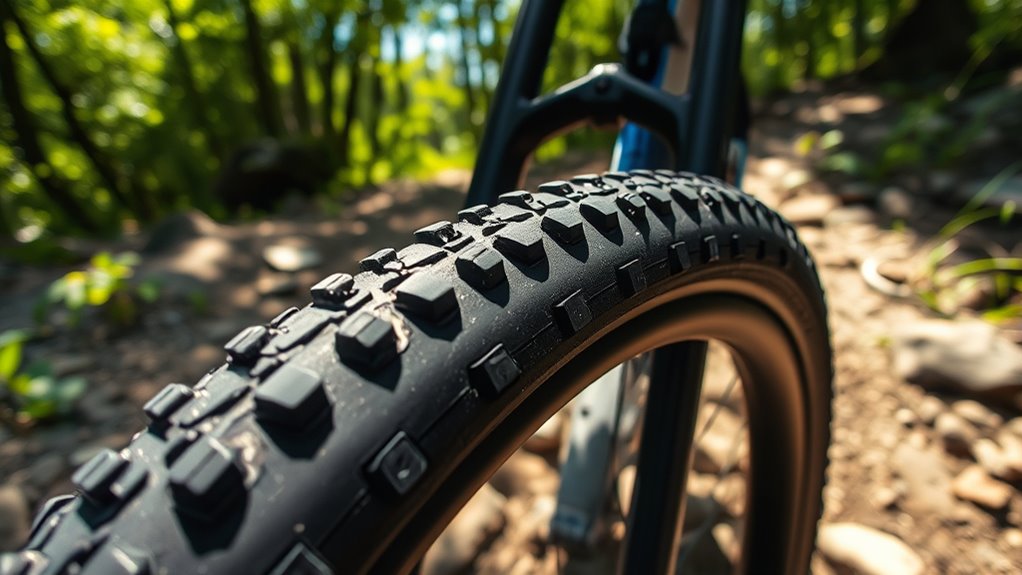
- Choose tire width and tread pattern based on riding style and terrain for better grip and durability.
- Use compatible tubeless sealant and tape; regularly check and maintain sealant levels for reliable sealing.
- Set initial pressures around 40-50 psi for bead seating, then adjust 7-10 psi lower for riding conditions.
- Confirm valve compatibility and proper installation to prevent leaks and ensure effective inflation and deflation.

Schwinn Sporterra RX Gravel Bike, 700c Mens and Womens Bike, 14-Speed Drop Bar Gravel Bicycle, Mechanical Disc Brakes, Rigid Fork, Aerodynamic Riding Position, Quick Release Seat Post, Adult Bicycle
GRAVEL BICYCLE: Enjoy next level riding with the Sporterra RX by Schwinn. With 700c wheels, this mens and...
As an affiliate, we earn on qualifying purchases.
Understanding Your Riding Style and Terrain

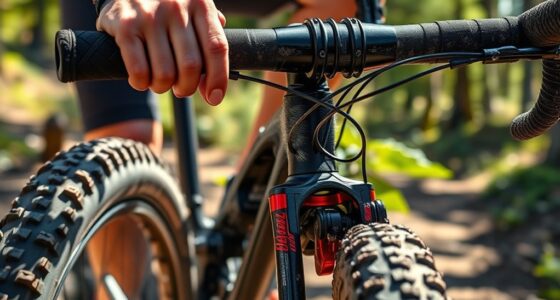
Choosing the right tubeless setup begins with understanding your riding style and terrain. Your riding style—whether XC, trail, enduro, or fat biking—dictates ideal tire width, tread pattern, and puncture protection. For technical, rocky, or muddy trails, choose wider tires with aggressive tread patterns for better grip and durability. Hardpack or fast trails benefit from narrower tires with smoother treads to reduce rolling resistance. Terrain influences tire pressure recommendations; softer surfaces may need lower pressures (7-10 psi below tube-based pressures) to enhance traction. The tubeless setup allows you to run these lower pressures without pinch flats. Ultimately, selecting tires tailored to trail conditions ensures maximum grip, durability, and puncture resistance, helping you ride confidently and safely across diverse environments.

SAVADECK T800 Carbon Gravel Bike, with Shimano GRX610 12-Speed, Hydraulic Disc Brakes, 700x40c Tires for Road & Off-Road Adventure, Men's/Women's Bicycle(Elegant White, 51cm)
【With SHIMANO GRX Drivetrain Setup】Equipped with SHIMANO GRX610 shifters and RX822 rear derailleur, matched with a 12-speed M6100...
As an affiliate, we earn on qualifying purchases.
Selecting Compatible Rims and Tires

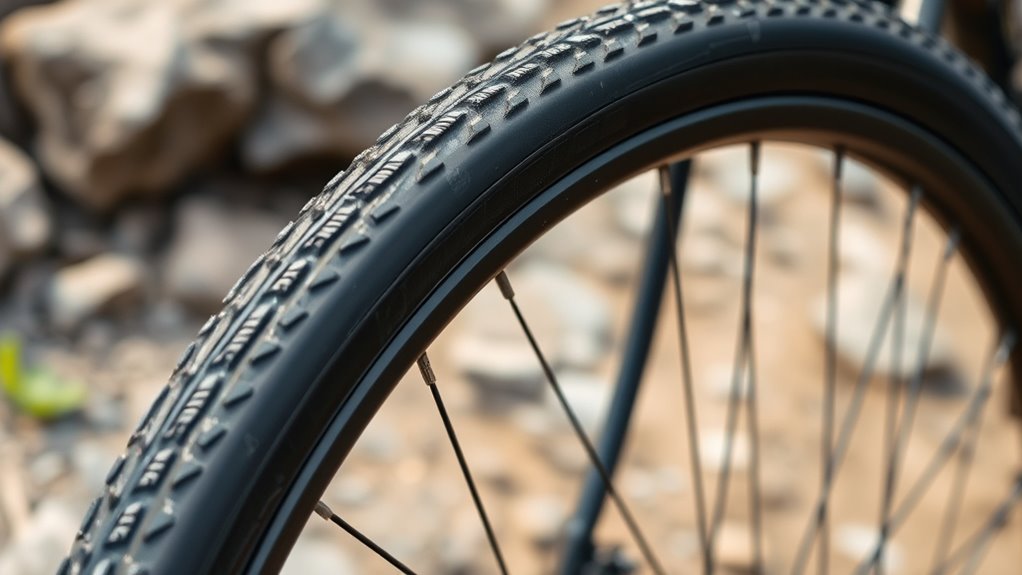
To guarantee your tubeless setup works smoothly, you need to check that your rims and tires are compatible. Look for the tubeless-ready label on both, and confirm the rim width matches your tire’s recommended internal width. Proper matching of bead seat diameter and using tubeless-specific tape are essential steps for a secure, airtight seal. Additionally, consulting best practices for tubeless setup can help ensure a seamless installation process.
Compatibility Checks Essential
Ensuring compatibility between your rims and tires is essential for a successful tubeless MTB setup. Here’s what you need to verify:
- Confirm your rims are labeled as *tubeless-ready* or *tubeless-compatible*, guaranteeing proper *rim compatibility*. Additionally, verifying the rim’s material quality can help prevent issues such as cracking or deformation under stress. It’s also beneficial to check manufacturing standards to ensure the rims meet industry safety and performance criteria. Being aware of rim design can further influence how well your setup performs and how easily it seals.
- Match your *tire size* to your rim diameter (e.g., 29″, 27.5″) by checking sidewall markings and rim specs, and verify *rim width* falls within the recommended range to prevent bead slippage.
- Ensure the *bead type* (folding or wire) suits your rim’s *bead seat*, and that *valve compatibility* (Presta or Schrader) matches your pump and rim. Also, use *rim tape* and *tubeless sealant* correctly, along with the appropriate *installation tools*, for a reliable tubeless setup.
- Additionally, understanding the importance of rim compatibility can help prevent common issues like bead slippage or air leaks, ensuring a safer and more efficient ride.
Tubeless-Ready Label Importance
The “Tubeless-Ready” label plays a essential role in ensuring your rims and tires are compatible for a tubeless setup. When both components have this label, they’re designed with specific bead profiles and sealing surfaces that facilitate a reliable, airtight connection. This compatibility helps prevent leaks and bead unseating during your ride. During installation, you’ll add sealant through the valve, which bonds with the tubeless-ready bead to create a secure, leak-free seal. Using tubeless-ready rims and tires simplifies the process and improves sealing performance, making maintenance and puncture repairs quicker. Remember, only components marked as tubeless-ready are guaranteed to work smoothly together, reducing frustration and ensuring your setup holds air without inner tubes.
Rim and Tire Matching
Matching your rims and tires correctly is essential for a successful tubeless setup. To ensure compatibility, consider these key points:
- Check rim labels and sidewall markings to match the rim diameter (29″, 27.5″, or 26″) with your tire size.
- Confirm the rim is tubeless-ready, featuring a proper bead seat and sealing surface for an airtight seal.
- Match tire width to rim internal width—ideally between 19mm and 30mm—to optimize bead grip and performance.
- Vetted – The Pinball Spot also emphasizes the importance of using rim tape designed for your rim profile, selecting tubeless valves that fit, and ensuring the tire’s PSI range suits your riding conditions. Proper rim and tire matching guarantees reliable sealing, safety, and excellent performance on every ride. Additionally, understanding tire compatibility helps prevent issues like burping or bead unseating during rides. Being aware of regulatory standards for rim and tire manufacturing can also ensure you choose components that meet safety and quality benchmarks. Moreover, consulting manufacturer specifications can help avoid compatibility issues that compromise ride quality.
WTB Riddler Gravel Bike Tire (700 x 37) Tubeless Folding - Light & Fast Rolling - Bikepacking (Black)
SUBSTANTIAL CORNERING KNOBS meet a low-profile center tread, making the Riddler an excellent choice for gravel grinding or...
As an affiliate, we earn on qualifying purchases.
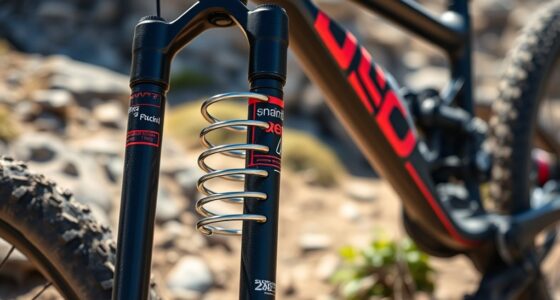
Essential Components for a Tubeless System

To establish a tubeless system, you need the right rim and tire combo that’s designed for tubeless use. Proper sealant and airtight valves are essential to guarantee leaks and ensure reliable sealing. Choosing compatible components is key to a smooth, trouble-free tubeless experience. Additionally, selecting high-quality sealant can improve the longevity and effectiveness of your setup. Ensuring your setup adheres to industry standards can also prevent compatibility issues and streamline installation. Using proper installation techniques ensures the system maintains optimal performance over time. Understanding industry trends can help you stay informed about the latest advancements and innovations in tubeless technology.
Rim Compatibility and Selection
Ensuring your rim is tubeless-ready is the first step toward a successful tubeless setup, as it guarantees the bead design and hook profile will seal properly without an inner tube. To choose the right rim, consider:
- Rim Compatibility: Confirm your rim supports tubeless setups with appropriate bead hooks and bead profile, ensuring a reliable airtight seal.
- Internal Width: Check the internal width to match your tire size for ideal fit and performance.
- Spoke Hole Placement & Rim Tape: Ensure spoke holes are properly spaced for effective rim tape application, which is crucial for sealant retention and preventing leaks.
Using compatible tubeless valves designed for your rim’s depth and hole diameter completes the setup for a secure, airtight seal.
Proper Sealant and Valves
Choosing the right sealant and valves is essential for a reliable tubeless setup. Tubeless valves are designed to fit specific rim diameters and feature removable cores, making valve installation and maintenance easier. Guarantee your tubeless valves provide an airtight seal to prevent leaks, and select valves compatible with your rims. Proper valve installation involves tightening by hand to avoid air leaks without over-tightening, which could damage the rim or valve. The sealant you choose impacts sealant longevity and sealing performance, especially against punctures up to 6.5 mm. Using quality rim tape helps maintain airtightness. Regular tubeless maintenance, including replenishing sealant and checking valve integrity, keeps your system functioning smoothly and extends its lifespan by ensuring the sealant particles continually seal punctures effectively. Additionally, incorporating sound vibrations or music therapy techniques can promote relaxation during maintenance routines, making the process more enjoyable and less stressful.

Swagman Standard Fork Mount Rooftop Bike Carrier
EASY TO ASSEMBLE: The STANDARD is easy to assemble with no tools required, sets up in just minutes...
As an affiliate, we earn on qualifying purchases.
Proper Setup and Installation Techniques
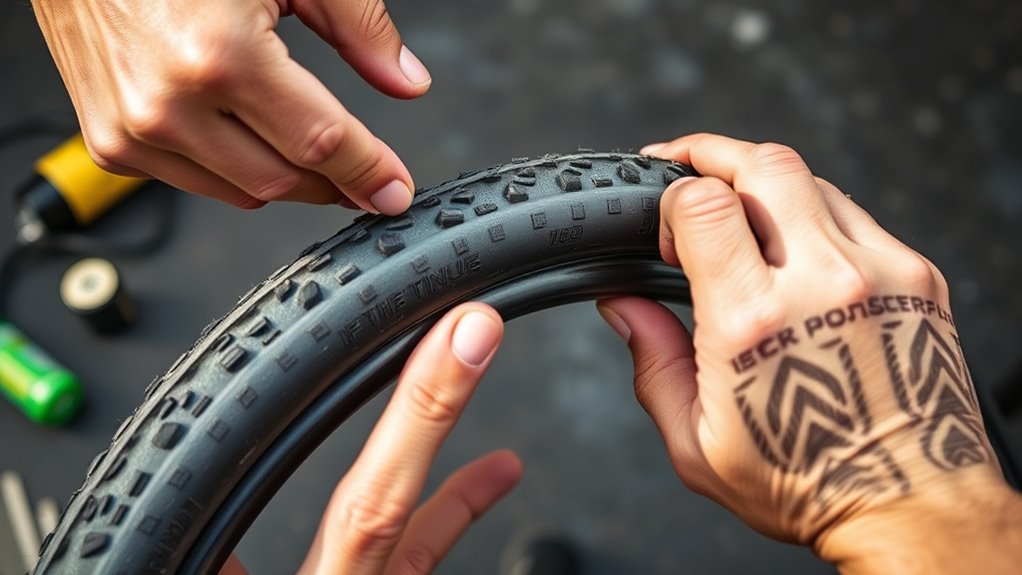
A proper tubeless setup starts with preparing your rim to create an airtight seal. First, verify your rim is clean, dry, and free of old tape or debris. Then, apply fresh tubeless rim tape, overlapping the valve hole by at least 5 cm for a secure seal. Next, insert the tubeless valve through the rim hole, tighten the lock nut by hand without over-tightening, and check that the valve core is removable for sealant injection. Remember to ensure your valve is properly paired with your device for optimal performance during installation. Additionally, selecting the appropriate tubeless-compatible rim and tire can significantly improve sealing and reduce the risk of leaks. Proper installation techniques are essential for a successful setup and to prevent common issues like leaks or bead unseating. Here are key steps to follow:
- Mount the tire onto the rim, starting opposite the valve, and use soapy water or lubricant to help bead seating.
- Inflate with a pump or compressor until you hear the ‘pop’ indicating bead seating.
- Inject sealant through the valve, re-inflate, and rotate to evenly distribute the sealant inside the tire.
Managing Pressure and Sealant Levels
Maintaining the correct tire pressure is essential for peak MTB tubeless performance; most riders find that running pressures 7-10 psi below traditional inner tube recommendations enhances traction and comfort. Regularly check sealant levels every 2-3 weeks to prevent sealant dry out, which diminishes puncture resistance. To add sealant, remove the valve core, inject 80-120 ml per tire, then re-inflate and rotate the wheel for even distribution. During setup, overinflate tires (40-50 psi) to seat the bead and spread sealant, then reduce to the correct pressure for riding. Use a pump for re-inflating, ensuring a tight valve core. Sealant maintenance is key: consistent checks and top-ups keep your tubeless setup sealing effectively. Proper sealant distribution ensures optimal performance and longevity of your tubeless tires, and understanding the expiration of sealant can help prevent issues caused by dried or degraded sealant. Additionally, selecting the right sealant type can further improve sealing and reduce the frequency of top-ups. Being aware of sealant longevity helps riders plan timely replacements and maintain optimal sealing performance.
Maintaining and Troubleshooting Your Tubeless Setup

Regular inspection and prompt troubleshooting keep your tubeless setup functioning smoothly. First, check the sealant every 2-3 months and top it off using a sealant injector through the valve core to maintain proper sealant application. Second, inspect the valve for leaks or clogging; clean or replace the valve core if needed to guarantee an airtight seal. Third, examine the rim tape for tears or improper adhesion, and reseat the tire if bead seating is compromised. When facing slow leaks, try increasing inflation pressure or using a compressor to assist bead seating. Address leak repair immediately by applying soapy water to identify leaks, and reseat the bead to achieve proper contact with the rim for a reliable tubeless setup.
Frequently Asked Questions
How to Set up Tubeless MTB Tires?
To set up tubeless MTB tires, start by removing the inner tube and cleaning your rim thoroughly. Install tubeless-compatible rim tape, insert the tubeless valve, and mount the tire starting at the valve. Use soapy water to seat the beads, then inflate until they snap into place. Inject sealant, spin the wheel to distribute it, check for leaks, and adjust tire pressure for a secure, airtight fit.
Is It Worth Converting Your Mountain Bike to Tubeless?
Converting your mountain bike to tubeless is like opening a new level of riding. It’s worth it because you’ll experience fewer flats, saving time and frustration. Plus, you can run lower pressures for better grip and control on rough terrain. While the initial cost might seem high, the long-term savings on tubes and repairs make it a smart investment. Regular maintenance keeps your setup reliable and ready for adventure.
Do Tubeless Tires Roll Faster on MTB?
You want to know if tubeless tires roll faster on your MTB. The answer is yes—thanks to lower rolling resistance, less friction, and the ability to run lower pressures for better traction. Sealant smooths out irregularities, reducing energy loss. Empirical tests show tubeless setups can be 10-15% faster, giving you an edge on rough terrain. So, switching to tubeless can definitely boost your speed and ride quality.
What Pressure Should MTB Tubeless Tires Be?
You should set your MTB tubeless tires between 20-30 PSI, depending on your weight and terrain. If you’re tackling technical trails or need better grip, go lower—around 15-25 PSI. For rougher terrain or heavier riders, aim for closer to 25-30 PSI to avoid bead unseating. Always check your manufacturer’s guidelines and adjust based on how you feel and the conditions for peak performance.
Conclusion
Choosing the right tubeless setup is about understanding your riding style, selecting compatible components, and mastering proper installation. It’s about managing pressure, sealant levels, and maintenance to keep your ride smooth and reliable. It’s about staying confident on challenging terrain, enjoying fewer flats, and maximizing performance. By paying attention to these essentials, you’ll ride smarter, faster, and longer. Embrace the process, stay attentive, and enjoy the endless adventures your tubeless setup can offer.