
To choose the right components for your custom build, start by identifying your main purpose—gaming, content creation, or multitasking—and set a clear budget. Prioritize essential parts like the CPU, GPU, and motherboard, ensuring compatibility. Balance your spend on high-performance options for critical components while selecting reliable, affordable RAM, storage, and power supplies. Don’t forget to take into account future upgrades and cooling solutions. Continue exploring to find tips on matching parts and assembling your perfect system.
Key Takeaways
- Identify your primary use case (gaming, content creation, multitasking) to prioritize relevant components.
- Set a realistic budget covering all parts, peripherals, and future upgrades for balanced spending.
- Ensure component compatibility, focusing on CPU, GPU, motherboard, and power supply wattage.
- Plan for future upgrades by selecting a high-quality PSU, extra RAM slots, and a larger case for expansion.
- Choose reliable, performance-appropriate hardware like SSDs for speed and high-performance GPUs for your resolution needs.
Assessing Your Usage and Performance Needs

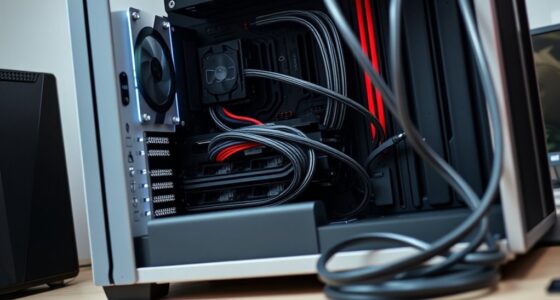
To choose the right components for your build, you first need to assess your usage and performance needs. Are you building a PC for gaming, content creation, or multitasking? This helps determine if you need a powerful graphics card or a high-performance Intel Core CPU. Consider your preferred resolution and refresh rate—4K at 144Hz or 1080p at 60Hz—to pick suitable graphics and monitor setups. Think about whether you really need a CPU cooler or additional parts like a tempered glass side, and plan your cable management with zip ties for a clean build. If you’re building a PC for gaming, you’ll want a reliable Power Supply Unit and a solid boot drive. Choosing your components carefully guarantees your custom build meets your performance and upgrade plans. Additionally, understanding software quality assurance practices can help you optimize your build process and ensure all hardware components work seamlessly together. Proper financial planning can also help you stay within budget while selecting quality components for your build. Incorporating insights from AI security research can also inform your choices, especially when evaluating the reliability and safety features of new hardware. Moreover, applying attention to detail during assembly can prevent costly mistakes and ensure a stable, long-lasting system.
Establishing a Realistic Budget

Start by setting a clear spending limit that covers all components, peripherals, and future upgrades. Research current prices to guarantee your budget aligns with real market costs, especially for high-demand parts. Focus on essential components first, then allocate remaining funds for storage, RAM, and potential upgrades. Additionally, consider high refresh rates which are crucial for activities like gaming and can influence your component choices.
Set Spending Limits
Establishing a realistic budget is essential to building a PC that meets your needs without overspending. Setting clear spending limits helps you prioritize components and prevents unnecessary expenses. Before choosing parts, determine your total spending limit to ensure compatibility and financial feasibility. Allocate funds proportionally, investing more in the CPU and GPU for gaming, while balancing RAM and storage. Consider future upgrades within your budget to extend your build’s lifespan. Remember, high-end components greatly increase costs, but a mid-range build can still deliver excellent performance. Keep these points in mind:
- Define your total spending limits upfront
- Focus on essential components first
- Balance high-performance parts with affordable options
- Leave room for future upgrades
- Avoid overspending on unnecessary features
Sticking to your spending limits ensures a smarter, more efficient build.
Prioritize Essential Components
Once you’ve set your overall spending limits, it’s important to prioritize the main components that will determine your PC build’s performance. Focus on the CPU, GPU, and motherboard early in your part list, as they have the biggest impact on speed and upgrade potential. Allocate funds for a quality power supply—at least 650W for a mid-range build—to ensure stability and future upgrades. Balance your budget by choosing reliable yet cost-effective options, like 16GB of DDR4 RAM for gaming. Remember to include essential peripherals and storage within your total budget, so your build is fully functional and ready to use. Additionally, understanding component compatibility is crucial to avoid bottlenecks and ensure all parts work seamlessly together. Paying attention to power supply capacity can help prevent issues related to insufficient power delivery. Incorporating protective components can further enhance the durability and longevity of your system. Moreover, adopting a growth mindset during your planning process can help you adapt to unforeseen challenges and upgrade opportunities, ensuring your build remains effective over time. Being informed about well-being tips can also help you maintain your focus and reduce stress during the building process. Prioritizing these components helps you create a performance-focused PC without overspending.
Allocate for Future Upgrades
To guarantee your PC remains capable of handling future upgrades, it’s essential to allocate funds beyond your initial build. Setting a realistic budget that includes future upgrades ensures your system can adapt to changing hardware standards and software demands. Consider investing in a higher wattage power supply, more RAM, or faster storage now to avoid costly replacements later. Choose a motherboard with extra RAM slots, multiple M.2 slots, and strong PCIe support for easy expansion. A larger case provides space for upgraded cooling, additional drives, or bigger GPUs. Prioritize high-quality, modular power supplies and durable components to prevent early replacements. Additionally, selecting components with upgradeability options can save you time and money in the long run. Incorporating scalable architecture into your build design can further facilitate seamless upgrades as your needs evolve. Being aware of potential compatibility issues can help prevent costly mismatches during future upgrades. Planning for future hardware compatibility ensures your upgrades remain smooth and cost-effective. Considering component longevity can also help you choose parts that will perform reliably over time, reducing the need for frequent replacements.
Selecting the Compatible CPU and Motherboard
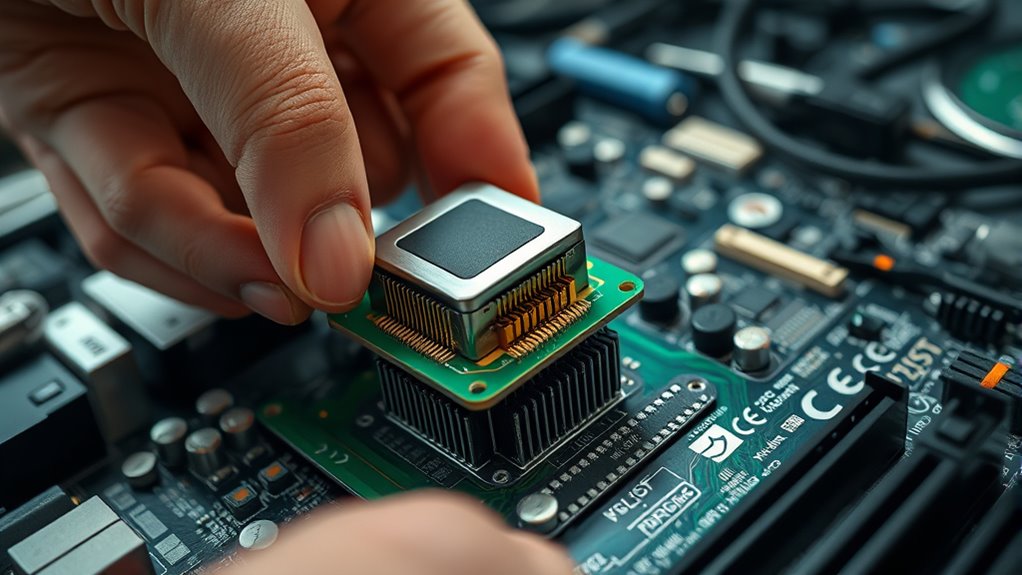
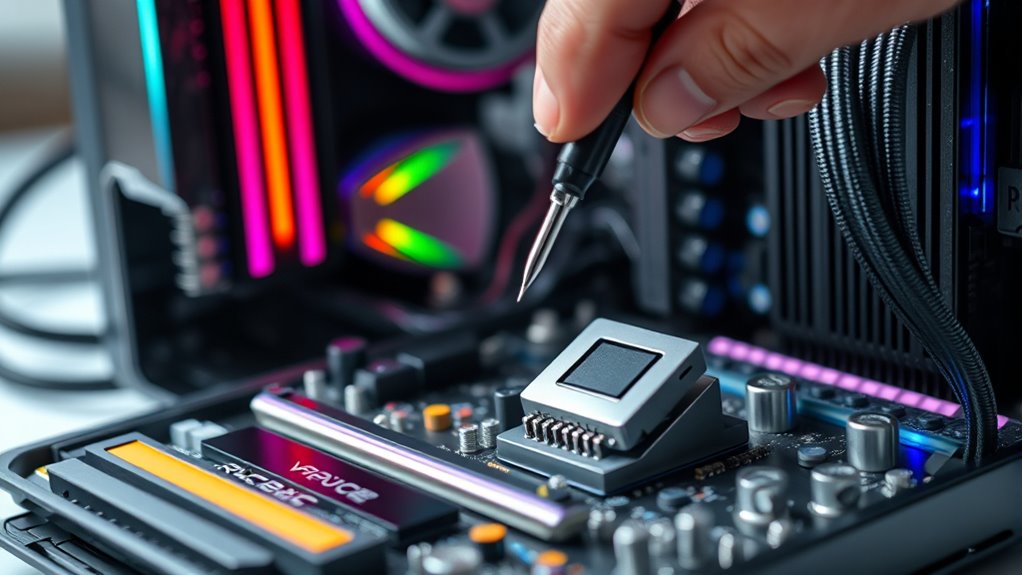
Choosing the right CPU and motherboard begins with guaranteeing they’re compatible in key areas. First, check that the CPU socket matches the motherboard’s socket type, such as LGA 1700 for 13th Gen Intel or AM5 for AMD Ryzen 7000 series. Next, verify that the motherboard’s chipset supports the features you want, like PCIe 5.0 or DDR5 RAM, to keep your build future-proof. Always consult the motherboard’s compatibility list or manufacturer resources to confirm support for your chosen CPU, including BIOS requirements. Also, consider the motherboard’s form factor—ATX, microATX, or Mini-ITX—to match your case size and expansion needs. Cross-referencing models ensures you avoid mismatches and build a stable, compatible system from the start. Ensuring compatibility of components is essential for a seamless building experience and system stability, especially when considering component compatibility standards to prevent potential issues. Additionally, paying attention to power delivery and VRM quality helps ensure your system can handle the CPU’s power requirements reliably. Incorporating motherboard features like heatsinks and cooling solutions can also improve performance and longevity of your build.
Choosing the Right Memory (RAM) for Your Build
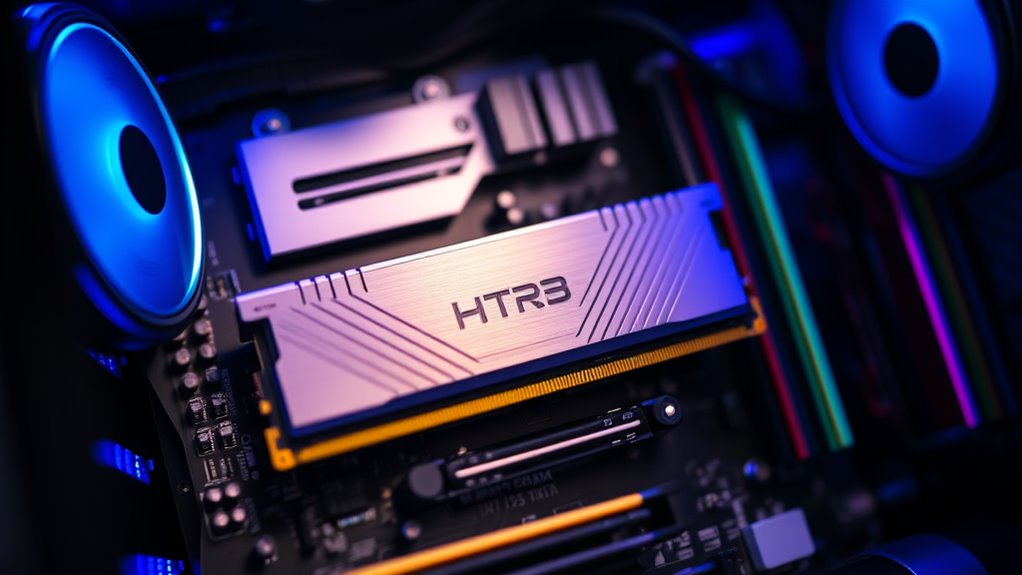
Selecting the right memory (RAM) is essential for guaranteeing your build runs smoothly, especially for gaming and multitasking. To get the best performance, aim for at least 16GB of DDR4 or DDR5 RAM. Compatibility is key—check your motherboard’s supported speeds, voltages, and maximum capacity before buying. Higher RAM speeds, like DDR4 3200 MT/s or DDR5 5600 MT/s, can boost performance when paired with the right CPU and motherboard. Avoid mixing RAM kits from different manufacturers or with different timings, as this can cause stability issues. Enabling XMP or EXPO profiles in BIOS allows your RAM to run at its rated speeds automatically. Understanding the role of sound design in multimedia can also help you optimize your system for creative work. Match RAM with your motherboard’s supported speeds. Use identical RAM kits for stability. Opt for higher speeds if compatible. Enable BIOS profiles for overclocking. Ensure total capacity meets your needs.
Picking the Appropriate Graphics Card (GPU)

Your graphics card (GPU) plays a crucial role in rendering images and delivering smooth gaming experiences, making it a key component in your build. When choosing a GPU, consider your target resolution and refresh rate. For example, a Radeon RX 7600 is ideal for 1080p gaming, while high-end cards like the RTX 4090 excel at 4K. Confirm compatibility with your motherboard’s PCIe slot and that your power supply can handle the GPU’s wattage requirements—high-end models often need 750W or more. VRAM also matters; 8GB suits most 1080p gaming, but 12GB or more benefits 4K performance. Finally, evaluate price-to-performance and availability, especially during market fluctuations, as premium cards like the RTX 5090 can be scarce or costly.
Deciding on Storage Solutions and Configurations
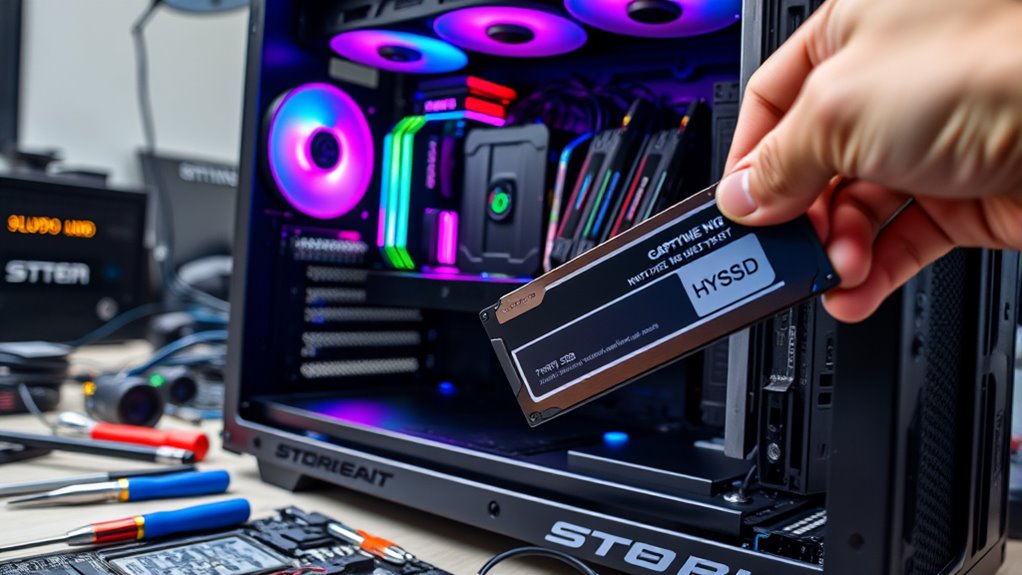
Choosing the right storage depends on your performance needs and budget. SSDs like NVMe M.2 offer faster boot and load times, while SATA SSDs and HDDs provide more affordable options for additional space. Combining different types can give you a balance of speed and capacity tailored to your build.
Storage Type and Speed
Deciding on the right storage involves understanding the differences in speed and form factor to meet your needs. SSDs deliver faster data access and boot times than HDDs, making them perfect for your operating system and apps. NVMe M.2 SSDs offer even higher read/write speeds—over 7,000 MB/s—great for gaming and demanding applications. Combining an SSD for speed and an HDD for storage balances performance and cost. When choosing, consider these factors:
- Type: SATA SSD or NVMe M.2 SSD
- Speed: Sequential read/write benchmarks matter
- Form factor: M.2, 2.5″, or 3.5″ drives
- Interface: SATA vs. NVMe connections
- Motherboard support for slots and connectors
Matching these options ensures your build runs smoothly and efficiently.
Capacity and Budget
Balancing storage capacity with budget constraints requires careful selection of drive types and sizes. An effective approach is to use a 500GB or 1TB SSD for your operating system and frequently played games, ensuring quick load times and responsiveness. For larger data needs, add a 2TB or bigger HDD for mass storage. Budget builds often opt for 256GB to 512GB SSDs, which are affordable but may require future upgrades as your data grows. Higher-capacity SSDs, like 2TB or 4TB models, cost more but offer ample space for large files, extensive game libraries, and creative projects without the need for frequent upgrades. Also, check your motherboard’s support for drive types and form factors to maximize capacity and performance within your budget.
Estimating Power Supply Requirements and Efficiency

Estimating your power supply requirements is essential to guarantee your system runs smoothly and remains stable under load. To do this, add up the wattage of all components, including CPU, GPU, drives, and peripherals, with some headroom for future upgrades. Use a PSU wattage calculator for an estimate, but remember that actual power varies based on workload, efficiency, and overclocking. Choosing a high-efficiency PSU (80 Plus Bronze or higher) minimizes wasted energy and heat, improving stability. For gaming or high-performance builds, a 650W to 850W power supply usually suffices. If you have multiple GPUs or plan heavy overclocking, consider 1000W or more. Also, ensure your PSU has the right connectors and a modular design for better cable management and compatibility.
Picking a Suitable Case for Size and Features

Choosing the right case depends on your build’s size requirements and desired features. Full-tower cases support larger motherboards and advanced cooling, while mid-tower options offer a good balance of space and expandability. Consider your aesthetic preferences, such as tempered glass panels or RGB lighting, to find a case that suits both your style and functional needs.
Case Size Compatibility
Ever wondered how the size of your case impacts your build? Choosing the right size affects component support, airflow, and future upgrades. Full-tower cases support Extended-ATX motherboards and offer extensive cooling options but are larger and pricier. Mid-tower cases are the most common, fitting standard ATX motherboards with a good balance of space, compatibility, and airflow. Mini-tower or small form factor cases are compact, requiring careful planning and compatible components due to limited room. Your case size determines the maximum support for GPUs, radiators, and drives, influencing upgrade potential. Also, consider your workspace and airflow needs.
- Full-tower: maximum support, extensive cooling
- Mid-tower: versatile, popular choice
- Mini-tower: compact, space-efficient
- Compatibility with components
- Workspace and airflow considerations
Feature and Style Options
Selecting a case isn’t just about size; it also involves considering the style and features that match your build and aesthetic preferences. For example, if you want a sleek, modern look, a case with tempered glass panels and RGB lighting might be ideal. Features like cable management options help keep your build tidy and improve airflow, while front panel ports add convenience. Larger cases, such as full-tower models, support extensive cooling options, making them perfect for high-performance setups and future upgrades. Mid-tower cases are popular for their balance of space and airflow, fitting most standard components. Small form factor cases prioritize compactness, requiring careful component choices. Ultimately, choose a case that aligns with your style preferences and functional needs to create a cohesive and efficient build.
Planning Cooling Options for Optimal Temperatures
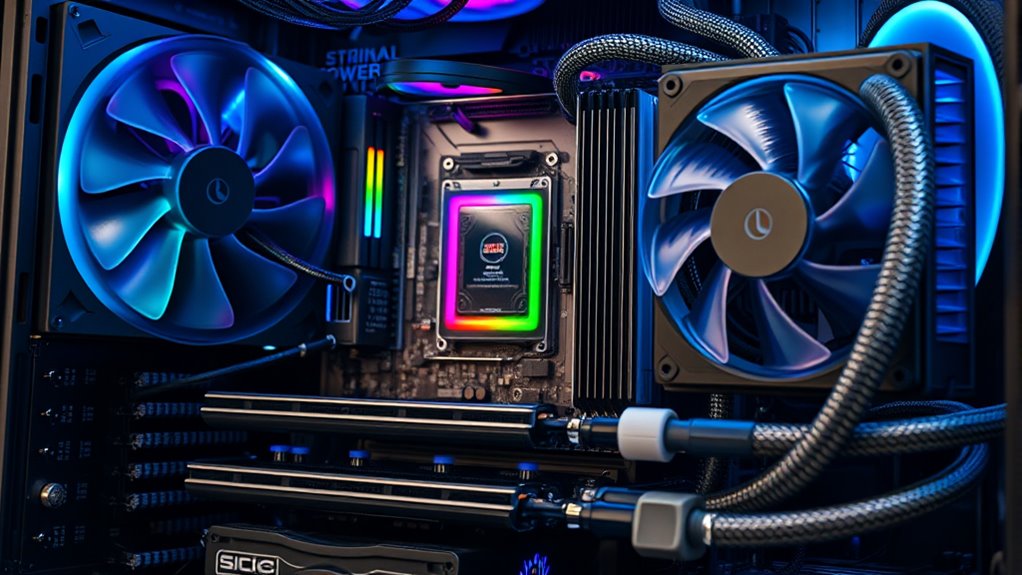
To keep your components running efficiently and prevent overheating, planning your cooling options carefully is essential. Start by evaluating your case size and airflow pathways, ensuring you have proper intake and exhaust fans to avoid hotspots. Consider liquid cooling if you plan to overclock or have high-performance GPUs, as AIO or custom loops offer superior heat transfer. Check compatibility between your cooling solution and CPU socket to ensure proper fit and thermal contact. Maintain good cable management and adequate airflow, which reduces obstructions and promotes consistent cooling. Don’t forget to regularly clean dust filters and fans, as dust buildup hampers airflow and can cause thermal throttling. Proper planning ensures your build stays cool, quiet, and reliable.
Ensuring Compatibility and Future Upgradability

After planning your cooling setup, it’s important to verify that all your components are compatible and can work together seamlessly. Start by checking your motherboard’s socket and chipset to ensure they match your CPU, preventing installation issues. Confirm that your RAM supports your motherboard’s standards, whether DDR4 or DDR5, and fits within its maximum capacity. Use power supply wattage calculators to determine the minimum wattage needed, adding extra for future upgrades or overclocking. Make sure your case can physically accommodate your GPU, cooling solutions, and motherboard form factor. Finally, review compatibility tools and manufacturer specs to identify potential conflicts before purchasing or assembling. Doing this ensures a smooth build process and helps your system stay upgradable for years to come.
Frequently Asked Questions
Is $1000 Enough to Build a Gaming PC?
You wonder if $1000 is enough to build a gaming PC. The answer is yes, with careful planning. You can get a solid system capable of 1080p gaming at high settings by choosing a good CPU like an AMD Ryzen 5 or Intel Core i5, paired with a mid-range GPU such as the RX 7600 or RTX 4060. Prioritize balanced components like 16GB RAM and a quality power supply to maximize performance and future proofing.
What Are 5 Components That Would Be Important to You When Buying a Computer?
When buying a computer, you focus on five key components. You want a powerful CPU to handle your tasks smoothly, a good GPU for crisp graphics and gaming, enough RAM to multitask effectively, ample storage for files and programs, and a reliable power supply that supports your system’s needs. These parts guarantee your computer runs efficiently, meets your performance expectations, and is ready for future upgrades.
What Is the Website to Check PC Parts Compatibility?
Did you know that over 1 million PC builds are shared on PCPartPicker? To verify your PC parts compatibility, you should visit www.pcpartpicker.com. The site offers an automatic compatibility checker that spots conflicts between components like CPU, motherboard, RAM, and GPU. You can also create your own build list, get alerts, and explore community-shared builds to guarantee your parts work perfectly together before you buy.
Can I Build a Gaming PC Under $50,000?
Yes, you can definitely build a gaming PC under $50,000. With this budget, you can choose top-tier components like high-end CPUs, multiple powerful GPUs, large SSDs, and premium cooling systems. You’ll have plenty of room for custom cases, aesthetic lighting, and future upgrades. This budget allows you to create a luxury gaming setup that delivers exceptional performance, stunning visuals, and custom features tailored to your preferences.
Conclusion
Building your dream PC is like crafting a masterpiece—you need the right brushstrokes and tools. By carefully choosing components that harmonize and suit your needs, you’ll create a powerful, reliable machine ready to conquer any task. Think of it as assembling your personal orchestra, where each part plays its perfect note. With patience and attention, your custom build will stand tall like a fortress, ready to elevate your digital adventures to new heights.