To convert to tubeless, first check if your rims are tubeless-ready or need rim tape to cover spoke holes. Remove the valve core, pour the recommended amount of sealant into the tire, and reinstall the valve core. Mount the tire securely, then inflate to the desired pressure to help the sealant distribute evenly. Proper sealing and rim compatibility are key for a reliable setup. Keep going, and you’ll discover the full process for a smooth, leak-free ride.
Key Takeaways
- Ensure your rims are tubeless-compatible or add rim tape to non-compatible rims before sealing.
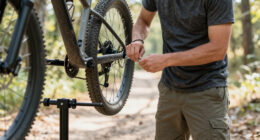
- Remove the valve core, pour recommended amount of tubeless sealant into the tire, then reinstall the valve core.
- Mount the tubeless tire onto the rim, ensuring a tight seal, and inflate to the recommended pressure to distribute sealant.
- Confirm proper sealing and check for leaks, adding more sealant if necessary for small punctures.
- Regularly maintain the system by checking pressure and reapplying sealant periodically for optimal performance.
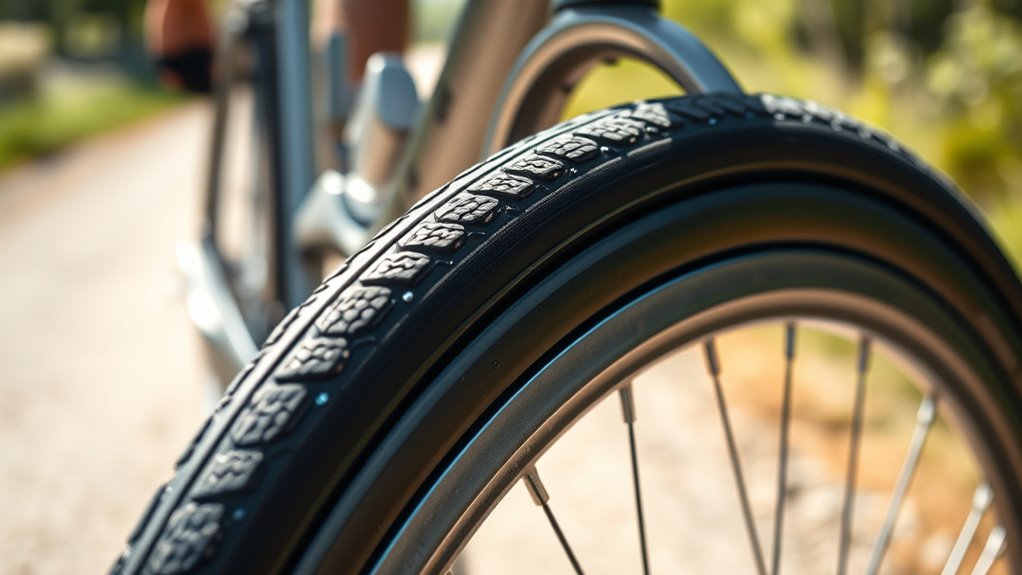
Are you tired of dealing with frequent flats and slow leaks? Converting to tubeless can be a game-changer, but it’s essential to understand the basics before making the switch. One of the first things you need to consider is tire sealing. Unlike traditional tubes, tubeless setups rely on a tight seal between the tire and rim to prevent air from escaping. Proper tire sealing is crucial because it ensures that the air stays in, reducing the chances of flats and allowing you to ride with lower pressures for better traction and comfort. To achieve a good seal, you’ll want to use a high-quality tubeless sealant inside the tire. This liquid not only seals small punctures as they happen but also helps maintain the airtight environment needed for tubeless performance. Applying sealant is straightforward: after removing the valve core, pour the recommended amount into the tire, then reinstall the valve core and inflate the tire to the desired pressure. The sealant will spread evenly, sealing small leaks and punctures along the way. Additionally, selecting the right rim compatibility is essential for a successful tubeless conversion, as incompatible rims can cause issues with sealing and mounting.
Another critical factor is rim compatibility. Not all rims are designed for tubeless tires, so you need to double-check whether your rim is compatible. Tubeless-ready rims have specific features, such as a bead lock or a special shape that helps create an airtight seal with the tire. If you try to install tubeless tires on non-compatible rims, you’ll likely face issues with air leakage or difficulty mounting the tires altogether. Many modern rims come tubeless-ready, but if yours isn’t, you might need to add rim tape to cover spoke holes and create a proper seal. The tape must be durable and airtight, preventing sealant or air from escaping through the rim. Confirming rim compatibility is a necessary step because it guarantees that the tire will seat properly on the rim, maintaining consistent pressure and performance. Before starting the conversion process, check your rim’s specifications, and if needed, upgrade to compatible rims or add the necessary tape and accessories.
Switching to tubeless might seem intimidating at first, but once you understand tire sealing and rim compatibility, the process becomes much easier. Properly sealing your tires and confirming rim compatibility set the foundation for a reliable tubeless system. This transition can greatly improve your riding experience by reducing flats, lowering rolling resistance, and allowing for lower pressures without risking pinch flats. It’s a smart upgrade for anyone looking to ride more confidently and efficiently. With the right preparation and attention to detail, converting to tubeless is a straightforward process that pays off every time you hit the trail or pavement.

Orange Seal – Endurance Formula Tubeless Bike Tire Sealant with Injector | Long Lasting, Fast Sealing | for MTB, Road, CX and Gravel Bicycle Tires | 8oz w/Injector
Long-lasting latex formula provides superior durability, staying effective for 2-3 times longer than standard sealants to minimize maintenance…
As an affiliate, we earn on qualifying purchases.
As an affiliate, we earn on qualifying purchases.
Frequently Asked Questions
Can I Convert Any Type of Bicycle Tire to Tubeless?
You can’t convert any type of bicycle tire to tubeless. You need to contemplate tire compatibility and rim suitability first. Some tires and rims are designed specifically for tubeless setups, while others aren’t compatible. Check if your rims are tubeless-ready and if your tires can seal properly without inner tubes. If they’re compatible, you can follow a conversion process, but if not, it’s best to stick with traditional tubes.
How Long Does the Tubeless Conversion Process Typically Take?
Ever wondered how long a tubeless conversion takes? Usually, it takes about 30 minutes to an hour, depending on your bike and experience. The process includes preparation, like cleaning the rim and installing the tubeless tape, followed by installing the tire and sealing the system. Are you ready to streamline your ride? Keep in mind, patience during the installation process guarantees a smooth, leak-free setup.
Will Converting to Tubeless Affect My Bike’s Performance?
Converting to tubeless usually improves your bike’s performance by allowing lower tire pressure, which enhances riding comfort and traction. You might notice fewer flats and less rolling resistance, making rides smoother and more efficient. However, it’s essential to check your tire pressure regularly because tubeless setups can lose air over time. Overall, this conversion positively impacts your riding experience, offering better control and comfort on various terrains.
What Are the Costs Involved in Converting to Tubeless?
You’ll love how converting to tubeless saves you money—if you ignore installation costs and maintenance expenses. The initial setup can range from $50 to $150, depending on your bike and parts needed. Maintenance costs are lower over time, but watch out for sealant refills and occasional repairs. Irony’s on your side: a small investment now could save you big bucks in the long run.
How Often Should I Check or Maintain My Tubeless Tires?
You should check your tubeless tires weekly to guarantee peak performance. Keep an eye on tire pressure and add air as needed to maintain the recommended levels. Also, regularly inspect the sealant levels and top them up every few months or after long rides. Maintaining proper tire pressure and sealant levels helps prevent flats, improves ride quality, and extends the life of your tubeless tires.

Muc-Off Tubeless Rim Tape, 25mm – Adhesive Bike Tire Liner, Tubeless Tape for MTB/Road/Gravel Bikes – Tubeless Kit Including 10m Roll of Bike Tape
GOING TUBELESS?: Our bike rim tape is the perfect choice if you’re looking to make the switch to…
As an affiliate, we earn on qualifying purchases.
As an affiliate, we earn on qualifying purchases.
Conclusion
So there you have it—ditch those pesky tubes and embrace the glorious world of tubeless. Sure, it’s just a bit more work upfront, but think of all the time you’ll save avoiding flats. Who knew upgrading your bike could be so revolutionary? Now, go ahead, convert and watch your ride become smoother, faster, and somehow more glamorous. Because, honestly, what’s more exciting than pretending you’re a pro while avoiding those annoying punctures?

60mm Carbon Wheel Sets Road Bike 700C Wheelset Tubeless Ready Road Cycling Wheels 28mm Tubeless Compatible Clincher
1:Classic UD matte appearance.U-shaped wind-breaking wheel group shape, better cruising ability.
As an affiliate, we earn on qualifying purchases.
As an affiliate, we earn on qualifying purchases.

Boao 20 Pieces Presta Valve Core Bike Replacement Brass Tubeless Core for Tubeless Road MTB Bike, Stan's, Vittoria, Continental, Kenda and Mor
Package include: 20 pieces presta valve cores you will get in the bag, enough for your bicycle, you…
As an affiliate, we earn on qualifying purchases.
As an affiliate, we earn on qualifying purchases.