
To create bicycle art that lasts, pick durable, eco-friendly materials and prepare your surface with primer and texture to boost vibrancy. Use smooth painting techniques, layering thin coats, and add background textures inspired by cycling gear. Incorporate modern effects like thermochromic paints or multimedia elements for a unique touch. Focus on weatherproof finishes and portable designs to share your work anywhere. Keep exploring these tips to refine your skills and bring your bicycle art to life.
Key Takeaways
- Select eco-friendly materials and repurpose bicycle parts to enhance theme and durability of your bicycle art.
- Prepare surfaces thoroughly with priming, toning, and sanding to ensure vibrant, long-lasting finishes.
- Experiment with modern techniques like 3D printing, textured layers, and multimedia elements for innovative designs.
- Use protective coatings such as UV-resistant clear coats and epoxy primers to safeguard outdoor artwork.
- Incorporate textures, effects, and community projects to deepen artistic impact and engagement.

GAVTON 3-in-1 Waterproof Bike Pannier Bag Set 40L Detachable Bicycle Saddle Bag Backpack with Adjustable Shoulder Strap Heavy-Duty Polyester for Commuting Touring Cycling Accessories
3-in-1 Versatile Bike Pannier Bag – Easily mount on bike racks as dual saddle bags, detach into a...
As an affiliate, we earn on qualifying purchases.
Selecting the Right Materials and Supplies

When creating bicycle art, choosing the right materials and supplies is essential to bring your vision to life. Start by considering the art form that best suits your style. String art kits include nails, embroidery floss, and hangers for intricate designs. If you prefer hand-drawn pieces, gather quality paper, pencils, and ink. Leather crafting allows you to create accessories like bags or bar wraps with leather shears, stitching tools, and eco-friendly leather options. For mixed media projects, combine paints, collage materials, and string art supplies on sturdy surfaces. Use graphite paper to transfer designs accurately onto your chosen medium. Selecting sustainable materials such as recycled wood, natural paints, and eco-friendly leather not only enhances your work but also supports environmentally conscious art creation. Additionally, consider incorporating bike components or repurposed bicycle parts to add a unique, thematic touch to your artwork. Paying attention to material durability ensures your art remains intact over time and can be displayed or used practically. Using top-quality supplies can significantly improve the overall quality and longevity of your artwork, making it more satisfying to create and display. Moreover, choosing supplies with environmentally friendly features can further align your projects with eco-conscious practices, promoting sustainability in your art. Incorporating dog names or character-inspired motifs can also add a personalized and playful element to your bicycle-inspired creations.
Dreamoon 50L Bike Panniers, Waterproof Bicycle Commuting Bag Saddle Bags with Rain Cover, Bike Rear Seat Bag Carrier with Reflective Trim, Cycling Organizer for Width Less Than 6.3 inches Rack (Green)
【50L Large Storage Capacity】This DREAMOON bike panniers has a 40L capacity, with each side holding 25L(Size:20.9''L x 13.0''W...
As an affiliate, we earn on qualifying purchases.
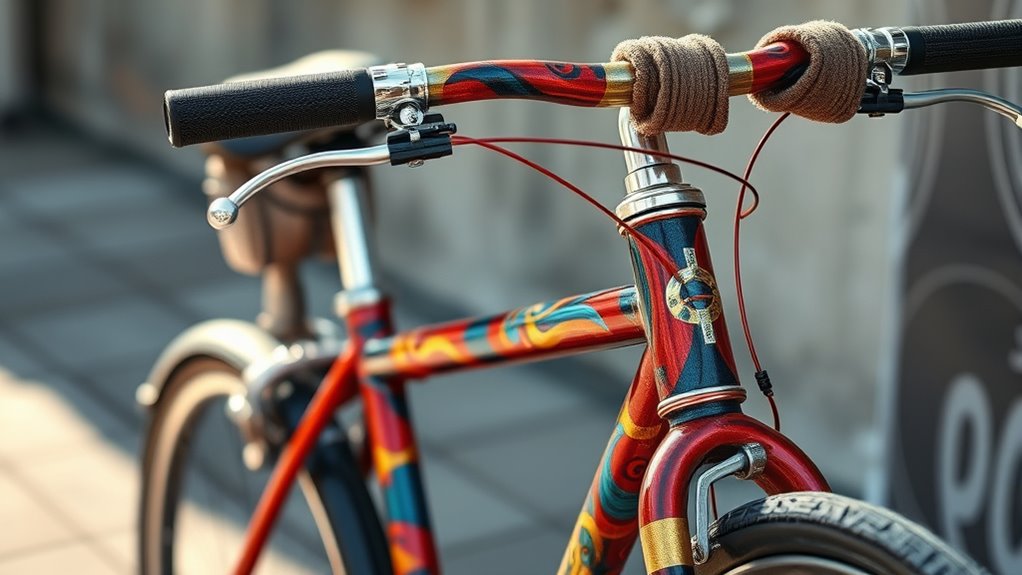
Mastering Traditional Painting Techniques for Bicycle Art

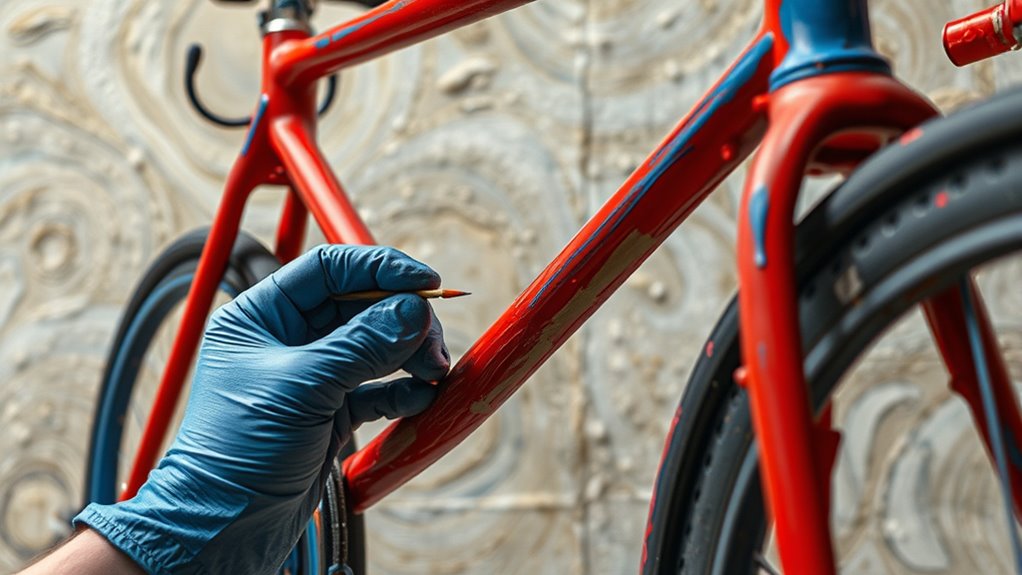
Mastering traditional painting techniques is essential for creating striking bicycle art that lasts. Choose coach enamel paints like Tekaloid for durability and smooth application, and consider polyurethane-modified paints for extra gloss and chemical resistance. Use the right thinner—avoid generic solvents—to guarantee ideal flow and avoid texture issues. Apply multiple thin coats, waiting 5-15 minutes between layers, rather than heavy applications, for better adhesion and finish. To achieve a smooth surface, use synthetic bristle brushes for enamel paints and avoid brush marks by maintaining consistent stroke directions. Lightly sand between coats with 280+ grit paper to improve adhesion. Additionally, paying attention to color accuracy ensures that your bicycle art exhibits true and vibrant hues, making your work stand out. Incorporating traditional techniques can also enhance the overall quality and durability of your artwork. Being aware of security strategies can inspire you to develop more resilient and innovative artistic approaches. Furthermore, understanding proper filtering and pump protection methods can help maintain your tools and ensure consistent results over time.

MOSISO 20L Bike Panniers, 2 Pack Waterproof Panniers Bike Bag, Large Capacity Flap Bicycle Rear Rack Seat Luggage Storage Trunk Bag for Road Mountain Cycling Traveling Commuting, Black
Dimensions: 16.92 x 12.4 x 6.1 inches (L x W x H). These 2 pack waterproof bike panniers...
As an affiliate, we earn on qualifying purchases.
Preparing Your Canvas and Surface for Optimal Results
Properly preparing your canvas sets the foundation for vibrant and durable bicycle art. Start by choosing a suitable canvas, ideally primed for acrylics, and decide on the size based on your desired detail. Consider the surface texture—smooth or rough—according to the effect you want.
If using a loose canvas, stretch and secure it onto a frame for stability. If unprimed, apply a primer to create a better painting surface, ensuring even coverage. Let the primer dry thoroughly before moving on.
Toning the canvas with a thin mixture of water and a small amount of paint, like yellow ochre, can help neutralize the surface and enhance color vibrancy. Use gentle, even strokes to avoid streaks, and ensure everything is dry before starting your artwork.

KEMIMOTO Bike Bag Panniers with Rain Cover, 34L Waterproof Bicycle Saddle Bag for Rear Rack Mountain Biking Bags Storage, Ebike Accessories for Commuter Grocery Shopping Travel Carrier, Green
Compatibility: Bike pannier bags fits most bike racks, including those for city, mountain, road, electric, and hybrid bikes,...
As an affiliate, we earn on qualifying purchases.
Applying Base Layers and Background Textures
After preparing your canvas and surface, you’re ready to build the foundation of your bicycle art with base layers and background textures. Use versatile materials, like synthetic or natural fibers, to create the base, balancing warm and cool colors to regulate visual temperature. Incorporating background textures thoughtfully can evoke emotions and create contrast, highlighting key elements of your bicycle. Layering different hues helps establish depth and realism, while textured techniques add dimension and visual interest. Drawing inspiration from cycling gear textures, such as woven patterns, can enhance authenticity. Additionally, understanding camping gear reviews can inform your choice of durable and suitable materials for mixed-media backgrounds. Managing moisture in your layers prevents overwhelming visuals, maintaining aesthetic comfort. Recognizing divorce statistics may seem unrelated, but understanding the importance of proper planning and resources can also apply to organizing your art process efficiently. Developing conflict resolution skills can help you navigate creative setbacks and critiques more effectively. Recognizing inspirational quotes can motivate you to persevere through challenging stages of your creative journey.
Incorporating Modern Customization Trends and Effects
Incorporating modern customization trends and effects into bicycle art offers exciting ways to personalize and elevate your designs. You can use modular components like interchangeable handlebars and saddles to reflect rider preferences and create adaptable pieces.
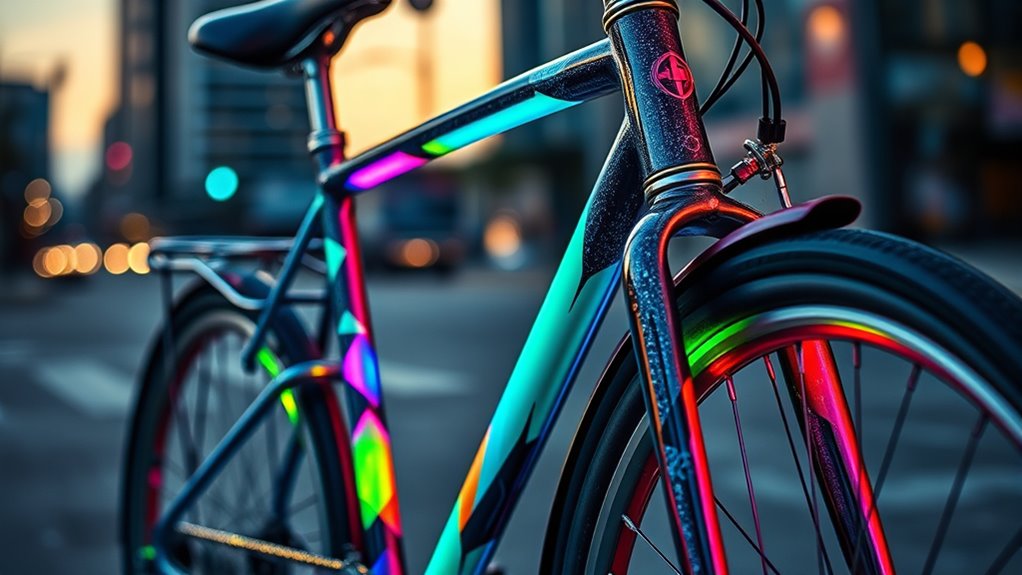
Leveraging 3D printing allows for bespoke geometric patterns, logos, or unique embellishments. Dynamic finishes, such as thermochromic or hydrochromic paints, make your artwork interactive and responsive to environmental changes. Understanding zodiac compatibility can also inspire thematic designs that resonate with personal or cultural symbolism.
Embedding biometric data visualization—speed, cadence—via LED or OLED displays adds a functional art element. You might also incorporate cultural storytelling motifs, like regional symbols, to give your bike a personalized touch. Incorporating safety features ensures that your customized bicycle art remains functional and secure during use. Additionally, exploring color theory can help you select palettes that evoke specific emotions or aesthetic effects in your designs.
Furthermore, understanding cheating behaviors can inform ethical approaches to collaboration and originality in your artistic process, ensuring integrity in your creative work. Incorporating sustainable materials and eco-friendly paints can also enhance your commitment to environmental responsibility while creating eye-catching, innovative designs that stand out, blending aesthetics with technology and cultural relevance.
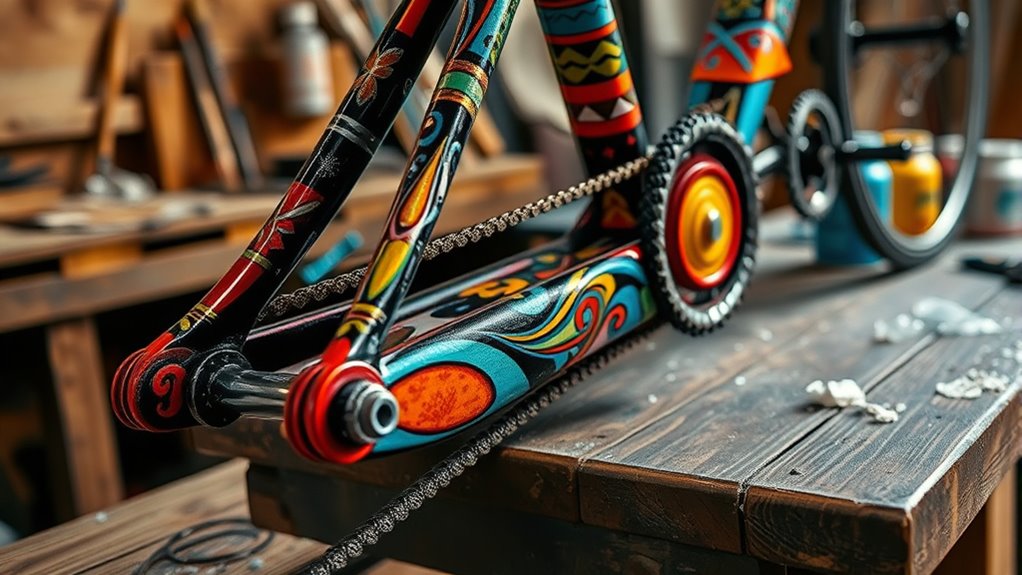
Exploring Multidisciplinary Approaches to Enhance Your Artwork
Exploring multidisciplinary approaches can considerably elevate your bicycle artwork by blending diverse techniques and materials. You might combine painting, sculpture, and digital elements to create layered visuals that captivate viewers.
Embedding recycled materials like gears, chains, or frames adds texture and promotes eco-conscious themes. Projection mapping can animate static surfaces with dynamic visuals, while sound components—such as handlebar-mounted speakers—offer multisensory experiences. Incorporating kinetic elements, like spinning wheels or moving parts, emphasizes motion and energy. Collaborating with other artists through group workshops or community projects fosters cross-disciplinary ideas, and using bicycle parts traded among creators sparks innovation.
Incorporate recycled bike parts, projection mapping, and sound elements to create immersive, eco-conscious artwork.
Applying functional design principles, like ergonomic modifications or lightweight materials, guarantees your art remains rideable. This multidisciplinary approach not only enhances aesthetic appeal but also deepens storytelling and engagement. Additionally, paying attention to the presentation techniques ensures your artwork is displayed effectively, drawing viewers into the narrative and craftsmanship behind your creations.
Furthermore, integrating concepts of emotional alignment can help you connect more deeply with your audience, creating a more meaningful experience.
Ensuring Durability and Outdoor Resistance in Bicycle Paintings

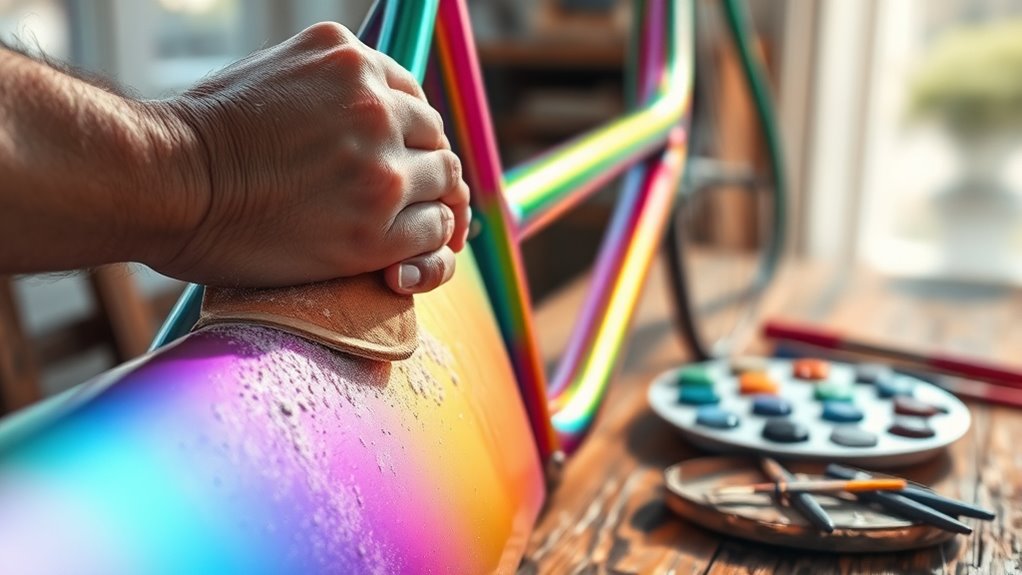
Ensuring your bicycle artwork withstands outdoor conditions requires careful preparation and protective measures. Start by thoroughly cleaning the frame to remove dirt, then strip old paint with a suitable aircraft stripper. Sand the surface with 180-grit wet/dry sandpaper for a smooth finish, and consider sandblasting rust off metal parts.
Before painting, apply a primer for better adhesion, especially on metallic or carbon frames. Use outdoor-specific paints like automotive or industrial-grade types, and finish with a clear coat such as Spray Max 2K for UV and weather protection. Multiple clear layers enhance durability.
Opt for UV-resistant paints and treat metal parts with rust-resistant coatings. Guarantee the frame is dry before painting and perform adhesion tests beforehand. Regular maintenance helps keep your artwork vibrant and protected over time.
Practical Tips for Portable and On-the-Go Bicycle Art Projects

When creating bicycle art that’s portable and ready for on-the-go display, selecting the right materials makes all the difference. Opt for lightweight options like aluminum, thin plastics, or corrugated sheets to keep transportation easy.
Choosing lightweight materials like aluminum and thin plastics ensures easy, portable bicycle art display.
Design modular components that collapse or disassemble, such as folding fences or detachable cogs, for quick setup.
Upcycled elements like wires, bottle caps, and chains help reduce weight while adding creativity.
Use water-resistant bases, like treated wood or marine plywood, to withstand weather.
Incorporate tension-based structures with elastic cords or bungee cables for fast assembly and disassembly.
Space-efficient strategies like vertical stacking, foldable surfaces, and integrated storage help optimize limited space.
Implement quick-release mechanisms, magnetic fixtures, and color-coded connectors to streamline setup and takedown on the move.
Finalizing and Finishing Your Bicycle Artwork for Impact
Finalizing and finishing your bicycle artwork is essential for making a lasting impact. Start by properly curing your paint and coatings—use a drying oven at around 150°F for epoxy primers and polyurethane enamels to ensure durability.
Sand the frame to 280-320 grit after priming to smooth out imperfections. Apply a clear varnish to boost shine and scratch resistance.
During painting, allow 10-15 minutes between coats to prevent runs, and use specialized nozzles to reduce dust nibs.
When applying decals, align them carefully with automotive-grade masking tape and seal under varnish layers to prevent peeling.
For added protection, use epoxy primers for corrosion resistance and polyurethane topcoats for UV and wear resistance.
Proper curing, surface prep, and attention to detail are key to achieving a professional finish that truly stands out.
Frequently Asked Questions
How Can I Achieve Precise, Clean Lines in Detailed Bicycle Designs?
To get precise, clean lines in detailed bicycle designs, you should start with good tools like fine-tip pens or digital brushes. Practice steady hand control, and use reference images for accuracy.
If working digitally, zoom in for better control and use clean-up tools to refine lines. Applying consistent line weight and erasing excess guarantees clarity, while techniques like overshooting and reviewing your work help achieve smooth, sharp results.
What Are the Best Methods to Seal and Protect Outdoor Bicycle Artwork?
Imagine your artwork shining like a shield under the sun, protected from dirt and scratches. To seal and safeguard your outdoor bicycle art, start with a high-quality clearcoat to lock in colors.
Then, add UV-resistant films or tapes over the design, focusing on high-rub areas.
Regular cleaning and combining ceramic coatings with physical protection guarantee your masterpiece stays vibrant and intact, ready to conquer any trail.
How Do I Select the Most Portable Art Supplies for Travel?
When choosing portable art supplies, you want lightweight, compact options that are easy to carry. Look for travel watercolor sketchbooks, small canvas panels, and magnetic-clip tins with essential paints and brushes.
Multi-functional kits with sketching tools and organization systems like pencil rolls or modular containers help keep everything accessible. Prioritize items that fit in your bag, are durable, and allow you to create comfortably on the go.
What Techniques Help Create Realistic Metallic or Chrome Finishes?
Think of achieving a mirror-like chrome finish as polishing a knight’s armor. You should start with proper surface prep, polishing the metal and applying a multi-layer plating system, like copper, nickel, then chrome.
Use spray guns with thin coats, and cure thoroughly between layers. Adding candy tints or metallic aerosols can enhance depth.
Finish with protective clearcoats and sealants, ensuring your metallic surface shines like a legendary hero’s armor.
How Can I Incorporate Mixed-Media Elements Without Damaging the Piece?
When incorporating mixed-media elements, you should prepare your materials properly. Use acid-free substrates and apply a protective fixative before attaching porous media.
Secure heavier or delicate items with dry mounting or foam tape to avoid damage. Layer lightweight textiles with minimal adhesive, and allow each medium to dry completely before adding the next.
Finish with UV-resistant varnish to protect your work, ensuring your mixed media stays intact and vibrant over time.
Conclusion
Now that you have all the tools and techniques at your fingertips, there’s no reason to beat around the bush. With patience and creativity, you can turn any bicycle into a moving masterpiece. Remember, practice makes perfect, and every stroke brings you closer to your artistic vision. Keep pushing boundaries and don’t be afraid to think outside the box—your bicycle art can truly stand out and make a statement.