
To make your bike stand out, start by choosing the right paint and finishes that suit your style and durability needs. You can incorporate custom graphics using masking and stenciling, and create eye-catching gradients or fade effects with digital tools. Applying clear coats enhances shine and protects your work for the long term. With proper prep, application, and finishing techniques, you’ll achieve a sleek, professional look. Keep exploring to discover how to perfect every detail.
Key Takeaways
- Use custom graphics, stencils, and masking techniques to create eye-catching, personalized designs on your bike’s surface.
- Incorporate special effects like gradients, fades, and iridescent finishes for unique visual impact.
- Select durable, high-quality paints such as powder coating or urethane for long-lasting, vibrant finishes.
- Add textures or metallic finishes to enhance depth and make your bike stand out from standard paint jobs.
- Proper surface preparation and professional application ensure a flawless, professional-looking custom finish that attracts attention.

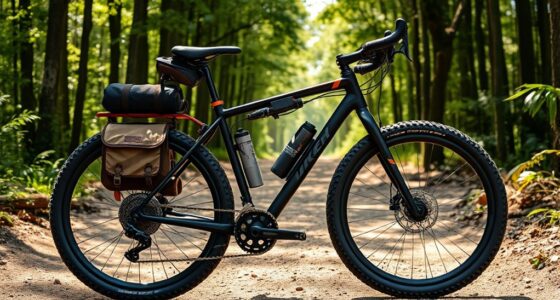
Schwinn Sporterra RX Gravel Bike, 700c Mens and Womens Bike, 14-Speed Drop Bar Gravel Bicycle, Mechanical Disc Brakes, Rigid Fork, Aerodynamic Riding Position, Quick Release Seat Post, Adult Bicycle
GRAVEL BICYCLE: Enjoy next level riding with the Sporterra RX by Schwinn. With 700c wheels, this mens and...
As an affiliate, we earn on qualifying purchases.
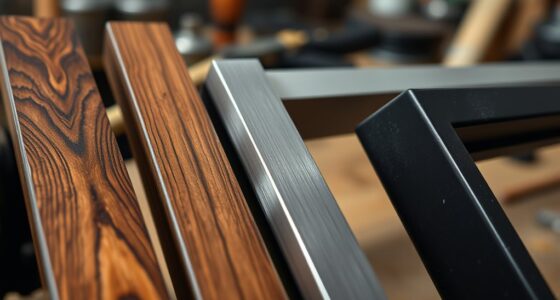
Understanding Your Frame Material and Preparation Techniques
Understanding your frame material is essential for achieving a durable, high-quality finish. Different materials require specific preparation methods to ensure ideal paint adhesion and longevity.
Choosing the right preparation method based on your frame material ensures a durable, high-quality finish.
Aluminum alloys like 6061 or 7005 need thorough cleaning to remove surface oxides, which form quickly and hinder bonding. Using proper cleaning techniques can significantly improve the adhesion process and prevent future issues. Additionally, applying a correct primer type suited for aluminum can further enhance durability and prevent corrosion. Employing advanced surface preparation methods, such as chemical etching or abrasive blasting, can optimize surface conditions for better paint adherence.
Steel frames must have rust removed and receive phosphate coatings to prevent corrosion under paint.
Carbon fiber surfaces often need sanding to eliminate mold-release agents and improve adhesion.
Titanium surfaces require specialized etching solutions, such as hydrofluoric acid-based agents, for proper bonding.
Keep in mind that material porosity impacts primer absorption; steel generally needs heavier primers than aluminum.
Additionally, understanding the impact of AI on everyday tech can guide the selection of modern, smart finishing tools that enhance precision and efficiency.
Proper preparation tailored to your frame material sets the foundation for a flawless, lasting finish.

Swagman Standard Fork Mount Rooftop Bike Carrier
EASY TO ASSEMBLE: The STANDARD is easy to assemble with no tools required, sets up in just minutes...
As an affiliate, we earn on qualifying purchases.
Choosing the Right Paint Types for Durability and Aesthetics

Selecting the right paint type is essential for achieving both durability and appealing aesthetics on your bike. Enamel paint offers a glossy, chip-resistant finish that’s ideal for bikes used frequently. Proper surface preparation is crucial for achieving optimal adhesion and longevity of the paint job. Urethane paints provide long-lasting protection, often preferred by professionals for their durability. Powder coating delivers superior resistance to chipping and fading, making it perfect for harsh conditions, and offers a variety of textures and finishes like matte, gloss, or metallic. Water-based acrylic paint is an eco-friendly option that still guarantees a smooth, durable finish. Consider ceramic coatings for added protection, especially if you want a high level of durability. Durability of finishes can be significantly improved by selecting coatings that resist environmental wear and tear, which is especially important for bikes exposed to varying weather conditions. Your choice should balance your environmental concerns, budget, and desired aesthetic effects, ensuring your bike looks great and withstands the elements over time. Best airless paint sprayer technology can facilitate an even and professional application, enhancing the overall finish of your chosen paint.
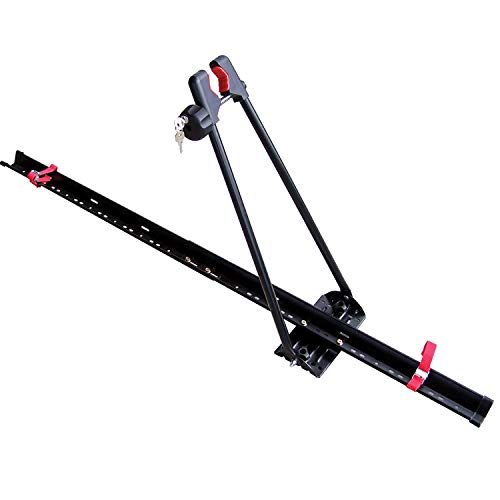
Swagman UPRIGHT Roof Mount Bike Rack
EASY TO ASSEMBLE: The UPRIGHT roof rack installs in minutes following the instructions and carries one bike with...
As an affiliate, we earn on qualifying purchases.
Mastering Spray and Brush Application Methods

Mastering spray and brush application methods is essential for achieving a professional-looking finish on your bike. When using spray paint, shake the can for at least three minutes to guarantee even particle distribution. Hold the can between one to four inches from the frame, applying thin, even coats in a smooth, steady motion. Allow each coat to dry for at least 30 minutes, and wait 48 hours for full curing. Using the right headphone jack can improve your experience when listening to music or tutorials during your project. For brush techniques, use high-quality brushes and apply thin layers, letting each dry thoroughly. Maintain consistent pressure and strokes for even coverage. Prepare the surface properly—smooth, free of dust, and lightly sanded after priming. Controlling environmental factors like temperature and humidity can optimize adhesion and curing, ensuring your finish lasts. Additionally, understanding fraud detection techniques can help prevent issues like chargebacks if you’re selling bike finishes or related products online. Paying attention to material quality is crucial, as using low-quality paints or finishes can affect durability and appearance.

SYDSZ Roof Bike Rack Mount Upright Roof Bike Rack 1 Bike Carrier Car Roof Bicycle for Car Only Suitable for Removable Universal Crossbars
【COMPATIBILITY】Only applicable for installation on the driver's roof, fits 20" - 29" wheels. 64" long tray. Fits up...
As an affiliate, we earn on qualifying purchases.
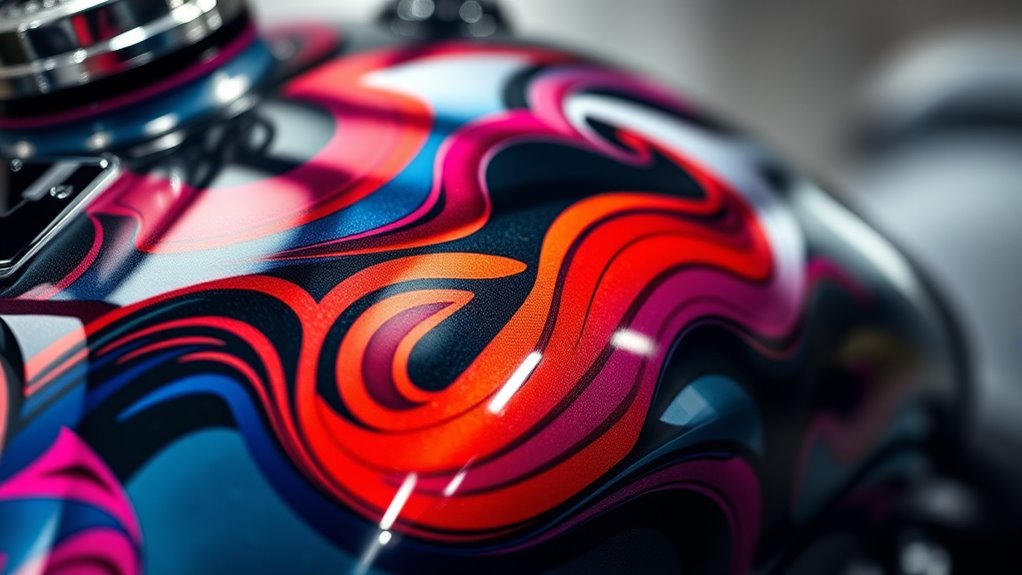
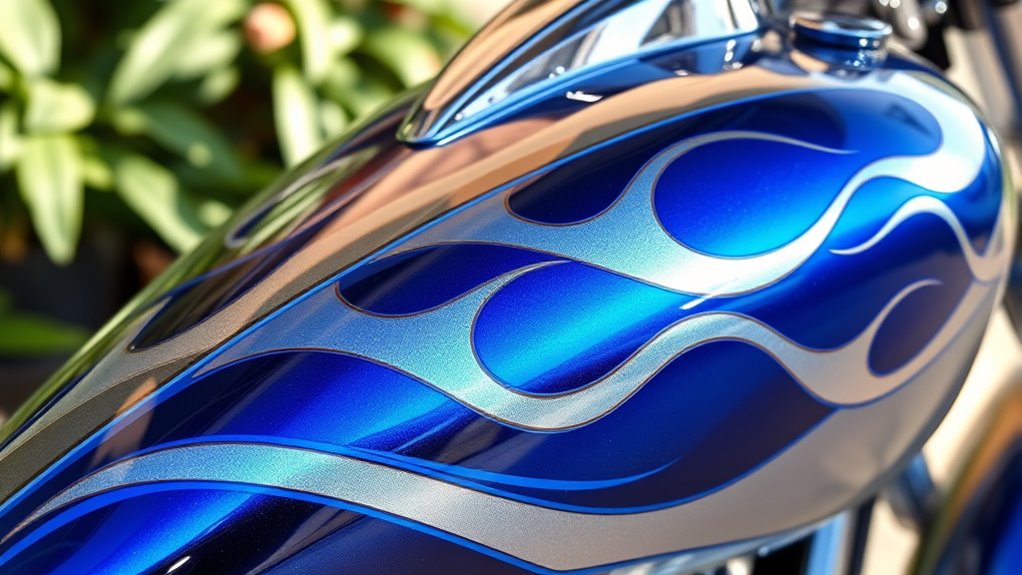
Creating Eye-Catching Gradient and Fade Effects
Creating eye-catching gradient and fade effects on your bike requires precise techniques and the right tools. Digital design software like Adobe Photoshop allows you to use gradient tools and masks for smooth progressions.
In Adobe After Effects, the Ramp effect helps control gradient shapes and opacity, while Luma Matte masking isolates fade zones on specific surfaces. To add depth and organic texture, try the Turbulent Displace effect.
Adjust gradient width and feathering to soften or sharpen progressions, ensuring a seamless blend. For application, airbrush blending offers smooth fades on curved surfaces, and wet-on-wet techniques merge paints for seamless color shifts.
Using high-opacity pigments and appropriate clearcoats preserves vibrancy and depth, making your gradients stand out with professional polish.
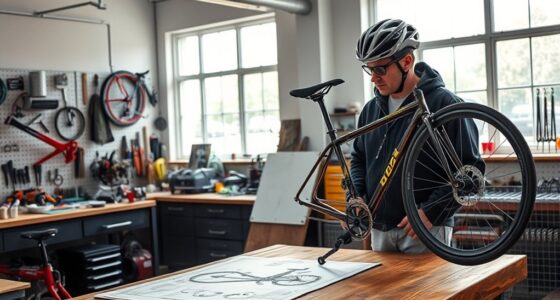
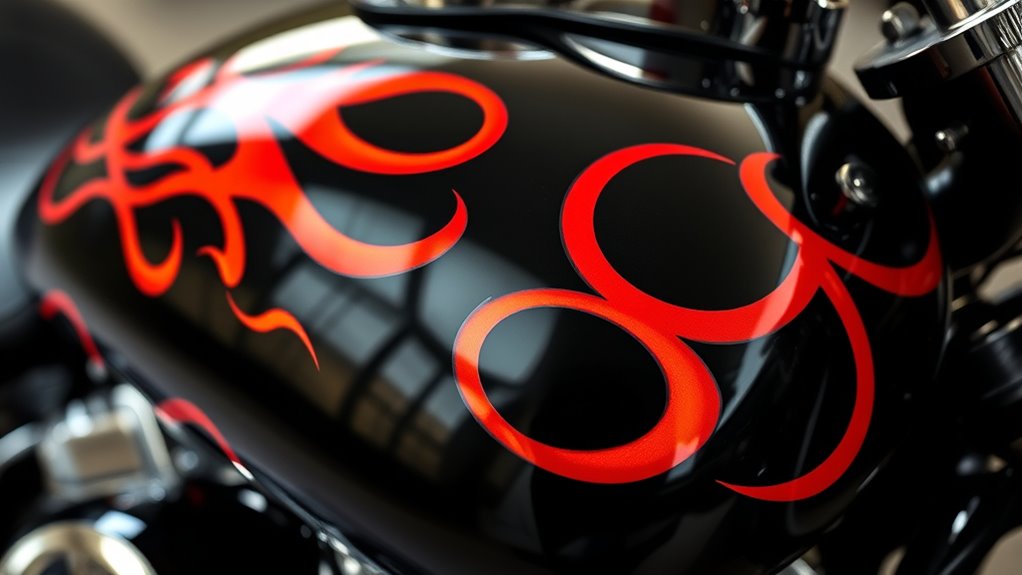
Incorporating Custom Graphics With Masking and Stenciling

Incorporating custom graphics into your bike paint job involves precise masking and stenciling techniques that guarantee sharp, clean designs. Start by planning your design with digital templates or online configurators to ensure accurate measurements and visualization.
Use high-temperature masking tape for crisp edges and vinyl stencil sheets for detailed patterns. Secure stencils with adhesive spray to prevent shifting and employ precision knives for custom shapes. For curved surfaces like fuel tanks or fenders, a heat gun helps mold stencils seamlessly.
During application, prepare the surface by degreasing, then layer masking to separate colors or gradients. Use squeegee tools to eliminate air bubbles and low-tack transfer tape for precise placement.
Proper registration marks and careful alignment prevent errors, resulting in professional-looking, vibrant graphics that make your bike stand out.
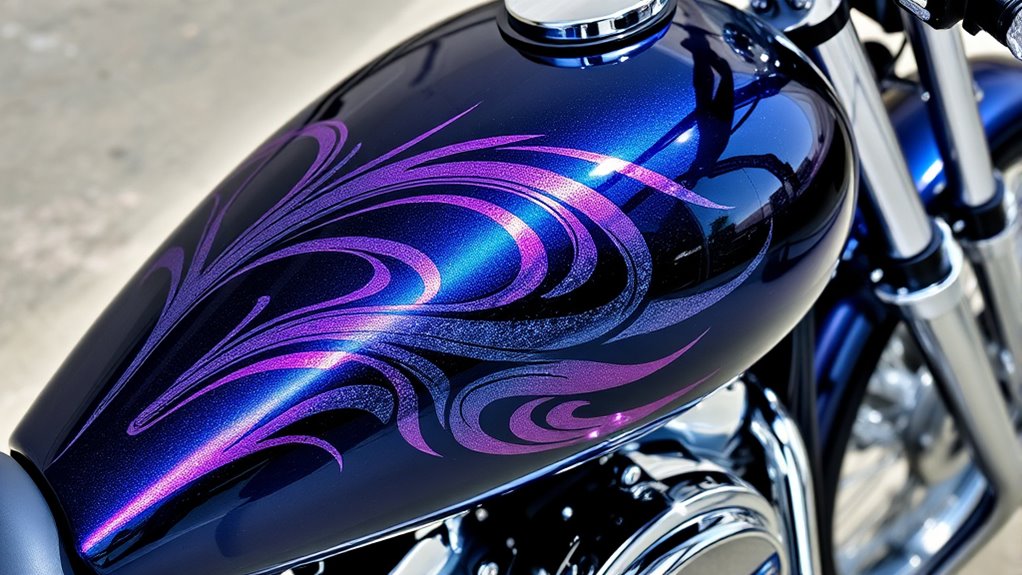
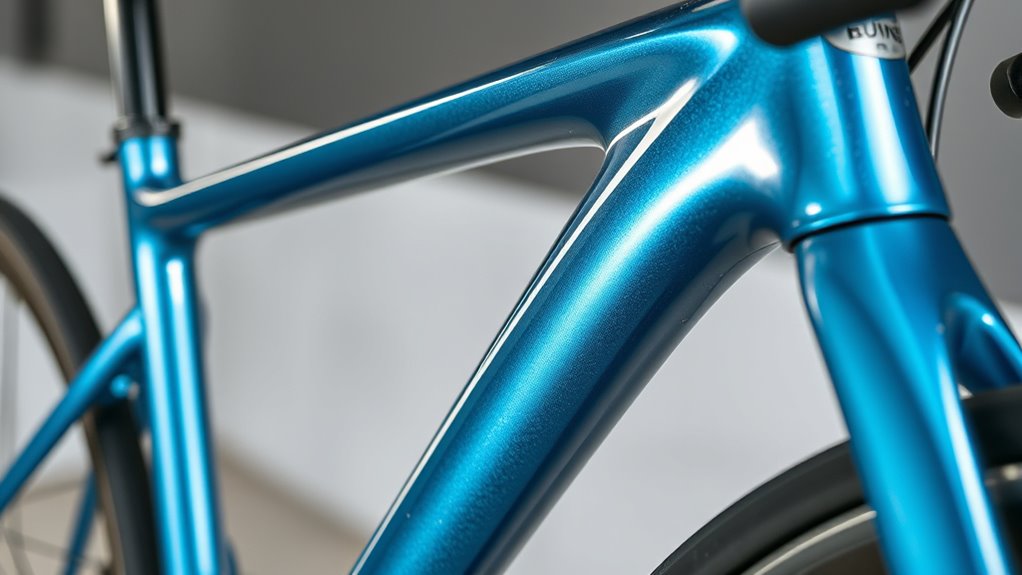
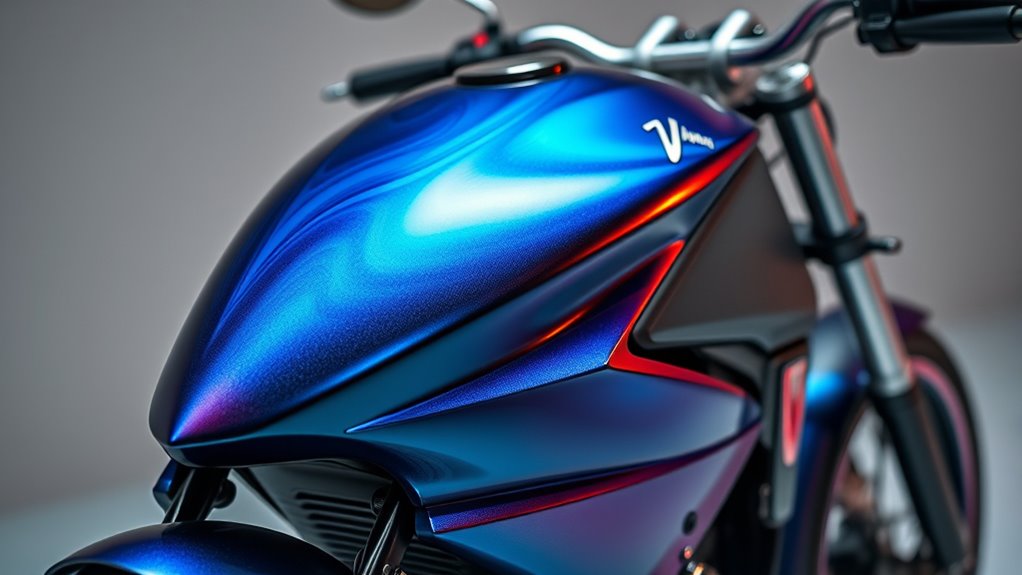
Exploring Specialty Finishes: Matte, Metallic, and Iridescent Looks
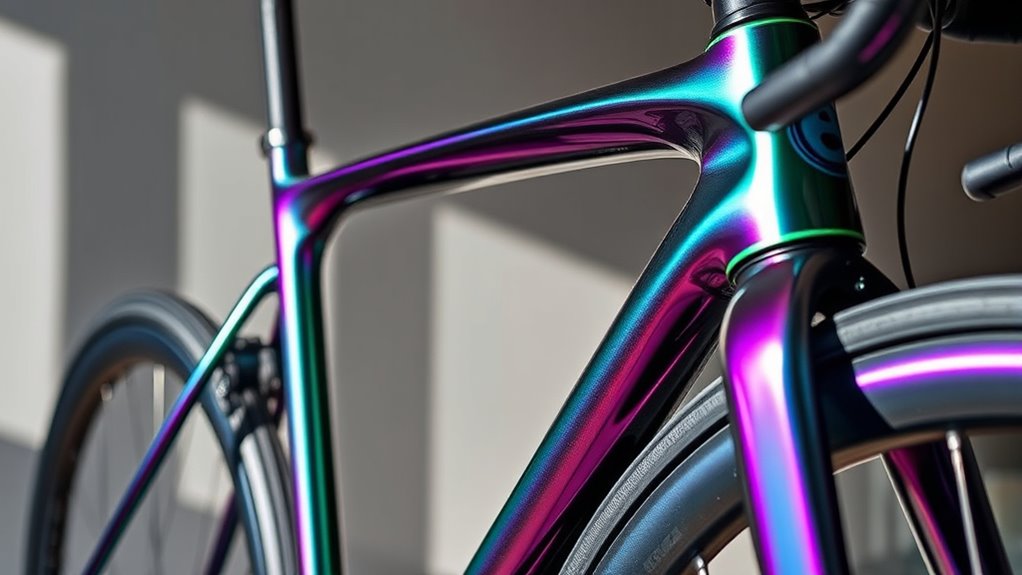
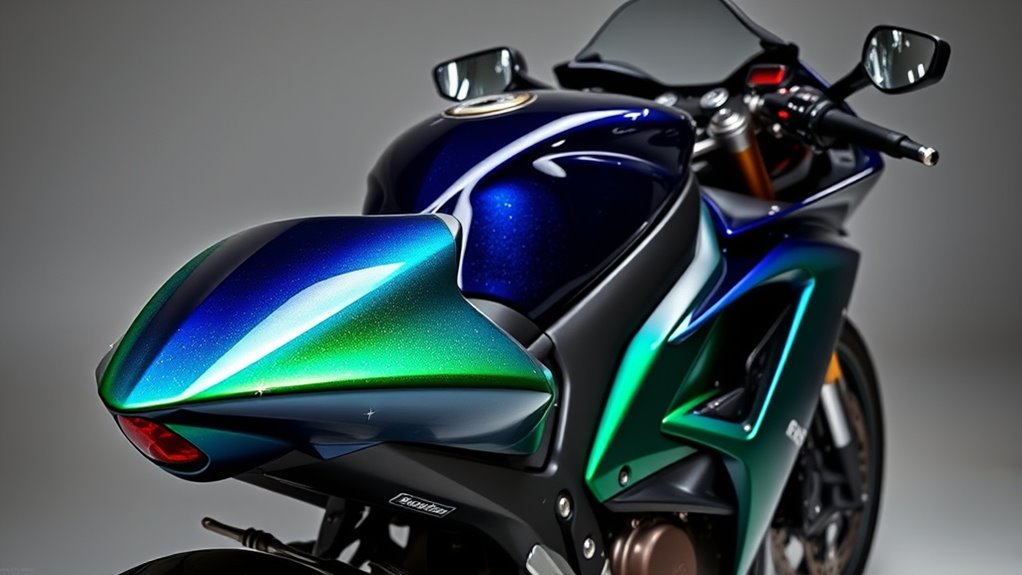
Exploring specialty finishes like matte, metallic, and iridescent looks offers a powerful way to personalize your bike’s appearance beyond traditional paint. These finishes use vinyl wraps, giving you flexibility and easy customization without permanent changes.
Matte finishes provide a sleek, non-reflective look that hides scratches and dirt, perfect for a subtle yet distinctive style. Metallic wraps add a reflective, shiny surface, enhancing visibility and giving your bike a dynamic, vintage, or modern vibe. Iridescent finishes create a color-shifting effect that changes with the angle of view, offering vibrant rainbow hues.
These wraps are durable, fade-resistant, and easily removable, allowing you to refresh your design whenever you want. Specialty finishes let you customize your bike with unique looks that stand out confidently.
Applying Clear Coats for a Professional Shine and Protection
After choosing your specialty finish, applying a clear coat can elevate your bike’s look and protect your work. First, verify the base coat is fully dry and smooth by lightly sanding with high-grit sandpaper, avoiding over-sanding.
Test the clear coat on an inconspicuous spot to check compatibility. Then thoroughly clean the surface, using tack rags to remove dust.
When applying, keep a steady spray distance, usually farther than for paint. Use multiple thin coats rather than one thick layer to prevent runs or uneven coverage.
Shake the can well before spraying and maintain consistent spray patterns. Allow each coat to dry completely before adding the next.
Choose a clear coat that matches your desired finish, offers UV protection, and is compatible with your base coat for maximum durability and shine.
Tips for Achieving a Smooth, Flawless Finish
Achieving a smooth, flawless finish begins with proper surface preparation. Start by cleaning the frame with water and a cloth to remove residue, then use pre-paint wipes for a clean surface.
Sand the frame to smooth out bumps and remove dry primer imperfections. Apply primer in light, even layers, starting with a mist to ensure good adhesion.
After priming, use a wet scouring pad to eliminate powder residue, then wipe the frame with a microfiber cloth to remove dust.
When painting, apply thin coats in a well-ventilated environment, allowing 10 to 15 minutes between coats. Rotate the frame to cover all angles evenly, and use a dowel for tight spots.
Proper preparation and technique are key to achieving a sleek, professional-looking finish on your bike.
Maintenance and Care to Preserve Your Custom Paint Job
To effectively preserve your custom paint job, regular maintenance and careful cleaning are essential. Use a mild motorcycle shampoo for glossy finishes to avoid chemical damage, and wash with water weekly to remove surface contaminants.
For deeper cleaning, opt for a monthly shampoo wash. Use microfiber dusters daily to remove abrasive particles without scratching the paint, and avoid high-pressure hoses that can cause peeling or chipping.
After washing, dry with soft cloths to prevent water spots and mineral deposits. Apply wax every 3-4 months to protect against UV rays and oxidation.
Inspect the clear coat annually for cracks or fading, and use clay bar treatments before waxing to eliminate embedded contaminants. Proper maintenance keeps your custom paint vibrant and intact for years to come.
When to Consider Professional Painting Services
Knowing when to turn to professional painting services can save you time, money, and frustration.
If you want a high-quality, long-lasting finish with expert techniques like powder coating or UV-cured coatings, professionals are your best choice. Consider professional services if you’re aiming for custom designs or metallic and satin finishes that require precision.
Be aware that while professional painting might void your warranty, it guarantees your frame isn’t damaged during the process. If your bike has complex surfaces, intricate details, or you lack the skills and equipment for a flawless finish, hiring experts makes sense.
Although costs can be high, the durability and professional look often justify the investment. When quality and longevity matter most, professional painting is the smart move.
Frequently Asked Questions
How Long Does a Custom Bike Paint Job Typically Last?
A custom bike paint job typically lasts between 1 to 3 years, depending on factors like application quality, paint type, and external conditions.
If you choose durable options like urethane or powder coating and maintain your bike properly, it can last longer.
Regular cleaning, avoiding harsh chemicals, and storing your bike away from harsh environments help extend the lifespan of your paint, keeping it looking fresh and protected longer.
Can I Combine Multiple Finishes Like Matte and Gloss on One Frame?
Imagine transforming your bike into a masterpiece that dazzles the eye, blending matte and gloss finishes seamlessly. You absolutely can combine these textures on one frame!
Just prep surfaces thoroughly, use masking tape for sharp edges, and apply each finish carefully in layers. This creates a stunning contrast — a sleek, shiny gloss next to a velvety matte — making your bike truly one-of-a-kind and visually breathtaking.
What Are the Best Practices for Repairing Chipped or Scratched Paint?
When repairing chipped or scratched paint, start by thoroughly cleaning and drying the area.
Sand damaged spots with 2000-grit paper, switching to 1500-grit for deeper scratches, and wipe away residue.
Apply a thin layer of sandable primer, then match the OEM paint for seamless blending.
Layer the paint carefully, feathering edges, and finish with a clear coat.
Wet-sand and polish the repair for a smooth, durable finish.
Is It Possible to Change or Update My Bike’s Paint Design Later?
Imagine your bike as a blank canvas awaiting new stories. Yes, you can change or update its paint design later—just like artists layering colors over time.
Start by prepping the surface properly: sand, clean, and prime where needed. Use spray cans or professional methods for intricate designs.
Keep in mind, some parts like anodized components need extra care. With patience, your bike can continually evolve into a work of art.
How Do I Prevent Paint From Cracking or Peeling Over Time?
To prevent paint from cracking or peeling over time, you should start with proper surface prep—clean thoroughly, sand lightly, and remove rust.
Use compatible primers and apply multiple thin coats, allowing each to fully cure.
Maintain environmental controls during application, like proper temperature and humidity.
Regularly inspect your bike for chips or damage, and touch up promptly.
Applying protective clear coats and wax keeps the finish durable and resistant to environmental stress.
Conclusion
With a little patience and creativity, your bike can become a true work of art that stands out like a lighthouse in a sea of bikes. By understanding your materials, choosing the right paints, and mastering application techniques, you’ll attain a flawless finish that turns heads. Remember, maintaining your custom paint is like caring for a garden—regular attention ensures it stays vibrant and beautiful for miles to come. So, get creative and make your bike uniquely yours!