
To deep clean your drivetrain in 10 easy steps, start by securing your bike and shifting to a mid-gear to reduce chain tension. Gather your cleaner, brushes, cloths, and lubricant, then apply chain cleaner and let it soak. Use brushes to scrub the chain, chainring, and cassette thoroughly, then wipe off any dirt and cleaner. Inspect for damage, lubricate the chain rollers, and reassemble if needed. Finish with a quick check—if you keep going, you’ll master a spotless drivetrain.
Key Takeaways
- Support the bike securely and shift to a mid-gear for easier cleaning access.
- Spray or apply cleaner thoroughly on entire chain, chainring, and cassette; scrub with appropriate brushes.
- Rinse or wipe away grime, then dry all drivetrain parts completely using microfiber cloths or compressed air.
- Re-lubricate the chain evenly, wipe off excess, and inspect for wear or damage.
- Regularly clean and lubricate to maintain optimal performance and prolong component lifespan.
Secure Your Bike and Shift to a Mid-Gear
Before starting your drivetrain cleaning, make sure your bike is securely supported on a work stand or bike rack. Once it’s stable, shift to a mid-gear, such as the 5th gear. This position helps reduce chain tension and keeps the chain in a stable, accessible spot for cleaning. Moving to a mid-gear also engages the chain on a less worn section of the cassette, making it easier to clean thoroughly. Ensuring the chain is stationary and not under excessive tension prevents stretching or damage during maintenance. Shifting to this middle gear allows you to work more efficiently and effectively, giving you better access for thorough cleaning and lubrication later on. Proper gear alignment can also extend the lifespan of your drivetrain components and improve your overall riding experience. Additionally, understanding comparative advantage can help you optimize your workflow and choose the most efficient cleaning tools and techniques. Incorporating automation’s role in business intelligence can further streamline your maintenance routine by enabling real-time tracking of your bike’s condition and upcoming service needs. Maintaining proper lubrication techniques after cleaning will ensure smoother shifting and reduce wear on parts. Being aware of state tax implications can also help you plan your retirement withdrawals more efficiently, although it is less relevant for bike maintenance.
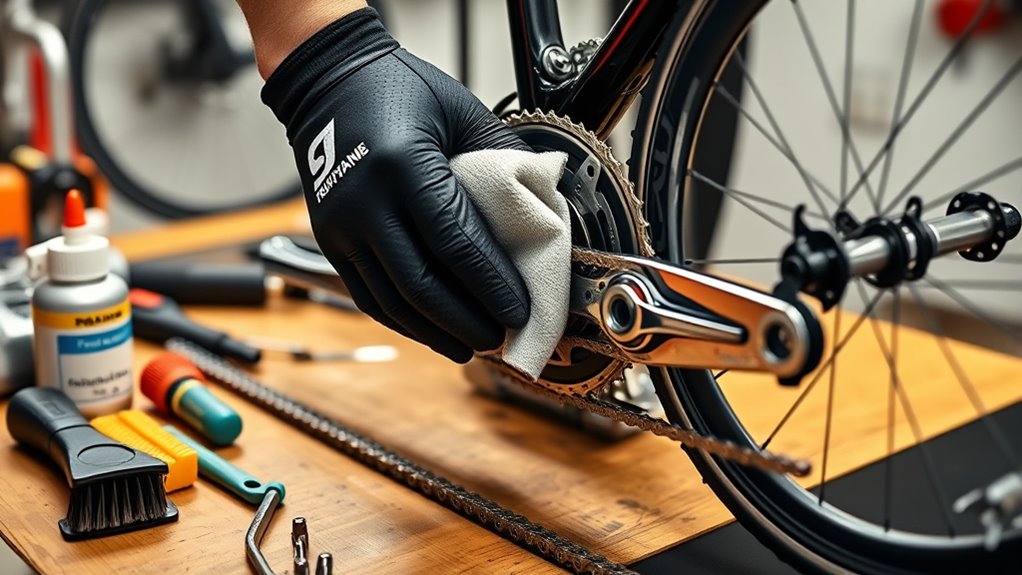
Gather Your Cleaning Tools and Prepare Your Workspace

Before you start cleaning, gather all your essential tools like chain cleaner spray, brushes, microfiber cloths, and chain lube. Set up your workspace on a flat surface or use a work stand for better access, and lay down towels to catch drips. Good lighting will help you see every detail as you prepare to give your drivetrain a thorough clean. Incorporating exfoliation with glycolic acid can help maintain a smooth and refined skin texture, which is beneficial if you’re also caring for your skin during bike maintenance. Ensuring proper automation of your cleaning process can improve efficiency and consistency. Additionally, understanding the importance of consistent messaging can make your maintenance routine more effective and straightforward. To optimize your cleaning routine, consider implementing standardized procedures to ensure each step is performed thoroughly and uniformly, which aligns with the goal of maximize space and organization for a clutter-free workspace.
Essential Cleaning Equipment
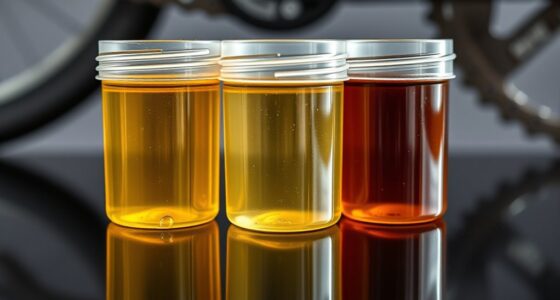
To effectively clean your drivetrain, start by gathering all the essential tools you’ll need, such as a chain cleaner spray or fluid, a chain bath, drivetrain brushes, microfiber cloths, and chain lube. The chain lube will be important later for re-lubricating the chain after cleaning. Use a work stand or securely position your bike to access the drivetrain easily. Shift to a mid-gear, like 5th, to reduce chain tension during cleaning. Prepare your workspace in a well-ventilated area and lay down protective coverings to catch grime and fluids. Keep quick link pliers nearby if your chain has a quick link, making removal and reinstallation smoother. Having all these tools ready guarantees a quick, efficient cleaning process with minimal hassle. Additionally, ensure you select the appropriate essential oils for cleaning solutions, as some oils have antibacterial properties that can help break down grime more effectively. Proper cleaning techniques can also extend the lifespan of your drivetrain components and improve shifting performance. For vehicles like the Kia Stonic or Kia Forte, routine maintenance and tuning can similarly enhance overall operation and longevity. Regularly inspecting your drivetrain for signs of wear and lubrication needs can prevent costly repairs and keep your bike running smoothly.
Organized Work Area
Setting up your workspace properly makes the cleaning process smoother and more efficient. An organized work area helps you stay focused and prevents accidents. Gather all your tools, including a chain cleaner, brushes, microfiber cloth, chain lube, and quick link pliers, so everything’s within reach. Use a stable surface with good lighting, and secure your bike on a work stand or stable support to keep it steady during cleaning. Clear clutter and lay down a mat or newspaper to catch dust and debris from your bike chain. Arrange your cleaning supplies neatly, with degreasers, rags, and lubricants close by. Ensuring your workspace is well-organized speeds up the process and keeps everything you need ready to go, making your deep clean more effective. Additionally, having organized work areas with dedicated storage for your tools can help keep your bike maintenance routine more efficient over time. Regularly maintaining an organized environment can also promote mindfulness and reduce stress during your bike care sessions. Incorporating sustainable materials into your workspace setup can further enhance eco-friendly practices in your maintenance routine.
Apply Chain Cleaner and Let It Soak
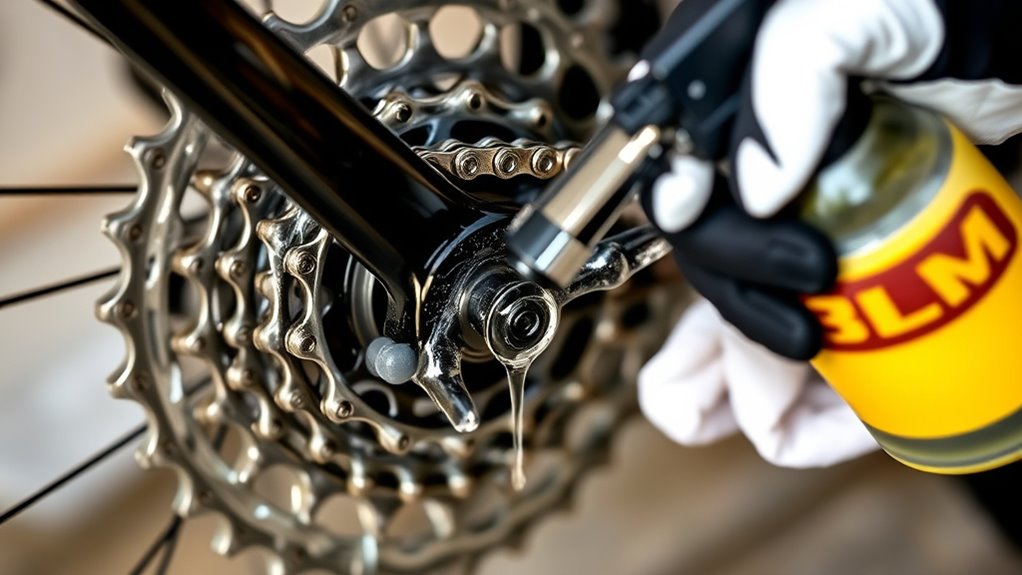
Applying chain cleaner thoroughly is essential for effective dirt removal; make certain to spray or apply it directly onto every link and roller of your chain. Cover the entire chain, including the quick link, and verify both the front and the back are soaked. If you need something more effective, use a cleaning brush to agitate the chain during the soak, helping loosen stubborn grime. Make sure the chain is stationary in the cleaner for the recommended time, allowing the cleaner to loosen grease and dirt from internal and external parts. After soaking, you’ll want to rinse or wipe the chain clean. Once dry, use compressed air if needed, then apply a wet lube to your chain—this keeps it running smoothly, especially with disc brakes. Incorporating regular maintenance into your routine can extend the lifespan of your drivetrain and improve overall performance. Regular inspection for signs of wear and symptoms of damage can also help catch issues early before they lead to costly repairs. Additionally, understanding the importance of proper cleaning can help prevent corrosion and ensure your bike’s components operate efficiently.
Use Brushes to Scrub the Chain, Chainring, and Cassette
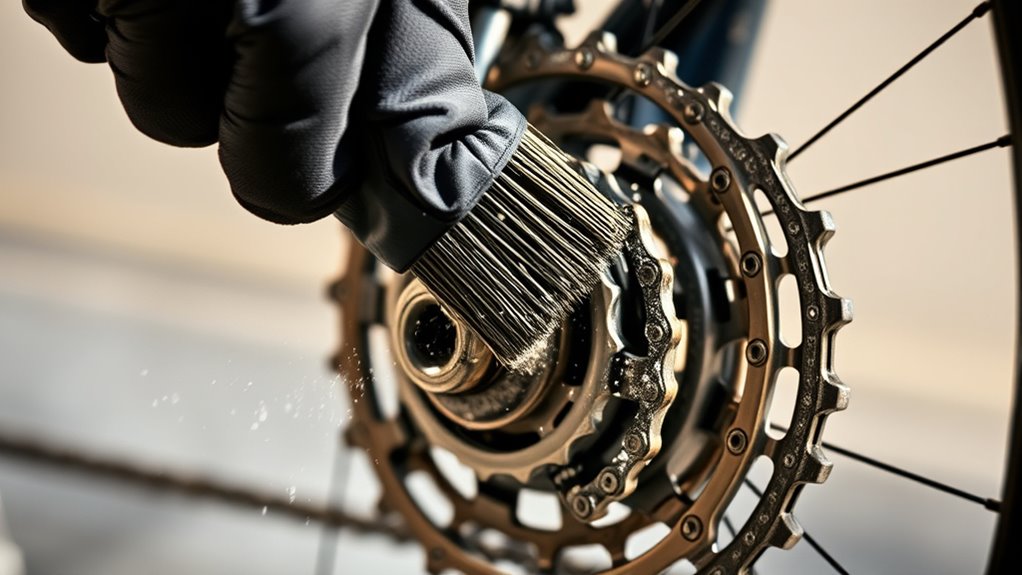
Choosing the right brushes makes all the difference when cleaning your drivetrain. Use stiff brushes for stubborn grime and softer ones for delicate areas to avoid damage. Focus on firm, targeted scrubbing to remove grease from all the teeth and crevices effectively.
Selecting the Right Brushes
Selecting the right brushes is essential for effective drivetrain cleaning. The correct brushes ensure you remove grime without damaging delicate parts. Use stiff-bristled brushes designed for drivetrain cleaning to tackle stubborn dirt on the chain, chainring, and cassette. A narrow, pointed brush helps reach between cassette sprockets and other tight spots, making sure no debris is left behind. Soft-bristled brushes are perfect for delicate components, preventing scratches. For stubborn grime, choose a dedicated chain cleaning brush with firm bristles that scrub effectively without harming metal surfaces. Always opt for brushes with ergonomic handles for better grip and control during scrubbing, reducing slips and uneven cleaning.
| Brush Type | Best For |
|---|---|
| Stiff-bristled | Heavy grime on chain and cassette |
| Soft-bristled | Delicate parts and frame |
| Narrow, pointed | Hard-to-reach areas |
| Dedicated chain brush | Stubborn dirt removal |
Effective Scrubbing Techniques
To effectively scrub your chain, chainring, and cassette, you should use stiff or drivetrain-specific brushes and hold them at a slight angle to dislodge stubborn dirt without damaging the metal surfaces. Focus on removing built-up grime from all contact points, especially between cassette cogs and around chainring teeth. Cycle the pedals slowly while scrubbing to ensure the brushes reach deep into tight spaces. Regularly rinse or wipe away loosened dirt to prevent re-depositing debris, leaving your drivetrain spotless. After scrubbing, apply a dry lube and wipe off any excess—this keeps your chain clean between every ride. Proper scrubbing with the right brushes ensures your drivetrain stays smooth and efficient, making each ride safer and more enjoyable.
Rinse or Wipe Off the Cleaner and Dirt

Once you’ve thoroughly cleaned your chain, it’s important to eliminate any remaining cleaner and dirt to achieve a streak-free finish. Use a clean microfiber cloth or rag to wipe down the chain, ensuring you remove all leftover cleaner and loose grime. For water-based or waterless degreasers, make sure the chain is fully dry before wiping to prevent rust and corrosion. If stubborn grime persists, use a damp cloth to gently scrub, but avoid excessive rubbing that could damage the links. To speed up drying and prevent water spots, employ compressed air or an absorbent towel, always wiping in the direction of the chain links. This careful removal process ensures your chain stays clean, smooth, and ready for the next step.
Dry All Drivetrain Components Completely

Make sure to dry all drivetrain parts thoroughly after cleaning to prevent rust. Use absorbent towels or compressed air to remove moisture from the chain, cassette, and chainring. Proper drying techniques protect your components and extend their lifespan.
Proper Drying Techniques
After cleaning your drivetrain, it’s vital to dry all components thoroughly to prevent rust and guarantee smooth operation. Use absorbent towels or compressed air to remove moisture from the chain, cassette, and chainring. When using compressed air, hold the nozzle at a safe distance and direct airflow along each part’s length to push out residual water without forcing debris into tight spaces. Avoid overusing water dispersing sprays; instead, focus on wiping each part with a clean, dry microfiber cloth for effective moisture removal. After drying, inspect each component visually and manually, paying close attention to tight spaces like chain pins and cassette gaps. Proper drying prevents rust, promotes better lubrication penetration, and ensures your drivetrain runs smoothly during every ride.
Preventing Rust Formation
To effectively prevent rust formation on your drivetrain, it’s essential to dry all components completely after cleaning. Moisture left on parts like the chain, cassette, or chainring can lead to rust and corrosion. Follow these steps:
- Use absorbent towels or compressed air to thoroughly dry every component.
- Choose waterless degreasers that evaporate quickly and leave no residue.
- Apply a light coat of high-quality lubricant to create a protective barrier against moisture.
- Regularly inspect and wipe down your drivetrain to remove residual water or cleaning solution.
Additionally, store your bike in a dry, sheltered environment to minimize humidity exposure. These simple steps greatly reduce the risk of rust and keep your drivetrain smooth and long-lasting.
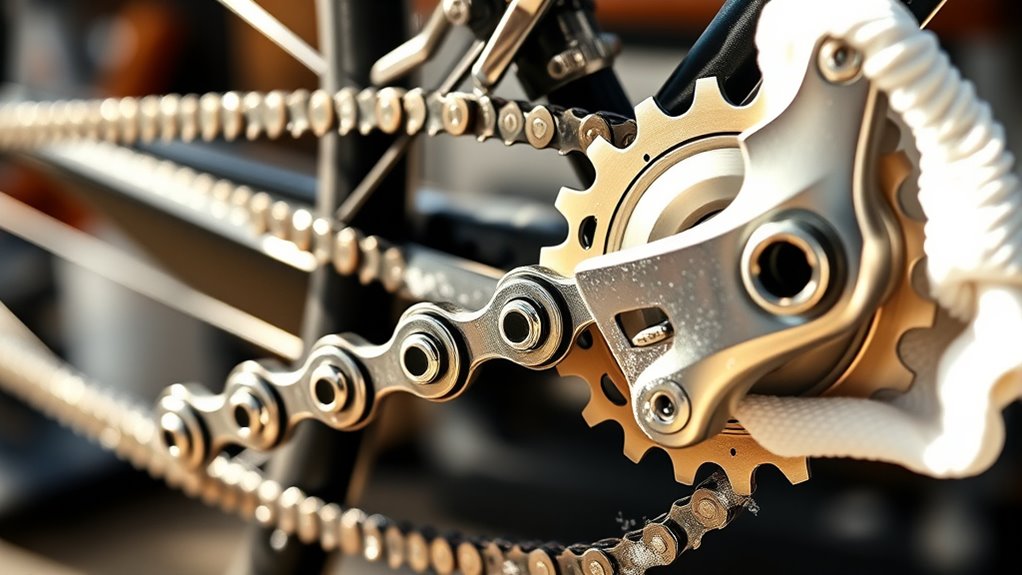
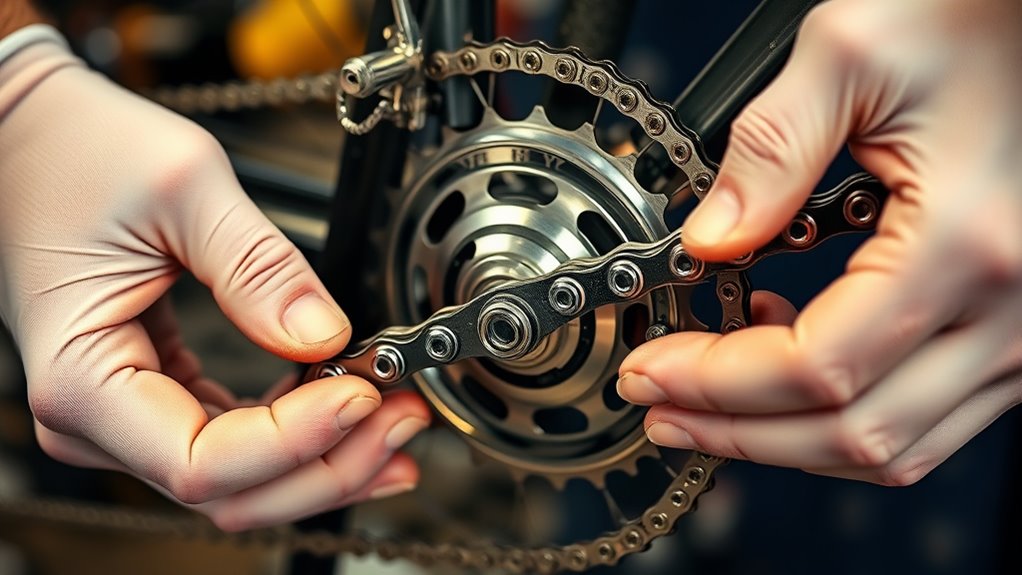
Inspect the Chain for Damage and Proper Engagement
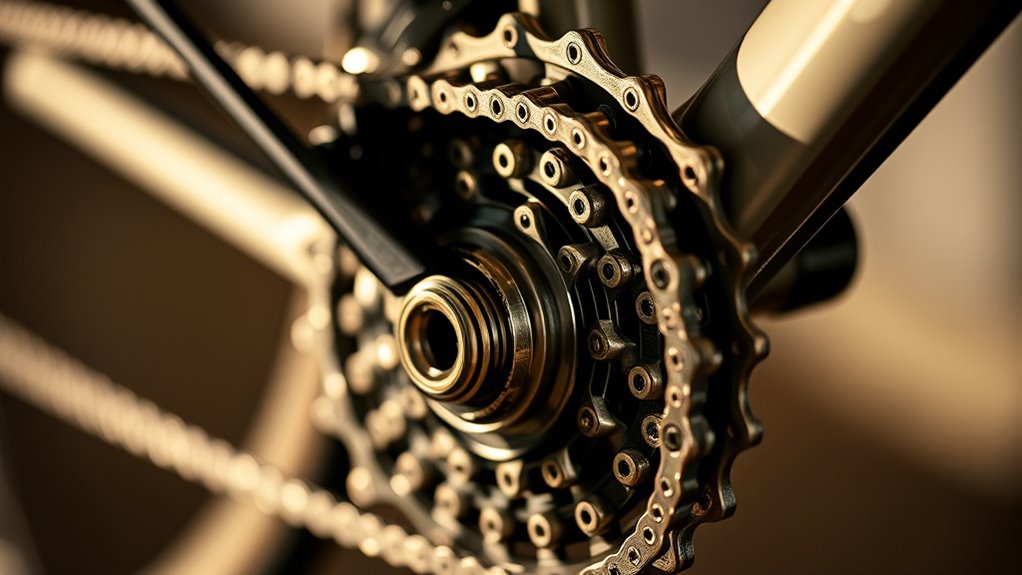
Inspecting your chain for damage and proper engagement is a crucial step in maintaining smooth and safe bike operation. Visually check for twisted links, bent sections, or damaged rollers that could weaken the chain. Run your fingers along the chain to feel for stiff or seized links, which may signal internal wear or dirt buildup. Use a chain wear gauge tool to measure elongation; over 0.5% indicates excessive wear requiring replacement. Ensure each link moves freely without skipping or catching, confirming the rollers engage properly with the chainring and cassette. Additionally, check the chain tension—especially on single-speed or internally geared bikes—to avoid slack that can cause poor engagement or chain slips. Proper inspection helps catch issues early, prolonging your drivetrain’s lifespan.
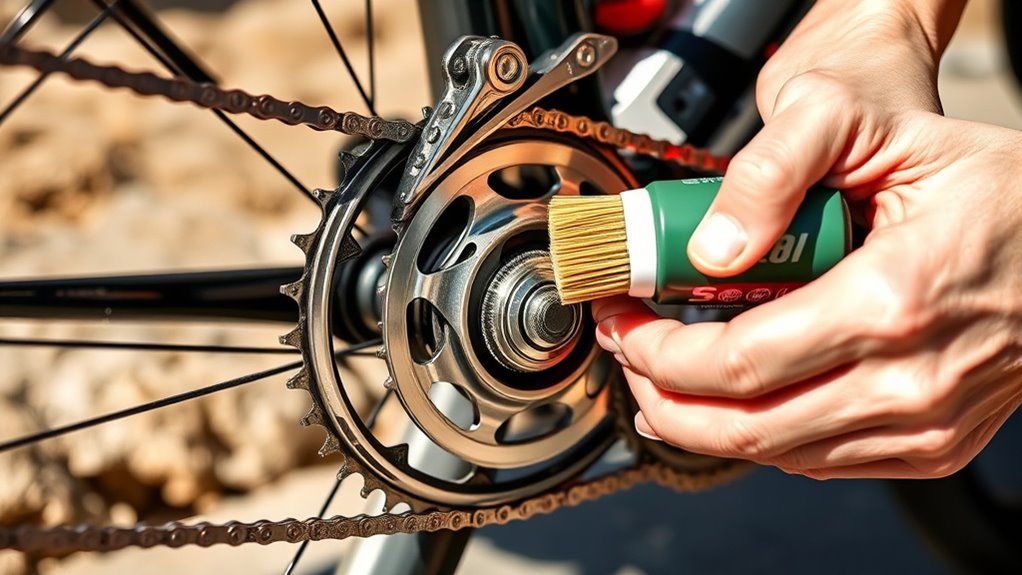
Lubricate the Chain Internally, Focusing on Rollers
Applying lubricant directly to the chain rollers is essential for smooth operation and longevity. To do this effectively, follow these steps:
- Use a precision dropper or spray lube near the chain’s front to target the rollers, avoiding excess on outer plates.
- Apply a drop of lubricant directly onto each roller, ensuring it penetrates deep into the inner parts of the chain.
- Pedal slowly backward or forward to help the lubricant distribute evenly inside the rollers and contact the chainring and cassette.
- Let the lubricant soak in for several minutes, then wipe off any excess to prevent dirt buildup, especially on the rollers where debris can cause wear.
Regularly check the rollers for smooth rotation and re-lubricate as needed.
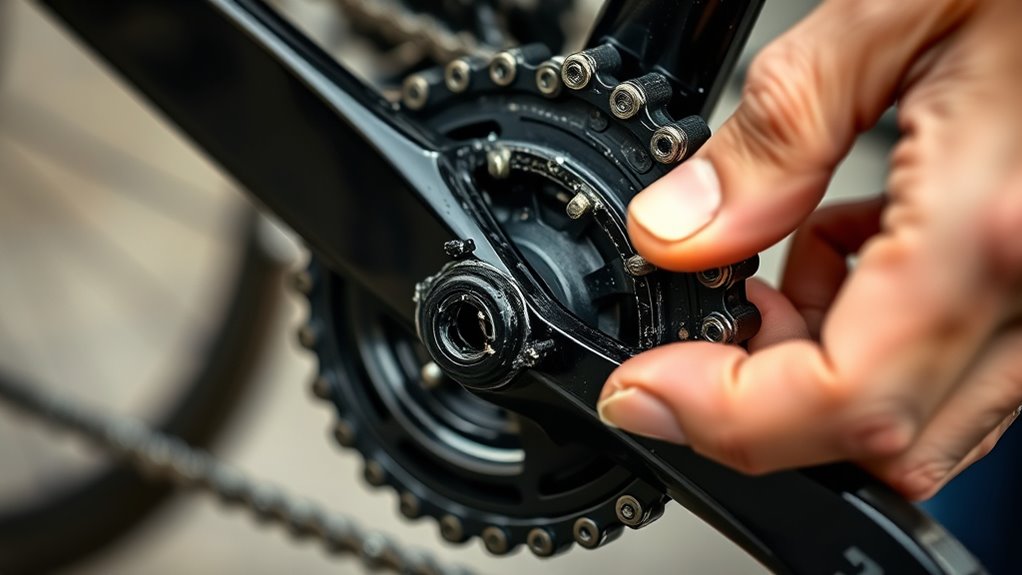
Reassemble and Ensure the Chain Is Properly Engaged
When reassembling your chain, it’s crucial to make certain the quick link is properly aligned and fully engaged. If you’re using Shimano components, ensure the textured surface faces outward for correct installation. Use quick link pliers to connect or disconnect the chain securely, applying gentle pressure until you hear a click, indicating it’s locked in place. Double-check that the chain fits correctly onto the chainring and cassette, with the top of the chainring fully engaged to prevent slipping during rides. After reassembly, pedal gently to test for smooth operation. Pay attention to tension—there should be no skipping or jumping. Additionally, inspect your chain for twists or bent links before reassembling to avoid potential failures and ensure reliable performance on your next ride.
Final Check and Ready to Ride
Before heading out for your ride, perform a final check to guarantee everything is in top shape. First, make certain the chain is completely dry and well-lubricated to prevent rust and keep it running smoothly. Next, double-check that the quick link is securely connected and properly aligned to avoid chain slippage. Then, verify the chain engages fully with the chainring and cassette, confirming smooth shifting without skipped gears. Finally, inspect the drivetrain components for any remaining dirt, debris, or signs of wear, cleaning as needed. Conduct a test pedal to listen for quiet, smooth engagement and catch any issues early. Taking these steps ensures your drivetrain is primed, so you can enjoy a safe, efficient ride with confidence.
Frequently Asked Questions
How Do I Clean My Drivetrain?
You want to clean your drivetrain, so start by removing the chain or placing it on a work stand for easy access. Spray it with a chain cleaner and cycle it through a chain bath with brushes to loosen dirt. Rinse thoroughly, dry completely, then inspect for damage. Finally, re-lubricate the chain and wipe off excess for smooth, efficient riding.
How to Deep Clean a Derailleur?
You want your derailleur to perform like a finely tuned machine, not a neglected relic. To deep clean it, you’ll need a sturdy brush and degreaser to battle stubborn grime. Disassemble if needed, scrub every nook, rinse away the debris, and dry thoroughly. Then, apply fresh lubricant to keep everything moving smoothly. Regular inspections help catch damage early, ensuring your derailleur stays in peak condition for flawless shifting every ride.
How Many Watts Does a Clean Drivetrain Save?
A clean drivetrain can save you about 2-5 watts during your ride by reducing friction and drivetrain losses. Dirt and grime cause energy loss of roughly 3-4%, so regular cleaning and lubrication can restore up to 3 watts of power. Keeping your drivetrain well-maintained minimizes resistance, making pedaling smoother and more efficient, ultimately helping you ride faster with less effort.
Is WD-40 Good for Cleaning Bike Chains?
Did you know a dirty chain can reduce your efficiency by up to 7%? When it comes to cleaning your bike chain, WD-40 isn’t the best choice. It’s mainly a water displacement spray, not a degreaser. While it can temporarily loosen grime, it leaves residue that attracts dirt and can cause more wear. Use dedicated chain degreasers for thorough cleaning, then re-lubricate with bike-specific oils.
Conclusion
Now that your drivetrain gleams like a showroom masterpiece, remember: a clean chain is a happy chain—until it’s not. With your newfound expertise, you can indulge in the illusion of perpetual maintenance mastery, all while effortlessly pretending you’re a cycling savant. Just don’t forget, even the most pristine drive trains eventually succumb to dirt’s relentless grip. So, enjoy your shiny bike—until next time, when you’ll inevitably repeat this glorious ritual. Ride on, clean and confident.