
A misaligned derailleur hanger is a common cause of shifting issues, chain noise, and uneven wear on your bike or e-bike. When the hanger bends or gets damaged, your gears won’t shift smoothly, and you might notice skipping or rubbing. Checking and adjusting the hanger isn’t complicated if you have the right tools and guidance. Keep an eye on signs of misalignment, and you’ll ensure smoother rides—if you want to learn how to fix it yourself, keep going.
Key Takeaways
- Proper derailleur hanger alignment ensures smooth shifting, prevents chain skipping, and reduces gear wear on bikes and e-bikes.
- Regularly inspect the hanger visually and with alignment tools to catch misalignment early before it worsens.
- DIY adjustments with basic tools like alignment gauges, rulers, or toothpicks can fix minor misalignments cost-effectively.
- Signs of misalignment include inconsistent shifting, chain rubbing, gear slipping, and visible bending or cracks in the hanger.
- Seek professional help if the hanger is severely damaged, bent beyond simple correction, or if shifting problems persist after adjustments.
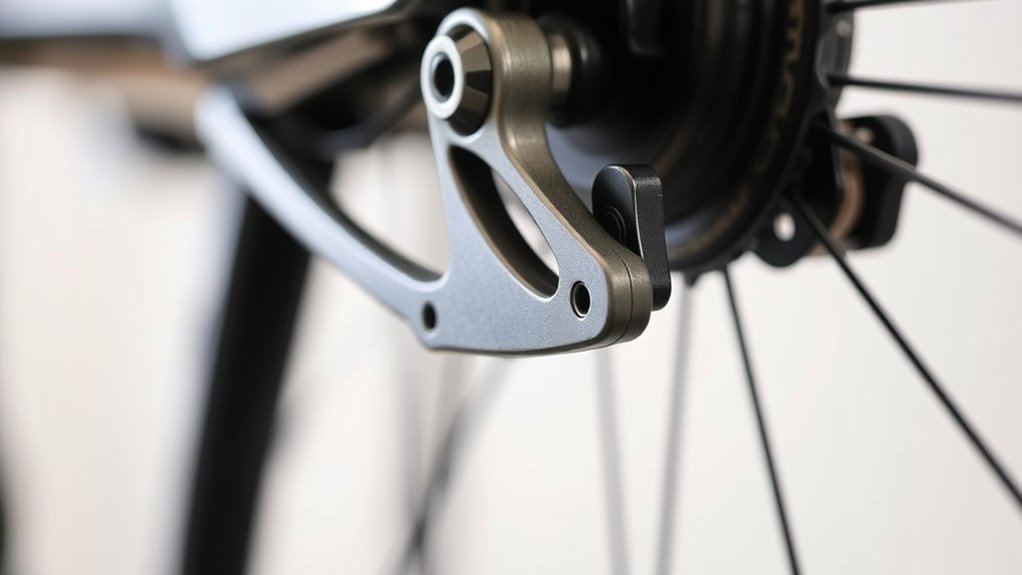
Understanding the Role of the Derailleur Hanger in Your Bike’s Drivetrain

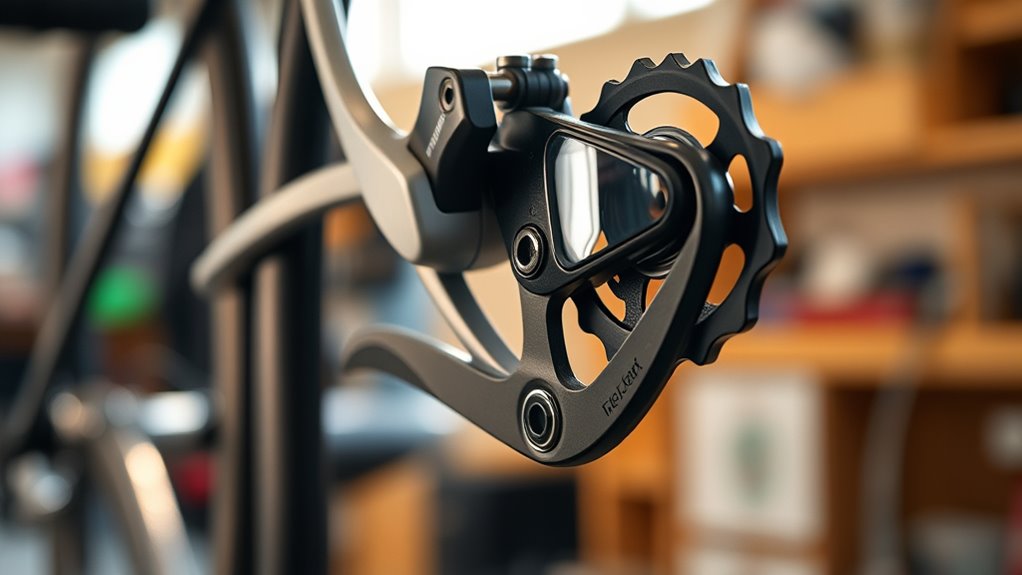
The derailleur hanger plays a crucial role in your bike’s drivetrain by acting as the connection point between the derailleur and the bike frame. It guarantees proper alignment, which directly impacts chain tension and smooth gear shifts. When the hanger is misaligned, you might notice inconsistent chain tension, causing skipping or slipping. Proper alignment also affects brake adjustment, since the derailleur’s position influences how the chain interacts with the gears and brakes. If the hanger is bent or loose, you may struggle to fine-tune your brakes or maintain consistent tension, leading to inefficient stopping power or gear issues. Keeping the hanger in good condition helps maintain ideal chain tension, ensuring your bike shifts smoothly and brakes respond reliably. Regular checks can prevent minor issues from turning into costly repairs. Additionally, projector technology such as calibration and contrast ratio adjustments can enhance visual performance, highlighting the importance of precise setup.
Common Signs That Indicate Your Hanger Might Be Out of Alignment
When your derailleur hanger is out of alignment, certain signs become noticeable during your rides. You might notice inconsistent shifting, such as skipping gears or difficulty engaging the correct gear. The chain may also appear slack or overly tight, even if you’ve recently lubricated it. Poor alignment can cause the derailleur to rub against the tire or frame, especially if tire pressure isn’t ideal. Additionally, you may see visible misalignment when inspecting the derailleur from behind. Pay attention to uneven wear on your chain lubrication, as this can indicate misalignment. Regularly check for these signs to prevent further damage and maintain smooth operation. Proper maintenance is essential to keep your bike operating smoothly and avoid costly repairs.
Simple Tools You Need to Check Hanger Alignment at Home

To check your derailleur hanger at home, you’ll need some basic tools that are affordable and easy to use. A hanger alignment tool and a ruler or gauge can help you spot misalignments quickly. With simple setup tips, you can keep your bike running smoothly without spending much. Regularly inspecting and maintaining your hanger ensures optimal shifting performance and extends the lifespan of your components effectiveness against allergens and air quality.
Essential Alignment Tools
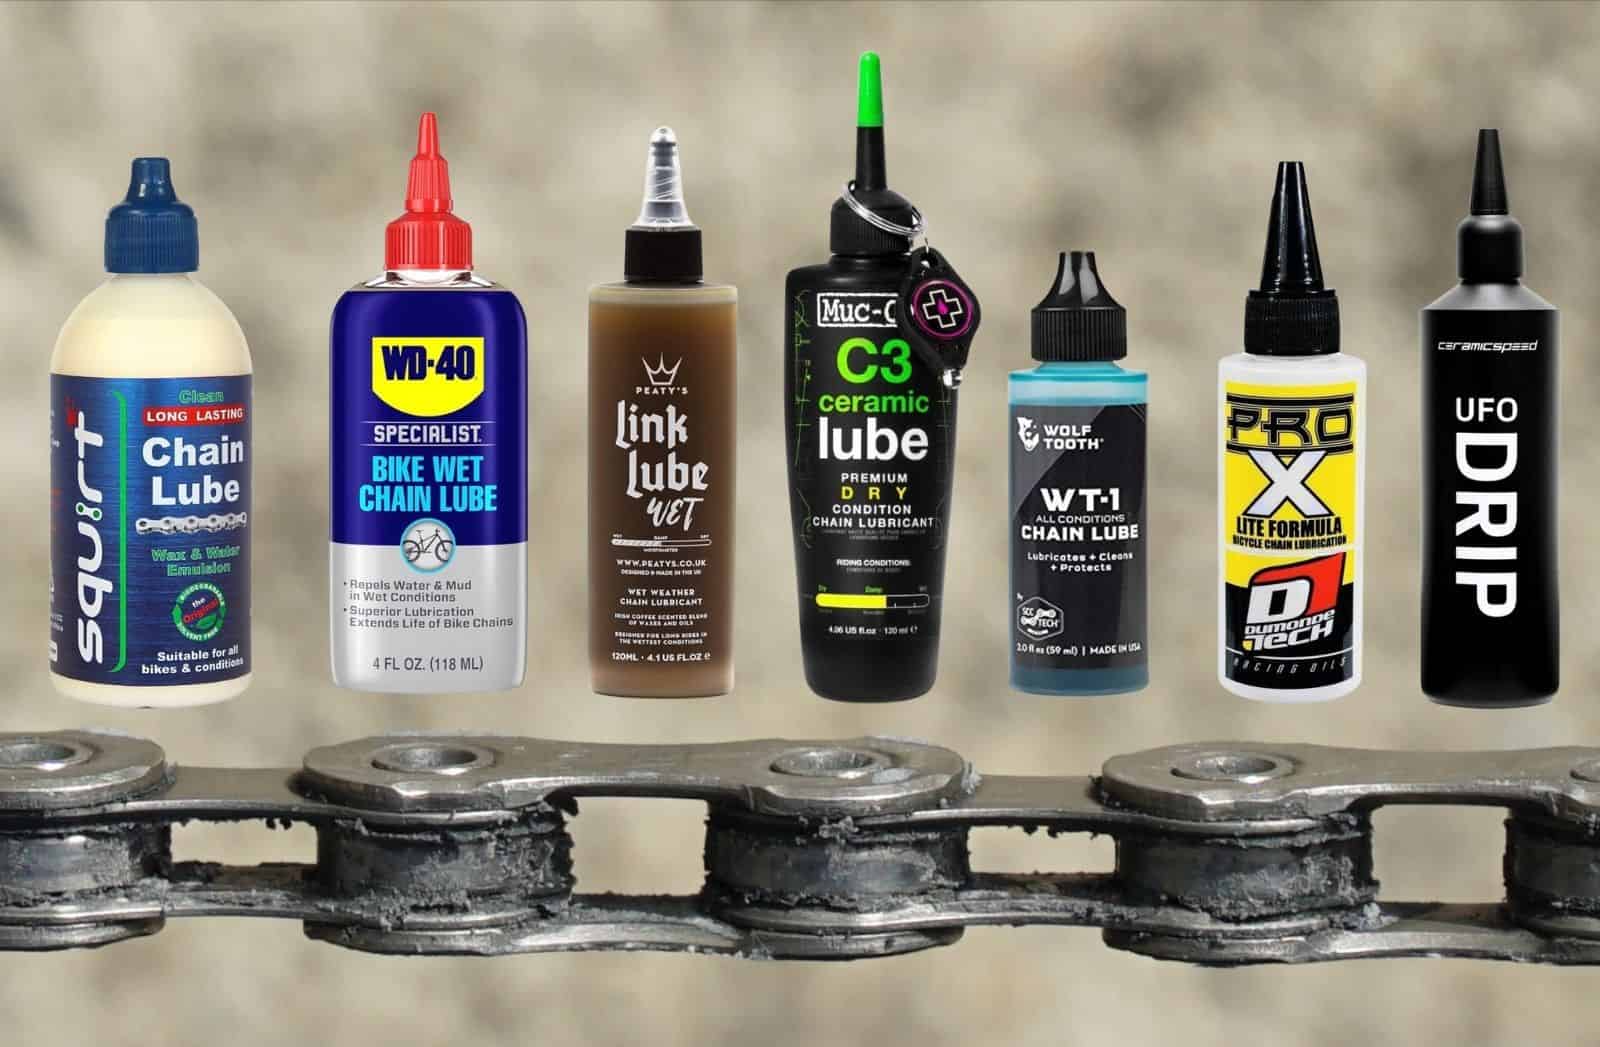
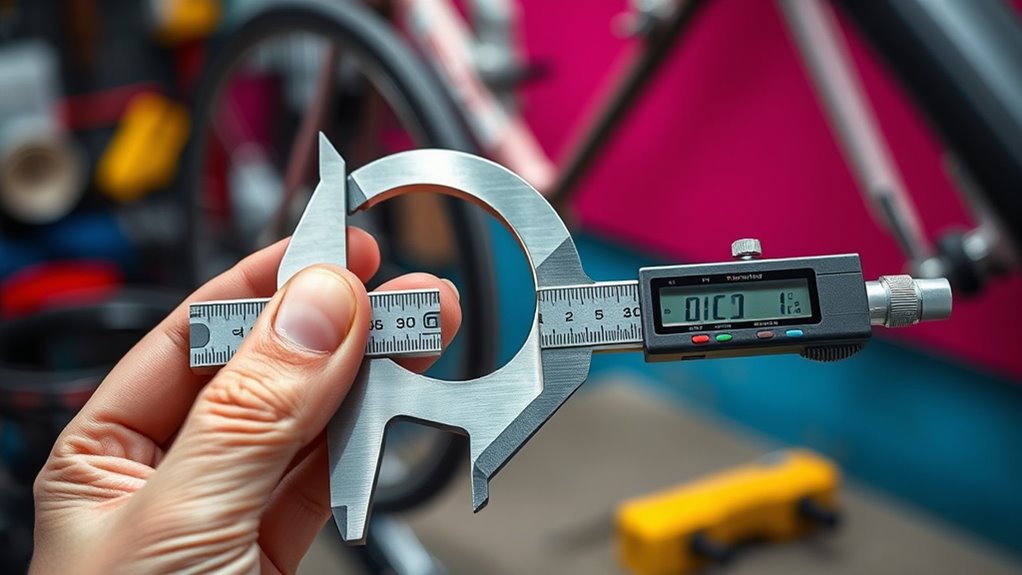
Checking your derailleur hanger alignment at home is straightforward with a few simple tools. First, you’ll need a alignment gauge or a dedicated derailleur hanger alignment tool, which helps you see if the hanger is bent. A good quality flashlight can illuminate the bike frame and make it easier to spot misalignments. You should also keep your chain well-lubricated, as a clean, lubricated chain ensures accurate shifting and prevents unnecessary wear during adjustments. A ruler or caliper can help measure gaps or distances if needed. These tools are inexpensive and easy to use, allowing you to quickly assess whether your hanger needs realignment. Regular checks with these simple tools can help maintain smooth shifting and protect your bike frame from damage. Additionally, inspecting your derailleur components periodically can help identify potential issues early before they affect alignment.
DIY Setup Tips
Aligning your derailleur hanger at home doesn’t require complicated tools—just a few simple, affordable items. First, verify your bike’s chain is well-lubricated, as a clean chain helps with accurate adjustments. Check your tire pressure to keep the bike stable during alignment. You’ll need a couple of basic tools:
| Tool | Purpose | Cost |
|---|---|---|
| Allen Wrenches | Remove derailleur or hanger | Inexpensive |
| Toothpick/Feeler Gauge | Check hanger alignment | Very cheap |
| Ruler or Alignment Gauge | Measure hanger straightness | Affordable |
With these, you can perform quick checks and minor tweaks at home, saving time and money while maintaining smooth shifting. Being aware of common small mistakes can further improve your setup and prevent costly issues down the line.
Cost-Effective Solutions
You don’t need expensive tools to check your derailleur hanger at home. A simple, affordable option is a straightedge or a piece of stiff cardboard that matches your bike’s frame compatibility. These tools help you quickly identify any misalignment without breaking the bank. To fine-tune your bike, you might also need a basic torque wrench for pedal tension adjustments, ensuring everything is tight without over-tightening. Regularly inspecting your hanger’s alignment with these cost-effective tools can save you money and prevent costly repairs later. Plus, maintaining proper pedal tension helps keep your drivetrain smooth and efficient. With just a few inexpensive items, you can confidently check and maintain your derailleur hanger, keeping your bike running smoothly and safely. Understanding cookies can also help you manage your privacy settings while browsing bike maintenance resources online.
Step-by-Step Guide to Correctly Align Your Derailleur Hanger
To properly align your derailleur hanger, you’ll need the right tools, like a hex wrench and a derailleur alignment gauge. Follow each step carefully to guarantee precise adjustments without damaging your bike. Once you have everything ready, you can confidently realign your hanger and improve shifting performance. Additionally, regularly inspecting your derailleur hanger helps prevent misalignments that can affect your gear shifting.
Tools Required
Before you start aligning your derailleur hanger, gathering the right tools is essential for a smooth and accurate process. Proper tools ensure you don’t damage your frame geometry or misalign the derailleur, especially if your bike has a delicate frame or specific tire pressure requirements. First, you’ll need a derailleur hanger alignment tool, which helps measure and correct misalignment precisely. A hex wrench set is necessary for removing and adjusting the derailleur or hanger. You might also need a ruler or a derailleur alignment gauge for accurate measurements. Ultimately, keep a bike stand or repair stand handy to stabilize your bike during the process. Having these tools ready makes adjustments easier, saves time, and ensures your bike’s shifting remains smooth and safe. Additionally, understanding the importance of an accurate alignment can prevent costly repairs and improve your riding experience.
Precise Alignment Steps
Aligning your derailleur hanger accurately is essential for smooth shifting and preventing further damage. Start by checking your frame geometry to understand the proper alignment angles. Lower your tire pressure slightly to make the wheel more flexible and easier to work with. Use a derailleur hanger alignment tool to gauge the misalignment; place it against the hanger and observe the gap between the tool and the hanger. Adjust the hanger gently using a hex key or screwdriver, ensuring it moves smoothly without forcing it. Recheck the alignment after each adjustment. Keep in mind that proper tire pressure helps maintain consistent wheel positioning, which can influence alignment precision. Regularly consulting sizing and load‑planning tools can help ensure your bike setup is optimized for alignment and performance. Repeat the process until the hanger is perfectly aligned, ensuring optimal shifting performance and bike longevity.
How to Recognize When a Hanger Needs Replacing

A bent or damaged derailleur hanger can often be spotted by visual cues, but sometimes the signs are more subtle. If your shifting feels off, or if you notice uneven wear on your tires despite proper tire pressure, it might be time to check the hanger. Changes in your frame material can influence how easily hangers bend, so stay alert if you’ve hit a big obstacle. Look for these indicators:
- Visible bending or gaps between the hanger and frame
- Persistent poor shifting despite adjustments
- Cracks or obvious damage on the hanger
- Unusual noise or chain rubbing during rides
If you notice any of these, replacing the hanger can save you from costly repairs later. Regular inspection helps maintain proper alignment and smooth gear shifting. Understanding derailleur hanger alignment is essential for maintaining optimal bike performance.
Preventative Tips to Keep Your Hanger Aligned for Longer

Regularly check your wheel alignment to catch any issues early before they affect the hanger. Store your bike properly in a dry, stable place to prevent accidental bumps or warping. By staying proactive, you can extend the life of your hanger and keep your bike riding smoothly.
Regular Wheel Checks
To keep your derailleur hanger in good shape, it’s essential to perform routine wheel checks before each ride. Regular checks help identify bent rims, loose spokes, or uneven wear that can affect bike frame durability and misalign your hanger. Ensuring the wheel is true maintains smooth shifting and prolongs component life. Additionally, check your riding posture adjustments, as poor posture can cause uneven stress on your wheels and derailleur. By catching issues early, you prevent costly repairs and keep your bike running smoothly.
- Spin the wheel to spot wobbles or uneven motion
- Confirm spokes are tight and evenly tensioned
- Inspect the rim for dents or cracks
- Adjust your riding posture for better weight distribution
Proper Storage Practices
Proper storage is essential for maintaining your derailleur hanger’s alignment over time. When storing your bike, keep it in a dry, cool place away from direct sunlight to prevent corrosion. Remove any bike accessories and cycling apparel that could cause scratches or strain on components. Use a bike stand or hang your bike securely to avoid unnecessary pressure on the hanger. Always clean your bike before storage to prevent dirt buildup. Regularly check the hanger’s alignment, especially after long rides or transport. To help visualize, consider this storage tips table:
| Storage Tip | Reason |
|---|---|
| Keep in dry, cool place | Prevents rust and corrosion |
| Remove bike accessories | Avoid damage from straps or sharp objects |
| Use a bike stand or wall mount | Prevents deformation or misalignment |
| Clean before storage | Maintains component integrity |
| Store away from sunlight | Prevents material degradation |
The Impact of Misaligned Hangers on Shifting Performance and Gear Wear

When a derailleur hanger is misaligned, shifting becomes less smooth and more unpredictable. This misalignment causes your gears to skip, hesitate, or even drop entirely, disrupting your ride. Over time, poor shifting performance accelerates gear wear, making components less efficient and more prone to damage. You might notice that your bike requires more effort to change gears or that certain gears grind loudly. Misalignment also increases strain on the derailleur and chain, leading to faster degradation of parts. To keep your shifting smooth and extend gear lifespan, watch out for these issues:
- Gears skipping or sticking
- Increased chain noise
- Rapid gear wear
- Poor overall shifting performance
When to Seek Professional Help for Hanger Alignment
Recognizing the signs of a severely misaligned hanger is essential, as attempting to realign it yourself can sometimes do more harm than good. If your bike’s frame material is delicate, like carbon fiber, improper adjustments could cause damage. Also, if your riding posture has shifted or you notice persistent shifting issues despite minor adjustments, it’s time to seek professional help. A bike shop technician has the tools and experience to accurately realign the hanger without risking further misalignment or damage. When your shifting feels inconsistent, or if you notice chain skipping or rubbing that doesn’t improve with simple tweaks, professional assessment is necessary. Trusting experts guarantees your bike stays in top condition and your riding remains smooth and safe.
Maintenance Schedule for Optimal Drivetrain Performance

Regular maintenance of your drivetrain keeps your bike shifting smoothly and extends the lifespan of components. To achieve this, stick to a regular schedule: lubricate your chain every 100-200 miles or after wet rides, check and adjust tire pressure before every ride, and inspect the derailleur for proper alignment. Keep your chain clean and well-lubricated to prevent unnecessary wear. Also, regularly verify that your tire pressure is within the recommended range for peak performance and safety. Additionally, inspect your cassette and chainrings for wear and replace them when needed. By following this schedule, you’ll ensure smooth shifting, reduce drivetrain issues, and prolong the life of your bike’s components. Consistent care keeps your rides effortless and trouble-free.
Benefits of Regular Hanger Checks for Cyclists and E-Bike Owners

Regularly inspecting your derailleur hanger is essential because it guarantees your drivetrain stays properly aligned, which directly impacts shifting performance. When your hanger is true, your bike frame integrity remains intact, reducing the risk of costly damage. Checking the hanger also helps you identify bent or damaged components early, preventing further issues. Additionally, maintaining proper tire pressure improves overall bike handling and reduces stress on the drivetrain, including the hanger. This proactive approach ensures smoother gear changes and extends the lifespan of your bike’s parts. Regular hanger checks contribute to a safer, more efficient ride, saving you time and money in the long run. By staying vigilant, you keep your bike in top shape, maximizing performance and riding confidence.
Frequently Asked Questions
Can a Misaligned Hanger Cause Chain Slippage During Rides?
Yes, a misaligned derailleur hanger can cause chain slip during your ride. When the hanger isn’t straight, you might experience gear slipping and chain skip, especially under load or when shifting gears. This misalignment prevents the derailleur from properly guiding the chain across the gears, leading to inconsistent shifting and potential damage. Regularly checking and aligning your hanger helps guarantee smooth shifting and prevents chain-related issues on your rides.
How Often Should I Check My Derailleur Hanger Alignment?
You should check your derailleur hanger alignment every 500 to 1,000 miles or after any crash or hard impact. Regular maintenance schedules include inspecting the hanger to prevent shifting issues. If you’re unsure, get a professional inspection to verify proper alignment. Doing this keeps your gears smooth and reduces chain slippage, saving you from unexpected breakdowns and costly repairs down the line.
Are There Specific Tools Recommended for Precise Hanger Adjustments?
Think of your bike’s hanger alignment as a finely tuned instrument. For precise hanger adjustments, you’ll want tools like a derailleur alignment gauge or a hanger alignment tool. These tools act like a magnifying glass, giving you the clarity needed to guarantee perfect alignment. Invest in quality, durable tools designed specifically for hanger adjustments, and you’ll keep your gears smooth and your ride worry-free.
Can a Bent Hanger Affect My Bike’s Overall Frame Integrity?
A bent hanger can compromise your bike’s frame integrity over time if ignored, especially if it causes uneven stress or misalignment during rides. While it doesn’t directly cause frame damage immediately, persistent issues can lead to further problems. To prevent this, consider a hanger replacement if the bend is severe, and always check for frame damage during maintenance. Addressing hanger issues early keeps your bike safe and rides smooth.
Is It Safe to Ride With a Slightly Misaligned Derailleur Hanger?
Riding with a slightly misaligned derailleur hanger isn’t ideal, but it’s often safe temporarily. Did you know that around 60% of bike accidents involve drivetrain issues? A misaligned hanger can cause poor frame alignment, risking chain slips or drops. While you might feel safe now, long-term riding with it can jeopardize rider safety and damage your bike. It’s best to get it checked and realigned to guarantee safe, smooth rides.
Conclusion
Regularly checking and aligning your derailleur hanger can save you from costly repairs and frustrating rides. Imagine hitting your favorite trail, only to experience skipping gears or chain drops because of a bent hanger you overlooked. By staying proactive—like Sarah, who caught her misalignment early—you ensure smooth shifts and longer drivetrain life. Don’t wait for problems to worsen; a simple check can keep your cycling experience enjoyable and stress-free.