To fit your road bike for maximum power, start by setting your saddle height so your knee bends around 34-48° at the pedal’s bottom position, ensuring efficient leg extension. Adjust cleats and foot angles to 20-30° for stability, and fine-tune hip and pelvic position for comfort and ideal force transfer. Select crank length and stack height suited to your biomechanics. Keep exploring for detailed tips that will help you harness your full pedaling potential.
Key Takeaways
- Adjust saddle height to achieve 34°-48° knee flexion at the pedal’s lowest point for optimal power transfer.
- Set crank length between 165mm and 175mm based on your knee mobility and leverage for maximum efficiency.
- Position the saddle fore-aft to keep pelvis level, ensuring proper hip alignment and effective pedaling biomechanics.
- Properly align foot angles to 20°-30° at 12 o’clock, maintaining foot stability and maximizing force application.
- Fine-tune handlebar reach and height to promote a strong, comfortable riding posture that enables sustained power output.
Understanding Proper Joint Angles for Power Generation
To generate maximum power efficiently, it’s essential to understand proper joint angles during pedaling. Maintaining knee flexion between 34° and 48° during the pedal stroke ensures you produce ideal force without overextending the joint. Correct joint angles depend on saddle height and cleat placement, which influence how your knee, hip, and ankle work together. Proper ankle dorsiflexion—around 75° to 105°—promotes effective force transfer and smooth pedal movement. When your foot is in the 12 o’clock position, a toe-down angle of 20° to 30° helps maximize power while maintaining stability. Avoid excessive toe-down angles exceeding 35° to 40°, as they can strain your knees. Focusing on these angles ensures efficient power generation and reduces fatigue, making your ride smoother and more effective. Adjusting your bike fit to optimize joint angles can significantly improve your riding performance. Additionally, understanding the biomechanics of cycling can help you make more informed adjustments for comfort and efficiency, especially when considering drivetrain components and how they influence pedaling dynamics. Incorporating SQA best practices such as regular assessment and fine-tuning can further enhance your efficiency and prevent injuries.
Setting Saddle Height for Optimal Knee Flexion
Achieving the ideal saddle height is crucial for maximizing pedaling efficiency and reducing injury risk. Your saddle height influences knee flexion during the pedal stroke, directly impacting power output. To find the right fit, measure from the bottom bracket to the top of the saddle, ensuring a slight bend—about 34° to 48°—at the knee when the pedal is at its lowest point. Use a goniometer or inclinometer for accuracy. Too high a saddle causes overextension, risking injury and control loss, while too low limits power and strains your knees. Adjust gradually, testing ride comfort and power, until you reach the optimal knee flexion angle. Proper saddle height enhances your bike fit and maximizes your power during each pedal stroke.
Adjusting Cleat Position and Foot Angles for Efficiency

Proper cleat positioning and foot angles are key to maximizing pedaling efficiency and preventing injuries. When you adjust your cleats, aim for a neutral ankle angle that supports ideal power transfer. A foot angle of about 20°-30° at the 12 o’clock position promotes an efficient pedal stroke, while angles over 40° can cause stability issues. Confirm your cleat placement allows your foot to stay level or slightly toe-down (~10°-12°) at 3 o’clock, helping you apply force effectively during the power phase. Fine-tuning these aspects based on your ankle mobility leads to better comfort and performance. Incorporating bike fitting techniques can further optimize your setup for maximum efficiency. Using foot biomechanics insights can assist in customizing your cleat position to suit your individual needs. Additionally, considering biomechanical alignment can help prevent overuse injuries and improve overall comfort during rides. Adjusting your foot position according to retirement planning principles can ensure long-term sustainability of your riding performance. Use this guide to refine your bike fitting: Home Cinema.
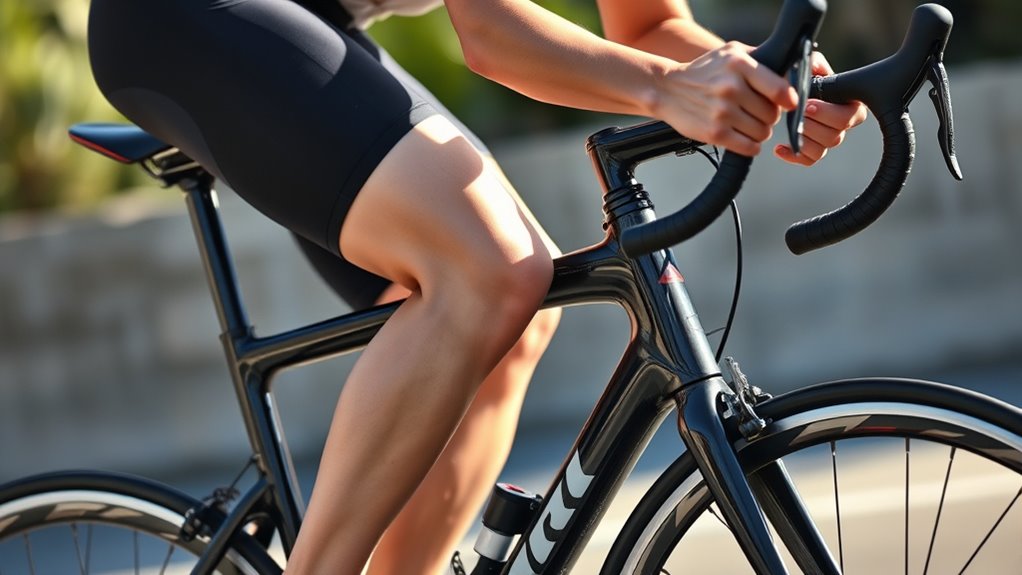
Optimizing Hip and Pelvic Position for Power and Comfort

Optimizing your hip and pelvic position is essential for both power output and riding comfort. Start by setting your saddle height so your knees have about 35-45° of bend at the bottom of each pedal stroke. This ensures your hips stay stable and prevents unnecessary movement. Adjust the seat fore-aft to keep your pelvis level and centered, avoiding tilting that can reduce power and cause discomfort. A proper saddle setback allows your pelvis to rotate naturally over the bottom bracket, fostering a forward hip angle that boosts core engagement and pedaling efficiency. Keep your pelvis steady and avoid rocking or swaying during pedaling. This stability maximizes power transfer from your hips to the pedals, making your ride both more powerful and comfortable. Incorporating proper hip alignment techniques can further enhance your cycling performance. Additionally, ensuring your saddle position aligns correctly with your leg length can significantly improve efficiency and reduce fatigue. Paying attention to bike fit details, such as handlebar height and reach, can also optimize comfort and power output during long rides. Regularly checking your position and making incremental adjustments can help you maintain peak performance over time.
Ensuring Proper Crank Length and Stack Height

Adjusting your crank length and stack height directly influences your pedaling efficiency and comfort. Selecting the right crank length—typically between 165mm and 175mm—ensures your foot position aligns with your mobility and power needs. Shorter cranks suit riders with limited knee mobility, while longer cranks provide more leverage for maximum power. Proper stack height positions your foot and cleat to maintain a neutral or slightly dorsiflexed ankle angle (~90°), which optimizes pedal fit and force transfer. Too high a stack can cause knee and hip strain, reducing power, while too low may limit ankle mobility and smoothness. Fine-tuning these components guarantees your ankle angle supports natural movement, minimizes joint stress, and maximizes power throughout your pedal stroke. Additionally, understanding your individual biomechanics can help tailor your setup for optimal performance and comfort, especially when considering biomechanical variations that influence how you generate power.
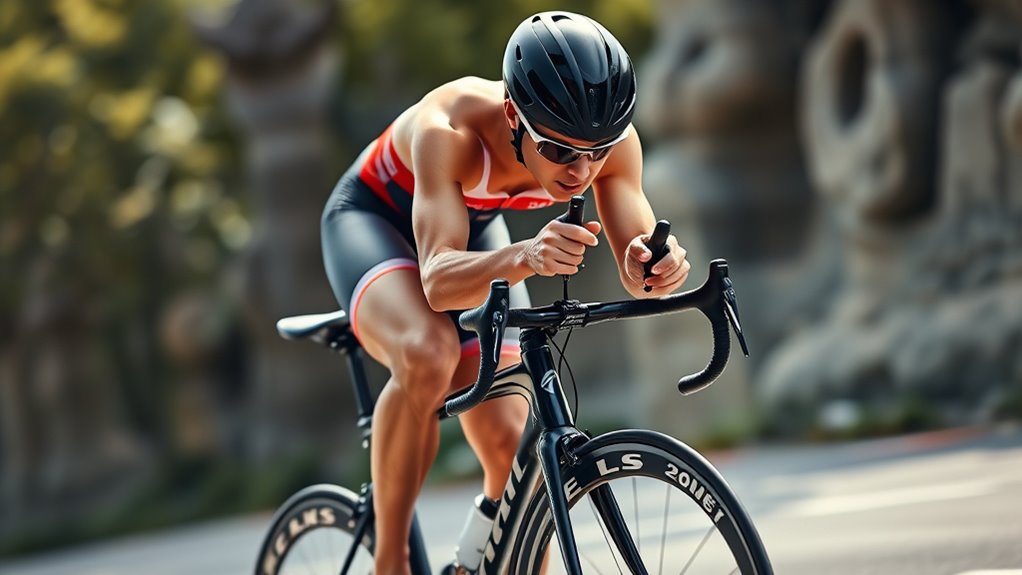
Fine-Tuning Upper Body Position to Maximize Force Transfer

To maximize force transfer, focus on fine-tuning your upper body position, as it directly influences your efficiency and comfort on the bike. Adjust your handlebar height and stem length to optimize reach and maintain a comfortable posture. Your upper body should form about a 45° torso angle to your hips with elbows bent at roughly 90°, which enhances aerodynamics and power output. An appropriate handlebar reach allows you to grip comfortably without overreaching or excessive bending, reducing strain and enabling better force transfer. A balanced upper body position supports a stable core, allowing your legs to generate maximum power without unnecessary upper body movement or fatigue. Small adjustments here can markedly improve your overall riding efficiency and power output. Additionally, aligning your riding posture with proper ergonomic principles can help prevent fatigue and injuries, ensuring sustained performance. Paying attention to ergonomic principles can also contribute to better long-term comfort and injury prevention. Furthermore, maintaining proper alignment helps in muscle engagement, which optimizes your overall strength and endurance during rides. Ensuring correct bike fit can lead to significant improvements in your cycling performance and comfort over time.
Frequently Asked Questions
What Is a Good Average Power on a Road Bike?
A good average power on a road bike depends on your fitness level and riding goals. For recreational riders, maintaining 100-150 watts during endurance rides is solid, especially over 50-100 km. If you’re more experienced, pushing 200 watts or more shows good endurance. Remember, your power-to-weight ratio matters, so focus on improving efficiency and comfort to boost your average power and overall performance.
How Should Your Road Bike Fit You?
To fit your road bike properly, start with saddle height so you have an 80-90% knee bend at the bottom of your pedal stroke. Position the saddle fore-aft to align your knee over the pedal axle, and set handlebar reach for a comfortable arm bend with a 45° torso angle. Adjust cleats for ankle mobility, ensuring your feet sit at a 20°-30° angle for efficient power transfer and comfort.
How Can I Increase My Bike Power Output?
Think of boosting your bike power like tuning a musical instrument—you need everything in harmony. To increase your output, focus on optimizing your bike fit by maintaining proper knee bend, ankle dorsiflexion, and hip angle. Adjust your saddle height and position to maximize leverage, and guarantee cleats support natural foot motion. A streamlined, aerodynamic riding position also cuts wind resistance, helping you sustain higher power over longer rides.
Can You Be Too Heavy for a Road Bike?
You can be too heavy for a road bike if your weight exceeds the bike’s maximum load limit, which is usually around 250-300 pounds. Riding beyond this can strain components, cause premature wear, or even lead to failure. To stay safe and perform well, choose a bike with reinforced frames and wider tires designed for higher weights. Always check the manufacturer’s specifications to avoid damages and guarantee ideal performance.
Conclusion
By dialing in each adjustment, you’ll unlock the full potential of your ride like a well-tuned engine. Think of your bike fit as a symphony—every part working in harmony to release your true power. When your position feels just right, you’ll ride smoother, faster, and stronger. So, get to know your bike inside out, and let it propel you toward new personal bests, turning every pedal stroke into a testament of your dedication.