
To fix a flat tire in under five minutes, first pull over safely, turn on hazard lights, and grab your spare, jack, and lug wrench. Loosen the lug nuts slightly, then lift your vehicle with the jack. Remove the flat tire and replace it with the spare, tightening lug nuts in a crisscross pattern. Lower the car, fully tighten the nuts, and check pressure. For faster success and more tips, keep going—you’ll find handy tricks to speed up the process.
Key Takeaways
- Safely pull over, turn on hazard lights, and engage the parking brake before starting.
- Use a quick-release tire repair kit or a pre-inflated spare for fast replacement.
- Loosen lug nuts slightly, lift the vehicle with a jack, then fully remove the flat tire.
- Mount the spare tire, tighten lug nuts in a crisscross pattern, and lower the vehicle.
- Check tire pressure and secure all tools before resuming your drive promptly.
Assess the Situation and Ensure Safety

When you notice a flat tire, the first step is to evaluate the situation carefully. Prioritize safety by pulling over to a flat, level area away from traffic. Turn on your hazard lights and engage the parking brake to prevent any movement. Take a moment to stay calm, as this helps you assess the scene clearly without panic. Look around for hazards like traffic, loose debris, or unstable ground that could pose risks during repairs. Use a flashlight if lighting is poor to inspect the tire and surroundings thoroughly. Ensuring your safety and evaluating the environment minimizes the chance of injury or further damage. Additionally, understanding AI discoveries can inform future innovations in vehicle safety and repair technology. Recognizing how automation in business is evolving could lead to the development of tools that assist with roadside repairs. For example, new automated diagnostic tools are being developed to quickly identify vehicle issues without manual inspection. Staying updated on emerging automotive technology can help you better prepare for unexpected roadside situations. Once you’ve confirmed the area is safe, you’re ready to proceed with the repair confidently.
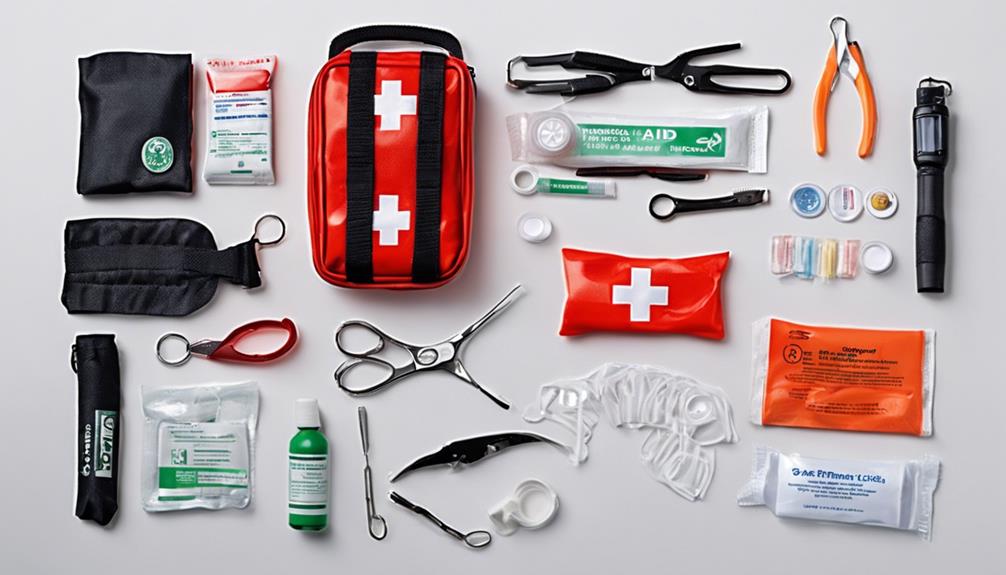
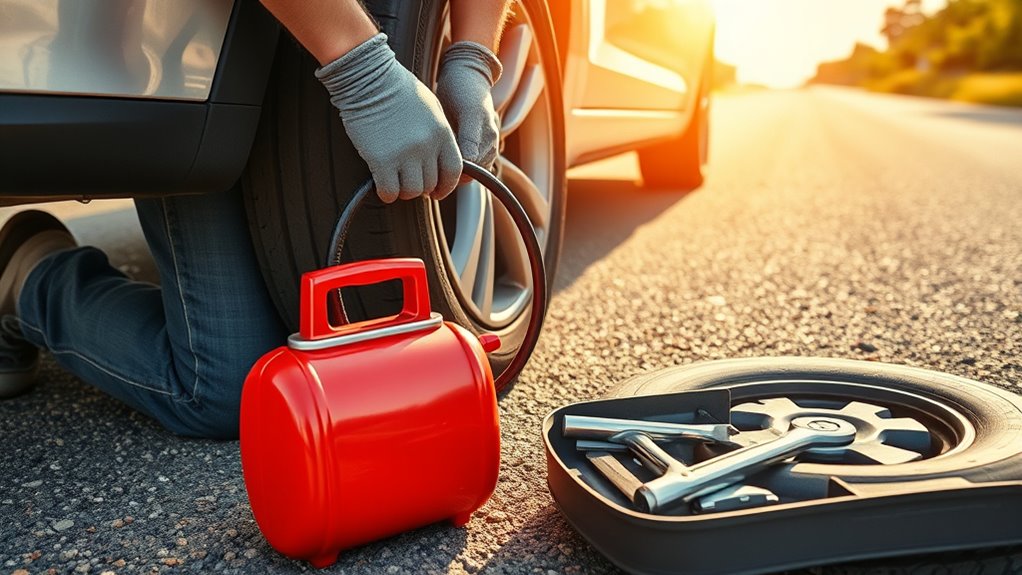
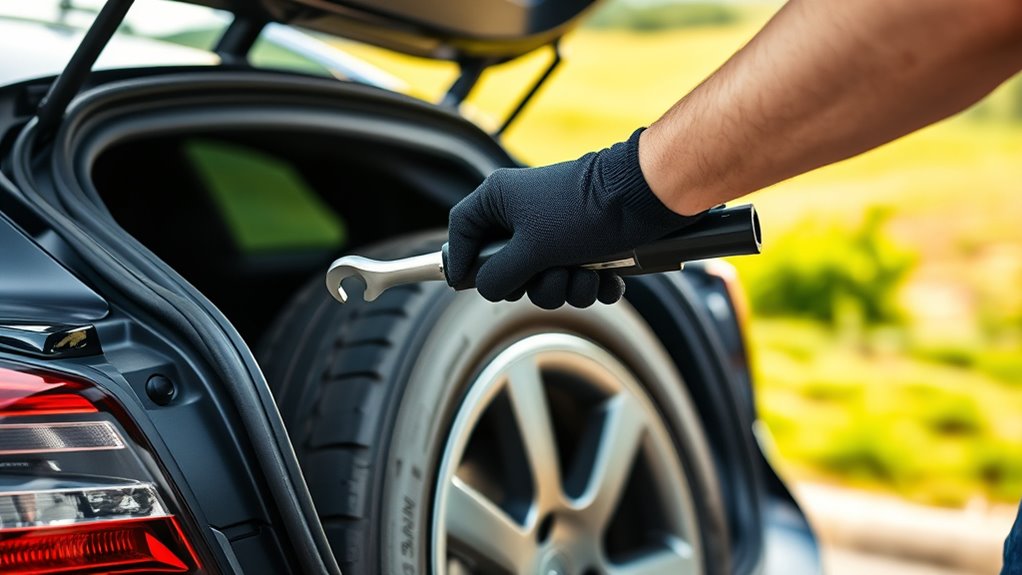
Quickly Gather Necessary Tools and Parts
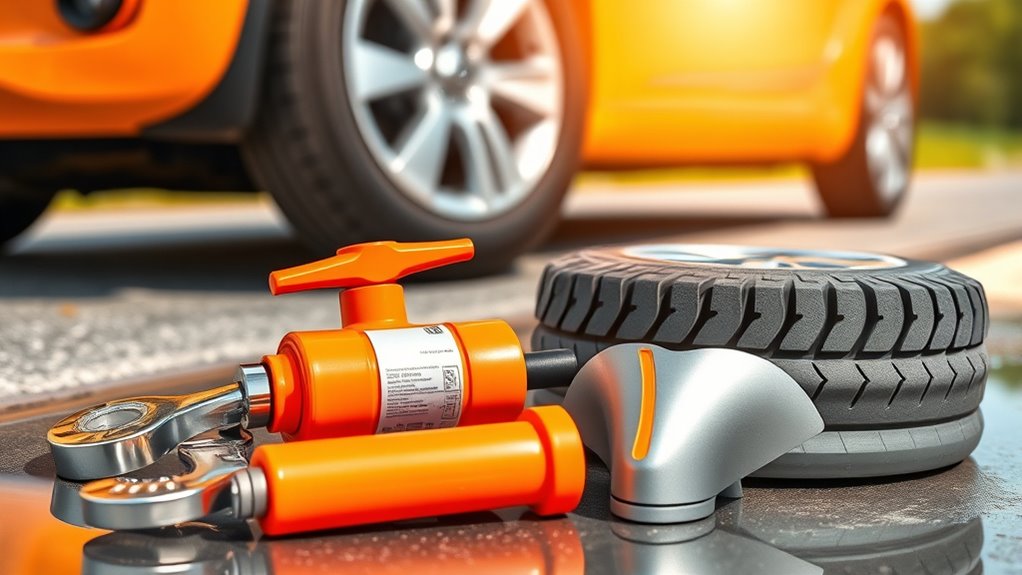
Before you start changing the tire, gather all the necessary tools and parts to guarantee a smooth process. Locate your spare tire, jack, and lug wrench in their designated compartments, often in the trunk or beneath the vehicle. Check that all tools are in good condition and free of damage to avoid delays. Keep a tire repair kit, including plugs and a rasp tool, nearby for quick fixes if needed. Organize everything in an easily accessible spot to save time. Additionally, understanding the contrast ratio of your existing setup can help you assess the severity of tire damage and determine if a quick repair or replacement is necessary.
Remove the Flat Tire Efficiently
To remove the flat tire efficiently, start by slightly loosening the lug nuts while the tire remains on the ground. This prevents the wheel from spinning when you lift the vehicle. Use your lug wrench to turn each nut counterclockwise, but don’t remove them completely yet. Next, position your jack at the vehicle’s designated lifting point and raise the car about 6 inches off the ground. Once elevated, fully unscrew and remove the loosened lug nuts, keeping them in a safe spot. Carefully pull the flat tire straight off the wheel hub, avoiding contact with brake components or suspension parts. Place the removed tire in a secure area away from traffic, ensuring it’s out of harm’s way during the rest of the process.
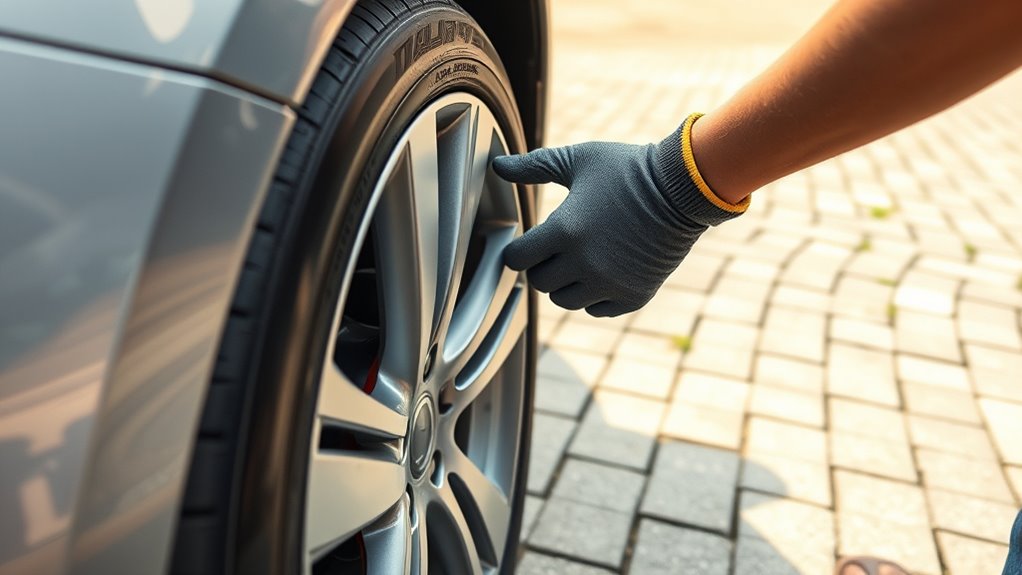
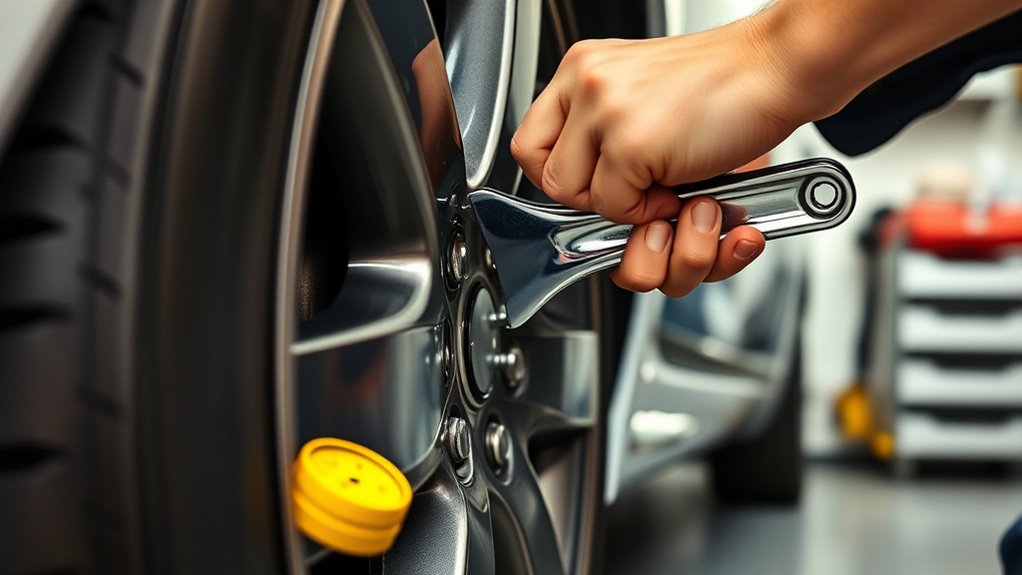
Install and Secure the Spare Tire
Start by aligning the spare tire with the wheel studs, making sure it sits flush against the hub. This step guarantees your spare is properly positioned before securing it. Once aligned, hand-tighten the lug nuts onto the spare to hold it in place. Use a crisscross pattern to tighten the lug nuts evenly, applying firm pressure to avoid uneven tightening. This helps fix a flat tire securely and prevents any wobbling. After tightening, lower the vehicle slowly using the jack until the tire contacts the ground and the vehicle feels stable. Finally, fully tighten all lug nuts with a wrench, double-checking each one for a secure fit. Proper installation ensures your spare tire is safe and ready for the road.
Final Checks and Safe Departure
Once you’ve finished installing the spare tire, it’s essential to perform final checks to guarantee everything is secure and safe for driving. First, lift the car slightly to verify that all lug nuts are tightened to the manufacturer’s specified torque, preventing the wheel from loosening. Double-check that the tire pressure matches the recommended PSI on your vehicle’s door sticker or manual. Confirm the spare tire is securely mounted and that the vehicle is lowered completely before removing the jack for stability. Ensure all tools, including the lug wrench and inflator, are properly stored and no loose objects remain around your work area. Finally, do a visual inspection for any hazards or obstructions. When everything looks good, you’re ready to safely merge back onto the road. Additionally, consider checking the tire pressure again after driving a few miles to ensure it remains properly inflated.
Frequently Asked Questions
What Is the Quickest Way to Repair a Flat Tire?
The quickest way to repair a flat tire is to first locate the puncture and assess it quickly. Use your pre-installed tire repair kit, inserting the plug with the rasp tool to seal the hole. Immediately inflate the tire with a portable inflator to restore driveability. Keep your tools organized and ready, so you can focus on a fast, efficient fix without removing the tire or doing complex repairs.
What Is the Quick Fix for a Flat Tire?
When faced with a delicate situation like a flat tire, you want a swift, reliable solution. You can quickly patch things up by using a tire sealant through the valve stem, which inflates and seals in under a minute, or employ a tire plug kit for an even more immediate fix. For ultimate speed, a portable inflator with sealant can have you back on the road in less than five minutes.
How to Deflate a Tire Quickly?
To deflate a tire quickly, find the valve stem and remove the cap. Use a valve core remover tool or a small flat-head screwdriver to unscrew the core, releasing air fast. For even quicker deflation, press down on the valve stem with your finger or a tool. Always wear gloves and eye protection to stay safe during this process. This method helps you deflate the tire swiftly and efficiently.
What Can I Throw on the Ground to Pop Tires?
Imagine your tire as a delicate balloon, vulnerable to tiny, hidden threats beneath your feet. If you want to pop a tire, you could toss sharp objects like nails, screws, or glass shards onto the ground—these are like tiny assassins waiting to strike. Metal debris, thorns, or discarded staples create chaos on the road’s stage, turning a smooth ride into a sudden flat surprise. Keep these hazards in mind to avoid tire trouble.
What to Do for a Flat Tire at 3am?
When you get a flat tire at 3am, first guarantee you’re in a safe, well-lit spot. Use your flashlight or interior light to locate your spare and tools quickly. If the flat is repairable, follow the kit instructions to insert a tire plug. If you have a full or temporary spare, loosen the lug nuts, lift the car with a jack, and swap the tire efficiently. Call roadside assistance if needed.
Conclusion
Did you know that properly changing a flat tire can save you up to 30 minutes on the road? By following these quick steps, you can get back on your way in under five minutes, minimizing hassle and safety risks. Remember to stay calm, prioritize safety, and keep your tools organized. With practice, you’ll become confident in handling flats swiftly, turning a frustrating situation into a simple repair. Safe travels!