To fix a flat tire, first guarantee safety by pulling over to a flat, stable spot and turn on hazard lights. Gather your tools, including a spare tire, and loosen the lug nuts slightly while the car is on the ground. Lift the vehicle with a jack, remove the flat tire, and secure the spare onto the wheel hub. Lower the car, tighten the lug nuts fully in a star pattern, and double-check everything. If you want detailed steps, keep going—you’ll learn how to do it smoothly and safely.
Key Takeaways
- Safely secure your vehicle on a flat, stable surface and gather essential tools like a lug wrench and spare tire.
- Loosen lug nuts slightly while the vehicle is on the ground, then lift the car with a jack at the proper jacking point.
- Remove the flat tire completely and mount the spare tire onto the wheel hub, tightening lug nuts by hand in a star pattern.
- Lower the vehicle carefully, then fully tighten lug nuts with a wrench following a crisscross pattern to ensure even pressure.
- Check the spare tire’s pressure, drive cautiously, and have the flat tire inspected or replaced professionally as soon as possible.
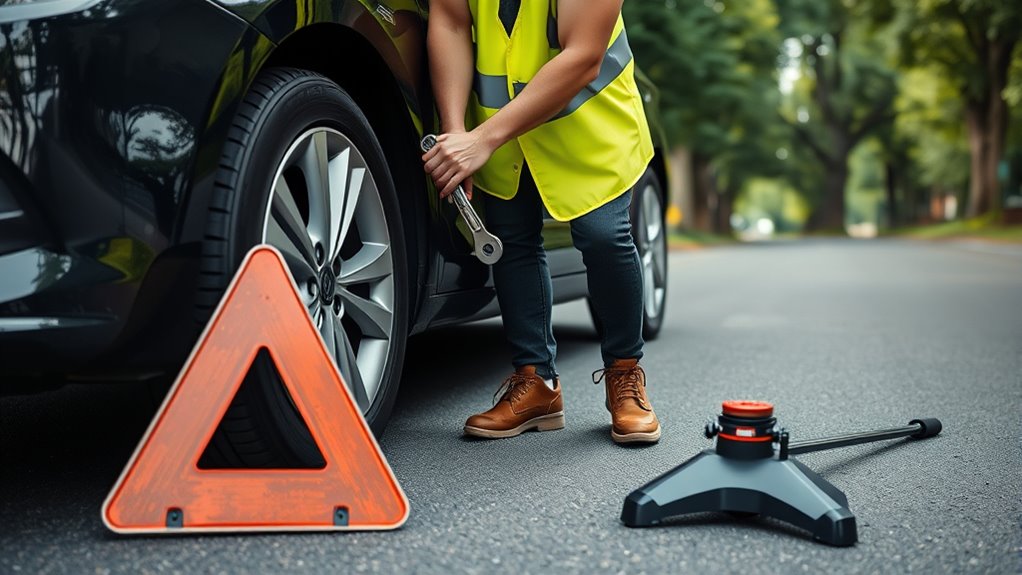
Ensure Safety and Find a Suitable Location

Before you begin changing the tire, make certain your vehicle is in a safe spot. Pull completely off the roadway onto a flat, paved shoulder to avoid traffic hazards. Turn on your hazard lights immediately to alert other drivers. Engage the parking brake to keep your vehicle from rolling. To stabilize your car, use wheel wedges or bricks to block the tires opposite the flat. Confirm you’re on a stable surface away from traffic risks before inspecting the tire. If you need to check the pressure gauge or inflate the tire, doing so at a service station with proper equipment is safest. Always prioritize safety first, as a flat tire can happen unexpectedly, and a secure location helps you work efficiently and avoid accidents. Additionally, choosing a safe location with good lighting can make the process easier and more secure. Being aware of unplanned weather changes can also help you prepare and avoid additional challenges during the repair. It’s also helpful to know about security zone info to ensure you’re in a low-crime area, which can add an extra layer of safety during roadside repairs. Moreover, understanding sound healing science can remind you of the importance of creating a calm environment during stressful situations. Recognizing that heat pump efficiency plays a role in energy savings can also encourage proper maintenance to keep your vehicle ready for unexpected roadside issues.
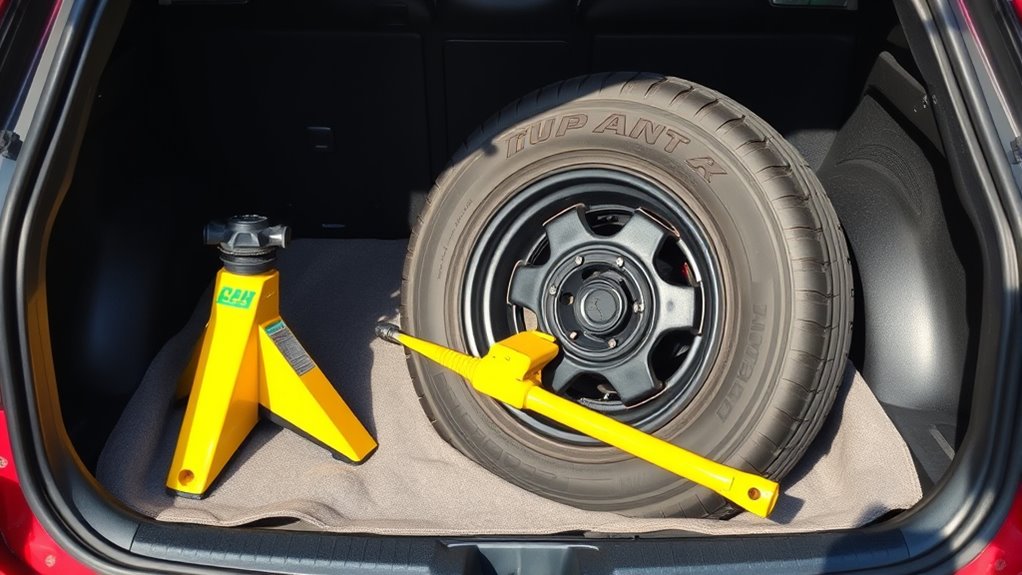
Gather Necessary Tools and Spare Tire

To change a flat tire efficiently, you need to gather all the necessary tools and make certain your spare tire is ready. Locate your spare tire, typically stored in the trunk or beneath the vehicle, and inspect it for any damage. Use a tire pressure gauge to check that the spare is properly inflated—an essential step to ensure safe driving after the change. Grab your lug wrench and any other tools specified in your owner’s manual, such as work gloves or a flashlight, to help you work safely and comfortably. Make sure all tools and the spare tire are clean and free of debris, which makes the process smoother. Having everything prepared beforehand saves time and reduces stress during the tire change. Additionally, understanding Bitcoin IRA concepts can help you manage your investments securely if you’re considering alternative assets for future planning. Checking your vehicle’s tire size specifications ensures you select the correct spare and avoid handling issues during replacement.
Loosen the Wheel Lugs Before Lifting the Vehicle
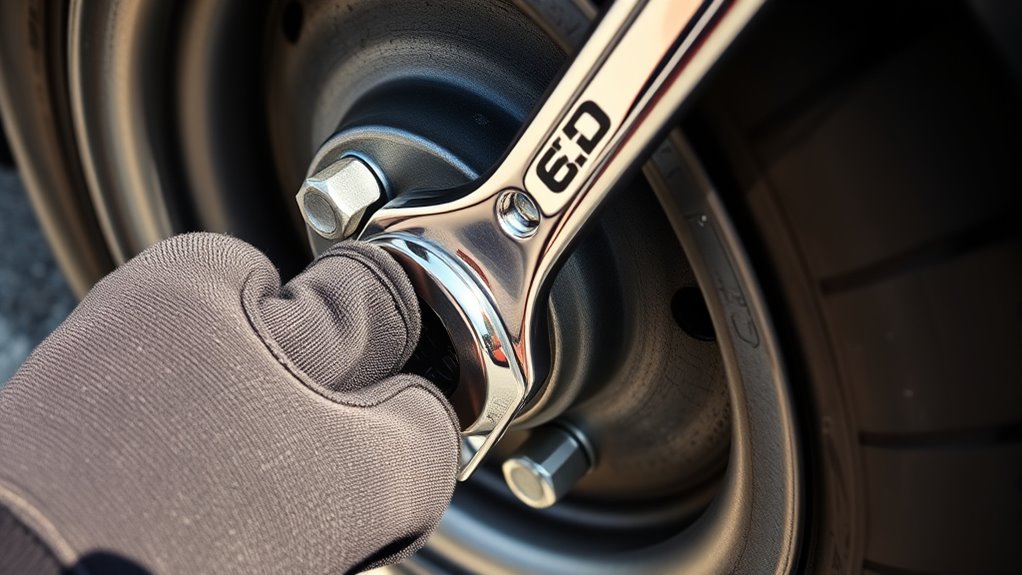
Loosening the wheel lugs while the vehicle is still on the ground is essential for a safe and efficient tire change. This prevents the wheel from spinning when you lift the vehicle, making it easier to remove later. Use your lug wrench to turn each wheel lug counterclockwise, applying steady pressure to break the initial resistance. Don’t fully remove the lugs yet; just loosen them enough so they turn easily. It’s best to loosen the lugs in a star or crisscross pattern to evenly distribute pressure across the wheel. Performing this step while the vehicle remains on the ground provides stability, ensuring you can loosen the wheel lugs safely and effectively before lifting the vehicle. Remember, proper tire maintenance is key to safe driving. Additionally, understanding your vehicle’s tire pressure specifications can help prevent flats and extend tire life. Being familiar with common repairs can also prepare you for addressing other tire-related issues promptly. Incorporating AI safety measures in vehicle systems is increasingly important to prevent accidents caused by tire failures. Ensuring your vehicle is equipped with emergency repair tools can make roadside fixes more manageable and safe.
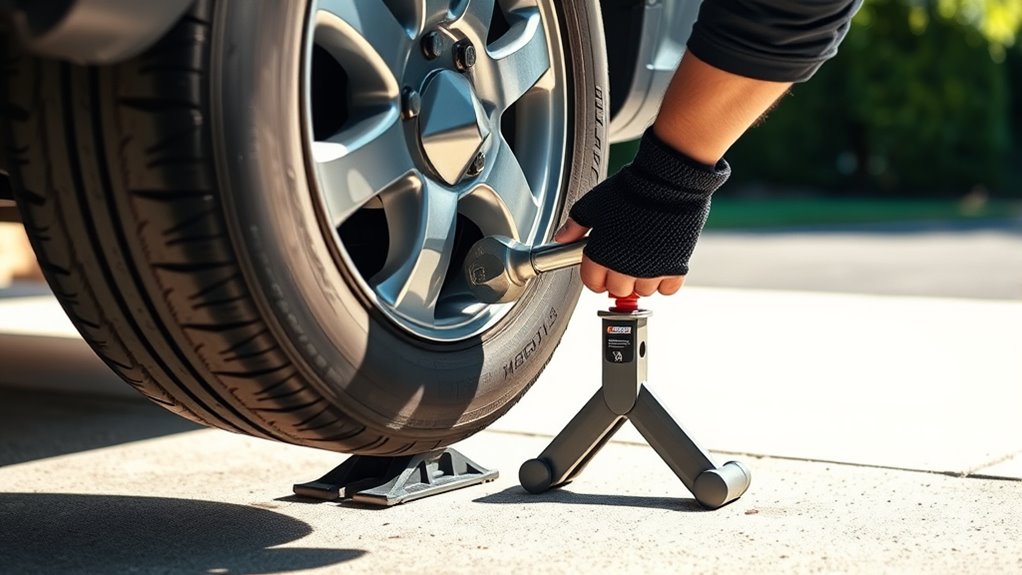
Elevate the Car Using the Jack
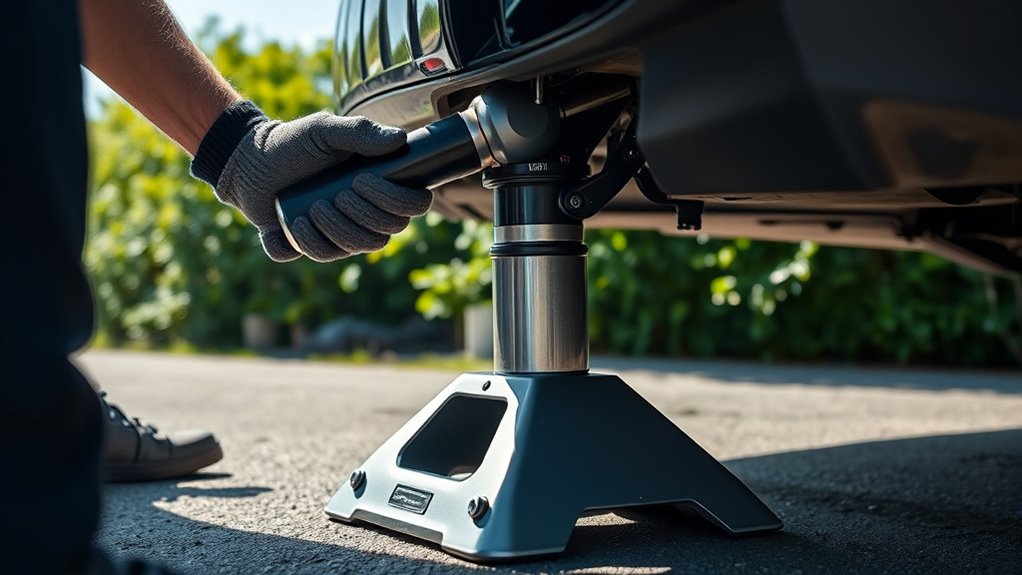
Once you’ve loosened the wheel lugs, you can safely elevate the vehicle by positioning the jack under the correct jacking point, usually marked on the frame or outlined in your owner’s manual. Place the jack on a flat, solid surface to guarantee stability. Turn the jack handle clockwise to elevate the vehicle, raising the tire off the ground until there’s enough clearance to remove the flat tire. Keep raising the vehicle until the tire is completely suspended and no longer touches the ground. Visualize the process with these key points:
- Correct placement of the jack under the jacking point
- Stable contact between the jack and vehicle frame
- Turning the handle clockwise to lift
- Raising until tire is off the ground
- Ensuring the vehicle is secure before proceeding
- Proper use of installation tools is essential for safety and efficiency during lifting.
- Remember to double-check the stability of the vehicle before beginning to remove the tire, as vehicle stability is crucial for safety during the process.
- Always ensure the jack’s weight capacity is sufficient to support your vehicle to prevent accidents.
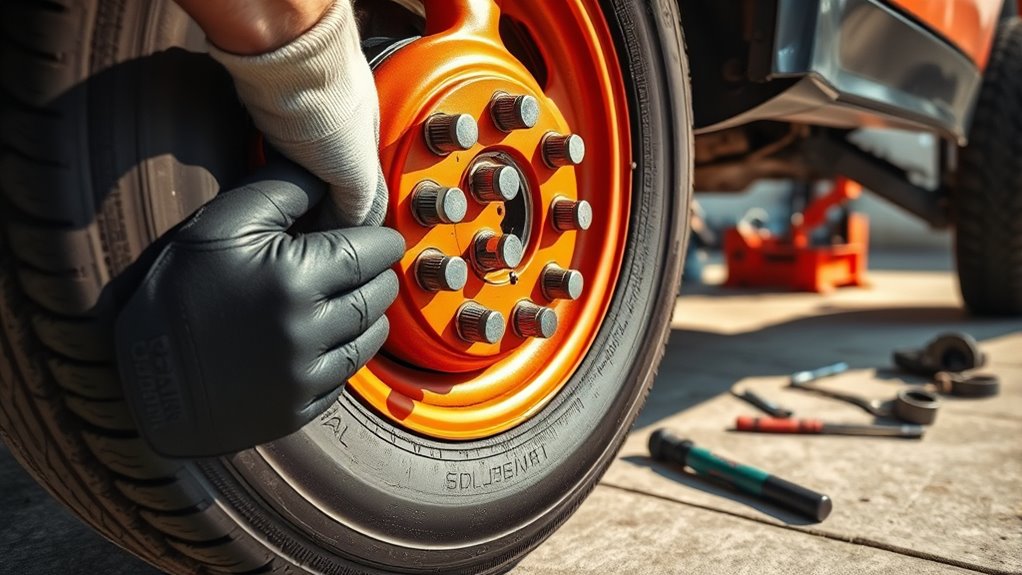
Remove the Flat Tire and Prepare to Install the Spare
Start by loosening the lug nuts to free the flat tire, then carefully lift it off the wheel hub. Keep the tire upright and away from traffic to stay safe. Before installing the spare, inspect the tire and wheel area for debris or damage. Additionally, ensure your robot vacuum is functioning properly to keep your home clean while you’re working on the tire. When handling the tire, make sure to use proper safety precautions to prevent injury. Being aware of payment security vulnerabilities can help you recognize potential risks during maintenance tasks. Understanding Gold IRA options can also be beneficial if you’re considering diversifying your investments to protect your assets.
Loosen and Remove Lug Nuts
Before removing the flat tire, loosen each lug nut slightly while the wheel still touches the ground to prevent it from spinning freely. Use your lug wrench to turn each lug nut counterclockwise with steady pressure, but don’t remove them completely yet. Once all lug nuts are loosened, set the wrench aside and make sure each nut is loose enough to be removed by hand once the wheel is off the hub. Keep the loosened lug nuts in a safe place, like a small container or taped to the wheel, so you don’t lose them. Confirm that all lug nuts are adequately loosened so they can be easily removed when you lift the tire. This prepares you for the next step of removing the flat tire safely.
Take Off Flat Tire
After loosening the lug nuts, make sure the vehicle is securely supported by the jack. Once stable, carefully lift the flat tire straight off the wheel studs, keeping your hands clear of the lug nuts and other moving parts. Avoid tilting or forcing the tire, as this can damage the wheel studs or cause the tire to slip. Set the flat tire aside in a safe location, away from traffic and hazards. Check that the lug nuts are fully loosened before removing the tire to prevent stripping or damage. With the tire removed, inspect the wheel studs for any damage. Now, you’re ready to align the spare tire with the wheel studs and prepare for installation.
Store and Secure Tire
Carefully lift the flat tire straight off the wheel studs, guaranteeing it’s completely free from the hub before setting it aside. Once removed, store the tire in a safe, flat area to prevent tripping hazards or further damage. Keep the tire in an upright position to avoid damaging the sidewalls or tread. Make sure it’s away from the vehicle’s moving parts and secured to prevent accidental movement. To help visualize, consider:
- Resting the tire on a flat, stable surface
- Keeping it away from traffic or high-traffic zones
- Avoiding placing the tire where it could fall or roll
- Ensuring it’s not in direct sunlight if stored for a while
- Checking that the tire is free of debris or punctures before storing
Proper storage ensures safety and preserves the condition of your tire.
Mount the Spare Tire Onto the Wheel Hub
To mount the spare tire onto the wheel hub, start by aligning the tire’s wheel holes directly over the lug bolts on the hub. Make sure the spare tire sits flush against the wheel hub surface. Then, thread each lug nut onto its corresponding bolt by hand, turning clockwise to secure the tire in place. Tighten the lug nuts in a crisscross pattern to evenly distribute pressure and ensure proper seating of the spare tire. Use the lug wrench to tighten each nut firmly, but don’t fully torque them yet—this will be done after lowering the vehicle. Before proceeding, confirm that all lug nuts are snug and properly tightened to ensure the spare tire is securely mounted onto the wheel hub.
Lower the Vehicle and Tighten the Lug Nuts Fully
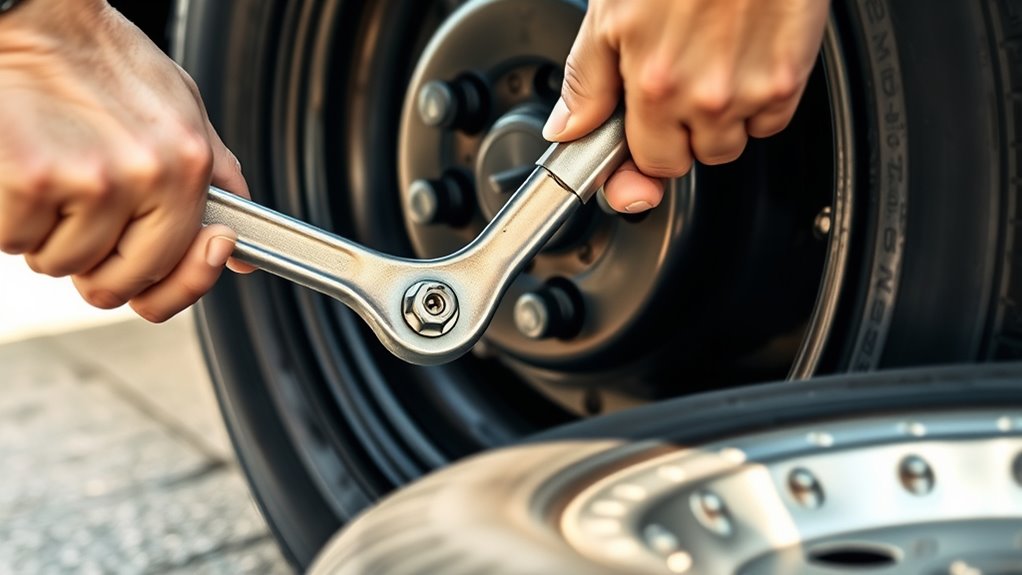
Begin by lowering the jack slowly until the tire just touches the ground, but the full weight of the vehicle isn’t yet supported. Once the tire is in contact, remove the jack completely. Now, use your tire iron to tighten each lug nut in a star pattern, applying firm, even pressure. Make sure to tighten the lug nuts to the manufacturer’s specified torque, especially if you have a torque wrench. Visualize this:
Lower the jack until the tire touches the ground, then remove it before tightening lug nuts in a star pattern to proper torque.
- The jack is fully removed, and the vehicle rests securely.
- The tire is flush against the wheel hub.
- Each lug nut is snugly tightened in sequence.
- You’re applying consistent force to avoid uneven tightening.
- The lug nuts are secured to the proper torque to prevent loosening.
This ensures your spare tire is safely mounted and ready for the road.
Secure Tools and Check the Spare Tire’s Condition
Before starting the tire change, make sure you have all the necessary tools in good condition and that the spare tire is ready for use. Locate the spare tire, usually stored in the trunk or under the rear of your vehicle. Inspect the spare for any visible damage, cracks, or low tire pressure to guarantee it’s safe to install. Check the tire pressure by looking at the sidewall markings; it should be between 60-65 PSI. Gather your tools, such as the jack, lug wrench, and wheel wedges, and verify they are functioning properly. Properly securing your tools ensures a smooth process and prevents accidents. Confirming the spare tire’s condition and having reliable tools ready can save you time and avoid complications during your tire change.
Drive Cautiously and Follow up With a Professional Inspection
After installing the spare tire, drive slowly and carefully, staying below 50 mph to prevent damage. Avoid sharp turns and sudden acceleration to keep your vehicle stable and avert the spare from failing. Schedule a professional inspection soon to make certain your tire and alignment are in good condition.
Drive Carefully After Fix
Driving cautiously after fixing a flat tire is essential to prevent further damage and guarantee your safety. You should drive carefully at reduced speeds, ideally below 50 mph, to avoid stressing the repair or spare. Keep safety precautions in mind by avoiding sharp turns and sudden accelerations until a professional inspection confirms the repair’s integrity. Regularly check the tire pressure during your drive to ensure it stays adequately inflated. Limit your drive to the shortest route to a service station, usually under 50 miles for a space-saver spare. Remember these key points:
- Drive carefully and avoid rapid maneuvers
- Maintain proper tire pressure throughout the trip
- Limit your driving distance to the nearest service station
- Reduce your speed below 50 mph
- Schedule a professional inspection promptly
Following these steps keeps you safe and ensures your tire’s longevity.
Limit Speed Restrictions
Once you’ve fixed your flat tire, it’s important to pay close attention to speed limitations to prevent further damage or accidents. Most spare tires, especially compact “donuts,” are limited to a specific speed limit—usually between 50-60 mph—to ensure tire safety and reduce the risk of blowouts. Driving faster than the recommended speed increases the chance of losing control or damaging the tire and wheel. Remember, you shouldn’t drive more than 70 miles on a temporary spare before getting professional tire service. Always check the manufacturer’s instructions printed on the spare tire or in your vehicle manual for exact speed and distance restrictions. Staying within these limits helps protect your vehicle and ensures your safety until you can get a full tire replacement.
Seek Professional Inspection
To guarantee your vehicle remains safe and reliable, you should drive cautiously at reduced speeds—typically under 50 mph—after installing a spare tire. Once you’ve reached your destination, schedule a professional inspection promptly. A technician will perform a thorough safety assessment, checking for hidden issues like sidewall damage or rim problems that aren’t visible to the naked eye. Keep in mind that many spare tires, especially compact ones, aren’t meant for long-term use and require immediate tire repair or replacement. During the inspection, the professional will determine if your tire is safe to continue driving or if further repairs are needed. Regular follow-ups with a tire service professional ensure your repairs meet safety standards and help maintain excellent vehicle performance.
- Detailed safety assessment by a qualified technician
- Inspection for hidden damage or rim issues
- Proper tire repair or replacement planning
- Ensuring the tire meets safety standards
- Preventing future tire-related problems
Frequently Asked Questions
How to Fix a Flat Tire Step by Step?
You want to know how to fix a flat tire step by step. First, find a safe, flat spot away from traffic and engage your parking brake. Then, gather your spare, jack, and wrench. Loosen the lug nuts slightly, lift the vehicle with the jack, and remove the flat tire. Mount the spare, tighten the lug nuts, lower the car, and verify everything’s secure before driving away.
How to Change a Car Tire in 5 Steps?
You want to change a car tire in 5 steps, so start by loosening the lug nuts slightly with a tire iron before lifting your car. Use the designated jacking point to raise the vehicle until the flat tire is off the ground. Remove the lug nuts and the flat tire, then mount the spare tire. Finally, tighten the nuts in a star pattern, lower the car, and fully tighten everything.
Where to Put the Jack When Changing a Tire?
When changing a tire, you should place the jack under the vehicle’s designated jacking point, usually reinforced metal near the wheel, as specified in your owner’s manual. Make sure it’s on a flat, stable surface to prevent slipping. Align the jack’s saddle with the jacking point, ensuring it contacts the car securely. Avoid placing it under non-lifting parts like bumpers or side panels for safety.
How Do You Change a Tire in 7 Steps?
You start by loosening the lug nuts slightly while your car is still on the ground. Then, use the jack at the proper point to lift your vehicle until the flat tire is off the ground. Remove the lug nuts and the flat tire carefully. Mount the spare, hand-tighten the lug nuts, lower the car, and finally, fully tighten the nuts in a crisscross pattern for a secure fit.
Conclusion
Now that you know how to fix a flat tire, remember to stay safe, stay prepared, and stay confident. Check your tools, check your spare, and check your surroundings before you start. Keep calm, follow each step carefully, and drive cautiously afterward. With these tips, you’ll handle flat tires smoothly, confidently, and efficiently—ready to get back on the road and face any road challenge head-on. Stay prepared, stay safe, and keep moving forward.