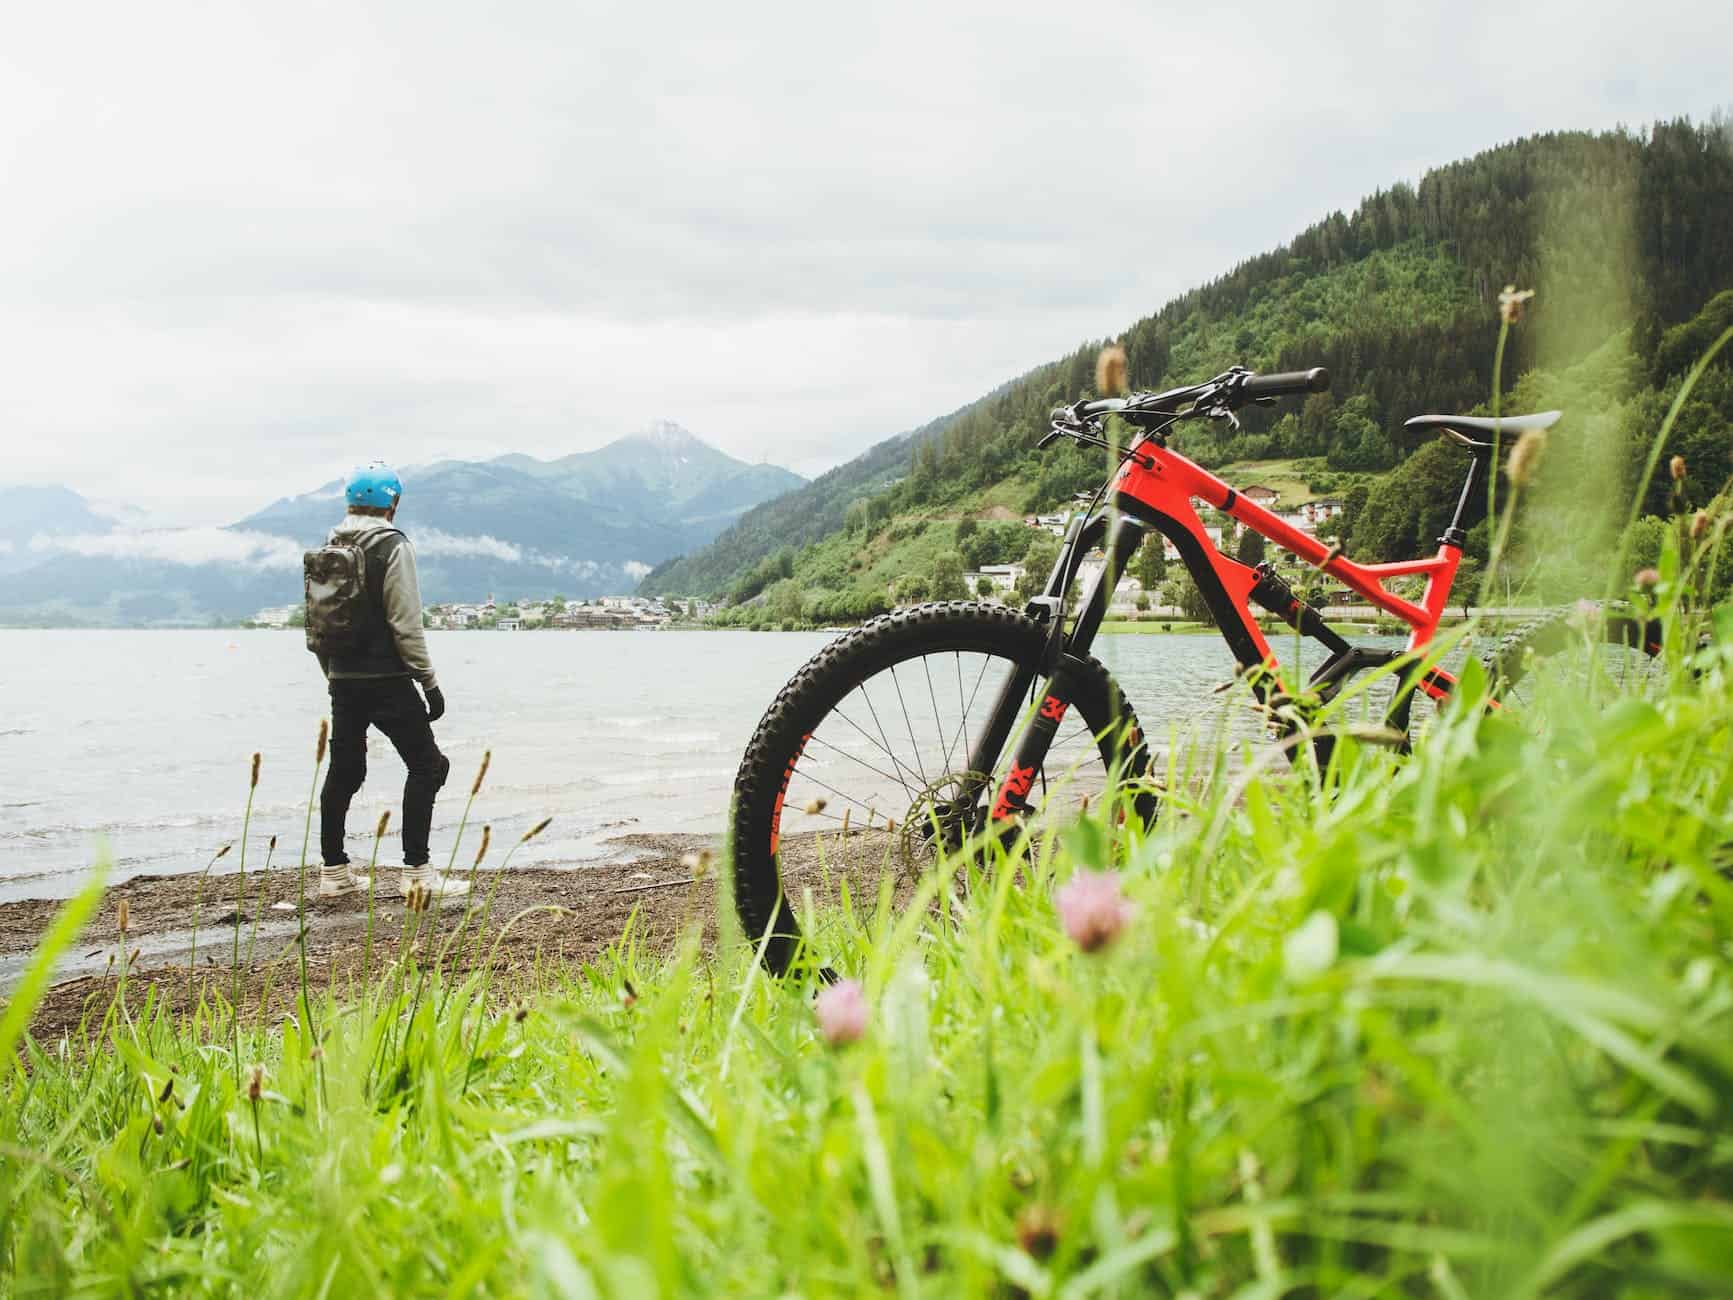
Alright, folks, listen up. I’ve got something exciting to share with you today.
Ever wondered how to convert your plain old mountain bike into an electric powerhouse? Well, buckle up because I’m about to spill the beans.
In this article, I’m going to walk you through the step-by-step process of transforming your trusty two-wheeler into an electrifying ride.
So, get ready to roll up your sleeves, gather your tools, and let’s dive into the world of electric bike conversions.
Key Takeaways
- There are two options for converting a mountain bike to electric: installing a throttle system or a pedal assist system.
- The installation process involves connecting and securing all wiring, using appropriate connectors and organizing the wires with zip ties or cable clips.
- Testing and troubleshooting the electric conversion is necessary to ensure all components are functioning properly and to address any issues before proceeding.
- Adjustments and fine-tuning are important to achieve a smooth and efficient ride, including aligning the motor properly, securing it to prevent vibrations, and checking all components.
Assess Your Mountain Bike’s Compatibility
Before you start converting your mountain bike to electric, it’s important to assess its compatibility. Compatibility considerations are crucial to ensure a successful electric conversion.
To begin the compatibility assessment, examine the frame and fork of your bike. Look for sufficient space for the battery and motor, as well as proper mounting points.
Next, consider the wheel size and axle type. Electric conversion kits are often designed for specific wheel sizes and axle types, so it’s important to choose a kit that matches your bike’s specifications.
Additionally, evaluate the drivetrain and braking system. Ensure that the electric conversion kit is compatible with your bike’s gears and brakes.
Choose the Right Electric Conversion Kit
To ensure you make the right choice, it’s important to select the appropriate electric conversion kit for your needs. Here are four key factors to consider when choosing the right kit:
-
Battery Capacity: The battery is the heart of your electric conversion kit. Choosing the right battery capacity is crucial to ensure sufficient power and range for your rides. Consider factors such as your desired range, terrain, and weight requirements.
-
Motor Power Options: Different motor power options are available, ranging from 250W to 1000W or more. Assess your needs based on factors like your weight, desired speed, and the type of terrain you’ll be riding on.
-
Compatibility: Ensure that the electric conversion kit is compatible with your mountain bike. Check for factors such as frame size, wheel size, and the type of brakes and gears your bike has.
-
Quality and Reliability: Look for a conversion kit from a reputable manufacturer that offers good quality and reliability. Read customer reviews and consider the warranty offered.
With these considerations in mind, you can make an informed decision when choosing the right electric conversion kit for your mountain bike.
To gather the necessary tools and equipment, continue to the next section.
Gather the Necessary Tools and Equipment
Once you’ve chosen the appropriate electric conversion kit, gather all the necessary tools and equipment. Assess compatibility and choose a conversion kit that suits your specific mountain bike model. To ensure a smooth and successful conversion process, it is crucial to have the right tools at hand. Here is a table outlining the essential tools and equipment you will need:
| Tools | Equipment |
|---|---|
| Allen wrench set | Battery and charger |
| Screwdriver set | Motor and controller |
| Pliers | Wiring harness and connectors |
Having these tools readily available will make the installation process much easier. With the necessary tools and equipment, you can now proceed to the next step of removing the bike’s existing components. This is a critical part of the conversion process as it allows you to make space for the new electric components and ensure a seamless integration of the conversion kit.
Remove the Bike’s Existing Components
Make sure you have the necessary tools and equipment before you begin removing the bike’s existing components. This is a crucial step in the bike conversion process. By converting your mountain bike into an electric one, you can enjoy the benefits of electric mountain bikes, such as increased speed and enhanced climbing ability.
To successfully remove the bike’s existing components, follow these steps:
- Start by removing the pedals and crankset.
- Next, remove the rear derailleur and chain.
- Disconnect the brake cables and remove the brake calipers.
- Remove the front and rear wheels.
- Finally, remove the handlebars and stem.
By removing these components, you are preparing the bike for the installation of the electric motor and battery, which we will discuss in the next section.
With the necessary tools and equipment in hand, let’s move on to installing the electric motor and battery.
Install the Electric Motor and Battery
You’ll need to connect the electric motor and battery to complete the installation process.
The electric motor installation involves securely attaching it to the bike frame using mounting brackets and screws. Make sure to align the motor with the bike’s drivetrain for optimal performance.
Next, connect the motor to the battery using the appropriate wiring harness. This ensures a reliable and efficient power supply to the motor. To make the battery connection, refer to the manufacturer’s instructions for proper wiring and polarity.
It is crucial to double-check all connections to ensure they are tight and secure.
Once the motor and battery are successfully installed, you can move on to connecting the motor to the bike’s drivetrain. This step is vital for the motor to transfer power to the bike’s wheels seamlessly.
Connect the Motor to the Bike’s Drivetrain
To connect the motor to your bike’s drivetrain, ensure that the gears are properly aligned for optimal performance. This step is crucial in the motor installation process as it directly affects how efficiently your electric bike will run.
Start by selecting the appropriate gear on your bike’s drivetrain that matches the motor’s power output. Next, carefully attach the motor to the frame, making sure it is securely fastened.
Then, align the sprockets of the motor and the drivetrain, ensuring that they are in perfect synchronization. This will ensure smooth power transfer and prevent any unnecessary strain on the components.
Once the motor is properly connected to the drivetrain, you are ready to move on to mounting the battery and controller, which will provide the necessary power for your electric conversion.
Mount the Battery and Controller
Now that the motor is securely connected to the drivetrain, it’s time to attach the battery and controller for your electric conversion.
When it comes to mounting options, there are a few possibilities to consider. Some people prefer to mount the battery and controller on the downtube of the bike frame, using specialized brackets or straps. This placement keeps the weight low and centered, improving overall stability.
Another option is to mount the battery and controller on a rear rack, which allows for more flexibility in terms of battery size and placement. Whichever option you choose, make sure the battery is securely fastened and the controller is easily accessible for maintenance.
With the battery and controller in place, we can now move on to installing the throttle or pedal assist system, which will give you control over your electric conversion.
Install the Throttle or Pedal Assist System
Once the battery and controller are securely mounted, it’s time to install the throttle or pedal assist system for easy control. The decision between a throttle and pedal assist is crucial, as it determines how you interact with your electric mountain bike. A throttle allows you to control the speed simply by twisting a handle, similar to a motorcycle. On the other hand, pedal assist provides power to your bike as you pedal, giving a more natural riding experience.
To help you choose the right option, consider the benefits of electric conversion. With an electric mountain bike, you can conquer steep hills with ease, extend your range, and enjoy a smoother ride. Now, let’s compare the two options in a table:
| Throttle | Pedal Assist |
|---|---|
| Instant speed control | Natural riding experience |
| Easy to use | Longer battery life |
| Suitable for all riders | More exercise benefits |
| Ideal for off-road adventures | Better traction on challenging terrains |
| Great for quick bursts of speed | Enhanced overall riding experience |
Now that we have installed the throttle or pedal assist system, the next step is to connect and secure all wiring.
Connect and Secure All Wiring
After installing the throttle or pedal assist system, it is crucial to connect and secure all wiring to ensure a safe and functioning electric conversion setup. Properly securing connections and implementing effective cable management is essential for a reliable and hassle-free experience.
Begin by identifying the appropriate connectors for each wire and ensuring they fit snugly together. Use zip ties or cable clips to organize and secure the wires along the bike frame, avoiding any potential interference with moving parts or sharp edges. Additionally, it is important to check for any loose or exposed wires that could pose a safety risk.
Test the Electric Conversion for Functionality
To ensure that everything is working properly, you should now take the time to test your electric conversion for functionality. Testing is an essential step in the conversion process as it allows you to identify and address any common troubleshooting issues that may arise.
By conducting thorough tests, you can ensure that all the components of your electric system are functioning as they should. This includes checking the battery, motor, and electrical connections. If you encounter any issues during testing, it is important to troubleshoot and resolve them before proceeding.
The benefits of electric conversion are numerous, including increased speed and efficiency, reduced environmental impact, and a smoother and more enjoyable ride. Now that you have tested your electric conversion, it’s time to move on to the next section and adjust and fine-tune the electric system for optimal performance.
Adjust and Fine-Tune the Electric System
Make sure you thoroughly check and adjust all the components of your electric system to ensure optimal performance. Fine-tuning performance is crucial to ensure that your electric conversion operates smoothly.
Here are some troubleshooting tips and common issues to look out for:
-
Battery Connection:
-
Check that the battery is securely connected to the system.
-
Ensure that the terminals are clean and free from corrosion.
-
Motor Alignment:
-
Align the motor properly with the bike frame to avoid any unnecessary friction.
-
Make sure the motor is securely fastened to prevent any vibrations or movement.
By paying attention to these details, you can troubleshoot common issues and fine-tune the performance of your electric system. This will help you achieve a smooth and efficient ride.
Now, let’s move on to ensuring proper maintenance and safety checks.
Ensure Proper Maintenance and Safety Checks
Remember, regular maintenance and safety checks are essential to keep your electric system running smoothly and ensure your ride remains safe and enjoyable.
To maintain your electric mountain bike, there are a few maintenance tips you should follow. First, regularly inspect the battery and charging system for any signs of wear or damage. Check the tires for proper inflation and tread wear, as well as the brakes for proper function. Additionally, lubricate the chain and gears regularly to prevent excessive wear and ensure smooth shifting.
When performing maintenance, always prioritize safety precautions. Wear appropriate safety gear, such as a helmet and protective clothing, and work in a well-lit and well-ventilated area.
Now that you know the importance of maintenance and safety, let’s move on to familiarizing yourself with local laws and regulations.
Familiarize Yourself with Local Laws and Regulations
Before you start riding, it’s important to familiarize yourself with the local laws and regulations. Understanding the legal implications of converting your mountain bike to electric is crucial to ensure a safe and legal riding experience.
Researching alternative power sources is also essential in complying with the laws in your area. Different jurisdictions may have specific requirements regarding the maximum power output, speed limits, and where electric bikes are allowed to ride.
Additionally, it is important to be aware of any registration or licensing requirements that may apply. By taking the time to educate yourself on the local laws and regulations, you can avoid potential fines or legal issues and enjoy your newly converted electric mountain bike with peace of mind.
Enjoy Your Newly Converted Electric Mountain Bike
Now that you’re familiar with the local laws and regulations surrounding electric mountain bikes, it’s time to fully enjoy your newly converted ride. To ensure a smooth and efficient experience, here are some essential tips for maximizing battery life and troubleshooting common issues:
-
Optimize your riding style: Maintain a consistent speed and avoid sudden accelerations or braking to conserve battery power.
-
Monitor battery levels: Regularly check the battery indicator to avoid unexpected power outages during your ride.
-
Properly store your battery: When not in use, store your battery in a cool, dry place to prevent damage and extend its lifespan.
-
Troubleshoot common issues: Familiarize yourself with common problems such as loose connections, faulty wiring, or motor malfunctions, and learn how to address them.
By following these tips, you can make the most of your electric mountain bike and enjoy a seamless riding experience.
Now, let’s move on to the next section and share your experience and tips with others.
Share Your Experience and Tips with Others
Share your insights and advice with fellow riders who are interested in converting their own bikes to electric.
When it comes to the best electric conversion kits for mountain bikes, there are a few options to consider. One of the top choices is the Bafang BBS02B kit, known for its power and durability.
Another popular kit is the Tongsheng TSDZ2, which offers a smooth and quiet ride.
As for the pros and cons, electric conversion kits provide an affordable way to transform your mountain bike into an e-bike, allowing you to tackle challenging terrains with ease. However, it’s important to note that installation can be complex and time-consuming.
Common challenges include aligning the kit components properly and troubleshooting any technical issues that may arise. To overcome these obstacles, I recommend thoroughly reading the instructions, seeking assistance from experienced riders, and having a basic understanding of bike mechanics.
Happy riding!
Frequently Asked Questions
Can I convert any type of mountain bike to electric?
Yes, any type of mountain bike can be converted to electric. However, before converting, consider the pros and cons such as added weight, reduced maneuverability, and cost. Also, factors like battery range, motor power, and installation expertise should be taken into account.
How long does it typically take to complete an electric conversion?
The average conversion time for an electric bike depends on various factors such as skill level, availability of parts, and complexity of the project. Common challenges include wiring, battery integration, and ensuring proper fit.
What types of tools and equipment are needed for the conversion process?
To convert a mountain bike to electric, you will need a list of necessary tools and required equipment. Some tools may include wrenches, screwdrivers, and wire cutters. Equipment such as a motor, battery pack, and controller will also be essential.
Are there any specific safety measures I need to take when installing the electric motor and battery?
When installing the electric motor and battery, it is crucial to prioritize safety precautions. Common mistakes to avoid during electric bike conversion include improper wiring, inadequate battery protection, and lack of proper insulation.
Are there any legal restrictions or regulations I need to be aware of when riding an electric mountain bike in my area?
There are legal restrictions and local regulations that must be followed when riding an electric mountain bike in my area. It is important to familiarize myself with these rules to ensure compliance and a safe riding experience.
Conclusion
In conclusion, converting my mountain bike to electric was a challenging but rewarding experience. Who knew that with the right conversion kit and a little know-how, I could transform my trusty bike into a powerful and efficient electric ride?
From assessing compatibility to following safety regulations, I learned the importance of attention to detail. Now, I can’t wait to hit the trails with my new electric mountain bike and share my tips and tricks with fellow enthusiasts.
Happy riding!