
Are you ready to embark on an electrifying journey into the world of DIY bike building?
In this article, I will guide you through the intricate process of crafting your very own electric bike.
We will delve into the fundamentals of electric bikes, select the perfect components, and gather the necessary tools.
With a systematic approach, we will assemble the bike frame, ensuring optimal performance and safety.
Get ready to revamp your cycling experience and join the growing community of electric bike enthusiasts.
Key Takeaways
- Select the right components, including battery, motor, controllers, and displays, based on desired performance and functionality.
- Follow proper techniques and instructions for assembling the bike frame, ensuring tight and secure joints and proper alignment of components.
- Thoroughly test and fine-tune the bike, evaluating the accuracy and performance of all components, adjusting brakes, gears, and suspension for optimal operation.
- Install control and display systems, connecting the controller to the battery, motor, and throttle, and mounting the display unit for vital information and enhanced user experience.

Magicshine HORI1300S Bike Headlight, Compatible with Garmin/Wahoo, 1300 Lumens High & Low Beam Front Light, USB-C Rechargeable, IPX6 Waterproof for Night Riding and Urban Cycling-Black
DUAL OPTICS, HIGH & LOW BEAM: Max 1300LM high beam conquers the darkest trails. The anti-glare low beam...
As an affiliate, we earn on qualifying purchases.
Understand the Basics of Electric Bikes
To understand the basics of electric bikes, it’s important to know how they work and what sets them apart from traditional bicycles.
Electric bikes, or e-bikes, are equipped with an electric motor and a battery that provides assistance to the rider. This motor can be activated either by pedaling or by using a throttle. The battery powers the motor and can be recharged by plugging it into an electrical outlet.
One of the key benefits of electric bikes is that they make cycling more accessible to a wider range of individuals, including those with physical limitations or who may struggle with longer distances or hills.
Additionally, electric bike maintenance is relatively simple and mainly involves regular battery charging and occasional brake and tire checks.
Understanding these basics will help you select the right components for your electric bike build.

2026 Upgrade 9800Lumen Bike Light for Night Riding,Super Bright 6 LED Headlight,Aluminum 10 Mode Rechargeable Bicycle Light Front and Rear,360°Rotatable Brackt,Waterproof,Runtime 72 hr,Road Shockproof
【700DAYS Support] 】:If your bike light have any problem, please to pass us on through Amazon for the...
As an affiliate, we earn on qualifying purchases.
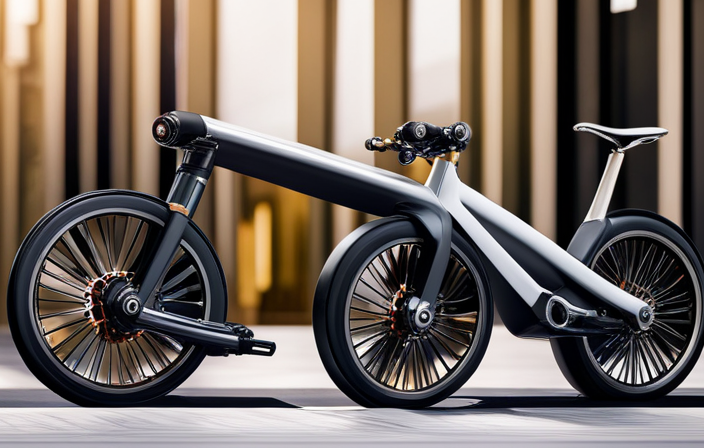
Select the Right Components
Choose the appropriate components to build your e-bike. The electric bike batteries are a crucial component that determines the range and performance of your bike. Consider the voltage, capacity, and weight of the battery to ensure it meets your requirements.
Additionally, the motor power is another important factor to consider. The motor power determines the speed and acceleration of your e-bike. Look for a motor with sufficient power to handle your desired speed and terrain. It is also important to consider the type of motor, such as hub motors or mid-drive motors, based on your riding preferences.
Once you have selected the right components, you can proceed to gather the necessary tools and equipment for the next step of building your electric bike.

Wahoo KICKR V6 Smart Indoor Trainer
WiFi Connectivity - Offering a robust 2.4 GHz Wi-Fi connection, the new KICKR transfers ride data to your...
As an affiliate, we earn on qualifying purchases.
Gather the Necessary Tools and Equipment
First, gather all the tools and equipment needed for assembling your e-bike. Here is a list of three essential items you will need:
-
Screwdrivers: You will require various sizes and types of screwdrivers to disassemble and reassemble different components of the bike.
-
Wire cutters and strippers: These tools are necessary for working with the electrical wiring of your e-bike. They will help you cut and strip wires cleanly and efficiently.
-
Multimeter: A multimeter is essential for testing and troubleshooting electrical connections. It allows you to measure voltage, current, and resistance, ensuring that your e-bike’s electrical system is functioning correctly.
When selecting batteries, consider factors like voltage, capacity, and weight to meet your desired performance and range. Understanding motor specifications is also crucial, including power output, torque, and RPM ratings. Once you have gathered all the necessary tools and have a good understanding of the components, you are ready to assemble the bike frame.
Next, let’s move on to assembling the bike frame.

Garmin Tacx Neo 2T Smart Trainer
Material: metal, plastic
As an affiliate, we earn on qualifying purchases.
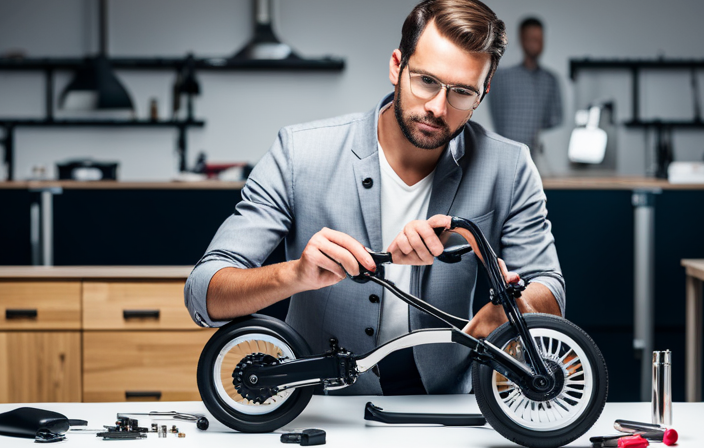
Assemble the Bike Frame
Now that you have gathered all the necessary tools and equipment, it’s time to start assembling the bike frame.
The bike frame assembly is a crucial step in constructing an electric bike, as it provides the foundation for all the other components.
To begin, carefully follow the frame construction techniques outlined in the bike frame assembly manual. These techniques usually involve aligning and securing the various frame pieces using bolts, screws, or welding.
It’s important to ensure that each joint is tight and secure to guarantee the structural integrity of the frame.
Once the frame is assembled, it’s time to move on to the next step of testing and fine-tuning the bike to ensure optimal performance.
Test and Fine-Tune the Bike
After assembling the bike frame, it’s crucial to test and fine-tune it for optimal performance. This step ensures that all components are working correctly and that the bike meets the desired performance standards. To achieve this, a thorough test accuracy and performance evaluation is necessary. This involves conducting various tests such as checking the motor’s power output, evaluating the battery’s capacity and range, and examining the bike’s overall handling and stability. Additionally, it’s important to fine-tune the bike by adjusting the brakes, gears, and suspension to ensure smooth operation. By meticulously testing and fine-tuning the bike, we can guarantee its reliability and performance. This sets the foundation for the subsequent section about installing the control and display systems, which further enhances the functionality of the electric bike.
Install the Control and Display Systems
To enhance the functionality of the electric bike, the control and display systems are installed.
The control system installation involves connecting the controller to the battery, motor, and throttle. This allows for precise control of the motor’s power output and assists in maintaining a consistent speed.
The display system setup includes mounting the display unit on the handlebars and connecting it to the controller. The display provides vital information such as battery level, speed, and distance traveled. It may also have additional features like a USB port for charging devices or a built-in GPS system.
Once the control and display systems are installed, the electric bike is equipped with advanced technology that enhances both the performance and user experience.
Moving forward, it is important to ensure safety and legal compliance while enjoying the electric bike.
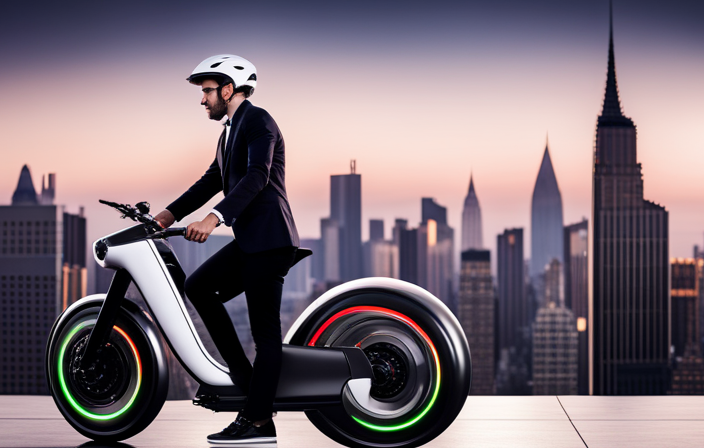
Ensure Safety and Legal Compliance
Make sure you adhere to safety regulations and comply with all legal requirements while enjoying your newly equipped electric bike.
Safety regulations are put in place to protect you and others on the road. It is important to wear a helmet at all times and install proper lighting and reflectors on your bike. Additionally, make sure to follow all traffic laws and be aware of your surroundings.
Legal requirements vary depending on your location, but they typically include registering your electric bike, obtaining a license or permit if necessary, and adhering to speed limits.
By following these safety regulations and legal requirements, you can ensure a safe and enjoyable riding experience.
Now that you have ensured safety and legal compliance, you can move on to the next section and start enjoying your DIY electric bike.
Enjoy Your DIY Electric Bike
Now that we have established the importance of safety and legal compliance when building your own electric bike, it’s time to delve into the exciting part – enjoying your DIY electric bike.
One of the major benefits of electric bike conversion is the ability to customize and modify your bike according to your preferences. From adding a more powerful motor to upgrading the battery capacity, the possibilities are endless. These DIY electric bike modifications allow you to achieve higher speeds, greater range, and improved overall performance.
Additionally, converting your bike to electric power offers numerous advantages such as reduced environmental impact, cost savings on fuel and maintenance, and the sheer joy of riding a fast and efficient machine.
However, like any project, there may be common issues that arise during the building process. Let’s now transition into the next section where we will troubleshoot these common issues.
Troubleshoot Common Issues
When it comes to troubleshooting common issues with DIY electric bikes, there are three key points to consider: motor overheating, battery draining quickly, and electrical malfunctions.
Motor overheating can occur due to various reasons such as excessive load or poor ventilation. To address this issue, one should check the motor’s temperature and ensure proper cooling mechanisms are in place.
Battery draining quickly is often caused by factors like high power consumption or a faulty battery. It is crucial to analyze the power usage and assess the battery’s condition to resolve this issue.
Lastly, electrical malfunctions can occur due to loose connections or damaged wiring. It is essential to inspect the electrical components and fix any faulty connections or replace damaged parts to restore the bike’s functionality.
Motor Overheating
To prevent motor overheating, there are several steps you can take. First, ensure proper ventilation and avoid prolonged high-speed riding. This will help keep the motor cool during operation.
Motor maintenance is also crucial in preventing overheating issues. Regularly inspect the motor for any signs of wear or damage, such as loose wires or debris buildup. If you notice any issues, address them promptly to prevent further damage.
Cleaning the motor with compressed air can help remove any dust or dirt that may impede airflow and contribute to overheating. By keeping the motor clean, you can ensure proper cooling and prevent overheating.
Additionally, consider using cooling techniques like installing a heat sink or a cooling fan. These can help dissipate heat more efficiently and keep the motor at a safe temperature.
It is important to monitor the motor’s temperature during operation. If it starts to get too hot, take breaks to allow it to cool down. This will prevent overheating and potential damage to the motor.
By following these motor maintenance and cooling techniques, you can prevent motor overheating and ensure the longevity of your electric bike. This will also help avoid issues like the battery draining quickly.
Battery Draining Quickly
If your battery is draining quickly, it may be due to a lack of proper maintenance and monitoring. To address this issue, one option is to consider battery replacement. Over time, the battery’s capacity can decrease, resulting in shorter ride times. Upgrading to a higher capacity battery can provide longer rides before needing a recharge.
Another factor to consider is the charging method used. It is important to use the recommended charger provided by the manufacturer to avoid overcharging or undercharging the battery, which can lead to quicker drainage. Additionally, regularly monitoring the battery’s state of charge and avoiding deep discharges can help prolong its lifespan.
By taking these steps, you can optimize your battery’s performance and minimize the draining issue.
Moving on to electrical malfunctions, it is important to address any potential issues promptly.
Electrical Malfunctions
Addressing electrical malfunctions promptly is important to ensure the proper functioning of your e-bike. One common electrical malfunction is a motor malfunction, which can occur due to various reasons such as overheating or wear and tear. To diagnose and fix this issue, it is crucial to check the motor connections, brushes, and the overall condition of the motor.
Another frequent electrical malfunction is electrical wiring issues, which can cause shorts or disruptions in the electrical circuit. To address this problem, carefully inspect the wiring connections, looking for any loose or damaged wires. Additionally, check the battery connections to ensure they are secure and clean.
By promptly addressing these electrical malfunctions, you can maintain the optimal performance of your e-bike.
Now, let’s explore how you can join the electric bike community and enjoy the benefits of this eco-friendly mode of transportation.
Join the Electric Bike Community
Join the electric bike community and connect with other enthusiasts for tips and advice.
Being part of an electric bike community can greatly enhance your electric bike experience.
One of the benefits of joining an electric bike community is the access to valuable information on electric bike maintenance. Fellow enthusiasts can provide helpful tips and tricks to keep your electric bike running smoothly. They can share their experiences with electrical malfunctions and provide guidance on how to troubleshoot and fix them.
Additionally, being part of a community allows you to stay updated on the latest advancements in electric bike technology, ensuring that you are always informed about the newest features and improvements.
By joining the electric bike community, you can tap into a wealth of knowledge and expertise, making your electric bike journey even more enjoyable.
Frequently Asked Questions
What are the different types of electric bike motors available?
There are three main types of electric bike motors: hub motors, mid-drive motors, and friction drive motors. Hub motors are simpler and more affordable, while mid-drive motors offer better performance and efficiency. Friction drive motors are less common but provide a lightweight and compact option.
How long does it typically take to assemble an electric bike?
Assembly time for an electric bike varies based on experience and the complexity of the model, but it typically takes around 2-3 hours. Necessary tools include a wrench set, screwdrivers, pliers, and an Allen key set.
Are there any specific laws or regulations that apply to electric bikes?
When it comes to electric bikes, there are indeed specific laws and regulations in place that focus on electric bike safety and electric bike infrastructure. These regulations ensure a technical and detailed approach to ensure public safety.
What are the benefits of joining the electric bike community?
Joining the electric bike community offers numerous benefits. Community engagement fosters knowledge sharing and camaraderie. Moreover, electric bikes have a positive environmental impact by reducing emissions and promoting sustainable transportation options.
How can I troubleshoot common issues with my DIY electric bike?
To troubleshoot common issues with a DIY electric bike, start by checking the battery connection, motor wiring, and controller settings. Inspect for loose or damaged components, and test each part individually. Follow troubleshooting tips specific to your bike’s components for more detailed guidance.
Conclusion
In conclusion, creating an electric bike is a challenging but rewarding endeavor. By understanding the basics, selecting the right components, and using the necessary tools, you can assemble a bike that suits your needs.
Testing and fine-tuning the bike is crucial to ensure optimal performance. Remember to prioritize safety and legal compliance throughout the process.
Joining the electric bike community will provide you with valuable knowledge and support. So, get your hands dirty, embrace the sparks, and pedal into the electrifying world of DIY electric bikes.