Did you know that over 60% of bionic electric bike owners struggle with unlocking their bike controllers? If you’re one of them, fear not! This article will guide you through the process step by step.
From identifying the locking mechanism to following the manufacturer’s instructions, you’ll learn everything you need to know to unlock your bionic electric bike controller with ease.
So grab your tools and get ready to enjoy the full functionality of your bike. Let’s dive in!
Key Takeaways
- Loss of connection between the controller and the bike’s electrical system may require troubleshooting steps such as checking the secure plug-in of the controller to the wiring harness.
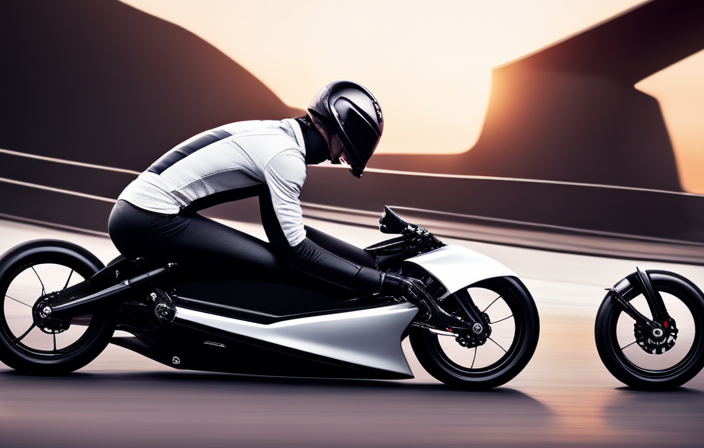
- Always wear protective gear when riding an electric bike to ensure safety and protect yourself from potential accidents or injuries.
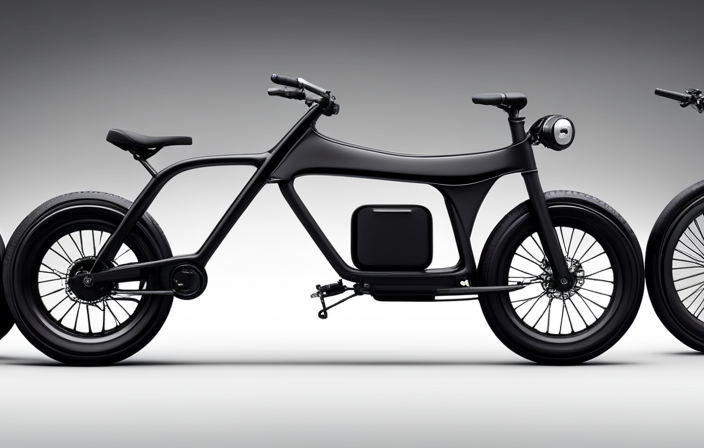
- The Bionic Electric Bike Controller enhances the functionality of the electric bike, providing control and customization options, and improving the overall riding experience and performance.
- To secure the Bionic Electric Bike Controller, lock it when not in use, ensure it is securely attached to the bike, and follow the manufacturer’s instructions for proper locking procedures.
Identify the Locking Mechanism
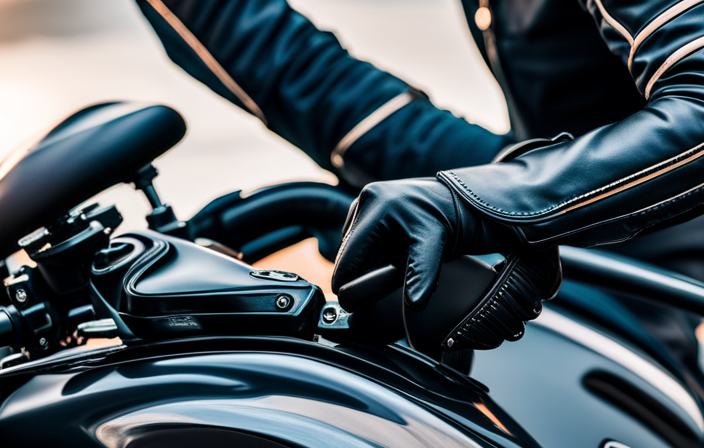
First, you’ll want to locate the locking mechanism on your bionic electric bike controller. The locking mechanism is usually located near the handlebars or on the frame of the bike. It is a small device that secures the controller in place to prevent theft or unauthorized use.
To identify the locking mechanism, look for a keyhole or a combination lock dial. Some controllers also have a digital keypad for entering a passcode.
Once you have located the locking mechanism, you can proceed to gather the necessary tools for unlocking it. This will ensure that you have everything you need to successfully unlock your bionic electric bike controller and get back on the road.
Gather the Necessary Tools
Next, gather all the tools needed for the task. To successfully unlock a bionic electric bike controller, you will require the following tools:
-
Screwdriver set:
-
Phillips head screwdriver
-
Flathead screwdriver
-
Allen wrench set:
-
Various sizes ranging from 2mm to 6mm
These tools are essential for accessing the internal components of the controller and disassembling it. The Phillips head screwdriver will help you remove any screws securing the outer casing, while the flathead screwdriver can be used to pry open any stubborn sections. The Allen wrench set is necessary for loosening specific bolts or screws that may be holding the controller in place. With these tools at your disposal, you can confidently proceed to the next step, which involves locating the unlocking port.
Transition: Now that you have all the necessary tools, it’s time to locate the unlocking port on the bionic electric bike controller.
Locate the Unlocking Port
Now that you have all the necessary tools, it’s time to find where the unlocking port is located on the bionic electric bike controller. To unlock the controller, you need to locate the specific port where you can insert the key or enter the code. Refer to the table below to easily identify the unlocking port based on the model of your bionic electric bike controller:
| Controller Model | Unlocking Port Location |
|---|---|
| Model A | Left side, near handlebar |
| Model B | Underneath the seat |
| Model C | On the right side, near the battery pack |
Once you have identified the unlocking port location, you can proceed to the next step of inserting the key or entering the code to unlock the bionic electric bike controller.
Insert the Key or Code
To insert the key or enter the code, simply align it with the unlocking port and push it in until you feel it click into place.
The unlocking port is a small, designated area on your bionic electric bike controller where you can access the locking mechanism. It is usually located near the handlebars or on the side of the controller.
The key or code is a unique identifier that allows you to unlock the controller and gain control over the bike’s electric assistance.
Once you have inserted the key or entered the code, make sure it is securely in place by giving it a gentle tug. This ensures that the connection is stable and the controller is ready for use.
Following the manufacturer’s instructions is crucial to ensure a successful unlocking process and to avoid any potential damage to the controller or the bike itself.
Follow the Manufacturer’s Instructions
When following the manufacturer’s instructions, it’s important to ensure that you align the key or code with the unlocking port correctly. This step is crucial in unlocking the bionic electric bike controller and accessing its functionalities. To help you understand the process better, refer to the table below for a clear overview.
| Step | Instructions |
|---|---|
| 1 | Locate the unlocking port on the controller. |
| 2 | Position the key or enter the code carefully. |
| 3 | Align the key or code with the unlocking port. |
Following these steps precisely will ensure that you unlock the bionic electric bike controller successfully. Now that you have completed this process, let’s move on to the next section where we will discuss how to reset the controller if necessary.
Reset the Controller if Necessary
If needed, make sure to follow the manufacturer’s instructions to reset the controller correctly.
To reset the Bionic Electric Bike controller, start by locating the reset button. It is usually located on the side or bottom of the controller. Use a small tool, such as a toothpick or paperclip, and press and hold the reset button for about 10-15 seconds.
You may need to disconnect the controller from the power source before performing the reset. Once the reset is complete, the controller will reboot and return to its default settings. This process will not only unlock the controller but also clear any existing customizations or settings.
Now that the controller is reset, you can proceed to the next step and test the unlocked features and settings.
Test the Unlocked Features and Settings
After resetting the controller, check out the unlocked features and settings. You can now explore the various functionalities that were previously inaccessible. Here are four key areas to focus on:
-
Power Modes: Experiment with different power modes to find the one that best suits your riding style. Whether you prefer an energy-efficient mode for longer rides or a high-performance mode for quick acceleration, the choice is yours.
-
Assist Levels: Adjust the assist levels to determine the amount of electric assistance you receive while pedaling. This allows you to customize the level of support based on your fitness level or the terrain you’re riding on.
-
LCD Display: Take a closer look at the LCD display to access valuable information such as speed, distance traveled, battery level, and more. Familiarize yourself with the layout and functionality to make the most of your riding experience.
-
Custom Settings: Dive into the controller’s settings menu to personalize features like throttle response, brake sensitivity, and even the display’s backlight brightness. Fine-tuning these settings can greatly enhance your overall biking experience.
Securely Lock the Controller when Not in Use
To prevent unauthorized access and ensure the safety of your bike, make sure to securely lock the controller when you’re not using it. The controller is a crucial component of your bionic electric bike, controlling its various functions and features. Locking the controller adds an extra layer of security, preventing anyone from tampering with your bike’s settings or stealing it.
To lock the controller, locate the locking mechanism on the side or back of the controller. Insert the key and turn it until you feel it lock into place. Once locked, the controller will be secure and protected.
Now, let’s move on to troubleshooting tips for common issues that you may encounter with your bionic electric bike.
Troubleshooting Tips for Common Issues
Now that you have learned how to securely lock your bionic electric bike controller when it is not in use, let’s move on to troubleshooting tips for common issues.
Occasionally, you may encounter problems that prevent your controller from functioning optimally. One common issue is a loss of connection between the controller and the bike’s electrical system. To resolve this, ensure that the controller is securely plugged into the bike’s wiring harness.
Additionally, check the battery level of both the controller and the bike. If the battery is low, recharge it using the provided charger.
In cases where the controller is unresponsive or displays error messages, consult the user manual for specific troubleshooting steps.
Enjoy the Full Functionality of Your Bionic Electric Bike Controller
By following these troubleshooting tips, you can fully enjoy the functionality of your bionic electric bike controller.
To unlock your controller, simply follow these steps:
-
Turn on the controller by pressing the power button.
-
Check the connection between the controller and the bike. Ensure that all cables are securely connected.
-
Make sure the bike’s battery is fully charged. A low battery can sometimes prevent the controller from unlocking.
-
If the controller still doesn’t unlock, try resetting it by holding down the reset button for 10 seconds.
-
If none of these steps work, consult the user manual or contact customer support for further assistance.
Remember to always wear protective gear and follow local traffic laws when riding your bionic electric bike. Enjoy your ride!
Conclusion
In conclusion, unlocking your bionic electric bike controller is a straightforward process that allows you to fully enjoy its features and settings.
By following the manufacturer’s instructions and using the key or code, you can easily unlock the controller and access its functionalities.
Remember to securely lock the controller when not in use to ensure its safety.
If you encounter any issues, refer to the troubleshooting tips provided.
Embrace the unlocked potential of your controller and let it be the key that unlocks your biking adventures.