
I’ve always been fascinated by the growing popularity of electric bikes, especially considering that they now make up 10% of all bicycle sales in the United States.
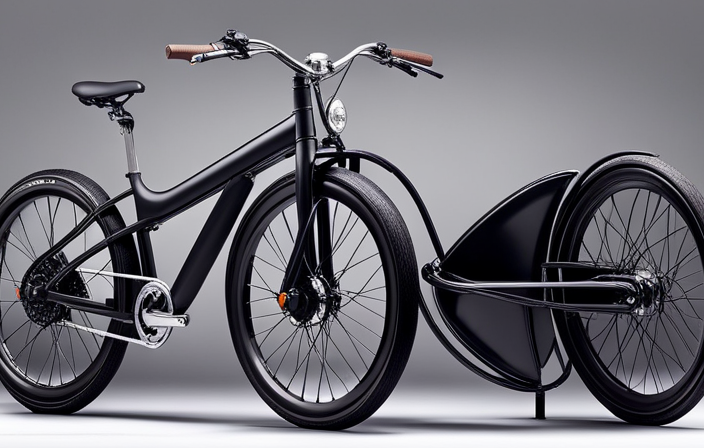
So, I decided to delve into the world of DIY electric bike conversions. In this article, I’ll guide you through the process of turning a regular bicycle into an electric-powered ride.
From gathering the necessary materials to fine-tuning the final product, I’ll provide you with all the knowledge and technical know-how you need to successfully make your own electric bike.
Key Takeaways
- Testing and performance evaluation: Conduct range tests, speed tests, and hill climb tests to assess the electric bike’s capabilities and identify necessary adjustments or improvements.
- Maintenance and troubleshooting: Regularly maintain the bike for optimal performance and troubleshoot any issues by checking battery charge and connections, inspecting electrical components for damage, and keeping the bike clean and well-lubricated.
- Battery management: Ensure proper charging, secure connections, and monitor battery health regularly. Promptly replace faulty batteries and follow proper storage and charging practices.
- Electrical component inspection: Regularly check wiring, connectors, and switches for damage or wear. Replace faulty components, ensure proper insulation and protection, and adhere to the manufacturer’s maintenance guidelines.
Heybike Cityscape 2.0 Electric Commuter Bike for Adults – 468Wh Removable Battery, 26" Wheels, Up to 50 Miles, 7-Speed, Front Suspension, UL Certified
500W High Torque Motor-Equipped with a 500W brushless motor (peak 1200W), Heybike Cityscape 2.0 boasts such powerful power...
As an affiliate, we earn on qualifying purchases.
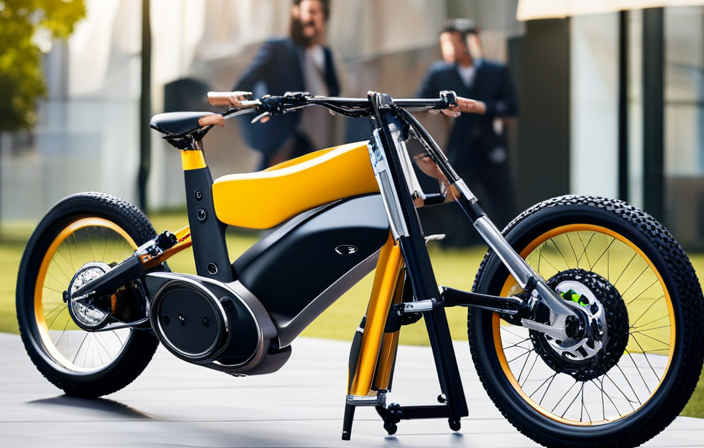
Introduction to Electric Bikes
Electric bikes, also known as e-bikes, are becoming increasingly popular among commuters and outdoor enthusiasts. These innovative bicycles are equipped with an electric motor that provides assistance while pedaling, making it easier to tackle challenging terrains or longer distances.
There are several types of electric bikes available on the market, including city e-bikes, mountain e-bikes, and folding e-bikes, each designed for specific purposes. The advantages of electric bikes are numerous. They offer a more environmentally friendly alternative to traditional vehicles, reduce commuting time and costs, and provide a great way to stay active while minimizing physical exertion.
In the subsequent section, we will gather the necessary materials and tools to start building our own electric bike.

Electric Bike for Adults Teens, Folding E-Bike,Commuter City Foldable ebike with 560W Motor 48V 10Ah Battery, 24MPH 3-Level Pedal Assist, Dual Disc Brakes,14" Compact Electric Bicycle with Pedals
Powerful 560W Motor & 24MPH Speed – This Electric Bike is equipped with a high-torque 560W motor, delivering...
As an affiliate, we earn on qualifying purchases.
Gather the Necessary Materials and Tools
First, you’ll need to gather all the materials and tools necessary to build your own e-bike. Here is a materials list to get you started:
- A bicycle frame
- A motor
- A battery
- A controller
- A throttle
- A pedal-assist sensor
- A charger
- Various wires and connectors
Additionally, you’ll need a set of basic tools such as wrenches, pliers, screwdrivers, and a wire cutter/stripper. These tools will help you assemble and install the various components of your e-bike.
Now that you have all the necessary materials and tools, you can move on to the next section where we will discuss how to choose the right bicycle for conversion.

Gotrax 26" Electric Bike, Max Range 30Miles(Pedal-assist1) & 15.5/20Mph Power by 250/350W, 3 Riding Modes & Adjustable Seat, 7-Speed & Front Shock Absorber, Commuter Electric Bicycle for Adults, Black
【Powerful Riding Performance】Gotrax Dolphin electric bike is powered by 350W brushless motor with max speed of 20MPH. Equipped...
As an affiliate, we earn on qualifying purchases.
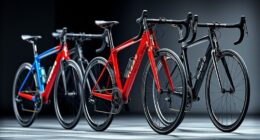
Choose the Right Bicycle for Conversion
To choose the right bicycle for conversion, you’ll want to consider factors such as the frame material, size, and condition.
The frame material is crucial because it determines the bike’s overall strength and weight capacity. Aluminum frames are lightweight and durable, making them a popular choice. Steel frames are heavier but provide better durability and stability.
Next, pay attention to the size of the bicycle. Make sure it fits your height and riding preferences.
Additionally, evaluate the condition of the bike. Look for any signs of damage or rust that could affect its performance.
Once you have chosen the right frame, it’s time to research motor options. Consider factors such as power, torque, and battery life to ensure you find the perfect motor for your electric bike conversion.
With the right frame and motor, you’re ready to select and install the electric bike conversion kit.

ZDZA Electric Bike for Adults, 1000W Peak Motor, 60 Miles 22Mph Electric Bike, 26" Commuter E Bikes with 48V 10.4Ah Removable Battery, Step-Thru Ebike, Adjustable Stem, 7-Speed & Front Suspension
𝐏𝐨𝐰𝐞𝐫𝐟𝐮𝐥 𝟏𝟎𝟎𝟎𝐖 𝐏𝐞𝐚𝐤 𝐁𝐫𝐮𝐬𝐡𝐥𝐞𝐬𝐬 𝐌𝐨𝐭𝐨𝐫: ZDZA electric bike is equipped with a robust 1000W peak high-speed brushless motor,...
As an affiliate, we earn on qualifying purchases.
Select and Install the Electric Bike Conversion Kit
Once you’ve chosen the right frame, it’s time to select and install the electric bike conversion kit. This step is crucial to transforming your regular bicycle into an efficient and eco-friendly electric bike. Here are four key factors to consider when installing an electric bike kit:
-
Compatibility: Ensure that the conversion kit you choose is compatible with your bike’s specifications. Check the wheel size, frame type, and brake system to ensure a seamless fit.
-
Power and Range: Consider the power output and battery capacity of the kit. Choose one that aligns with your desired speed and range requirements.
-
Installation Process: Review the installation manual provided with the kit. Familiarize yourself with the steps and gather the necessary tools before starting.
-
Troubleshooting: Be prepared for any potential issues during installation. Familiarize yourself with common troubleshooting techniques to ensure a smooth installation process.
Connect the Motor, Battery, and Controller
Now that you’ve selected and installed the electric bike conversion kit, it’s time to connect the motor, battery, and controller to ensure optimal performance.
Properly maintaining your motor is essential for the longevity and efficiency of your electric bike. Regularly clean and lubricate the motor to prevent debris from affecting its performance. Additionally, check the motor for any loose connections or signs of wear and tear.
Battery charging is another crucial aspect of maintaining your electric bike. Make sure to charge the battery fully before each ride and avoid overcharging it, as this can shorten its lifespan. It’s also important to store the battery in a cool and dry place when not in use.
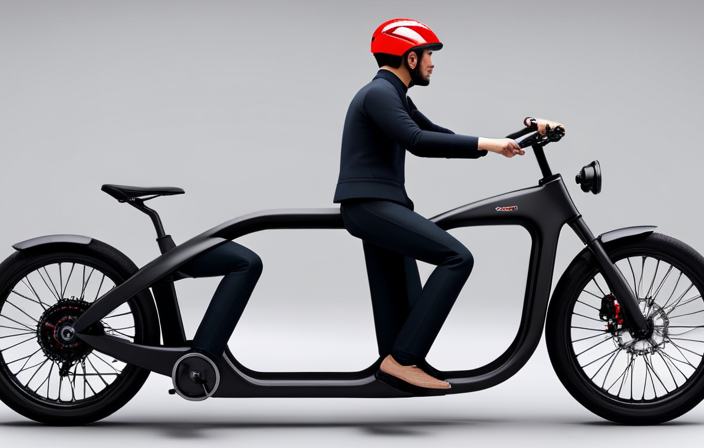
Install the Throttle and Pedal Assist System
After connecting the motor, battery, and controller, it’s time to install the throttle and pedal assist system for enhanced control and assistance while riding.
The throttle is a crucial component that allows you to control the speed of your electric bike. It is usually mounted on the handlebars, providing easy access and convenience. To install the throttle, locate the designated area on the handlebars and securely attach it using the provided clamps or screws. Make sure the wiring is properly connected to the controller for seamless operation.
Troubleshooting the pedal assist system involves checking the sensor alignment and ensuring it is securely fastened to the crank arm. Additionally, ensure that the magnets on the wheel and sensor are aligned correctly.
With the throttle and pedal assist system properly installed, you can now proceed to ensure proper wiring and safety measures for a smooth and safe ride.
Ensure Proper Wiring and Safety Measures
To ensure proper wiring and safety measures, you should double-check that all connections are secure and that there are no exposed wires. When it comes to wiring techniques for your electric bike, it is crucial to follow specific guidelines to prevent any potential hazards.
First, make sure to use the correct gauge of wire for each component, ensuring that it can handle the current flow. Additionally, use heat shrink tubing or electrical tape to protect exposed wire ends and prevent any short circuits. It is also important to secure the wires properly, using zip ties or cable clamps to prevent them from getting tangled or damaged.
Lastly, always adhere to safety precautions such as wearing insulated gloves and avoiding working on the wiring when the bike is powered on. By following these techniques and precautions, you can ensure a safe and reliable wiring system for your electric bike.
As you complete the essential step of ensuring proper wiring and safety measures, the next phase is to test and fine-tune your electric bike.
Test and Fine-Tune Your Electric Bike
Once you have ensured proper wiring and safety measures, it’s time to test and fine-tune your e-bike.
Testing and evaluating the performance of your electric bike is crucial to ensure optimal functionality and efficiency. There are several test methods that can be employed to assess the overall performance of your e-bike.
One common method is conducting a range test, where you measure the distance your bike can travel on a single charge. Another method is a speed test, which measures the maximum speed your e-bike can reach. Additionally, you can evaluate the power and torque output by conducting a hill climb test.
These test methods provide valuable insights into the capabilities and limitations of your electric bike, allowing you to make any necessary adjustments or improvements. With a thorough performance evaluation, you can fine-tune your e-bike to deliver optimal performance and ensure a smooth riding experience.
Moving forward, it’s important to maintain and troubleshoot your electric bike to keep it in top condition.
Maintain and Troubleshoot Your Electric Bike
Regular maintenance and troubleshooting are essential for keeping your e-bike in optimal condition. To ensure that your electric bike runs smoothly and efficiently, here are some troubleshooting techniques and maintenance tips to consider:
-
Check the battery: Make sure the battery is properly charged and securely connected. If you’re experiencing power issues, it could be due to a faulty battery or loose connections.
-
Inspect the electrical components: Regularly inspect the wiring, connectors, and switches for any signs of damage or wear. Replace any faulty components to prevent potential issues down the line.
-
Keep it clean: Regularly clean your e-bike, paying particular attention to the drivetrain, brakes, and motor. Use a mild detergent and water to remove dirt and grime, and ensure all moving parts are well-lubricated.
Enjoy the Benefits of Your Homemade Electric Bike
Get ready to experience all the advantages of your DIY e-bike. From cost savings to eco-friendly transportation, building your own electric bike has a myriad of benefits. It is one of the most cost-effective transportation options available, allowing you to save a significant amount of money compared to purchasing a pre-built e-bike.
Additionally, DIY projects offer the freedom to customize your electric bike to suit your specific needs and preferences. You can choose the components, design, and features that best fit your style of riding. This level of customization is not typically available with pre-built e-bikes.
Not only are you saving money, but you are also reducing your carbon footprint by opting for a clean and sustainable mode of transportation. By choosing an electric bike, you are contributing to a greener environment.
Frequently Asked Questions
Can I use any type of bicycle for an electric bike conversion?
Yes, any type of bicycle can be used for an electric bike conversion. The cost of the conversion varies depending on the components used. The benefits of converting a bike include increased speed, range, and reduced effort while riding.
How long does it take to install an electric bike conversion kit?
Installing an electric bike conversion kit typically takes a few hours, depending on your experience level. These kits offer the benefits of extended electric bike battery life and the ability to transform any regular bicycle into an efficient and eco-friendly electric bike.
Is it legal to ride an electric bike on public roads?
Yes, it is legal to ride an electric bike on public roads, but there are regulations to follow. Electric bikes provide numerous benefits such as increased efficiency, reduced environmental impact, and improved mobility.
How far can an electric bike travel on a single charge?
An electric bike can travel varying distances on a single charge, depending on factors such as battery capacity, terrain, rider weight, and usage of pedal-assist. Electric bike battery life can range from 20 to 100 miles.
What maintenance is required for an electric bike?
To maintain an electric bike, regular battery replacements are necessary. Additionally, troubleshooting common issues such as motor malfunctions or electrical glitches is crucial. Proper maintenance ensures optimal performance and longevity of the bike.
Conclusion
In conclusion, creating your own electric bike is an exciting and rewarding project. With the right materials and tools, along with careful selection and installation of the conversion kit, you can transform a regular bicycle into a powerful electric vehicle.
By ensuring proper wiring and safety measures, testing and fine-tuning, and maintaining and troubleshooting your electric bike, you can enjoy the benefits of your homemade creation.
Just like a skilled craftsman molding clay, you have the power to shape your own two-wheeled masterpiece.