So you’ve decided to take your biking experience to the next level by adding a rear hub electric motor to your bike. Congratulations on joining the ranks of the electric bike enthusiasts!
In this detailed and informative article, I will guide you through the process of assessing your bike for compatibility, choosing the right electric motor, gathering the necessary tools and materials, and the step-by-step installation process.
Get ready to embrace the power of electricity and transform your bike into an electrifying ride!
Key Takeaways
- Rear drop-out spacing of 135mm and frame compatibility are important factors to consider when adding a rear hub electric motor to a bike.
- The motor’s power requirements should match the battery voltage, and higher power motors require larger batteries.
- Consider weight, terrain, and desired speed when choosing the right electric motor.
- Proper installation and wiring connections are crucial for the motor, battery, and controller to work together effectively.
![LISEN Bike Phone Holder, [Super Easy Install] Motorcycle Phone Mount Ebike Accessories Bicycle Handlebar Holder Mount Gifts for Adults Kids Men Mountain Mini Bike Scooter Gear Accessories for iPhone](https://m.media-amazon.com/images/I/41f8iCmkMsL._SL500_.jpg)
LISEN Bike Phone Holder, [Super Easy Install] Motorcycle Phone Mount Ebike Accessories Bicycle Handlebar Holder Mount Gifts for Adults Kids Men Mountain Mini Bike Scooter Gear Accessories for iPhone
[Ultra-Secure Hold] – LISEN bike phone holder mount keeps your phone firmly in place even on bumpy or...
As an affiliate, we earn on qualifying purchases.
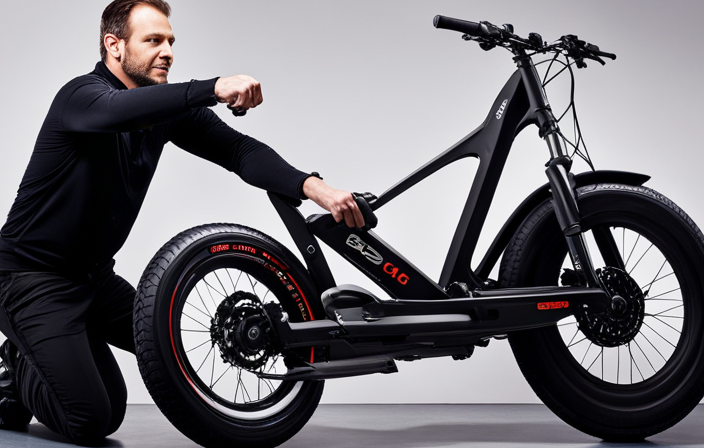
Assessing Your Bike for Compatibility
You’ll need to assess your bike to see if it’s compatible with a rear hub electric motor.
The first step is to examine your bike frame. Look for a rear drop-out spacing of 135mm, which is the standard size for most electric bike conversion kits. Make sure there is enough clearance between the frame and the tire to accommodate the motor.
Next, determine the power requirements for your bike. Consider factors such as your weight, the terrain you’ll be riding on, and your desired speed. This will help you choose the appropriate motor power and battery capacity. Keep in mind that higher power motors require larger batteries, which may affect the weight and balance of your bike.
Assessing your bike’s frame compatibility and determining the power requirements are crucial steps in successfully adding a rear hub electric motor.

SY Bicycle Speedometer and Odometer Wireless Waterproof Cycle Bike Computer with LCD Display & Multi-Functions by YS
【Auto Wake-up Function】Automatically wakes from sleep mode upon sensing vibration in the bicycle. Bright LCD display to easily...
As an affiliate, we earn on qualifying purchases.
Choosing the Right Electric Motor for Your Needs
When selecting the appropriate electric engine for your bicycle, it’s crucial to consider your specific requirements. To ensure compatibility, you must choose the right battery for your electric motor. Here are three key factors to keep in mind:
-
Battery capacity: Determine the range you need for your bike and select a battery with sufficient capacity to meet your desired distance.
-
Voltage: Different electric motors operate at different voltages. Make sure to choose a battery that matches the voltage requirements of your motor.
-
Power output: Understanding the power output of different electric motors is essential. Consider the wattage or horsepower ratings to determine the level of performance you desire.
By carefully considering these factors, you can choose an electric motor that meets your specific needs, providing the right balance of range, power, and compatibility with your bike.

amzluv Bike Phone Holder Mount, Secure Handlebar Phone Mount Holder for Bike and Motorcycle, Suitable for iPhone and 4.5-6.8" Smartphones, Black
Universal Fit for 4.5-6.8 Inch Phones (Fits up to 3.19" Wide, 0.47" Thick): This motorcycle phone mount and...
As an affiliate, we earn on qualifying purchases.
Gathering the Necessary Tools and Materials
To gather all the necessary tools and materials, make sure you have everything you need before starting the project.
Choosing the appropriate tools is crucial for a successful installation of a rear hub electric motor on your bike. You will need a set of wrenches, including an adjustable wrench and a socket wrench, to remove and install various components. Additionally, a torque wrench is essential to ensure proper tightening of bolts and nuts. It is also important to have a wire cutter/stripper for handling the electrical connections.
Finding the necessary materials is equally important. You will need a rear hub electric motor kit, which typically includes the motor, controller, and battery. Other materials include a torque arm, throttle, and brake levers.
It is recommended to gather all the tools and materials beforehand to streamline the installation process.

Lamicall Bike Phone Holder, Motorcycle Mount - Motorcycle Phone Holder, Handlebar Cell Phone Clamp, E-Bike Scooter Phone Clip for iPhone 17 Air Pro Max, 16 15 Plus, S20, 4.7 to 6.8" Smartphones
Sturdy and Safe: A special shape of this motorcycle & bike phone holder grips each corner of your...
As an affiliate, we earn on qualifying purchases.
Removing the Rear Wheel
First, gather all the necessary tools and materials for the rear hub electric motor installation.
To begin replacing the rear wheel with the electric motor, first, remove the chain from the derailleur by either shifting into the smallest chainring or using a chain tool to break the chain.
Next, release the rear brake by loosening the brake cable or removing the brake caliper if necessary.
Use a wrench or allen key to loosen the nuts or quick-release skewer holding the rear wheel in place.
Carefully remove the wheel from the bike frame, being mindful not to damage the derailleur or any other components.
Ensure the bike frame is clean and free from any debris or dirt before proceeding with the installation of the electric motor.
Installing the Electric Motor onto the Rear Wheel
Now, it’s time to attach the electric motor onto the rear wheel. This step is crucial in converting your regular bike into an electric one.
Start by positioning the electric motor onto the rear wheel hub, ensuring that it aligns properly with the axle. Use the provided mounting brackets and bolts to secure the motor in place. Make sure to tighten the bolts securely, as any looseness can lead to instability during operation.
When installing the electric motor, it’s important to keep an eye out for common issues that may arise.
One common problem is misalignment, where the motor is not properly centered on the wheel. This can cause uneven power distribution and affect the bike’s performance. To troubleshoot this issue, double-check the alignment and make adjustments as necessary.
Another common issue is loose wiring connections, which can result in intermittent power or complete motor failure. It’s important to ensure that all connections are tight and secure, and that the wires are properly insulated to prevent any short circuits.
By following these steps and troubleshooting common issues, you’ll be well on your way to successfully installing the electric motor onto your bike.
Connecting the Motor to the Battery and Controller
Once the motor is securely attached to the rear wheel, the next step is connecting it to the battery and controller. This step is crucial as it allows the motor to receive power and be controlled.
To ensure a successful connection, follow these steps:
-
Locate the battery and controller on your electric bike. They are typically mounted near the frame or under the seat.
-
Identify the connectors on the motor, battery, and controller. They are usually color-coded for easier identification.
-
Match the connectors by plugging them together. Ensure a secure connection by pushing them firmly until they click into place.
-
Once connected, double-check that all cables are properly secured and organized to avoid tangling or interfering with the bike’s operation.
Troubleshooting common issues with electric bike motors include checking the battery charge, inspecting the connectors for any damage or loose connections, and ensuring the controller is properly programmed and functioning.
Following these steps will enable a smooth connection and enhance the performance of your electric bike.
Securing the Wiring and Ensuring Proper Connection
To secure the wiring and ensure a proper connection, you’ll need to carefully organize and fasten the cables. This will help avoid any interference or tangling while operating your e-bike.
Start by securing the cables along the frame using cable ties or clips. Make sure to route them away from any moving parts or areas that experience high levels of vibration.
Additionally, it’s crucial to waterproof the connections to protect them from moisture. This can cause damage and corrosion. You can achieve this by using waterproof tape, heat shrink tubing, or silicone sealant.
Proper cable management is essential for maintaining a clean and organized appearance. It also helps prevent any potential hazards.
Finally, ensure that all connections are properly insulated to prevent any short circuits or electrical malfunctions. Take the time to double-check all connections before riding to ensure a safe and reliable experience.
Reattaching the Rear Wheel and Adjusting the Chain
After securing the wiring and ensuring proper connection, the next step is to reattach the rear wheel and adjust the chain.
To begin, align the motor with the rear wheel by positioning it in the desired location on the bike frame. Make sure the motor is centered and parallel to the wheel.
Once aligned, carefully slide the rear wheel back into place, ensuring that the axle fits securely into the dropouts on the frame.
Next, adjust the chain tension by loosening the bolts on the rear wheel’s axle, allowing for slight movement of the wheel. Pull the wheel back slightly to increase tension or push it forward to decrease tension.
Once the desired tension is achieved, tighten the bolts on the rear wheel’s axle to secure it in place.
Finally, check that the chain is properly aligned and moves smoothly when pedaling.
Testing and Fine-Tuning the Electric Motor
Now you need to test and fine-tune the electric motor to ensure it is working properly for you.
Start by turning on the motor and checking if it engages smoothly. Listen for any strange noises or vibrations that could indicate a problem.
Next, take your bike for a test ride and pay attention to how the motor performs. Make sure it provides the desired level of assistance and that it responds well to your commands.
If you encounter any issues, don’t panic. Here are some troubleshooting tips to help you out.
First, check the connections between the motor and the battery to ensure they are secure. Also, inspect the wiring for any signs of damage or loose connections.
Additionally, consult the user manual or contact the manufacturer for specific testing techniques and troubleshooting advice.
By following these steps, you can ensure your electric motor is functioning optimally and enjoy a smooth and efficient ride.
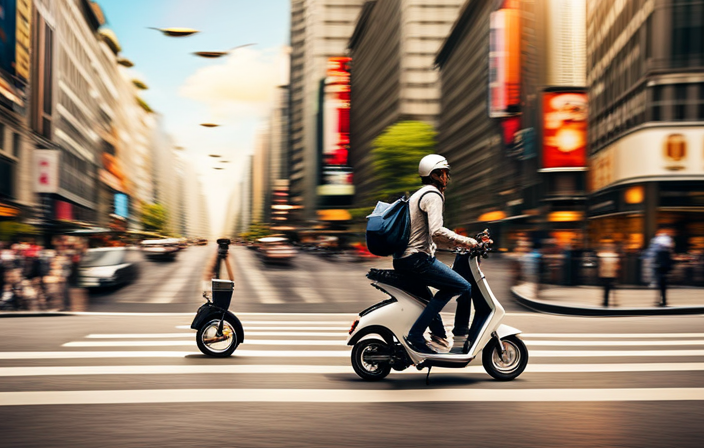
Enjoying Your Electric Bike Experience!
Experience the joy of riding your electric bike and discover the freedom and convenience it brings to your daily commute or weekend adventures. To maximize your battery life and ensure a smooth ride, it is important to troubleshoot any common issues that may arise. One common issue is a sudden decrease in power. This could be due to a loose connection or a worn-out battery. Check the connections and tighten any loose ones. If the battery is old, consider replacing it to ensure optimal performance. Another common issue is a noisy motor. This could be caused by a loose or misaligned motor. Check the motor mounts and tighten them if necessary. Regular maintenance, such as cleaning and lubricating the chain, will also help prolong the life of your electric bike. So get out there, enjoy the ride, and make the most of your electric bike experience!
| Common Issues | Troubleshooting |
|---|---|
| Sudden decrease in power | – Check connections and tighten any loose ones |
| – Consider replacing the battery | |
| Noisy motor | – Check and tighten motor mounts |
| – Clean and lubricate the chain regularly |
Frequently Asked Questions
How long does it typically take to install a read hub electric motor onto a bike?
The installation time for a rear hub electric motor on a bike can vary depending on the specific model and the level of expertise of the person performing the installation. Compatibility with different bikes should also be considered.
Can the electric motor be easily removed and transferred to a different bike?
Yes, the electric motor can be easily removed and transferred to a different bike. It is compatible with various bike frames, allowing for flexibility in switching between bicycles.
Are there any special considerations for installing the electric motor on a mountain bike?
When considering mountain bike compatibility for installing an electric motor, it is crucial to assess the motor power requirements. Ensuring the motor is suitable for off-road terrain and can handle the increased demands is essential for a successful installation.
Can the electric motor be used in conjunction with the bike’s existing gears?
Yes, the electric motor can be used with the bike’s existing gears. This allows for a wider range of speed options and makes it easier to pedal in different terrains. The combination of electric motor and bike gears enhances the overall performance and efficiency of the bike.
How much weight does the electric motor add to the bike?
The electric motor adds approximately 10-15 pounds to the bike. This extra weight can have a slight effect on bike performance, such as increased inertia and decreased acceleration. However, the impact on maneuverability is minimal and can be easily adapted to.
Conclusion
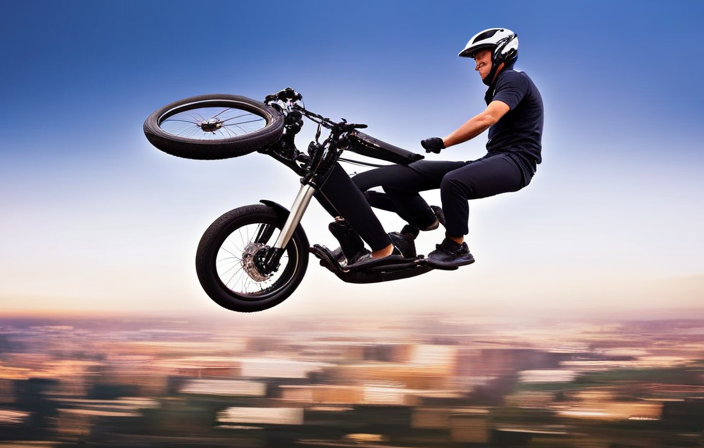
In conclusion, adding a read hub electric motor to a bike is a rewarding and exciting project that can enhance your biking experience. With the right electric motor and proper installation, you can transform your regular bike into an efficient and versatile electric bike.
Did you know that electric bikes are becoming increasingly popular worldwide? In fact, global sales of electric bikes reached 40 million units in 2020, and the numbers are expected to continue growing.
So why not join the trend and enjoy the benefits of an electric bike today?