Ever wondered how to turn your regular bike into an electrified speed machine? Well, look no further! In this article, I’ll show you step-by-step how to add a rear hub electric motor to your bike.
With the right tools and a little know-how, you’ll be zipping through the streets in no time. So, are you ready to take your cycling game to the next level? Let’s get started!
Key Takeaways
- Ensure proper installation and optimization of the motor
- Familiarize yourself with motor controls and operation for effective use
- Regularly maintain and service the rear hub electric motor
- Follow safety precautions and regulations for a safe riding experience

Magicshine HORI1300S Bike Headlight, Compatible with Garmin/Wahoo, 1300 Lumens High & Low Beam Front Light, USB-C Rechargeable, IPX6 Waterproof for Night Riding and Urban Cycling-Black
DUAL OPTICS, HIGH & LOW BEAM: Max 1300LM high beam conquers the darkest trails. The anti-glare low beam...
As an affiliate, we earn on qualifying purchases.
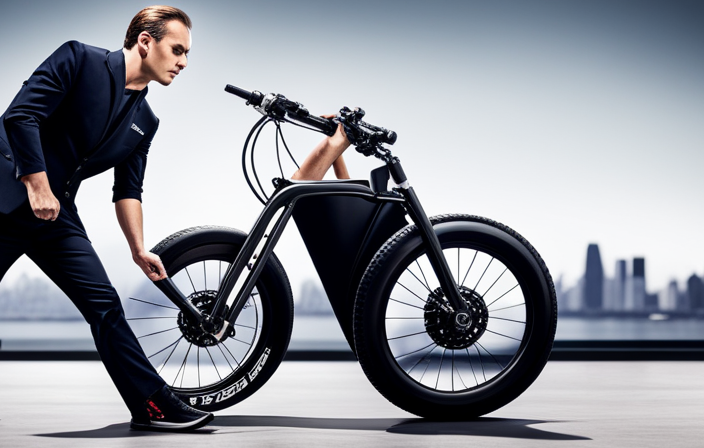
Understand the Benefits of a Rear Hub Electric Motor
Understanding the benefits of a rear hub electric motor can help you make an informed decision about whether or not to add one to your bike.
One of the main advantages of a rear hub electric motor is its efficiency. These motors are designed to convert electrical energy into mechanical power with minimal loss, resulting in smooth and efficient operation. This means that you can ride longer distances without worrying about running out of battery power.
Additionally, a rear hub electric motor can significantly increase the range of your bike. By providing an extra boost of power, you can travel further and conquer hills with ease.
Now that you understand the benefits of a rear hub electric motor, let’s move on to determining the right type and size of motor for your bike.

2026 Upgrade 9800Lumen Bike Light for Night Riding,Super Bright 6 LED Headlight,Aluminum 10 Mode Rechargeable Bicycle Light Front and Rear,360°Rotatable Brackt,Waterproof,Runtime 72 hr,Road Shockproof
【700DAYS Support] 】:If your bike light have any problem, please to pass us on through Amazon for the...
As an affiliate, we earn on qualifying purchases.
Determine the Right Type and Size of Motor for Your Bike
To determine the right type and size of motor, you’ll need to consider factors such as your bike’s weight, desired speed, and power requirements. Here are three key considerations to help you choose the appropriate motor specifications:
-
Motor Power: Calculate the power needed based on your bike’s weight and the desired speed. A higher power motor is suitable for heavier bikes or if you plan to ride uphill frequently.
-
Motor Type: Decide between a geared or direct drive motor. Geared motors are lighter and provide more torque, while direct drive motors are quieter and require less maintenance.
-
Battery Compatibility: Ensure that the motor you choose is compatible with the battery system you intend to use. Check the voltage and current requirements to avoid any compatibility issues.
To locate a reliable supplier, consider researching online or consulting with electric bike enthusiasts in your area. They can provide recommendations based on their personal experiences.
Now that you have determined the right motor specifications, it’s time to gather the necessary tools and supplies to begin the installation process.
DARKBEAM 6000LM Bike Headlight USB-C Rechargeable, High Lumen Super Bright Bike Light Set for Night Riding, 12+5 Modes Waterproof Bicycle Lights for Road, Mountain, Cycling
SUPER BRIGHT HEADLIGHT & WARNING TAILLIGHT: Bike headlight using new upgraded 2 LED beads with high lumens. Easily...
As an affiliate, we earn on qualifying purchases.
Gather the Necessary Tools and Supplies
Now that you’ve determined the right motor specifications, it’s time to gather all the tools and supplies you’ll need for the installation process. Having the right tools and supplies is crucial to ensure a smooth and successful installation. Below is a table outlining the necessary items:
| Tools | Supplies |
|---|---|
| Wrench set | Electric motor kit |
| Screwdriver set | Battery pack |
| Allen wrench set | Controller |
| Pliers | Wiring harness |
| Wire cutters | Zip ties |

Bike Lights for Night Riding with Bell, Super Bright Bicycle Reflectors, USB Rechargeable Bike Lights Front and Back, Water-Resistant, 4+5 Modes Headlight Taillight Set for Safety, Men, Women & Kids
Is the Gator 320 bright enough for everyday night riding? Yes. The Gator 320 includes a bright white...
As an affiliate, we earn on qualifying purchases.
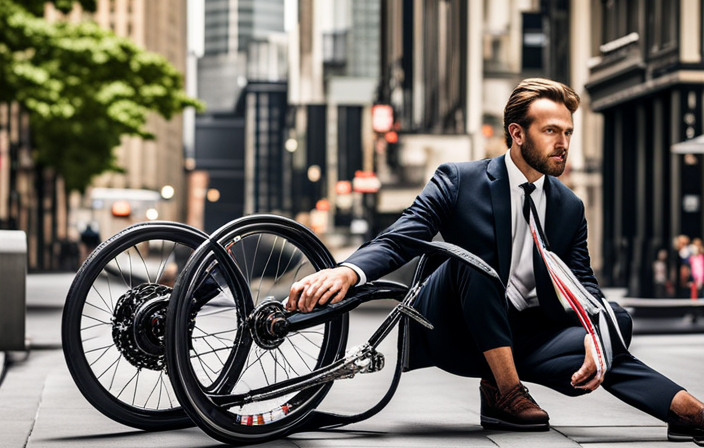
Prepare Your Bike for the Installation Process
First, make sure you’ve removed any excess weight from your bicycle to prepare it for the installation process. This includes removing any unnecessary accessories or components that may hinder the installation of the electric motor.
Next, gather all the necessary tools and supplies you’ll need for the installation. This typically includes a wrench set, screwdrivers, a torque wrench, and zip ties. Make sure you have the specific tools required for your electric motor kit, such as a spoke wrench or a cassette removal tool.
Having all the necessary tools and supplies ready will streamline the installation process and prevent any delays or frustrations.
With your bike prepared and tools gathered, you’re now ready to move on to the next section and install the electric motor on the rear hub, ensuring a smooth and successful installation.
Install the Electric Motor on the Rear Hub
Make sure you’ve gathered the necessary tools and supplies before moving on to installing the motor onto the rear hub. It is crucial to have a wrench, a torque wrench, a spoke wrench, and a screwdriver. Additionally, make sure you have the motor kit, including the motor, controller, battery, and wiring harness.
Now, let’s proceed with the installation process:
- Begin by removing the rear wheel from the bike frame.
- Carefully attach the motor onto the rear hub, aligning it properly with the dropouts.
- Secure the motor using the provided bolts and tighten them to the manufacturer’s specifications.
- Reinstall the rear wheel, ensuring that the motor’s wires are properly routed and not tangled.
When installing the rear hub motor, it’s important to troubleshoot common motor issues such as loose connections, faulty wiring, or improper alignment. By following the manufacturer’s instructions and checking all connections, you can avoid potential problems.
Next, we will discuss how to connect the motor to the battery and controller, ensuring a smooth and efficient operation of your electric bike.
Connect the Motor to the Battery and Controller
To ensure a smooth and efficient operation of your e-bike, it’s crucial to properly connect the motor to the battery and controller.
When connecting the motor, you have several connectivity options to consider. The most common method is using three wires: one for power, one for ground, and one for the signal. Ensure that the wires are securely connected and insulated to prevent any short circuits or loose connections.
If you encounter any issues with the motor not functioning properly, troubleshoot by checking the connections and ensuring that the battery and controller are compatible with the motor. It’s also important to consult the manufacturer’s manual for specific instructions and troubleshooting tips.
Once the motor is connected, you can proceed to secure and adjust it for optimal performance in the next section.
Secure and Adjust the Motor for Optimal Performance
Once you have securely connected and insulated the wires, it’s time to ensure that the motor is properly secured and adjusted for optimal performance.
Start by checking the motor’s position on the bike frame. It should be aligned with the rear wheel and centered between the chainstays. Use adjustable wrenches to tighten the motor mounting bolts securely.
Next, adjust the motor’s position so that the chain properly engages with the rear sprocket. Troubleshoot any common issues, such as excessive noise or vibration, by inspecting the motor’s alignment and making necessary adjustments.
It’s important to ensure that the motor is securely fastened to prevent any movement during operation.
With the motor securely in place, you can now move on to testing the electric motor and ensuring proper functioning.
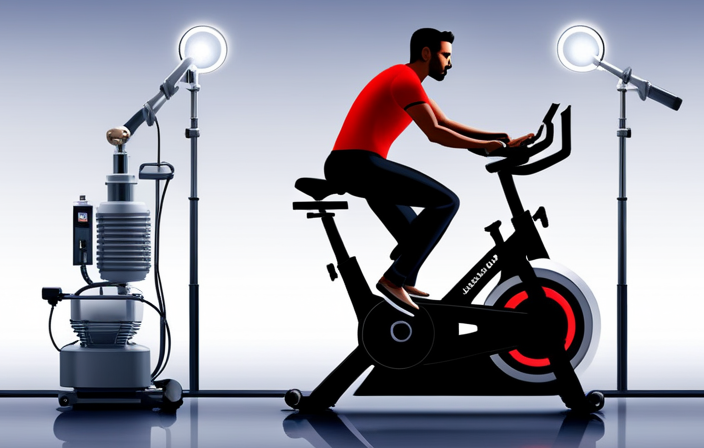
Test the Electric Motor and Ensure Proper Functioning
Now that you’ve securely adjusted the motor’s position, it’s time to test it and make sure it’s functioning properly.
Testing the electric motor is crucial for troubleshooting common issues and optimizing motor performance. To begin, check all the connections and ensure they are secure. Inspect the wiring for any signs of damage or loose connections.
Next, connect the battery and turn on the motor. Observe if the motor starts smoothly and runs without any unusual noises. Pay attention to the motor’s response when you apply different levels of throttle.
Additionally, test the motor’s performance on various terrains and inclines to gauge its power and efficiency. By thoroughly testing the motor, you can identify and resolve any issues before moving on to learn how to operate and control the electric motor seamlessly.
Learn How to Operate and Control the Electric Motor
Before getting started, familiarize yourself with the controls and operation of the electric motor. Understanding how to operate and control the motor is crucial to ensure a smooth and efficient ride.
When it comes to operating the electric motor, there may be some operational challenges that you might encounter. One common challenge is adjusting the power level or speed of the motor. To address this, refer to the user manual for specific instructions on how to adjust the settings.
Another challenge that may arise is troubleshooting any issues that may occur during operation. In these cases, it is important to have troubleshooting techniques in your arsenal. These techniques may involve checking the battery connection, inspecting the wiring, or resetting the motor.
Maintain and Service Your Rear Hub Electric Motor
To keep your rear hub electric motor running smoothly, it’s essential to regularly maintain and service it. Here are some maintenance tips to ensure optimal performance.
First, check the motor’s connections and wiring for any loose or damaged parts. Tighten or replace as necessary.
Next, inspect the motor’s housing and bearings for signs of wear or damage. Lubricate the bearings with appropriate grease to prevent friction.
Additionally, clean the motor regularly to remove dirt and debris that can affect its efficiency.
If you encounter common issues such as overheating or loss of power, troubleshooting steps may include checking the battery voltage, controller settings, and throttle functionality.
Remember to follow safety precautions and regulations when working on your electric motor, such as wearing protective gear and obeying traffic laws.
Consider Safety Precautions and Regulations
It’s important to prioritize safety and follow regulations when working on your e-bike. Safety should always be your top priority to ensure a smooth and secure riding experience. The regulations set in place are designed to keep you and others safe on the road. To emphasize the importance of safety and regulations, let’s take a look at the following table:
| Safety Precautions | Regulations |
|---|---|
| Wear a helmet | Check local laws for speed limits |
| Use proper lighting and reflectors | Follow traffic laws and signals |
| Maintain brakes and tires | Register your e-bike if required |
| Follow manufacturer’s guidelines | Use designated bike lanes where available |
Upgrade Your Bike with Additional Accessories and Features
Make sure you check out these awesome accessories and features that can enhance your biking experience.
When it comes to customizing bicycles, there are countless options available that can take your ride to the next level. Adding smart features such as GPS navigation systems, bike computers, and wireless Bluetooth speakers can greatly improve your biking experience. These accessories not only provide convenience but also enhance safety and functionality.
Additionally, you can customize your bike with mudguards, racks, and panniers for added storage and utility. Don’t forget about upgrading your bike’s lighting system with powerful LED lights to ensure visibility during night rides.
Enjoy the Benefits of an Electrified Bike Ride
Experience the thrill of effortlessly cruising along on your bike while enjoying the benefits of electrification. Converting your bike into an electric bike opens up a whole new world of possibilities. Not only does it make your ride more enjoyable, but it also offers numerous advantages. Take a look at the table below to see some of the benefits of electric bike conversion:
| Advantages of Electric Bike Conversion |
|---|
| Extended range |
| Increased speed |
| Easy hill climbing |
| Reduced effort |
| Eco-friendly |
Share Your Experience and Tips with Other Cyclists
Share your tips and experiences with other cyclists who are considering electrifying their bikes. Connecting with fellow cyclists who have already taken the leap into electrified biking can provide invaluable insights and guidance. When sharing your experiences, be sure to include details such as the type of rear hub electric motor you chose, the installation process, and any challenges you encountered along the way. Discuss the benefits you’ve enjoyed, such as increased speed and range, as well as any maintenance considerations.
By sharing your knowledge, you can help others make informed decisions and avoid potential pitfalls.
Now, let’s delve into another important aspect of electrified biking: staying updated on the latest innovations in electric bike technology.
Stay Updated on the Latest Innovations in Electric Bike Technology
Stay in the loop and keep up with the newest advancements in e-bike technology to ensure you’re always riding the most cutting-edge electric bike.
As technology continues to evolve, electric bike batteries and motor technology are constantly being improved to enhance the performance and efficiency of electric bikes.
Here are three key advancements to watch out for:
-
Lithium-ion battery technology: Lithium-ion batteries have revolutionized the electric bike industry due to their high energy density, longer lifespan, and lightweight design. These batteries provide a longer range and faster charging times, making them ideal for electric bikes.
-
Brushless motors: Advances in motor technology have led to the development of brushless motors, which provide smoother and more efficient power delivery. These motors offer increased torque, improved acceleration, and quieter operation compared to traditional brushed motors.
-
Regenerative braking: Some electric bikes now feature regenerative braking systems, which capture and store energy generated during braking. This energy can then be used to recharge the battery, increasing overall efficiency and extending the range of the electric bike.
Frequently Asked Questions
How long does it take to install a rear hub electric motor on a bike?
The time it takes to install a rear hub electric motor on a bike can vary depending on the individual’s experience and familiarity with the installation process. However, with the necessary tools and a step-by-step guide, it can typically be completed in a few hours.
Are there any weight limitations for adding a rear hub electric motor to a bike?
Yes, weight limitations are a crucial factor when adding a rear hub electric motor to a bike. Exceeding the recommended weight can affect the motor’s performance, including reduced speed, shorter battery life, and potential damage to the bike frame or components.
Can I switch the electric motor between different bikes?
Yes, you can switch electric motors between different bikes. However, compatibility issues may arise due to variations in frame design, dropout spacing, and motor size. It is crucial to ensure proper fit and compatibility before attempting to switch electric motors.
What is the average lifespan of a rear hub electric motor?
The average lifespan of a rear hub electric motor depends on the quality of the motor and the level of maintenance. Common issues include wear and tear on moving parts, overheating, and water damage. Regular maintenance can help prolong the motor’s lifespan.
Are there any legal restrictions or regulations for using a rear hub electric motor on a bike?
Legal restrictions and safety regulations must be followed when using a rear hub electric motor on a bike. Failure to comply with these rules can lead to penalties or accidents. It is crucial to understand and adhere to the specific regulations in your area.
Conclusion
In conclusion, adding a rear hub electric motor to your bike is a game-changer. The benefits are simply mind-blowing.
With the right type and size of motor, you’ll experience an electrifying ride like never before. The installation process, although technical, is totally worth it.
Not only can you upgrade your bike with additional accessories and features, but you’ll also stay ahead of the curve with the latest innovations in electric bike technology.
So get ready to revolutionize your cycling experience and leave other cyclists in awe of your electrified ride.