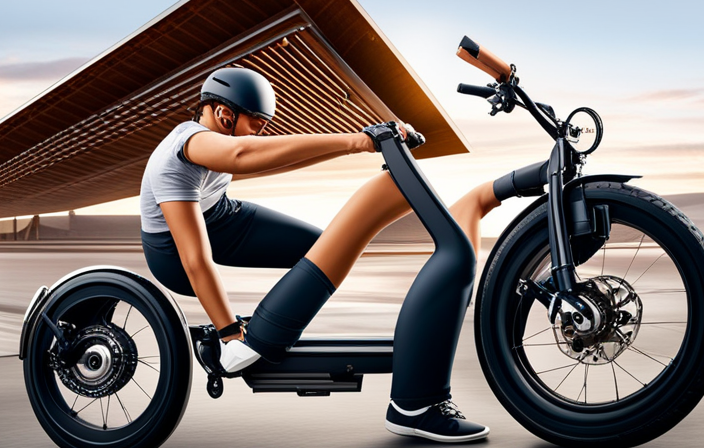
Are you prepared to elevate your cycling experience? Picture the excitement of smoothly ascending hills and effortlessly gliding through the wind.
In this article, we will guide you through the process of adding an electric motor to your bike. Get ready to transform your ordinary bicycle into an extraordinary electric ride.
From assessing compatibility to installing the motor and ensuring its optimal performance, we’ve got you covered.
Get ready to embark on an electrifying adventure!
Key Takeaways
- Assess the bike frame, wheels, tires, brakes, suspension system, and drivetrain for compatibility with an electric motor.
- Consider factors such as power output, motor size, price, efficiency, voltage, and torque when choosing the right electric motor.
- Gather the necessary tools and equipment, including appropriate wrenches, screwdrivers, and potentially a multimeter for troubleshooting.
- Install the electric motor bracket securely on the bike frame, wire the controller correctly, and ensure alignment and compatibility with the motor model.
Assess Your Bike’s Compatibility
You’ll need to assess if your bike is compatible with an electric motor. Before you start the process of adding an electric motor to your bike, there are a few compatibility factors you should consider.
First, check the frame of your bike. It should be sturdy and able to handle the additional weight and stress that the motor will add.
Next, assess the wheels and tires. Make sure they are in good condition and able to support the increased speed and power of an electric motor.
Additionally, check the brakes and suspension system to ensure they can handle the added demands.
Finally, assess the drivetrain and gears to see if they can accommodate the motor’s power output.
Once you’ve evaluated these compatibility factors and determined that your bike is suitable, you can move on to choosing the right type of electric motor.
Choose the Right Type of Electric Motor
When choosing the right type of electric motor for your bicycle, it’s important to consider factors such as power output and size. To ensure optimal performance, you need to assess the motor efficiency, which directly affects the speed and range of your e-bike.
Additionally, cost considerations play a crucial role in making the right choice. Here’s a numerical breakdown of key factors to visualize the decision-making process:
- Power Output – Determine the amount of power you need based on the terrain and your desired speed.
- Motor Size – Consider the dimensions of the motor to ensure it fits your bike frame without compromising its structural integrity.
- Cost – Compare prices of different electric motors to find one that matches your budget while meeting your performance requirements.
With these factors in mind, you can now move on to gathering the necessary tools and equipment for the installation process.
Gather the Necessary Tools and Equipment
To gather everything you need, make sure you have the necessary tools and equipment on hand. When adding an electric motor to a bike, it is crucial to choose the right motor specifications. Consider factors such as power output, voltage, and torque to ensure compatibility with your bike and desired performance.
Understanding the power requirements of your motor is also essential. Determine the wattage and amperage needed for your specific setup, as this will influence the battery capacity and overall range of your electric bike.
Additionally, you will need tools such as wrenches, screwdrivers, and pliers to properly install the motor. Having a multimeter handy can also help with troubleshooting and ensuring proper electrical connections.
With all the necessary tools and equipment gathered, you can now move on to the next step of installing the electric motor bracket.
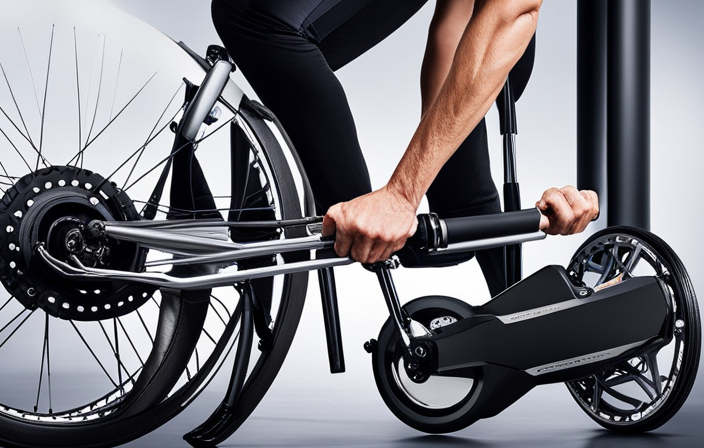
Install the Electric Motor Bracket
Now it’s time to secure the bracket for the electric motor in place. Start by identifying the location where the motor will be mounted on your bike frame. Ensure that the bracket is compatible with your specific motor model.
Use the necessary tools to attach the bracket securely to the frame, making sure it is aligned correctly. Once the bracket is securely fastened, you can proceed to wire the controller. Connect the wires from the electric motor to the appropriate ports on the controller, following the manufacturer’s instructions. Double-check all connections to ensure they are tight and secure.
With the motor bracket in place and the controller wired, you are now ready to move on to the next step of connecting the motor to the bike’s drivetrain. This will allow the motor to power the bike and provide an electric boost during your rides.
Connect the Motor to the Bike’s Drivetrain
Once the motor is securely mounted and the controller is wired, you’re ready to connect it to the bike’s drivetrain. This step involves linking the power transmission of the motor to the bike’s existing gear system. To understand the connection process, refer to the table below:
| Motor Shaft | Drivetrain Component | Connection Method |
|---|---|---|
| Motor | Rear Wheel | Chain |
| Motor | Pedal Crank | Chain |
| Motor | Front Wheel | Rim Drive |
To connect the motor to the drivetrain, first, attach the chain to the motor’s output sprocket. Then, align the chain with the appropriate gear on the rear wheel or pedal crank. Ensure the chain tension is correct, neither too tight nor too loose, for optimal power transmission. Once completed, you can proceed to the next step of installing the battery and controller, which will provide the necessary power to the electric motor.
[Continue to the section on installing the battery and controller.]Install the Battery and Controller
Next, you can proceed with installing the battery and controller. Connecting the battery and controller correctly is crucial for the proper functioning of your electric bike.
Start by finding a suitable location to mount the battery, ensuring it is secure and well-balanced. Connect the battery to the controller using the provided cables, making sure to match the positive and negative terminals correctly. Double-check all connections and tighten them securely to avoid any loose connections that could lead to malfunctions.
Once the battery is connected, you can install the controller, ensuring it is positioned in a place that allows for easy access and protection from the elements.
Troubleshooting common issues with battery and controller installation may involve checking for loose connections, ensuring the battery is fully charged, and verifying that the controller settings are appropriately configured.
With the battery and controller securely installed, you can now move on to the next step of testing and adjusting the electric motor.
Test and Adjust the Electric Motor
To ensure proper functionality, it’s important to test and make adjustments to the electric motor.
Begin by testing the motor’s performance by slowly increasing the throttle. Observe any unusual noises, vibrations, or jerking movements.
If everything seems normal, move on to testing the motor’s power output. Attach a voltmeter to the motor’s power wires and measure the voltage while applying full throttle. It should match the manufacturer’s specifications.
If there are any discrepancies, check the connections and wiring for loose or damaged components. Troubleshooting techniques such as checking the motor’s temperature and inspecting the controller for any error codes can also help diagnose any issues.
Once testing is complete, you can transition to securing and protecting the wiring to ensure a safe and reliable electric bike.
Secure and Protect the Wiring
Make sure you secure and protect the wiring to ensure a safe and reliable electrical connection. To do this, use protective covers to shield the wiring from any potential damage caused by external factors such as debris or accidental impacts. These covers act as a barrier, keeping the wires safe and preventing any short circuits or electrical malfunctions.
Additionally, it is essential to use waterproof connectors to safeguard the wiring from moisture and water damage. These connectors create a tight seal, preventing any water from entering and causing corrosion or electrical shorts.
By properly securing and protecting the wiring with protective covers and waterproof connectors, you can enjoy a worry-free ride on your electric bike knowing that your electrical connection is reliable and well-protected.
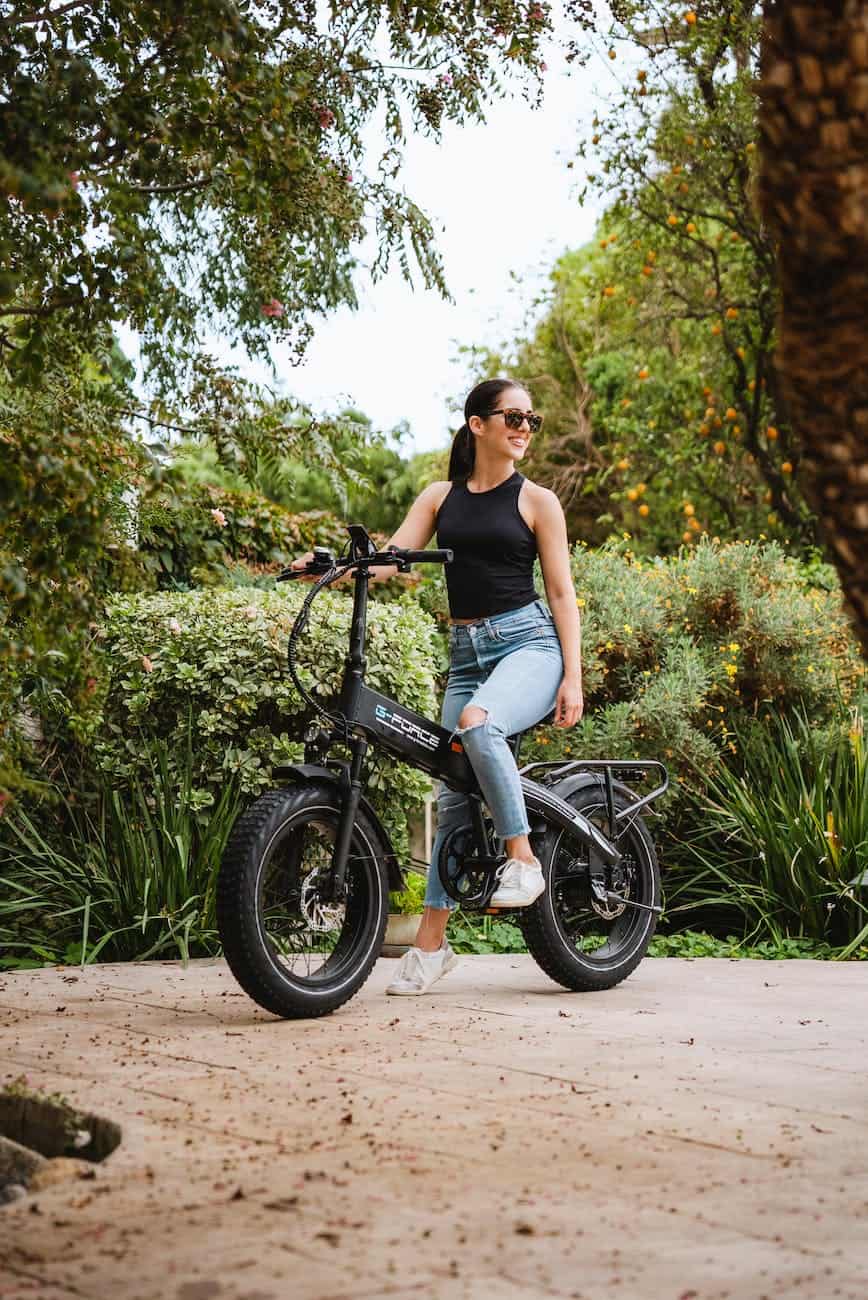
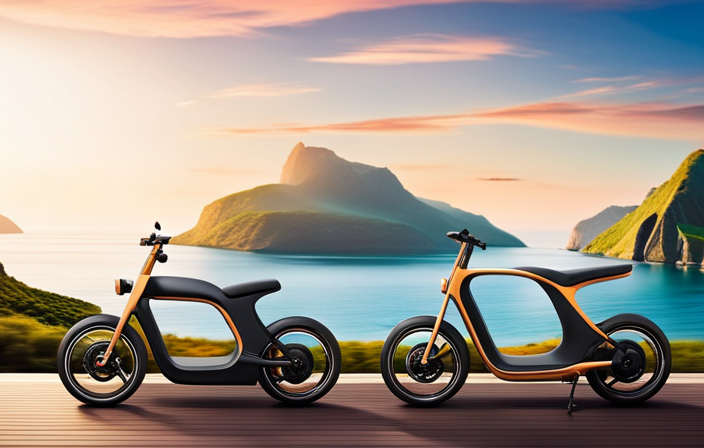
Enjoy Your Electric Bike!
To ensure that you enjoy your newly transformed electric bike to the fullest, it’s crucial to take a few additional steps. First and foremost, you should focus on improving battery life. This can be achieved by implementing smart charging practices and using high-quality batteries. Additionally, it is highly recommended to find local electric bike communities. These communities can provide valuable insights, tips, and support for maintaining and upgrading your electric bike. They can also provide opportunities for group rides, which can be a great way to connect with fellow electric bike enthusiasts. By engaging with these communities, you can stay updated on the latest developments and advancements in the electric bike world. So, let’s dive into the next section and learn how to maintain and service your electric motor efficiently.
Maintain and Service Your Electric Motor
Ensure that you regularly check and maintain your electric bike’s motor to keep it running smoothly. Maintaining battery life is crucial for optimal performance.
To extend the life of your battery, avoid overcharging and keep it at a moderate temperature. It’s also important to clean the motor regularly, removing any dirt or debris that may affect its performance.
Troubleshooting common motor issues can save you time and money. If you notice a decrease in power, check the connections between the motor and the battery. Loose connections can cause power loss. Additionally, check the motor’s brushes for wear and tear and replace them if necessary.
Regularly inspecting and servicing your electric motor will ensure a longer lifespan and a more enjoyable riding experience.
Frequently Asked Questions
Can I use any bike to add an electric motor or are there specific types that are more compatible?
To ensure electric motor compatibility, it is important to consider the bike frame requirements. Not all bikes are suitable for adding an electric motor. Look for frames that provide enough space, strength, and mounting points for the motor and battery.
How much does it cost to add an electric motor to a bike?
The cost of adding an electric motor to a bike depends on various factors such as the type and power of the motor, battery capacity, and additional features. Different motor options are available, ranging from $200 to $2000, with cost considerations for batteries and installation.
Can I still pedal my bike with the electric motor installed?
Yes, you can still pedal your bike with the electric motor installed. While the motor reduces pedaling difficulties, it does not eliminate the need for physical exercise. Remember, "No pain, no gain."
How long does the battery last before needing to be recharged?
The battery life of an electric bike varies depending on factors like the motor power and terrain. Typically, it can last between 20-60 miles. Charging time can range from 3-8 hours, depending on the battery capacity and charger used.
Are there any safety precautions I should take when installing and using an electric motor on my bike?
When installing and using an electric motor on your bike, it is important to take safety precautions. Follow the proper installation process and make sure to wear protective gear, such as a helmet and gloves, to ensure your safety.
Conclusion
So there you have it – a step-by-step guide on how to add an electric motor to your bike.
By following these instructions and gathering the necessary tools, you can transform your regular bike into an electric one.
While some may argue that this process is complicated and time-consuming, the end result is worth it.
Imagine effortlessly cruising up hills and tackling long distances with ease.
With a little patience and effort, you can enjoy the benefits of an electric bike and continue to maintain and service your electric motor for years to come.