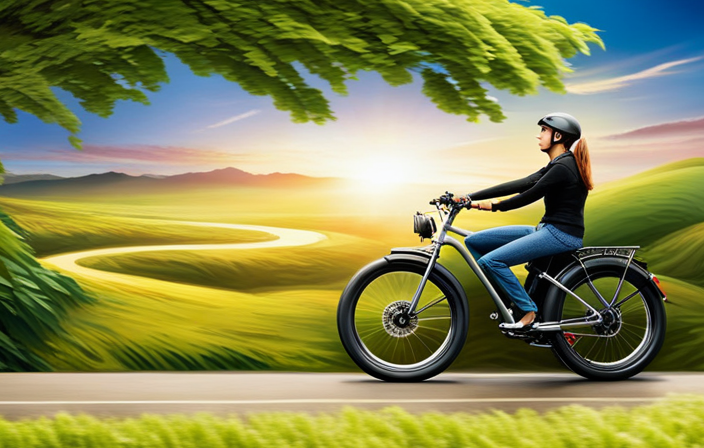
Do you find yourself exhausted from pedaling your bike uphill, feeling the burn in your legs, and having difficulty keeping pace with faster riders?
Well, get ready to leave those days behind because we have the ultimate solution for you – adding an electric motor to your bike!
In this article, we will guide you through the step-by-step process of transforming your ordinary bike into a powerful, electric wonder.
So, get your tools ready and prepare to embark on an electrifying journey!
Key Takeaways
- Assess bike and riding needs before adding an electric motor
- Choose the right electric motor kit based on riding preferences and needs
- Gather necessary tools and equipment for installation process
- Prepare bike for installation by removing accessories and checking components
Assess Your Bike and Riding Needs
Assess your bike and riding needs before deciding to add an electric motor. This crucial step in bike modification will ensure that the electric motor you choose is the right fit for your specific requirements.
Consider factors such as your riding style, terrain, and distance you plan to cover. Adding an electric motor to your bike offers several advantages, including increased speed and range, the ability to tackle hills with ease, and reduced physical exertion. It also allows you to enjoy longer rides without worrying about getting tired.
By assessing your bike and riding needs, you can make an informed decision about which electric motor kit to select. This will ensure that you choose the right kit that aligns perfectly with your preferences and enables you to enhance your biking experience.
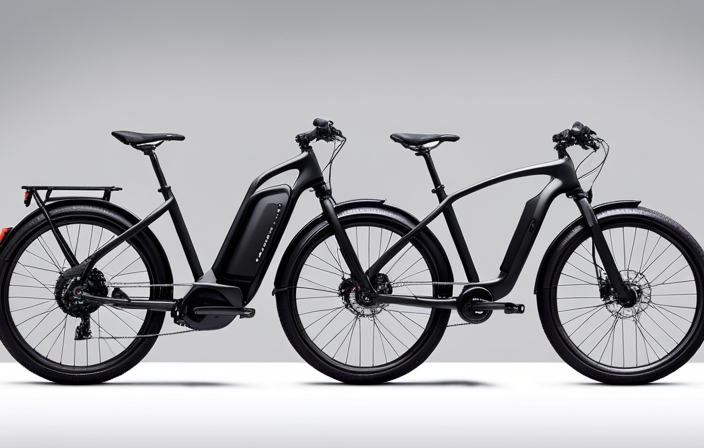
Choose the Right Electric Motor Kit
Make sure you select the appropriate electric motor kit for your bicycle. Choosing the right electric motor kit is crucial to ensure a successful conversion. There are various electric motor types available, each with its own advantages and power requirements. To help you make an informed decision, refer to the table below:
| Electric Motor Type | Power Requirements | Pros |
|---|---|---|
| Hub Motor | Low to High | Easy installation, minimal maintenance |
| Mid-Drive Motor | High | Better weight distribution, efficient power transfer |
| Friction Drive Motor | Low to Medium | Simple installation, lightweight |
Consider your riding needs and preferences when selecting the electric motor kit. If you require high power and efficient power transfer, a mid-drive motor might be the best option. On the other hand, if you prioritize easy installation and minimal maintenance, a hub motor could be more suitable. Once you have chosen the right electric motor kit, you can proceed to gather the necessary tools and equipment for the conversion process.
Gather the Necessary Tools and Equipment
To start the conversion process, gather all the tools and equipment you’ll need. Here are the essential items you should have:
- Wrench set: This will help you loosen and tighten bolts and nuts during the installation process.
- Screwdriver set: You’ll need a variety of screwdrivers to remove and install different components on your bike.
- Wire cutters and strippers: These tools will be necessary for cutting and stripping wires during the electrical connections.
- Allen key set: Many bike components use Allen bolts, so having a set of these keys will make it easier to disassemble and reassemble parts.
Understanding the installation process is crucial. Make sure you have a clear understanding of how the electric motor kit should be installed on your specific bike model.
Once you have gathered the necessary tools and equipment, you can proceed to the next section about preparing your bike for installation.
Prepare Your Bike for Installation
Before you begin the installation process, gather all the tools and equipment you’ll need. This includes a wrench set, screwdriver set, wire cutters, strippers, and an Allen key set. These tools will make it easier for you to modify your bike and install the electric motor.
Start by removing any accessories or components that might get in the way of the installation. This includes the pedals, chain, and derailleur. After that, take a look at the frame to check for any damage or cracks. It’s important to make sure that the frame can support the extra weight and stress of the electric motor.
Don’t forget to inspect the brakes, tires, and suspension as well. You want to make sure that they are in good working condition before you proceed with the installation. This will ensure a smooth and successful process.
Now, it’s time to move on to the next section and install the electric motor and battery.
Install the Electric Motor and Battery
Now it’s time to move on to installing the electric motor and battery on your bicycle.
Start by selecting the right motor kit for your bike. Consider factors such as power output, battery capacity, and compatibility with your bike’s frame.
Once you have the motor kit, begin by installing the battery. Choose a suitable location on your bike to mount the battery, ensuring it is secure and well-balanced. Connect the battery to the motor using the provided wiring harness, making sure all connections are tight and secure.
Next, follow the manufacturer’s instructions to install the electric motor onto your bike’s frame. This may involve removing the existing crankset and replacing it with the motor assembly.
Finally, transition into the next section by preparing to connect the wiring and controls for your newly installed electric motor.
Connect the Wiring and Controls
First, make sure you have all the necessary wiring and controls to connect your newly installed electric motor. Proper wiring is crucial for the smooth operation of your electric bike.
Start by carefully connecting the wires from the motor to the corresponding connectors on the battery. Ensure that the connections are secure and free from any loose or exposed wires.
It is also important to check for any wiring troubleshooting issues, such as loose connections or faulty wires, and address them promptly. Additionally, regularly inspect and maintain the controls of your electric bike, such as the throttle and brake sensors, to ensure their optimal functionality.
By properly connecting the wiring and maintaining the controls, you can ensure a safe and efficient ride.
Now, let’s move on to the next section where we will test and adjust the electric motor.
Test and Adjust the Electric Motor
To test and adjust the electric motor, you should begin by checking the performance and making necessary adjustments.
Start by testing the motor’s performance by gradually increasing the throttle. Observe how the motor responds and note any irregularities such as unusual noises or vibrations. If there are any issues, you may need to adjust the motor’s settings, such as the voltage or current limits.
Additionally, optimizing motor efficiency is crucial to ensure smooth operation. You can achieve this by fine-tuning the controller settings, such as the throttle response and acceleration curves. It’s essential to find the right balance between power and efficiency.
Once you have tested and adjusted the electric motor to your satisfaction, you can move on to learning how to use the electric motor properly, ensuring a safe and enjoyable ride.
Learn How to Use the Electric Motor Properly
It’s important to familiarize yourself with the proper usage of the electric motor for a safe and enjoyable experience. When it comes to electric motor safety, there are a few key points to keep in mind.
First, always wear a helmet and other protective gear while riding your electric bike. Additionally, make sure to follow all traffic laws and be aware of your surroundings. Maintaining a safe speed and avoiding sudden acceleration or braking is crucial to prevent accidents.
In terms of electric motor efficiency, there are a few tips to maximize the performance of your electric bike. Keeping the motor clean and free from dirt and debris helps to ensure smooth operation. Regularly check the battery charge level and recharge as needed to avoid running out of power during your ride. It’s also important to properly maintain and lubricate the moving parts of the motor to reduce friction and extend its lifespan.
Transitioning into the subsequent section about maintaining and troubleshooting your electric bike, it’s crucial to stay proactive in identifying and addressing any issues that may arise.
Maintain and Troubleshoot Your Electric Bike
Now that you have learned how to use the electric motor properly, it’s important to understand how to maintain and troubleshoot your electric bike.
Regular maintenance is crucial to ensure the longevity and optimal performance of your bike. One common issue that electric bike riders face is battery problems. It is important to regularly check the battery’s charge level, clean the contacts, and replace the battery if necessary.
Another common maintenance issue is with the brakes. Regularly inspect the brake pads for wear and tear and replace them as needed.
Additionally, it is important to check the tire pressure, lubricate the chain, and clean the bike regularly.
By staying on top of these common electric bike maintenance issues, you can ensure a smooth and enjoyable riding experience.
Now, let’s move on to the next section and learn how to enjoy the benefits of your electric bike.
Enjoy the Benefits of Your Electric Bike
Get ready to experience the numerous advantages of your e-bike. With proper maintenance and troubleshooting, you can enjoy the benefits of your electric bike for a long time.
Here are some tips to maximize your battery life and choose the right riding mode:
-
Charge your battery correctly: Follow the manufacturer’s guidelines for charging your battery. Avoid overcharging or leaving it on the charger for too long.
-
Use the right riding mode: Most e-bikes come with different riding modes, such as eco, normal, and sport. Choose the mode that suits your needs and riding conditions to optimize battery usage.
-
Manage your speed: Maintaining a steady and moderate speed can help conserve battery power. Avoid unnecessary acceleration or riding at high speeds for an extended period.
-
Plan your routes: Knowing the terrain and distance of your ride can help you choose the most efficient riding mode and conserve battery life.
-
Monitor battery levels: Keep an eye on your battery levels during your ride. This will allow you to adjust your riding mode or plan for a recharge if needed.
By following these guidelines, you can make the most of your electric bike and enjoy its benefits for longer rides.
Frequently Asked Questions
How much does it cost to add an electric motor to a bike?
Adding an electric motor to a bike can cost anywhere from $500 to $3000, depending on factors such as motor power and battery capacity. However, the benefits of increased speed, reduced effort, and extended range make it a worthwhile investment for many cyclists.
Is it legal to use an electric bike on public roads?
It is legal to use an electric bike on public roads as long as it meets certain criteria such as speed limits and power restrictions. Safety concerns include collisions and the impact of electric bikes on traditional bike commuting.
Can I install an electric motor kit on any type of bike?
When considering electric motor compatibility, it’s important to choose the right bike for an electric motor kit. Not all bikes are suitable, so look for one with a sturdy frame, appropriate weight capacity, and compatible wheel and brake systems.
How long does it take to install an electric motor kit on a bike?
It typically takes around 2-4 hours to install an electric motor kit on a bike. The cost of installation varies depending on the complexity of the kit and the labor involved. Adding an electric motor provides numerous benefits, including increased speed, easier uphill climbs, and reduced effort during long rides.
Can I still pedal my bike with an electric motor installed?
With an electric motor installed on your bike, you can still pedal, unhindered by the added weight. This ensures optimal pedaling efficiency, allowing you to enjoy the benefits of both manual and electric propulsion.
Conclusion
Congratulations! You’ve successfully transformed your ordinary bike into a powerful electric machine. With the right electric motor kit and a little bit of know-how, you’ve unlocked a whole new world of possibilities.
Now, imagine yourself effortlessly cruising through the streets, feeling the wind in your hair as you zoom past traffic. Your bike has become a sleek and efficient companion, ready to take you on exciting adventures.
So go ahead, embrace the joy of your electric bike and enjoy the freedom it brings.