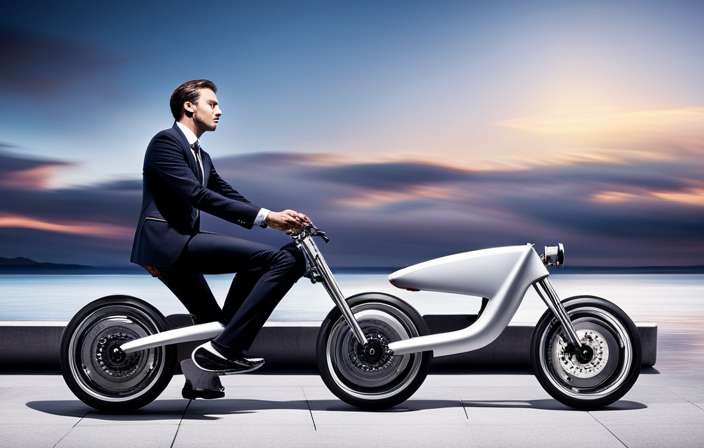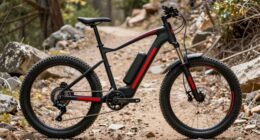
I’ve always loved the freedom and exhilaration of riding a bike, but sometimes I yearn for a little extra power to conquer those challenging hills. That’s where attaching an electric motor to my bike comes in.
In this article, I’ll guide you through the process of transforming your ordinary bike into an electric powerhouse. With the right tools and materials, along with a bit of know-how, you’ll be cruising effortlessly and enjoying the thrill of an electric bike in no time.
So let’s dive in and unlock the potential of your two-wheeled companion.
Key Takeaways
- Properly route and fasten motor wires using zip ties or cable clips.
- Use waterproof enclosures or covers to protect the battery and controller from water or moisture damage.
- Organize and secure motor wires by arranging them neatly and using zip ties or cable clips.
- Consider using wire loom or heat shrink tubing to protect wires from rubbing or exposure to the elements.
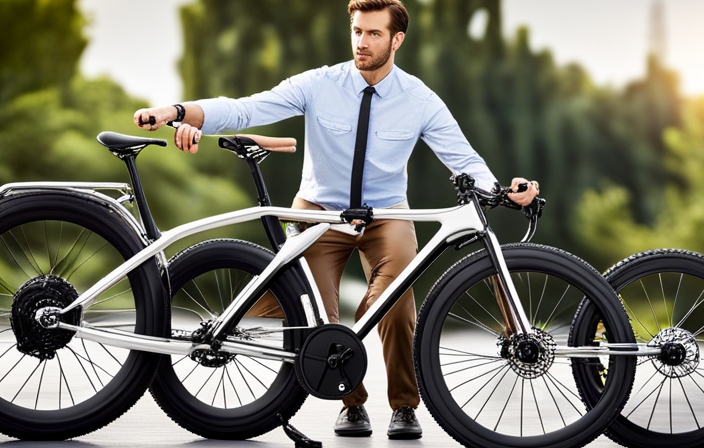
Gather the Necessary Tools and Materials
First, you’ll need to gather all the necessary tools and materials for attaching the electric motor to your bike. To prepare the workspace, make sure you have a clean and well-lit area with enough space to work comfortably.
Some of the tools you will need include a set of wrenches, screwdrivers, pliers, and a drill. Additionally, gather the necessary materials such as the electric motor kit, mounting brackets, bolts, and nuts. It is crucial to ensure that all the components are compatible with your bike’s frame and size.
Once you have everything ready, you can move on to the next step of choosing the right electric motor for your bike, where we will discuss the various factors to consider.
Choose the Right Electric Motor for Your Bike
To find the perfect electric motor for your bicycle, start by determining your preferred level of power. Choosing the right electric motor for your bike is crucial to ensure optimal performance and efficiency.
First, consider the power requirements that suit your needs. Think about the type of terrain you will be riding on and the distance you plan to cover.
Next, take into account the weight and size of the motor. You want to make sure it fits well with your bike and doesn’t add unnecessary bulk.
It’s also important to compare different motor types and technologies available in the market.
Lastly, consult with experts or experienced electric bike users to get their insights and recommendations. By doing so, you can make an informed decision on the best electric motor for your bike.
With the right motor in hand, you can now prepare your bike for the motor attachment, ensuring a seamless integration and a smooth riding experience.
Prepare Your Bike for the Motor Attachment
Now that you’ve determined the right electric motor for your bicycle, it’s time to get your bike ready for the motor attachment.
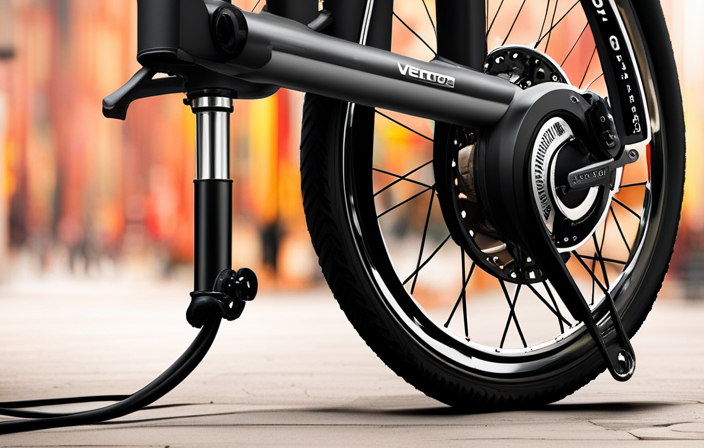
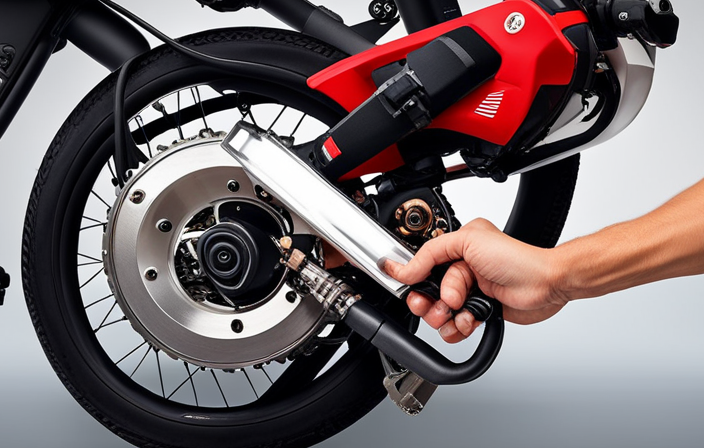
Bike modification is crucial when it comes to transforming your bicycle into a motorized transportation vehicle. To prepare your bike for the motor attachment, start by removing the front wheel and replacing it with a motor wheel. Ensure that the motor wheel is securely fastened to the fork using the appropriate bolts.
Next, attach the motor controller to the bike frame, near the handlebars for easy access. This controller will allow you to control the speed and power output of the motor.
Additionally, make sure to secure the battery pack to the bike frame, ensuring it is well-balanced and won’t interfere with your ride.
With your bike properly modified, you are now ready to connect the motor to the bike and start enjoying the benefits of motorized transportation.
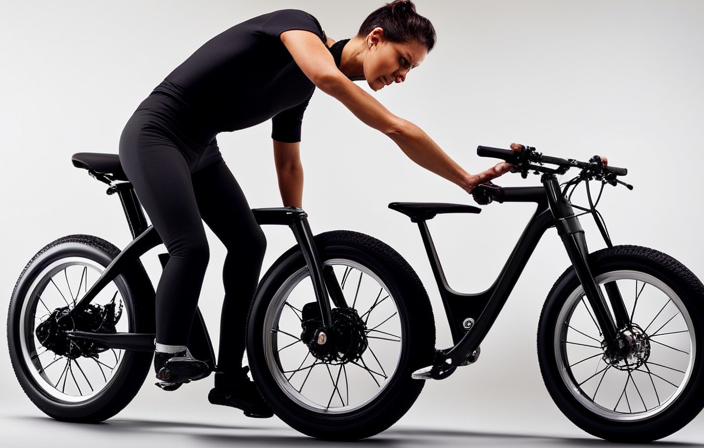
Connect the Motor to the Bike
Once you’ve finished preparing your bike, it’s time to connect the motor to it.
To ensure a secure connection, start by aligning the motor with the bike frame and mounting brackets.
Use the appropriate tools to fasten the motor securely to the brackets, ensuring that it is properly aligned with the chain and pedals.
Double-check all connections to make sure they are tight and secure.
Once the motor is connected, it’s important to troubleshoot any issues that may arise.
Test the motor by turning it on and observing its performance.
If you encounter any problems, such as unusual noises or vibrations, check the connections and make any necessary adjustments before proceeding.
With the motor securely connected, you can now move on to the next step of installing the battery and controller.
Install the Battery and Controller
After aligning the motor with the bike frame and mounting brackets, it’s time to install the battery and controller.
First, locate the battery compartment on the bike frame. Carefully place the battery inside, ensuring that it is securely fastened and connected to the motor.
Next, find a suitable location for the controller, preferably close to the battery. Attach the controller using the provided mounting brackets or straps. Make sure all the wires are properly connected, following the instructions provided by the manufacturer.
Once everything is connected, double-check the connections and secure any loose wires. Common issues during installation include loose connections or incorrect wiring. Troubleshoot these problems by carefully examining the connections and consulting the user manual.
Now that the battery and controller are installed, it’s time to test the electric motor and ensure that it is functioning correctly.
Test the Electric Motor
Before we start using the electric motor, it’s important to check its operation to ensure everything is functioning correctly.
This includes inspecting the motor for any visible damage or loose connections.
It’s also important to test the motor’s functionality by turning it on and observing its performance.
If any adjustments are needed, such as changing the motor settings for speed or torque, it’s crucial to make those modifications before proceeding with its use.
Check the Motor’s Operation
First, make sure you check if the motor is functioning properly. To test the motor’s performance and troubleshoot common motor issues, follow these steps:
- Inspect the motor for any visible damage or loose connections.
- Use a multimeter to check the voltage output of the motor. Compare it with the manufacturer’s specifications.
- Connect the motor to a power source and observe its operation. Listen for any unusual noises or vibrations.
By thoroughly checking the motor’s operation, you can identify any potential issues and ensure that it is working as expected.
Once you have completed this step, you can proceed to adjust the motor settings as needed. This will allow you to fine-tune its performance and optimize its efficiency for your specific bike setup.
Adjust the Motor Settings as Needed
To optimize its performance, you’ll want to adjust the motor settings as needed. Adjusting the motor power is crucial in achieving the desired speed and efficiency.
Start by identifying any issues with the motor, such as unusual noise or overheating. Troubleshooting motor issues can help diagnose and resolve any underlying problems.
Once any issues are addressed, you can move on to adjusting the motor power. This can be done through the motor controller or the settings on your electric bike. Increase or decrease the power output based on your preferences and the terrain you’ll be riding on.
By fine-tuning the motor settings, you can ensure that your electric bike operates at its best.
Now, let’s move on to securing the wiring and components for a safe and reliable setup.
Secure the Wiring and Components
When it comes to organizing and securing the motor wires, it is crucial to ensure that they are properly routed and fastened to prevent any potential hazards or damage. This can be achieved by using zip ties or cable clips to secure the wires along the frame of the bike, keeping them away from moving parts and potential sources of friction.
Additionally, it is important to protect the battery and controller from the elements by using waterproof enclosures or covers to prevent any water or moisture from causing damage or malfunctions.
Organize and Secure the Motor Wires
Now that you’ve got the motor wires, it’s time to organize and secure them in place. Securing connections and implementing proper cable management is essential for a reliable and efficient electric motor setup on your bike.
Begin by carefully arranging the wires, making sure they are neatly lined up and free from any tangles or obstructions. Use zip ties or cable clips to secure the wires to the frame of the bike, ensuring they are held firmly in place and won’t come loose during use.
Additionally, consider using wire loom or heat shrink tubing to protect the wires from potential damage caused by rubbing against other components or exposure to the elements. By organizing and securing the motor wires, you can ensure a clean and professional installation that will last for miles to come, while also preventing any potential issues that may arise from loose or tangled wires.
To protect the battery and controller from the elements, it is important to take the necessary precautions.
Protect the Battery and Controller from the Elements
Ensure that you properly shield your battery and controller from the elements to prevent any potential damage. One of the most effective ways to achieve this is by using protective covers specifically designed for electric bike batteries and controllers.
These covers are made from durable materials that can withstand various weather conditions, including rain, dust, and UV rays. Additionally, you can also apply waterproofing techniques to further enhance the protection of your battery and controller. This may include using silicone sealants or waterproof tapes to seal any exposed areas or connections.
By taking these precautions, you can ensure that your battery and controller remain safe and functional, even in harsh weather conditions.
Now, let’s move on to the next section and learn how to enjoy your electric bike to the fullest.
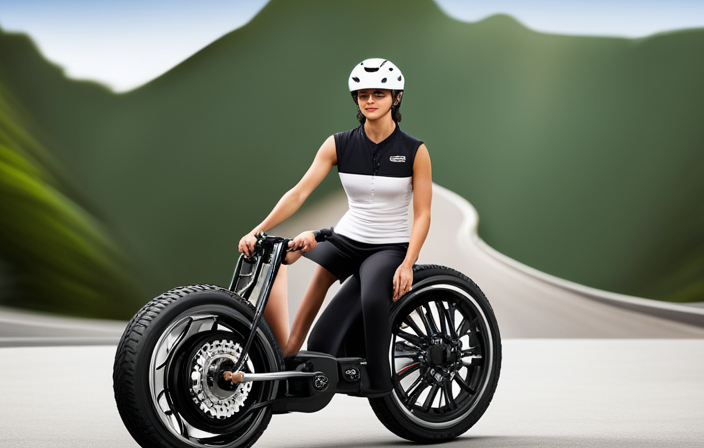
Enjoy Your Electric Bike
When it comes to enjoying your electric bike, there are a few key points to keep in mind.
First, it’s important to practice riding and get used to the motor assistance. This will help you understand how to effectively use the motor and maximize its benefits.
Additionally, don’t be afraid to explore new routes and take advantage of the effortless riding experience that an electric bike provides.
Practice Riding and Getting Used to the Motor Assistance
Once you’ve installed the electric motor on your bike, start practicing riding and getting used to the motor assistance. It’s important to familiarize yourself with the new dynamics of your electric bike and enhance your riding skills.
Here are four techniques to help you improve your riding abilities:
-
Gradually increase motor assistance: Start with a low level of motor assistance and gradually increase it as you feel more comfortable.
-
Practice hill climbing: Take advantage of the motor’s power to conquer challenging uphill terrains. Focus on maintaining balance and control while climbing.
-
Experiment with different speeds: Explore the various speed settings of your electric bike to understand how each one affects your riding experience. This will help you find the optimal speed for different terrains.
-
Master braking: Since electric bikes can reach higher speeds, it’s crucial to practice braking techniques. Learn to apply both front and rear brakes gradually and smoothly to maintain stability.
Explore New Routes and Enjoy Effortless Riding
To fully experience the joy of effortless riding, try exploring new routes that showcase the beauty of your surroundings. By venturing out to new destinations, you not only increase your biking range but also discover the hidden gems of your area. To help you plan your adventures, I’ve created a table below with some suggested routes and their unique features:
| Route Name | Distance (miles) | Scenic Views | Difficulty Level |
|---|---|---|---|
| Coastal Cruise | 15 | Ocean views, beachside trails | Easy |
| Mountain Explorer | 20 | Panoramic mountain vistas, challenging climbs | Moderate |
| Urban Escape | 10 | City parks, historic landmarks | Easy |
| Countryside Loop | 25 | Rolling hills, picturesque farmland | Difficult |
Maintain and Care for Your Electric Bike
Taking proper care of your electric bike is essential to ensure its longevity and performance. To help you maintain your electric bike and avoid common issues, here are three important tips:
-
Maintaining Battery Life: Regularly charge your battery according to the manufacturer’s instructions. Avoid extreme temperature conditions, as they can negatively impact battery performance. Additionally, avoid completely draining the battery as it can shorten its lifespan.
-
Troubleshooting Common Issues: If you experience any issues with your electric bike, start by checking the basics such as loose connections, tire pressure, and brake functionality. If the problem persists, consult the user manual or contact a professional for assistance.
-
Regular Maintenance: Keep your electric bike clean and lubricated. Check the brakes, gears, and chain regularly for wear and tear. Inspect the tires for any signs of damage. Regularly tighten any loose bolts or screws.
By following these maintenance tips, you can ensure your electric bike performs optimally for years to come.
Now, let’s move on to the importance of following safety guidelines and regulations when riding your electric bike.
Follow Safety Guidelines and Regulations
Make sure you follow safety guidelines and regulations when riding your e-bike to ensure a safe and enjoyable experience. It is important to be aware of the common mistakes to avoid in order to prevent accidents and injuries. Here are some key safety guidelines and regulations that you should adhere to:
| Safety Guidelines | Regulations |
|---|---|
| Wear a helmet | Obey traffic laws |
| Use hand signals | Ride in designated areas |
| Check brakes and tires | Do not ride under the influence |
| Use lights at night | Follow speed limits |
Frequently Asked Questions
Can I attach an electric motor to any type of bike?
Yes, you can attach an electric motor to any type of bike, but it’s important to consider electric motor compatibility and choose the right bike. Factors such as frame compatibility and weight distribution must be taken into account.
How long does it take to install an electric motor on a bike?
The installation process for attaching an electric motor to a bike typically takes around 1-2 hours. The required tools include a wrench, screwdriver, and allen key.
Can I still pedal my bike with an electric motor attached?
Yes, you can still pedal your bike with an electric motor attached. However, the pedaling efficiency may be affected due to the added weight and resistance. This can have an impact on the overall performance of the bike.
What is the average cost of attaching an electric motor to a bike?
The average cost of attaching an electric motor to a bike depends on factors such as the type of motor, battery capacity, and additional features. Installation time can vary, but a professional can typically complete the process in a few hours.
Are there any weight limitations for attaching an electric motor to a bike?
Weight limitations for attaching an electric motor to a bike vary based on the motor’s power and the bike’s frame. It’s important to consider compatibility with different bike types to ensure safe and efficient integration.
Conclusion
In conclusion, attaching an electric motor to a bike is a rewarding and efficient way to transform your regular bike into an electric one. By following the step-by-step process outlined in this article, you can easily and safely accomplish this task.
Remember, the key to success lies in gathering the necessary tools, choosing the right motor, and properly connecting and securing all components. With proper maintenance and adherence to safety guidelines, your newly converted electric bike will provide you with a smooth and enjoyable ride, giving you the power to conquer any distance with ease.
So, why wait? Take the plunge and let your bike reach new heights with the assistance of an electric motor. Happy riding!