So, you want to build your own electric bike? Well, you’ve come to the right place. In this article, I’ll guide you through the process of creating your very own electric bike from scratch.
We’ll cover everything from gathering the necessary tools and materials, to selecting the perfect bike frame, motor, and battery.
I’ll show you step by step how to install the electric motor onto the bike frame and connect it to the battery and controller.
And don’t worry, I’ll also share some valuable tips on how to maintain and care for your electric bike, while ensuring you ride safely and abide by all regulations.
Get ready to embark on an electrifying journey as we dive into the world of DIY electric bikes.
Key Takeaways
- Gathering all necessary tools and materials for the electric bike conversion
- Choosing the right bike frame that is compatible with electric components
- Selecting an ideal electric motor and battery based on power output and range
- Installing the electric bike components securely and troubleshooting any issues
Gather the Necessary Tools and Materials
Before you can begin building your electric bike, you’ll need to gather all the necessary tools and materials. This step is crucial as it ensures that you have everything you need to successfully complete the conversion process.
When choosing the right bike frame for conversion, you’ll want to consider factors such as the frame’s strength, weight, and compatibility with the electric components. Look for a frame that is sturdy and can accommodate the added weight of the motor and battery.
Additionally, sourcing the necessary materials is essential to ensure the smooth progression of your project. This includes components like the electric motor, battery, controller, throttle, and wiring.
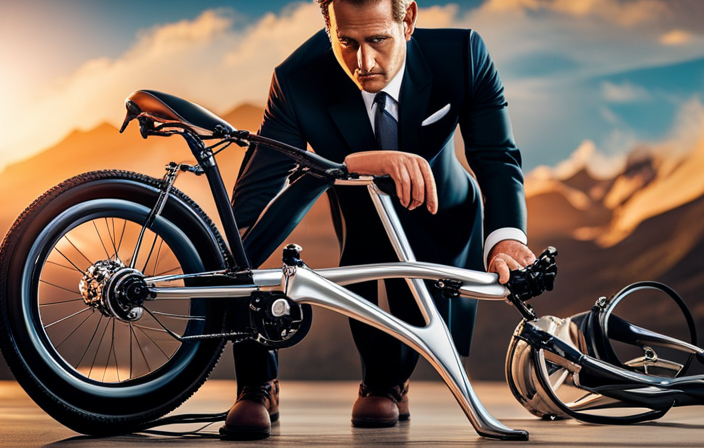
Choose the Right Bike Frame for Conversion
When choosing the right frame for conversion, you’ll want to consider factors such as size, material, and compatibility with electric components.
Bike frame compatibility is crucial because not all frames are suitable for electric conversions. Some frames may not have enough space to accommodate the necessary components, or they may not be strong enough to handle the added weight and torque of an electric motor.
Frame material selection is also important as it affects the overall weight and durability of the electric bike. Aluminum frames are lightweight and corrosion-resistant, making them a popular choice. Steel frames, on the other hand, offer durability and strength. Carbon fiber frames are lightweight and provide excellent vibration damping.
As you consider these factors, it’s crucial to select the ideal electric motor and battery that will seamlessly integrate with your chosen bike frame.
Select the Ideal Electric Motor and Battery
To find the ideal electric motor and battery for your conversion, you’ll need to consider factors such as power output, range, and compatibility with your chosen frame.
When it comes to electric motor efficiency, you want to choose one that offers high efficiency to maximize your bike’s performance. Look for motors that have a high power-to-weight ratio and low resistance, as these factors contribute to the overall efficiency.
Additionally, battery range optimization is crucial for ensuring that your electric bike can go the distance. Consider the battery’s capacity, voltage, and energy density to determine its range capabilities.
By selecting an electric motor and battery that prioritize efficiency and range, you’ll have the foundation for a successful conversion.
Now, let’s move on to installing the electric motor onto the bike frame.
Install the Electric Motor onto the Bike Frame
Attach the electric motor securely to your chosen frame using the provided mounting brackets and bolts. Make sure the motor is aligned properly and centered with the wheel. Tighten the bolts firmly to ensure a secure attachment. It is crucial to double-check the stability of the motor installation to prevent any potential issues while riding.
During the installation process, be aware of common motor installation issues such as misalignment or loose fittings. Misalignment can lead to decreased performance and potential damage to the motor. Ensure that the motor is properly aligned with the wheel and that all fittings are tightened securely.
Once the motor is securely installed, you can proceed to connect it to the battery and controller. This step is essential for the proper functioning of your electric bike. By connecting the motor to the battery and controller, you will be able to control the speed and power output of the motor.
Now that the motor is securely installed, let’s move on to connecting it to the battery and controller.
Connect the Motor to the Battery and Controller
Once the motor is securely installed, you can easily connect it to the battery and controller. This step is crucial for the electric bike to function properly. To connect the motor, you will need to locate the motor wires and identify their corresponding terminals on the battery and controller. It is important to ensure that the connections are secure and tight to prevent any loose connections or potential electrical issues.
To make it easier to understand, here is a table illustrating the connections:
| Motor Wire | Battery Terminal | Controller Terminal |
|---|---|---|
| Red | Positive (+) | Positive (+) |
| Black | Negative (-) | Negative (-) |
| Green | Not Connected | Hall Sensor |
In case you encounter any issues, such as the motor not starting or weak performance, you can troubleshoot by checking the connections, ensuring they are properly secured.
Now that the motor is connected, let’s move on to the next step of mounting the battery onto the bike frame.
Mount the Battery onto the Bike Frame
Now that you’ve connected the motor, it’s time to securely mount the battery onto the frame of your bike. This step is crucial to ensure the stability and safety of your electric bike.
Here are five important considerations when installing the battery securely:
- Choose the right battery capacity based on your needs and the range you desire.
- Ensure that the battery fits snugly onto the bike frame, using suitable mounting brackets or straps.
- Position the battery in a central location on the bike frame to maintain balance and stability.
- Use additional padding or insulation to protect the battery from vibrations and impacts during rides.
- Double-check all connections and fastenings to guarantee a secure and reliable attachment.
Now that the battery is securely mounted, let’s move on to the next section and install the electric bike conversion kit seamlessly.
Install the Electric Bike Conversion Kit
Before diving into the installation process of the electric bike conversion kit, make sure you have all the necessary tools and components.
To begin, let’s discuss troubleshooting techniques in case you encounter any issues along the way. If you face problems with the motor not starting, check the connection between the battery and the controller. Ensure the wires are securely connected and that there are no loose connections.
Another common issue is the motor overheating. This can be caused by excessive load or insufficient cooling. Make sure the motor is properly cooled and consider reducing the load if necessary.
Now, let’s explore cost-effective conversion options. There are various conversion kits available in the market, ranging in price and features. Research different options to find one that suits your budget and requirements.
Once you’re ready, let’s move on to the next step and connect the throttle and brake system.
Connect the Throttle and Brake System
To connect the throttle and brake system, ensure that the wires are properly secured and that there are no loose connections. Throttle sensitivity and brake lever compatibility are crucial factors to consider when setting up your electric bike conversion. The throttle sensitivity determines how responsive the bike will be to your input, while brake lever compatibility ensures that the brakes function effectively.
To help you better understand the importance of these factors, here’s a table showcasing the different throttle sensitivity levels and their corresponding brake lever compatibility:
| Throttle Sensitivity | Brake Lever Compatibility |
|---|---|
| High | Compatible |
| Medium | Compatible |
| Low | Not Compatible |
Test the Electric Bike Conversion
After ensuring proper connection of the throttle and brake system, it’s time to test the electric bike conversion and make sure everything is functioning as it should.
Here are some tips for troubleshooting and improving the performance of your electric bike:
-
Check the battery: Ensure that the battery is fully charged and properly connected. If there are any issues, such as a loose connection or a faulty battery, it can affect the bike’s performance.
-
Test the motor: Turn on the electric bike and check if the motor is running smoothly. Listen for any unusual noises or vibrations, as these could indicate a problem.
-
Check the throttle response: Ride the bike and test the throttle response. Make sure the acceleration is smooth and consistent. If there are any delays or inconsistencies, it may require adjustment.
-
Test the brakes: Ensure that the brakes are working properly and provide sufficient stopping power. If they feel weak or ineffective, you may need to adjust the brake pads or replace them.
Now that we have tested the electric bike conversion, it’s time to adjust and fine-tune the electric bike components to optimize its performance.
Adjust and Fine-Tune the Electric Bike Components
Now that I’ve tested the electric bike conversion, it’s time to adjust and fine-tune the various components to optimize its performance.
One crucial aspect to consider is adjusting the motor power. By finding the right balance between power and efficiency, I can ensure that the bike delivers the desired speed and torque while maximizing battery life.
Additionally, fine-tuning the battery performance is essential for achieving optimal range and longevity. This involves monitoring the battery’s voltage, current, and temperature to ensure it operates within safe parameters.
By adjusting the motor power and fine-tuning the battery performance, I can create a well-performing electric bike that meets my specific needs.
With these adjustments in place, I’m now ready to install additional accessories, such as lights and fenders, to enhance the functionality and aesthetics of my electric bike.
Install Additional Accessories, such as Lights and Fenders
First, make sure you have all the necessary tools and accessories for installing lights and fenders on your electric bike.
To enjoy this section, consider the following:
-
Benefits of installing lights and fenders on an electric bike: increased visibility and safety, protection from mud and water splashes, and a more polished and professional look.
-
How to choose the right lights and fenders for your electric bike: consider the brightness and beam pattern of the lights, ensure they are compatible with your electric bike’s power source, and opt for fenders that fit your wheel size and provide adequate coverage.
Installing lights and fenders on your electric bike not only enhances your safety and comfort but also adds a touch of style.
Now, let’s transition into the next section, where you’ll learn how to maintain and care for your electric bike.
Learn How to Maintain and Care for Your Electric Bike
To keep your electric bike running smoothly and extend its lifespan, it’s important to regularly maintain and care for it. Proper electric bike maintenance can prevent common issues and ensure optimal performance.
Start by regularly checking the tire pressure and ensuring it is within the recommended range. Inspect the brake pads for wear and tear, and replace them if necessary. Keep the chain clean and lubricated to prevent rust and improve efficiency.
Regularly inspect the battery and electrical connections for any signs of damage or corrosion. Troubleshoot common issues such as a sudden loss of power or a malfunctioning display by checking the battery charge, resetting the system, or consulting the manufacturer’s manual.
By following these maintenance tips, you can keep your electric bike in top shape and enjoy a smooth and reliable ride.
Now, let’s move on to the importance of following safety guidelines and regulations for electric bikes.
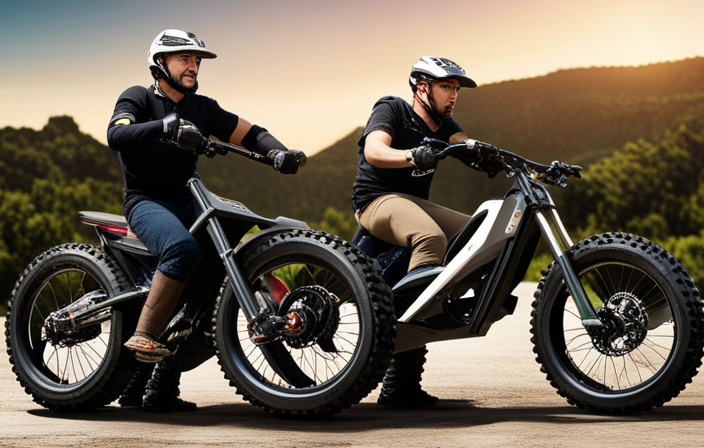
Follow Safety Guidelines and Regulations for Electric Bikes
Following safety guidelines and regulations is essential for ensuring a secure and enjoyable experience while riding an electric bike.
One of the most important safety measures is wearing a helmet. A helmet protects your head from potential injuries in case of accidents or falls.
There are various safety gear options available for electric bike riders, such as knee and elbow pads, gloves, and reflective clothing. These additional gear items provide added protection and visibility, especially when riding in low light conditions.
It is also crucial to be aware of the regulations and laws regarding electric bikes in different countries and regions. Some places require riders to have a valid license, while others have speed limits and specific lanes for electric bikes.
Following these guidelines not only keeps you safe but also ensures that you are riding legally and responsibly.
Now, let’s transition into the next section and explore how to enjoy riding your DIY electric bike.
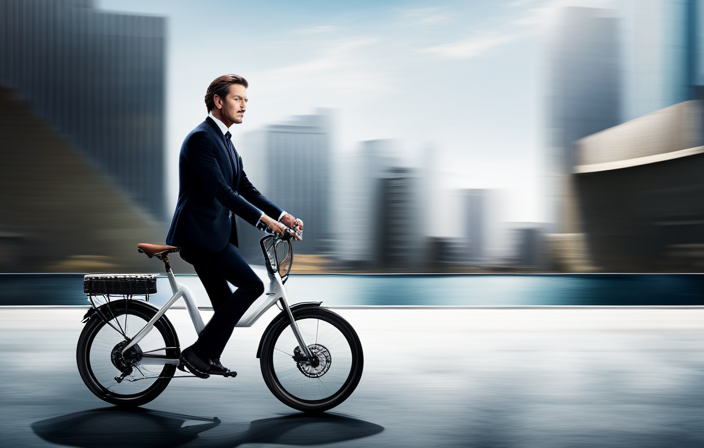
Enjoy Riding Your DIY Electric Bike
You can fully immerse yourself in the joy of riding your DIY electric bike. To enhance your riding experience, it is important to master proper riding techniques and follow safety precautions.
When it comes to riding techniques, understanding how to balance your weight, shift gears smoothly, and brake effectively will greatly improve your control and maneuverability. Additionally, learning how to navigate turns, handle different terrains, and maintain a consistent speed will ensure a comfortable and enjoyable ride.
Safety precautions are also crucial to protect yourself and others. Wearing a helmet, using proper lighting at night, and obeying traffic laws are essential. Regularly inspecting your bike for any mechanical issues and maintaining a safe distance from other vehicles will further enhance your safety.
Share Your Experience and Inspire Others to Build Their Own Electric Bikes
After enjoying countless rides on my DIY electric bike, I have come to realize the numerous benefits of building your own electric bike.
Not only does it allow you to customize your ride according to your preferences, but it also saves you money compared to buying a pre-made electric bike.
One of the greatest benefits is the sense of accomplishment and satisfaction that comes with successfully converting a regular bike into an electric one. Furthermore, building your own electric bike gives you the opportunity to learn about the inner workings of an electric vehicle and gain valuable technical skills.
However, like any project, there may be challenges along the way. That’s why I want to share some tips for troubleshooting electric bike conversions.
From checking the battery connections to inspecting the wiring, these troubleshooting tips can help you identify and fix any issues that may arise, ensuring a smooth and reliable ride.
Frequently Asked Questions
Can I use any bike frame for an electric bike conversion?
Yes, you can use any bike frame for an electric bike conversion. The compatibility of the bike frame is essential for a successful conversion. Converting a regular bike into an electric one offers numerous advantages such as increased speed and efficiency.
How do I choose the right electric motor and battery for my bike conversion?
To choose the right electric motor for a bike conversion, consider factors like power output, torque, and compatibility with your bike frame. For battery selection, assess capacity, voltage, and weight to ensure optimal performance and range.
What safety guidelines and regulations should I follow when building an electric bike?
When building an electric bike, it is crucial to follow safety guidelines and building regulations. One interesting statistic to consider is that electric bikes are involved in less than 1% of all bicycle accidents.
Are there any specific tools or materials that are commonly overlooked but necessary for the conversion?
When converting an electric bike, it’s important not to overlook certain tools and materials that are necessary. Some commonly overlooked tools include torque wrenches, wire strippers, and crimping tools. Necessary materials include batteries, a motor, and a controller.
How do I properly maintain and care for my electric bike to ensure its longevity?
To ensure the longevity of my electric bike, I follow the adage "an ounce of prevention is worth a pound of cure." I maintain the batteries regularly and troubleshoot common issues such as motor problems and electrical issues.
Conclusion
In conclusion, building an electric bike is an exhilarating and eco-friendly endeavor. By gathering the necessary tools and materials, choosing the right bike frame, and selecting an ideal electric motor and battery, you can create a customized and efficient mode of transportation.
Installing the motor, connecting it to the battery and controller, and learning how to maintain and care for your bike are crucial steps in the process. By following safety guidelines and regulations, you can enjoy riding your very own DIY electric bike.
So, start your sustainable journey today and share your electrifying experience to inspire others!