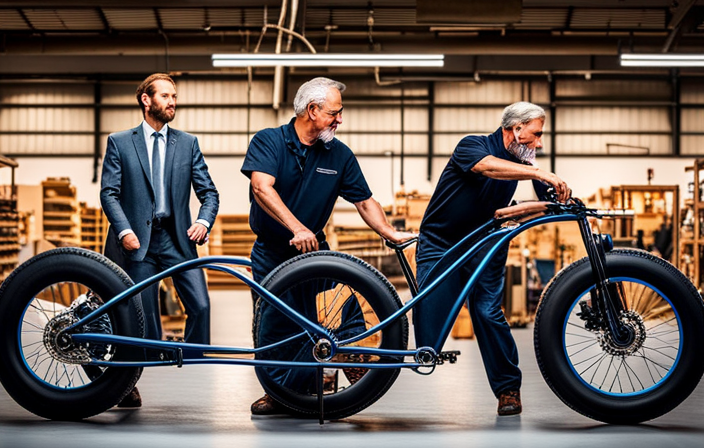
I’ve always been fascinated by the concept of electric bikes, so I decided to take on a new challenge: building my own 4-wheel electric bike.
Did you know that the number of electric bicycles sold worldwide is projected to reach 40 million by 2025? With that in mind, I want to share with you the step-by-step process to create your very own 4-wheel electric bike.
From gathering the materials to customizing the appearance, this article will guide you through every technical detail.
Let’s get started!
Key Takeaways
- Safety features and accessories such as helmets, knee and elbow pads, gloves, and lights are important for building a 4-wheel electric bike.
- Customizing the bike’s appearance can be done through choosing a color scheme, applying a custom paint job, and adding LED lights for a striking visual effect.
- Placement and maintenance of LED lights should be carefully considered, with lights strategically placed on the frame, wheels, and handlebars, and regular cleaning and inspection should be done to ensure their top condition.
- Building a DIY 4-wheel electric bike offers advantages such as stability, balanced weight distribution, a smoother ride experience, and suitability for various terrains.

Under Armour Squeeze Water Bottles, 32 oz Water Bottles, Sideline Sports Water Bottle with Quick-Shot Lid, Quick & Easy Hydration, Gym Water Bottles, Squeeze Bottle, 1 32oz Bottle
- Easy Hydration: Quick-shot lid and one-way valve
- On-the-Go Use: One-hand operation for active hydration
- Measurement Markings: Ounces and milliliters for tracking
As an affiliate, we earn on qualifying purchases.
Gather the Necessary Materials and Tools
You’ll need to gather all the necessary materials and tools for building your 4 wheel electric bike.
First, let’s talk about selecting the appropriate battery capacity. It’s crucial to choose a battery that can provide enough power to run the electric motor efficiently. Consider factors like the weight of the bike, your desired speed, and the range you want to achieve.
Next, let’s discuss tips for wiring the electric motor correctly. Ensure that you have the correct gauge of wire for the motor and battery connections. Follow the wiring diagram provided by the motor manufacturer to avoid any mistakes. Properly insulate all connections and use zip ties to secure the wires in place.
Now that we have covered the necessary materials and wiring, let’s move on to choosing the right frame and wheels for your electric bike, ensuring optimal performance and stability.
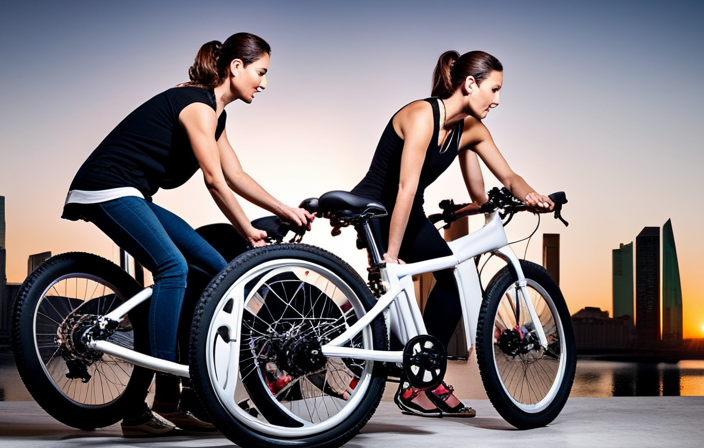
Choose the Right Frame and Wheels
To ensure a stable and efficient ride, selecting the appropriate frame and wheels is essential. When choosing the right frame and wheels for optimal stability and performance in a 4 wheel electric bike, there are several factors to consider.
Firstly, the frame material plays a crucial role in determining the overall strength and weight of the bike. Aluminum or carbon fiber frames are popular choices due to their lightweight and durability.
Additionally, the wheel size and type should be chosen carefully. Larger wheels provide better stability and smoothness on rough terrains, while smaller wheels offer better maneuverability in tight spaces.
It is also important to consider the tire width and tread pattern to ensure good traction and control.
By carefully considering these factors, you can select the perfect frame and wheels for your 4 wheel electric bike, providing an optimal riding experience.
Now, let’s move on to the next section and install the electric motor and battery.
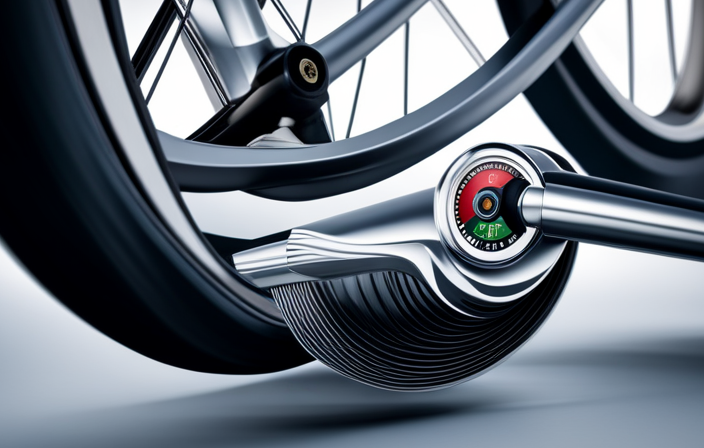
Install the Electric Motor and Battery
Once you’ve selected the frame and wheels, it’s time to install the electric motor and battery for your 4 wheel ride. Here’s what you need to do:
-
Start by installing the motor controller. This device will regulate the power going to the motor and ensure smooth operation.
-
Next, choose the battery type that suits your needs. Consider factors like capacity, weight, and budget. Lithium-ion batteries are commonly used due to their high energy density and long lifespan.
-
Mount the motor securely onto the frame, making sure it aligns properly with the wheels. Use the appropriate brackets and fasteners for a sturdy connection.
-
Connect the battery to the motor controller using the provided wiring harness. Follow the manufacturer’s instructions to ensure proper connections.
With the motor and battery installed, it’s time to move on to the next step: connecting the wiring and electronics. This will complete the electrical system of your 4 wheel electric bike.
Connect the Wiring and Electronics
Now that the motor and battery are in place, it’s time to connect the wiring and electronics to complete the electrical system. This step is crucial for getting the bike up and running smoothly.
When connecting the wiring, it is important to troubleshoot common issues that may arise. Ensure all connections are secure and properly insulated to prevent any potential short circuits.
It’s also essential to optimize the bike’s electronic system for maximum efficiency. This can be achieved by minimizing the length of wires and using thicker gauge wires for higher power components. Additionally, consider adding a fuse or circuit breaker to protect the system from overloads.
By following these tips, you can ensure a reliable and high-performing electronic system for your electric bike.
Moving forward, let’s now assemble the steering and braking systems.
Assemble the Steering and Braking Systems
For optimal performance, it is important to make sure the steering and braking systems are assembled correctly. The steering assembly is a crucial component of any bike. To ensure its proper installation, follow these steps:
- Begin by attaching the handlebars to the stem. Make sure they are aligned straight with the front wheel.
- Secure the stem to the fork, tightening the bolts evenly to avoid any potential wobbling.
- Connect the brake levers to the handlebars. Ensure they are positioned comfortably within reach.
Next, focus on the brake installation:
- Attach the brake calipers to the front and rear forks. Align them with the brake discs.
- Adjust the brake pads so they make even contact with the discs when the brakes are applied.
- Test the brakes by squeezing the brake levers. Ensure they engage smoothly and effectively.
With the steering and braking systems assembled correctly, we can now move on to the next section and install the seat and handlebars seamlessly.
Install the Seat and Handlebars
To attach the seat and handlebars, first position the seat post into the frame and tighten the clamp securely. Once the seat is in place, adjust the seat height according to your preference. For proper handlebar adjustment, loosen the stem bolts and position the handlebars at a comfortable angle. Make sure the handlebars are aligned with the front wheel and tighten the stem bolts to secure them in place. To help you visualize the process, refer to the table below for the recommended seat height and handlebar adjustment range based on your height.
| Height Range | Seat Height | Handlebar Adjustment |
|---|---|---|
| 5’0" – 5’4" | 28" – 30" | 0° – 10° |
| 5’5" – 5’9" | 30" – 32" | 10° – 20° |
| 5’10" – 6’2" | 32" – 34" | 20° – 30° |
| 6’3" and up | 34" – 36" | 30° – 40° |
Once you have completed the installation of the seat and handlebars, you can proceed to test and adjust the bike’s performance to ensure optimal functionality.
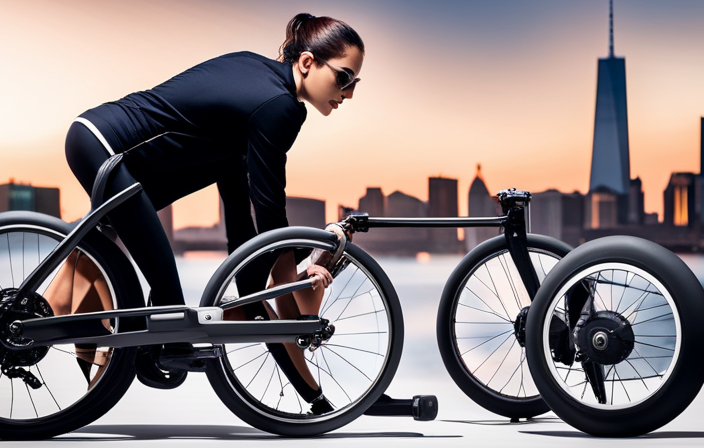
Test and Adjust the Bike’s Performance
First, make sure you’re seated comfortably on the bike and that your feet are securely placed on the pedals.
To test and adjust the bike’s performance, follow these steps:
- Start by checking the tire pressure to ensure optimal traction and stability.
- Next, adjust the suspension settings to match your riding style and terrain.
- Then, fine-tune the brakes for maximum stopping power and responsiveness.
- Lastly, troubleshoot any issues by inspecting the drivetrain, gears, and chain for proper alignment and lubrication.
By adjusting performance and troubleshooting issues, you can optimize your bike’s functionality and ride quality.
Now that the bike is running smoothly, let’s move on to the next section where we’ll add safety features and accessories to enhance your riding experience.
Add Safety Features and Accessories
Now that you’ve optimized your bike’s functionality and ride quality, let’s focus on enhancing your riding experience by adding safety features and accessories.
Safety is paramount when it comes to riding a bike, and proper safety gear is essential. Make sure you have a well-fitted helmet, knee and elbow pads, and gloves to protect yourself in case of a fall or accident.
Additionally, adding lights and reflectors to your bike can greatly improve visibility, especially when riding at night or in low-light conditions. Lights on the front and back of your bike, as well as reflectors on the wheels and pedals, can make you more visible to other road users, reducing the risk of collisions.
With the importance of safety in mind, let’s now move on to customizing the appearance of your bike.
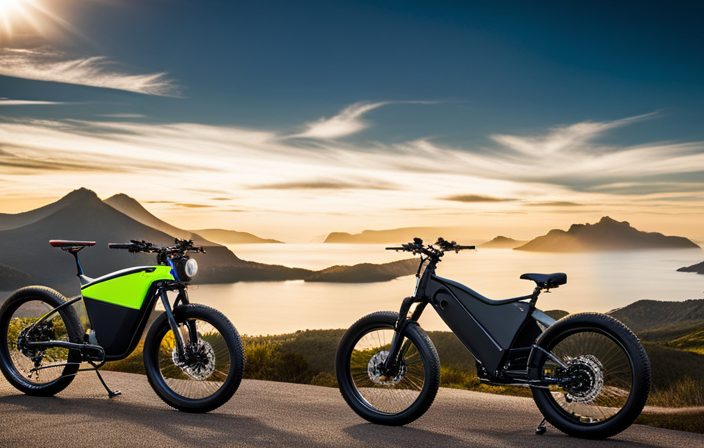
Customize the Bike’s Appearance
Enhancing the appearance of your bike is a fun and creative way to make it uniquely yours. With a custom paint job and LED lighting, you can transform your bike into a true reflection of your personal style.
Here’s how you can achieve the desired look:
-
Custom Paint Job: Start by choosing a color scheme that suits your taste. Prep the bike’s surface by sanding it down and applying a primer. Then, carefully apply multiple coats of paint, allowing each coat to dry before applying the next. Finish off with a clear coat for added durability.
-
LED Lighting: Install LED lights on your bike for a striking visual effect. Choose from a variety of colors and styles, such as strip lights or wheel lights. Make sure to connect the lights to a power source and secure them properly to avoid any accidents while riding.
-
Placement: Strategically place the LED lights on your bike to highlight its unique features. Consider placing them along the frame, wheels, or handlebars. Experiment with different placements to achieve the desired effect.
-
Maintenance: Regularly clean and inspect your custom paint job and LED lights to ensure they remain in top condition. Avoid using harsh chemicals that could damage the paint or lights.
By customizing the appearance of your bike with a custom paint job and LED lighting, you can create a visually stunning ride that stands out from the crowd.
Now, let’s move on to the next section and explore how to fully enjoy your DIY 4-wheel electric bike!
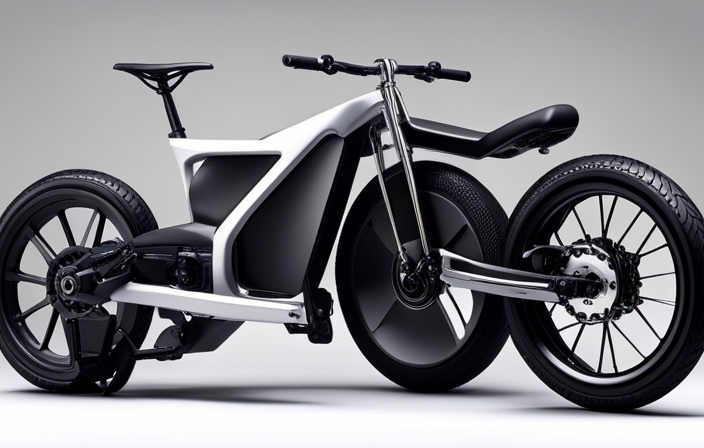
Enjoy Your DIY 4-Wheel Electric Bike!
Once you’ve completed customizing your bike’s appearance, it’s time to fully enjoy your DIY creation! Building a 4-wheel electric bike has its advantages.
Firstly, it provides stability and balance, ensuring a smoother ride. Additionally, the four wheels distribute the weight evenly, enhancing safety and reducing the risk of tipping over.
Maintaining and troubleshooting common issues with 4-wheel electric bikes is crucial for optimal performance. If you encounter a loss of power, check the battery connections, ensuring they are secure. If the brakes are malfunctioning, inspect the brake pads for wear and tear or adjust the brake cable tension. In case of steering problems, examine the handlebar alignment and tighten any loose bolts.
Remember to periodically check the tire pressure and inspect the electrical components for any signs of damage. With proper care and attention, your DIY 4-wheel electric bike will provide you with countless moments of joy and freedom on the open road.
Frequently Asked Questions
How much does it cost to build a 4-wheel electric bike?
To estimate the cost of building a 4-wheel electric bike, budget planning is crucial. Factors such as the quality of components, battery capacity, motor power, and additional features will determine the overall cost.
Can I use any type of bike frame for a 4-wheel electric bike conversion?
Yes, any bike frame can be used for a 4-wheel electric bike conversion. The advantages of a 4-wheel electric bike include enhanced stability, increased carrying capacity, and improved traction on various terrains.
How long does it take to install the electric motor and battery?
It typically takes about 2-4 hours to install the electric motor, depending on the complexity of the bike frame. When choosing the battery size, consider factors such as weight, range, and power output.
Are there any specific safety regulations I need to follow when building a 4-wheel electric bike?
When building a 4-wheel electric bike, it is crucial to adhere to safety regulations and legal requirements. This ensures the bike’s safe operation and compliance with applicable laws, promoting a secure and responsible riding experience.
What type of maintenance does a 4-wheel electric bike require?
Maintenance tips for a 4-wheel electric bike include regular cleaning and lubrication of the chain, checking tire pressure, inspecting brakes and electrical connections, and ensuring battery health. A troubleshooting guide should cover common issues like motor failure and electrical system malfunctions.
Conclusion
Well, I must say, building a 4-wheel electric bike was quite the adventure. Gathering all the necessary materials and tools was no easy feat, but it was worth it in the end.
Choosing the right frame and wheels took some careful consideration, as did installing the electric motor and battery. Connecting the wiring and electronics was a task that required precision and attention to detail.
Assembling the steering and braking systems was a challenge, but it all came together beautifully. Testing and adjusting the bike’s performance was a crucial step to ensure optimal functionality.
Adding safety features and accessories was a must to ensure a smooth and secure ride. And finally, customizing the bike’s appearance was the icing on the cake.
Now, as I ride my DIY 4-wheel electric bike, I can’t help but feel a sense of accomplishment and pride. It’s a masterpiece that I created with my own two hands. Irony? Who would have thought that this technical and detailed project would bring such joy and fulfillment?