Are you ready to feel the wind rushing through your hair as you soar down the streets at 50mph?
In this guide, we’ll show you how to build your very own electric bike that will give you the thrill of a lifetime.
With just a few materials and tools, you’ll be on your way to an electrifying adventure.
So, get ready to unleash your inner speed demon and discover the freedom and excitement that comes with riding an electric bike.
Let’s dive in and make your dream a reality.
Key Takeaways
- Follow proper electrical component connection and safety precautions.
- Test and fine-tune the bike for optimal performance and safety.
- Regularly maintain the bike by checking tire pressure, chain tension, and lubricating the chain.
- Be aware of common issues and their solutions, such as sudden loss of power or flat tires.

Under Armour Squeeze Water Bottles, 32 oz Water Bottles, Sideline Sports Water Bottle with Quick-Shot Lid, Quick & Easy Hydration, Gym Water Bottles, Squeeze Bottle, 1 32oz Bottle
- Easy Hydration: Quick-shot lid and one-way valve
- On-the-Go Use: One-hand operation for active hydration
- Measurement Markings: Ounces and milliliters for tracking
As an affiliate, we earn on qualifying purchases.
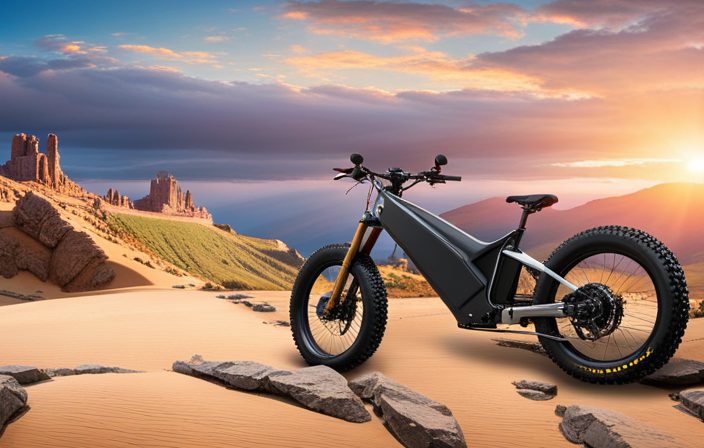
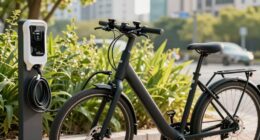
Introduction to Electric Bikes
Electric bikes, also known as e-bikes, are becoming increasingly popular among commuters. These innovative vehicles combine traditional cycling with the power of electricity, providing a convenient and efficient mode of transportation.
E-bikes are equipped with an electric motor that assists the rider, making it easier to tackle hills and travel longer distances without exerting excessive effort. The motor is powered by a rechargeable battery, which can be charged by plugging it into a regular electrical outlet. With advancements in technology, e-bikes now offer various features, such as adjustable pedal assist levels and throttle control.
They are not only environmentally friendly but also cost-effective, as they eliminate the need for expensive fuel. To build your own high-speed electric bike, the first step is to gather the necessary materials and tools.
Gather the Necessary Materials and Tools
First, you’ll need to gather all the materials and tools necessary for the project. Building a 50mph electric bike requires specific components and equipment to ensure a successful outcome. Refer to the table below for a comprehensive list of what you’ll need:
| Materials | Tools |
|---|---|
| Electric bike kit | Wrench set |
| Bike frame | Screwdriver set |
| Lithium-ion battery | Wire cutters |
| Motor | Pliers |
| Controller | Soldering iron |
| Throttle | Multimeter |
| Wiring harness | Allen wrench set |
| Brake levers | Drill |
| Brake sensors | Torque wrench |
Gathering these materials and tools will set you up for success as you move on to choosing the right bike frame. A sturdy and compatible frame is essential to support the power and speed of your electric bike. Transitioning to the next section, let’s explore how to select the perfect bike frame for your project.
Choose the Right Bike Frame
Now, you can focus on selecting the right bike frame for your project. When choosing the frame for your electric bike, keep in mind the following factors:
-
Frame Material: Consider the material of the frame, as it plays a crucial role in determining the bike’s weight, durability, and overall performance. Common materials include steel, aluminum, carbon fiber, and titanium.
-
Frame Size: Ensure that the frame size is suitable for your height and riding style. A frame that is too small or too large can lead to discomfort and poor handling.
-
Frame Design: Look for a frame design that accommodates the specific components you plan to install, such as the battery pack and controller. Consider factors like mounting points and cable routing to ensure a clean and efficient installation.
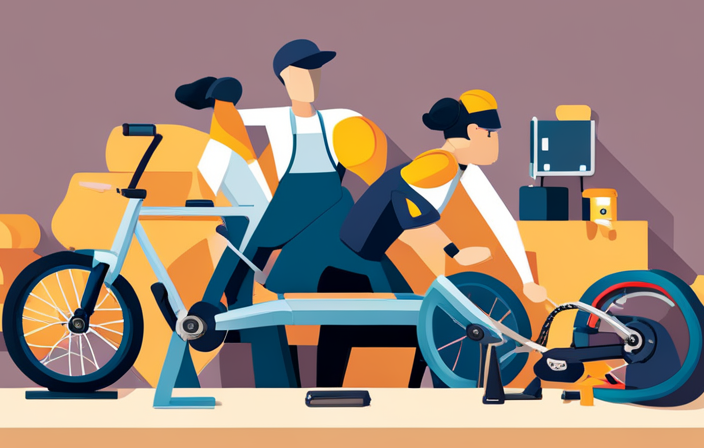
Install the Electric Motor
To install the electric motor, you’ll need to gather the necessary tools and carefully follow the step-by-step instructions provided in the user manual.
Begin by removing the bike’s pedals and crankset using a pedal wrench and crank puller. Once removed, attach the motor bracket to the bottom bracket of the bike frame using the provided screws and washers. Ensure the bracket is securely fastened.
Next, mount the electric motor onto the bracket, aligning the mounting holes with the bracket holes. Use the appropriate bolts to secure the motor in place. Connect the motor’s wiring to the controller according to the manual’s instructions.
Select and Install the Battery
When it comes to selecting a battery for your electric bike, there are several types to choose from. The most common types include lithium-ion, lead-acid, and nickel-metal hydride batteries.
Each type has its own advantages and disadvantages, so it’s important to consider factors such as weight, cost, and energy density before making your decision.
Once you’ve chosen the right battery, you’ll need to properly mount and connect it to your electric bike. This involves securing the battery to the frame using mounting brackets or straps, and making sure all the electrical connections are secure and properly insulated.
Types of Batteries for Electric Bikes
If you want your electric bike to reach speeds of 50mph, you’ll need to consider the different types of batteries available. Choosing the right battery is crucial for achieving the desired speed and performance.
Here are the two main types of batteries commonly used for electric bikes:
-
Lithium-ion (Li-ion) batteries: These batteries are lightweight, have high energy density, and offer a longer lifespan compared to other types. They are also known for their fast charging capabilities and high discharge rates.
-
Lead-acid batteries: Although heavier and bulkier than Li-ion batteries, lead-acid batteries are more affordable. They provide a steady power supply and are suitable for shorter rides or lower speed requirements.
By understanding the differences between these battery types, you can make an informed decision based on your specific needs and budget.
Now that you have selected the right battery, let’s move on to the battery mounting and connection process.
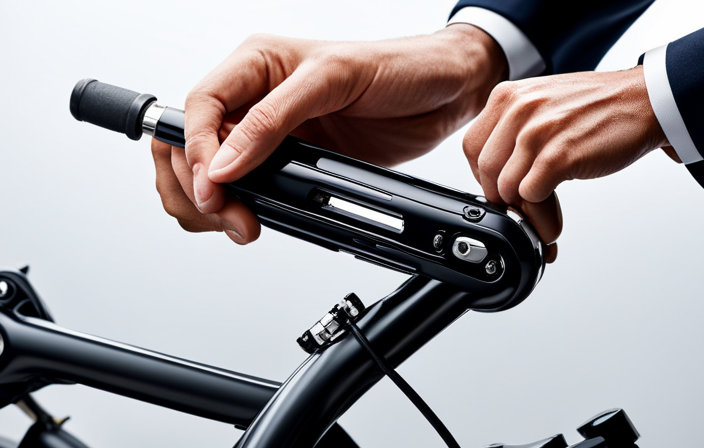
Battery Mounting and Connection Process
Now that you’ve chosen the right battery, it’s time to learn about the process of mounting and connecting it.
The first step is to find a suitable location for the battery on your electric bike. It should be easily accessible and secure. Once you have identified the ideal spot, you can begin the mounting process. Use the provided brackets or straps to secure the battery tightly in place. Make sure it is stable and won’t move during rides.
Next, connect the battery to the motor controller using the appropriate cables. Double-check that all connections are secure and properly tightened.
Finally, test the battery to ensure it is functioning correctly before moving on to the next section about wiring and electronics.
Moving on to wiring and electronics…
Wiring and Electronics
When it comes to wiring and electronics, it’s important to have a clear understanding of the wiring diagram and connections. This will ensure that all components are properly connected and functioning correctly.
Additionally, it’s crucial to follow safety precautions to prevent any potential accidents or damage to the system.
Wiring Diagram and Connections
The wiring diagram shows you how to make all the necessary connections for your 50mph electric bike. To bring your bike to life, follow these steps:
- Connect the battery to the controller using thick gauge wires to handle the high current flow.
- Attach the motor to the controller, ensuring the correct phase wires are connected.
- Link the throttle to the controller, allowing you to control the speed effortlessly.
By following this comprehensive diagram, you can ensure that all your electrical components are properly connected, guaranteeing a smooth and efficient operation of your electric bike.
However, before you embark on your thrilling 50mph adventures, it is crucial to take some safety precautions. These measures will help protect you and others on the road, ensuring a safe and enjoyable ride.
Safety Precautions
To ensure your safety while riding, it’s important to take these precautions.
First, always wear a properly fitting helmet to protect your head in case of a fall or collision. Additionally, make sure to wear protective gear such as knee and elbow pads, and sturdy shoes that cover your feet.
Before riding, check the brakes, tires, and suspension to ensure they are in good working condition. It’s also crucial to follow traffic rules and signals, and be alert and aware of your surroundings.
Finally, never ride under the influence of alcohol or drugs as they impair your judgment and coordination. By taking these safety precautions, you can enjoy a safe and worry-free ride.
Now, let’s move on to test and fine-tune the bike for optimal performance.
Test and Fine-Tune the Bike
First, make sure you’ve thoroughly tested and fine-tuned the bike before taking it out for a ride. Start by inspecting the frame, brakes, tires, and electrical components. Check for any loose bolts or wires and tighten them if necessary.
Next, test the brakes to ensure they are responsive and can bring the bike to a quick stop. Adjust the seat and handlebars to a comfortable position and test the gears to ensure smooth shifting.
Once these preliminary tests are done, take the bike for a short ride in a safe and controlled environment. Pay attention to any unusual noises, vibrations, or handling issues. If everything feels and sounds good, you are ready to move on to the next section on safety tips and regulations.
Safety Tips and Regulations
Make sure you’re familiar with the safety tips and regulations before taking your bike out on the road. Your safety should always be a top priority.
First, wear a properly fitted helmet to protect your head in case of an accident.
Check your brakes to ensure they are working properly, as they are crucial for your safety.
Also, make sure your bike is equipped with reflectors and lights to increase visibility, especially when riding at night.
Additionally, follow traffic rules and signals, and always ride with the flow of traffic.
By adhering to these safety tips and regulations, you can minimize the risk of accidents and enjoy a safe ride.
Now, let’s move on to maintenance and troubleshooting, where you’ll learn how to keep your bike in top condition.
Maintenance and Troubleshooting
When it comes to maintaining your electric bike, it’s important to have a regular maintenance checklist in place. This checklist should include tasks such as:
- Checking tire pressure
- Inspecting the brakes
- Lubricating the chain
- Cleaning the bike
By following this checklist, you can ensure that your bike is in optimal condition and prevent any potential issues from arising.
In addition, it’s helpful to be aware of common issues that electric bike owners may encounter, such as battery problems or motor issues, and the solutions to these problems. This can include troubleshooting steps or contacting a professional for repairs.
Regular Maintenance Checklist
To keep your electric bike running smoothly, it’s important to regularly check the tire pressure and chain tension. Proper tire pressure ensures optimal performance and prevents unnecessary wear and tear. Use a reliable pressure gauge to check the tire pressure, and adjust it according to the manufacturer’s recommendations.
Next, inspect the chain tension. A loose chain can cause inefficient power transfer and increase the risk of chain derailment. Adjust the tension by loosening the axle nuts, moving the wheel back, and tightening the nuts again.
Additionally, make sure to lubricate the chain regularly to reduce friction and extend its lifespan.
By following this maintenance checklist, you can maintain your electric bike’s performance and prolong its overall lifespan.
Now, let’s move on to common issues and solutions that may arise with your electric bike.
Common Issues and Solutions
Now that you have a good understanding of regular maintenance for your electric bike, it is important to be aware of common issues that may arise.
Despite your best efforts, problems can still occur, but fear not, as there are solutions to keep you on the road.
One common issue you may encounter is a sudden loss of power. This could be due to a faulty battery or a loose connection. To fix this, check the battery connections and tighten them if necessary.
Another common issue is a flat tire. This can be easily fixed by replacing the inner tube or patching the puncture.
Enjoy Your New Electric Bike!
Once you’ve assembled your new electric bike, you’ll be able to enjoy the thrill of riding at 50mph. The feeling of wind rushing through your hair as you effortlessly glide along the road is truly exhilarating. But before you hop on and start riding, it’s important to familiarize yourself with the key features and controls of your bike. Refer to the table below for a quick reference guide on how to operate your new electric bike:
| Control | Function | Location |
|---|---|---|
| Throttle | Accelerate | Right handlebar |
| Brakes | Slow down or stop | Left and right handlebar |
| Pedal Assist Level | Adjust the level of electric pedal assist | Handlebar display or controller |
| Battery Indicator | Check battery level | Handlebar display or controller |
| Headlights | Illuminate the road ahead | Front of the bike |
| Horn | Alert others | Handlebar |
With these controls at your fingertips, you are ready to embark on countless adventures with your new electric bike. Remember to ride safely and responsibly, always wearing a helmet and following local traffic laws. Enjoy the freedom and excitement that comes with riding at 50mph!
Conclusion
Congratulations! You’ve reached the end of this informative guide on how to build your very own 50mph electric bike.
With the right materials and tools, a suitable bike frame, and the installation of an electric motor and battery, you’ll be zooming down the streets in no time.
Don’t forget to test and fine-tune your bike, adhere to safety regulations, and perform regular maintenance.
Soon enough, you’ll be enjoying the thrill of riding your custom-made electric bike, feeling like a futuristic superhero!