
Creating a gravel bike is akin to crafting a ship designed to embark on exciting journeys across diverse landscapes. Similar to how an architect meticulously picks materials to construct a durable building, we must also select the appropriate frame size and material for our gravel bike.
In this article, I will guide you through the step-by-step process of assembling your own gravel bike, from selecting components to performing safety checks.
Get ready to embark on exciting gravel rides tailored to your preferences and style!
Key Takeaways
- Consider factors like height, riding style, and inseam length when choosing the right frame size and material for a gravel bike.
- Upgrade handlebars for comfort and control, and choose the appropriate type (drop bars, flat bars, or aero bars) based on riding style and terrain.
- Align and tighten components properly when assembling the frame and fork, and ensure proper installation and adjustment of the drivetrain and brakes.
- Perform a thorough safety check before test riding the bike, checking brakes, gears, chain tension, tire pressure, and overall functionality to ensure safety and optimal performance.

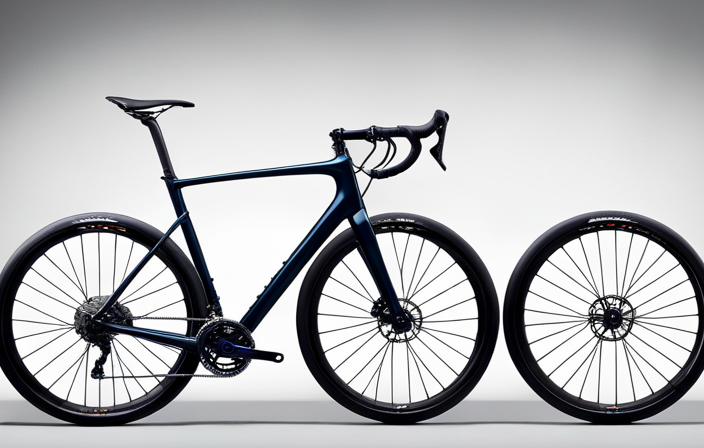
Schwinn Sporterra RX Gravel Bike, 700c Mens and Womens Bike, 14-Speed Drop Bar Gravel Bicycle, Mechanical Disc Brakes, Rigid Fork, Aerodynamic Riding Position, Quick Release Seat Post, Adult Bicycle
GRAVEL BICYCLE: Enjoy next level riding with the Sporterra RX by Schwinn. With 700c wheels, this mens and...
As an affiliate, we earn on qualifying purchases.
Choosing the Right Frame Size and Material
When choosing the right frame size and material for your gravel bike, it’s important to consider factors such as your height and riding style. Frame sizing considerations play a crucial role in ensuring a comfortable and efficient ride. To determine the ideal frame size, you need to measure your inseam length, which is the distance from your crotch to the ground. This measurement will help you find a frame that provides proper standover clearance.
Once you have the correct frame size in mind, it’s time to think about the material. Gravel bikes are typically made from aluminum, steel, carbon fiber, or titanium. Aluminum frames offer excellent value for money and are lightweight yet durable. Steel frames provide a smooth ride quality due to their inherent flexibility but can be heavier than other materials. Carbon fiber frames are incredibly light and stiff, allowing for efficient power transfer but tend to be more expensive. Titanium frames strike a balance between strength and weight while offering great durability.
Choosing the right frame material depends on your personal preferences and budget constraints. After considering these factors, you can transition into selecting the right components for your gravel bike without compromising functionality or comfort.

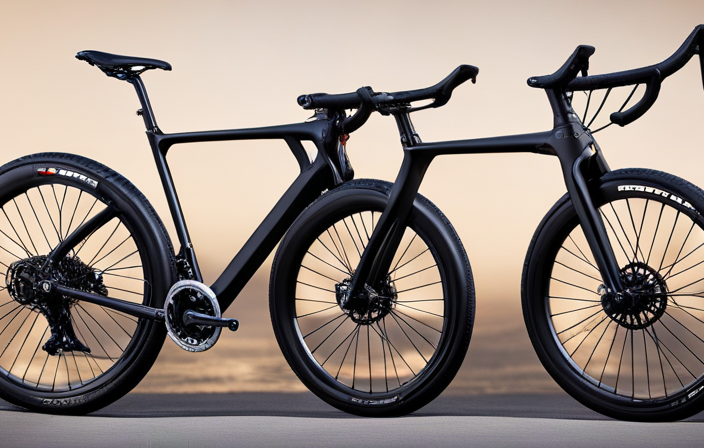
SAVADECK T800 Carbon Gravel Bike, with Shimano GRX610 12-Speed, Hydraulic Disc Brakes, 700x40c Tires for Road & Off-Road Adventure, Men's/Women's Bicycle(Elegant White, 51cm)
【With SHIMANO GRX Drivetrain Setup】Equipped with SHIMANO GRX610 shifters and RX822 rear derailleur, matched with a 12-speed M6100...
As an affiliate, we earn on qualifying purchases.
Selecting the Right Components
To select the right components for your gravel bike, consider your riding style and terrain. Upgrading handlebars can greatly improve your comfort and control on the bike. There are various types of handlebars to choose from, including drop bars, flat bars, and even aero bars.
Drop bars are popular for gravel biking as they provide multiple hand positions and allow you to get into a more aerodynamic position when needed. Flat bars offer a more upright riding position and better maneuverability in technical terrain. Aero bars are typically used by riders looking for maximum speed and efficiency.
Next, selecting the right tires is crucial for optimal performance on different surfaces. Gravel tires usually have wider tread patterns compared to road or mountain bike tires. They come in various widths and tread designs to suit different conditions such as loose gravel, mud, or pavement. Wider tires provide better stability and traction on rough surfaces while narrower ones offer less rolling resistance on smoother roads.
In the subsequent section about assembling the frame and fork, it’s important to ensure proper alignment and tightness of all components to prevent any potential issues during rides.

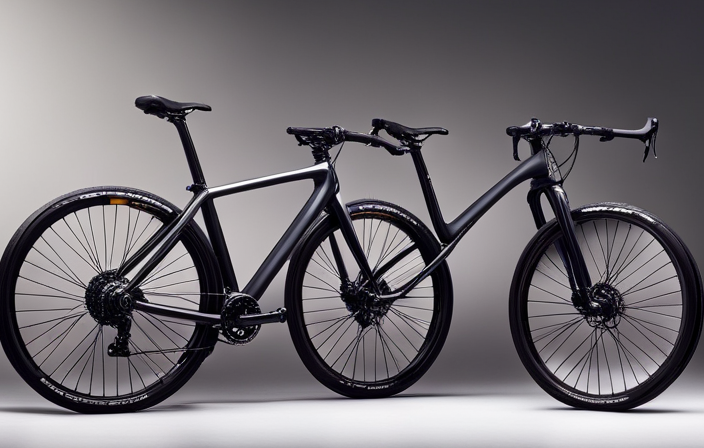
SAVADECK Carbon Gravel Bike - T800 Carbon Frame & Fork | Shimano U6000 11-Speed Groupset | Hydraulic Disc Brakes | 700CX40mm All-Terrain Tires | Men & Women Road/Off-Road Bicycle (Gray, 53cm)
【Ultralight T800 Carbon Performance】: Featuring a premium T800 R21 carbon fiber frame and fork weighing just 10.4kg (22.92...
As an affiliate, we earn on qualifying purchases.
Assembling the Frame and Fork
Make sure you align and tighten all the components properly in order to prevent any potential issues during your rides.
When assembling the frame and fork of your gravel bike, it’s important to pay close attention to the installation of the handlebars and saddle.
Start by installing the handlebars onto the stem. Ensure that they are centered and aligned with your riding position. Use an Allen wrench to tighten the bolts securely, but be careful not to overtighten as it may cause damage.
Next, attach the saddle to the seatpost. Adjust its position according to your comfort and riding style. Tighten the clamp bolt underneath using an Allen wrench, making sure it’s tight enough to keep the saddle secure but not so tight that it damages the seatpost.
Once you have successfully assembled these components, you can move on to installing the drivetrain and brakes. This step is crucial for ensuring optimal performance and safety while riding your gravel bike.
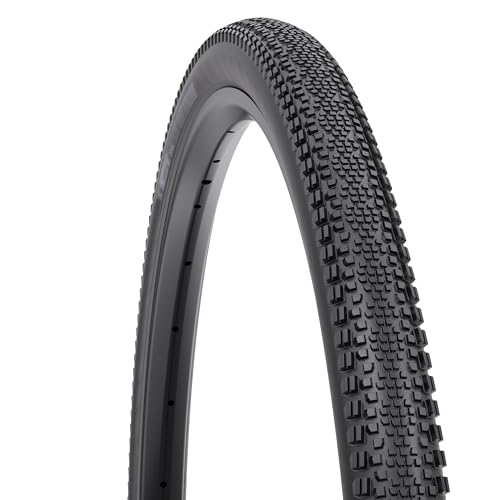
WTB Riddler Gravel Bike Tire (700 x 37) Tubeless Folding - Light & Fast Rolling - Bikepacking (Black)
SUBSTANTIAL CORNERING KNOBS meet a low-profile center tread, making the Riddler an excellent choice for gravel grinding or...
As an affiliate, we earn on qualifying purchases.
Installing the Drivetrain and Brakes
To install the drivetrain and brakes, align and secure the components properly for optimal performance and safety while riding. Here are some important steps to follow:
-
Begin by installing the crankset onto the bottom bracket spindle, ensuring it’s securely tightened.
-
Attach the front and rear derailleurs to the frame, making sure they’re properly aligned with the chainrings and cassette respectively.
-
Install the chain onto the chainrings and cassette, ensuring it’s properly threaded through both derailleurs.
-
Next, install hydraulic brakes by attaching them to their respective mounts on the frame or fork. Connect the brake hoses to their corresponding brake levers and calipers.
Troubleshooting common drivetrain issues can be necessary during installation. If you encounter issues with shifting, check that all cables are properly tensioned and adjusted. Inspect for any signs of cable fraying or damage that may affect performance.
Once you have successfully installed your drivetrain and brakes, you can move on to adjusting gears and brakes for optimal functionality.
Adjusting the Gears and Brakes
Now that you’ve successfully installed the drivetrain and brakes, it’s time to adjust the gears and brakes for optimal functionality.
Fine-tuning gear shifting is essential to ensure smooth and efficient riding on your gravel bike. Begin by shifting through all the gears while pedaling, making note of any hesitation or roughness in shifting. Use the barrel adjusters located near the shifters to make small adjustments. Turn them clockwise to increase tension and anticlockwise to decrease tension. Keep adjusting until each gear shifts smoothly without any lag.
Next, let’s focus on maintaining the brakes. Start by checking if the brake pads are properly aligned with the rims of your wheels. If they are misaligned, use a 5mm Allen wrench to loosen the bolts holding them in place. Adjust their position so they align perfectly with the rims. Additionally, ensure that there is adequate clearance between the brake pads and rims when not engaged.
To test your adjustments, take your bike for a short ride around your neighborhood or a nearby park. Pay attention to how smoothly your gears shift and how effectively your brakes engage when needed.
With gears and brakes finely tuned, we can now move onto installing the wheels and finishing touches for our gravel bike build.
Installing the Wheels and Finishing Touches
After fine-tuning the gears and brakes, it’s time to move on to installing the wheels and adding the final touches. Before starting, ensure that you have the appropriate tools available: a wrench for tightening axle nuts or quick-release skewers, a pump for inflating tires, and a torque wrench if your bike requires specific torque settings.
To begin with wheel installation, insert each wheel into its respective dropouts on the frame. Tighten the axle nuts or quick-release skewers securely, ensuring that there is no wobble or play in the wheels. Next, check that the tires are properly seated on the rims and inflate them to their recommended pressure using a pump.
Once your wheels are installed and inflated correctly, it’s time for those finishing touches. Check that all bolts throughout your bike are tightened appropriately according to manufacturer specifications. This includes items such as bottle cage mounts, fenders or racks if applicable.
Now that you’ve completed installing the wheels and added those final touches, it’s essential to perform a safety check before taking your gravel bike out for a test ride. This will involve inspecting all components thoroughly including brakes, gears, chain tension, and tire pressure. By performing this safety check before riding your gravel bike helps ensure both your safety and an enjoyable ride experience without any unexpected issues arising during use.
Performing a Safety Check and Test Ride
Before taking your newly assembled bike out for a test ride, it’s important to perform a safety check to ensure everything is in proper working order.
Start by checking the tire pressure. Properly inflated tires are crucial for a smooth and controlled ride on gravel terrain. Use a pressure gauge to verify that the tire pressure matches the manufacturer’s recommended range, which can usually be found on the sidewall of the tire.
Next, test the suspension if your gravel bike is equipped with one. Check for any signs of damage or wear on the suspension components, such as cracks or leaks. Bounce up and down on the bike to make sure that the suspension is functioning correctly and providing adequate support and cushioning.
Once you have completed these checks, you can proceed to take your gravel bike out for a test ride. Start with short rides in a controlled environment to get used to how the bike handles and feels. Pay attention to any unusual noises or vibrations during your ride as they may indicate issues that need further investigation.
In conclusion, performing a safety check by checking tire pressure and testing the suspension is vital before embarking on your first test ride with your newly built gravel bike. Now let’s move on to making necessary adjustments for optimal performance without delay.
Making Necessary Adjustments
Now that I’ve performed a safety check and test ride on my gravel bike, it’s time to make necessary adjustments to ensure optimal performance.
Fine-tuning the gear shifting is crucial for smooth and precise shifts, allowing me to maintain the right cadence on different terrains.
Adjusting the brakes is essential for reliable stopping power, especially when riding at high speeds or in challenging conditions.
Lastly, I’ll replace or adjust components as needed to address any issues that may affect the overall functionality of the bike.
Fine-Tuning the Gear Shifting
To fine-tune the gear shifting on your gravel bike, you’ll need to make some adjustments. Here are a few tips for troubleshooting gear shifting issues and improving gear shifting performance:
-
Check cable tension: Ensure that the cables connecting the shifters to the derailleurs are properly tensioned. If they’re loose or too tight, it can affect shifting accuracy.
-
Indexing adjustment: Use the barrel adjuster located near the shifter or derailleur to fine-tune indexing. This will help align the gears precisely and eliminate any skipping or chain rub.
-
Limit screw adjustment: The limit screws on the front and rear derailleurs control how far they can move inwards and outwards. Make sure these screws are properly set to prevent overshifts or undershifts.
-
Lubrication: Regularly clean and lubricate your drivetrain components to ensure smooth movement.
By following these steps, you can optimize your gear shifting experience on a gravel bike.
Now let’s move on to adjusting the brakes for optimal performance without compromising safety.
Adjusting the Brakes for Optimal Performance
Check the brake adjustment for optimal performance on your bike.
Start by ensuring proper brake pad alignment. The pads should be evenly spaced and aligned with the rim’s braking surface. Adjust them as needed using a 5mm Allen key to loosen the pad fixing bolt, align the pads, and tighten the bolt again.
Next, check the brake cable tension. Squeeze the brake lever and observe if there is any slack or excessive tightness in the cable. If necessary, adjust it using barrel adjusters located near each brake lever or at the caliper itself. Turn clockwise to increase tension or counterclockwise to decrease tension until you achieve a firm but not overly tight feel when squeezing the brakes.
With these adjustments made, you can now move on to replacing or adjusting components as needed for your gravel bike’s optimal performance without compromising safety.
Replacing or Adjusting Components as Needed
If necessary, you can replace or adjust components as needed for optimal performance on your gravel bike. Here are some key areas to consider when upgrading or replacing parts:
-
Upgrading handlebars: Consider replacing stock handlebars with ones that offer a more comfortable grip and better control. Look for options with wider widths, ergonomic shapes, and vibration-damping features.
-
Replacing worn-out tires: As the tires are in constant contact with different terrains, they endure significant wear and tear. Replace worn-out tires with ones that have a suitable tread pattern for gravel riding, providing enhanced traction and durability.
-
Upgrading drivetrain components: Consider upgrading your gear system to improve shifting performance and efficiency. This may involve replacing the chainrings, cassette, derailleur, or shifters.
-
Adjusting saddle position: Fine-tuning your saddle position can greatly enhance comfort and pedaling efficiency. Experiment with different heights, angles, and fore/aft positions to find the optimal setup for you.
By addressing these areas of improvement on your gravel bike, you can ensure a smoother ride experience.
Moving forward into maintaining your gravel bike…
(Note: The subsequent section will cover maintaining your gravel bike.)
Maintaining Your Gravel Bike
Make sure you regularly clean and lubricate your gravel bike’s chain to keep it running smoothly. Maintaining a proper maintenance schedule for your gravel bike is essential to ensure optimal performance and longevity.
Cleaning the chain is an important part of this schedule, as it helps remove dirt, debris, and grime that can accumulate over time. To clean the chain, start by using a degreaser to remove any built-up grease or oil. Then, use a brush or rag to scrub the chain thoroughly, making sure to reach all areas. Rinse the chain with water and dry it completely before applying lubricant.
Lubricating the chain is crucial as it reduces friction between the moving parts and prevents wear and tear. Apply a few drops of lubricant along the entire length of the chain while rotating the pedals backward. Wipe off any excess lube with a clean cloth.
By following these cleaning techniques and maintaining a regular maintenance schedule for your gravel bike, you can ensure its optimal performance and durability.
When you’re satisfied with your bike’s current condition, you may consider upgrading certain components to enhance its capabilities further.
Upgrading Your Gravel Bike
Consider upgrading certain components on your gravel bike to enhance its capabilities even further. Upgrading suspension is one way to improve the performance of your bike. A better suspension system can provide a smoother ride over rough terrain, allowing you to maintain control and comfort. Look for options that offer adjustable settings, such as compression and rebound, so you can fine-tune the suspension to suit your riding style.
Another way to upgrade your gravel bike is by getting a custom paint job. Not only does it add a personal touch, but it also helps protect the frame from scratches and chips. When choosing a paint color or design, consider colors that are highly visible for safety reasons. Reflective elements on the frame can increase visibility during low-light conditions.
Here are four key considerations when upgrading your gravel bike:
- Suspension: Look for options with adjustable settings for maximum customization.
- Frame Protection: Consider getting a custom paint job to add style and protect the frame.
- Visibility: Choose colors or designs that enhance visibility during all lighting conditions.
- Compatibility: Ensure any upgrades are compatible with your current components.
By upgrading these aspects of your gravel bike, you can enhance both its performance and aesthetics, making every ride more enjoyable and personalized.
Frequently Asked Questions
How often should I replace the chain on my gravel bike?
As a gravel bike rider, I understand the importance of chain maintenance for optimal performance. It is recommended to replace the chain on your gravel bike every 1,500-2,000 miles or when signs of wear are evident.
These signs may include frequent chain slippage, difficulty shifting gears smoothly, or visible elongation of the chain. Regularly inspecting and replacing your chain will ensure a smooth and efficient riding experience on your gravel bike.
What type of tires are best for gravel riding?
When it comes to gravel riding, the type of tires you choose can greatly impact your performance. Tubeless tires are a popular choice among gravel riders due to their ability to resist punctures and provide a smoother ride.
On the other hand, tubular tires offer superior traction but require more maintenance.
When deciding on tire pressure for your gravel bike, it’s important to find a balance between comfort and grip. Experiment with different pressures to find what works best for your riding style and terrain.
Can I use a mountain bike fork on a gravel bike frame?
Yes, you can use a mountain bike fork on a gravel bike frame. However, it is important to consider compatibility and functionality.
Mountain bike forks tend to have longer travel and different geometry compared to gravel bike forks. This may affect the handling and performance of the gravel bike.
Alternatively, there are specific gravel bike forks available in the market that are designed to provide optimal performance and compatibility for gravel riding.
How do I determine the correct saddle height for my gravel bike?
To determine the ideal saddle height for your gravel bike, start by positioning yourself on the bike with both feet flat on the ground. Place your heels on the pedals and pedal backward until one leg is fully extended. Adjust the saddle height so that there’s a slight bend in your knee at this position.
Troubleshooting common saddle height issues involves considering factors like comfort, efficiency, and any potential knee pain or discomfort while riding.
Should I use a tubeless or tube-type setup for my gravel bike tires?
Deciding between a tubeless or tube-type setup for your gravel bike tires can be overwhelming. Let’s weigh the pros and cons of each option.
Tubeless setups provide superior traction, lower rolling resistance, and reduced risk of punctures due to sealant-filled tires. However, they require more maintenance and initial setup can be tricky.
On the other hand, tube-type setups are simpler to install and maintain, but are more prone to pinch flats.
Ultimately, choose based on your riding style and terrain preference.
Conclusion
In conclusion, building a gravel bike isn’t just about assembling components and adjusting gears and brakes. It’s about embarking on a journey of self-discovery, pushing limits, and exploring new terrains.
Just like building a bike requires patience, dedication, and attention to detail, so does life. By building our own gravel bikes, we’re reminded that with perseverance and determination, we can conquer any obstacle.
So, go out there and build your dream bike. Let it be a symbol of your resilience and strength.