Have you ever dreamed of cruising effortlessly through the city streets, feeling the wind in your hair as you effortlessly glide past traffic? Well, today I’m going to show you how to turn that dream into a reality.
In this article, I will guide you through the step-by-step process of building your very own homemade electric bike. From selecting the right bike frame to installing the electric conversion kit, wiring the components, and ensuring safety and compliance, we’ll cover it all.
So, grab your tools and let’s get started on this exciting DIY project!
Key Takeaways
- Regularly inspect and test the electrical connections and components of the homemade electric bike.
- Adhere to safety measures and comply with regulations, such as wearing a proper helmet and following local laws and speed limits.
- Consider adding accessories and personalization options to enhance the functionality and convenience of the electric bike.
- Upgrade the battery capacity and motor performance to improve the riding experience and extend the range of the homemade electric bike.
Choosing the Right Bike Frame
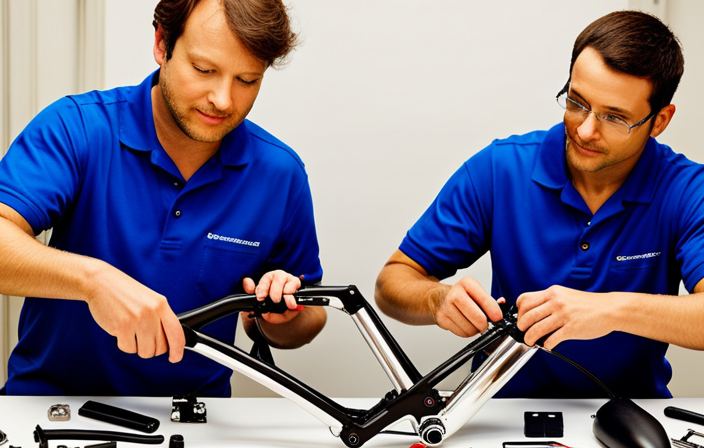
You should choose the right bike frame that suits your needs. When building a homemade electric bike, selecting the appropriate frame is crucial. It not only determines the overall performance and durability of your bike but also provides customizing options to suit your preferences.
There are various frame materials available, each with its own advantages and considerations. Aluminum frames are lightweight and corrosion-resistant, making them a popular choice. Steel frames offer strength and durability, but they can be heavier. Carbon fiber frames provide excellent strength-to-weight ratios but tend to be more expensive. Titanium frames offer a balance of strength, durability, and lightweight construction.
Consider factors such as desired riding style, terrain, and budget when choosing the frame material for your homemade electric bike.
Selecting the Motor and Battery
When selecting the motor and battery for your DIY e-bike, consider the power requirements and compatibility with your chosen frame. The motor power options available for electric bikes range from 250 watts to 1000 watts or more. Higher wattage motors provide more torque and better performance, but they also consume more battery power. It’s important to choose a motor that matches the intended use of your electric bike.
As for the battery, estimating the range is crucial. Factors such as terrain, rider weight, and speed affect the battery’s lifespan. Lithium-ion batteries are the most common choice due to their high energy density and long lifespan. When estimating battery range, consider the battery’s amp-hour (Ah) rating and multiply it by the battery voltage (V). For example, a 48V 10Ah battery would have a total energy capacity of 480 watt-hours. Keep in mind that this is an estimate and actual range may vary.
Here’s a breakdown of the motor power options and battery range estimation:
Motor power options:
- 250 watts: Suitable for flat terrains and light riders
- 500 watts: Provides moderate power for daily commuting and slight inclines
Battery range estimation:
- 36V 10Ah: Estimated range of 30-40 miles
- 48V 14Ah: Estimated range of 40-60 miles
Remember, these are just estimates, and it’s always a good idea to test your electric bike’s range under real-world conditions to get a more accurate understanding.
Gathering the Necessary Tools and Materials
To gather all the necessary tools and materials, make sure to create a comprehensive list before starting your e-bike project.
The first step is sourcing components. Research and find reputable suppliers for the motor, battery, controller, and other necessary parts. Compare prices and quality to ensure you’re getting the best deal for your budget. Consider the specific requirements of your e-bike, such as the desired speed and range, when selecting components.
Next, budgeting and cost management are crucial. Determine how much you’re willing to spend on your homemade electric bike and stick to it. Keep track of expenses and prioritize essential components. Consider using recycled or second-hand parts to save money, but ensure they’re in good working condition.
By carefully sourcing components and managing your budget, you can gather all the necessary tools and materials for your homemade electric bike project.
Installing the Electric Conversion Kit
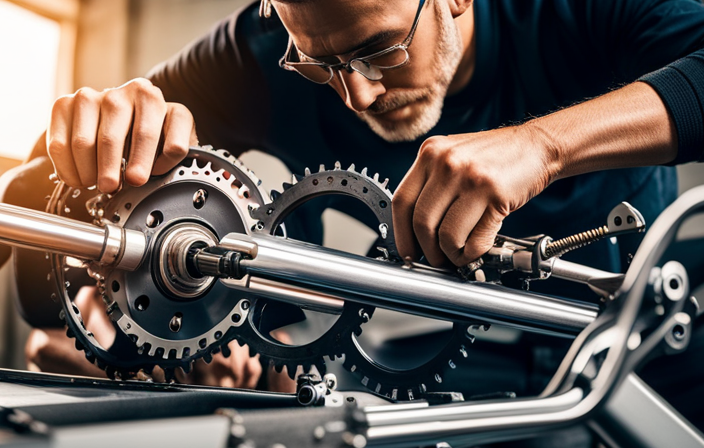
Start by installing the electric conversion kit to transform your regular bicycle into a powerful electric ride. The first step is to choose the right motor power for your needs. Consider factors such as your weight, terrain, and desired speed. A higher wattage motor will provide more power, but it may drain the battery faster. Once you have selected the motor, gather the necessary tools and materials, including a wrench, screwdriver, and zip ties. Begin by removing the wheel and attaching the motor to the frame using the provided brackets. Make sure the motor is securely fastened before reattaching the wheel. Next, connect the controller to the battery and motor, following the manufacturer’s instructions. Finally, secure all the wires with zip ties to ensure a tidy installation. By following these tips, you can have a smooth and successful installation of your electric conversion kit.
| Tips for a smooth installation | Choosing the right motor power | Gather the necessary tools and materials |
|---|---|---|
| Double-check the connections | Consider weight and terrain | Wrench |
| Follow the manufacturer’s instructions | Higher wattage drains battery faster | Screwdriver |
| Ensure the motor is securely fastened | Desired speed affects power | Zip ties |
| Secure wires with zip ties |
Wiring and Connecting the Components
After selecting the appropriate motor power, the next step is to wire and connect the components of the conversion kit. This is a crucial step in building a homemade electric bike as it ensures that all the necessary components are connected properly for optimal performance.
To start, gather all the wires and connectors provided in the kit. Carefully read the instructions and identify which wires need to be connected to which components. Use soldering techniques to create strong and reliable connections. Make sure to strip the wires and twist them together before applying solder. Be cautious not to overheat the wires or components during the soldering process.
Once all the connections are made, use electrical tape or heat shrink tubing to insulate and protect the exposed wires. Double-check all the connections to ensure they are secure before proceeding to the next step.
Mounting the Battery and Controller
After successfully wiring and connecting the components of the homemade electric bike, it is now time to move on to the next step: mounting the battery and controller.
This is a crucial part of the process as it ensures the proper functioning and longevity of the electric bike. When mounting the battery, it is important to consider its lifespan. To maximize the battery’s lifespan, it should be securely fastened to the frame and protected from extreme temperatures and moisture.
Additionally, the controller should be mounted in a location that allows for proper airflow to prevent overheating. By carefully positioning and securing both the battery and controller, you will not only optimize the performance of your electric bike but also ensure their longevity, allowing for a smoother and more enjoyable riding experience.
Testing and Troubleshooting
Once you have mounted the battery and controller, it is important to test and troubleshoot any potential issues to ensure the proper functioning of your creation. To effectively troubleshoot, you can employ various techniques such as visual inspection, electrical testing, and performance testing. Visual inspection involves checking all connections, ensuring they are secure and free from any damage or loose wires. Electrical testing involves using a multimeter to measure voltage and resistance at different points in the circuit to identify any abnormalities. Performance testing involves taking the bike for a test ride, paying attention to factors like acceleration, top speed, and battery life. By systematically testing and troubleshooting, you can identify and resolve any issues that may arise, ensuring a smooth and efficient operation of your homemade electric bike.
| Troubleshooting Techniques | Performance Testing |
|---|---|
| Visual inspection of connections | Test ride for acceleration |
| Electrical testing using a multimeter | Test ride for top speed |
| Identifying abnormalities in voltage and resistance | Test ride to check battery life |
Adding Accessories and Personalization
Now that we have tested and troubleshooted our homemade electric bike, it’s time to move on to the fun part – adding accessories and personalization.
This is where you can truly make your electric bike unique and tailored to your preferences. There are a variety of customizing options available, allowing you to enhance both the functionality and aesthetics of your bike.
To start, consider adding safety accessories such as lights, reflectors, and a horn to ensure visibility and alert others of your presence on the road. Next, think about comfort features like a padded seat, adjustable handlebars, or even a rear rack for carrying bags or groceries.
Here are five accessories you can consider for your electric bike:
- Smartphone holder for navigation
- Bike lock for security
- Water bottle holder
- Front basket for extra storage
- Fenders to keep mud and water off your clothes
With these customizations, you can make your electric bike not only safer but also more convenient and enjoyable to ride.
Ensuring Safety and Compliance
To ensure your safety and compliance, it’s important to consider certain measures when customizing your electric bike. Safety regulations play a crucial role in ensuring a secure riding experience. One of the essential safety measures is to always wear a proper helmet while riding. It protects your head from potential injuries in case of accidents or falls. Additionally, it’s important to follow local laws and regulations regarding electric bikes, such as speed limits and road usage. To assist you in understanding and implementing these safety guidelines, refer to the table below:
| Safety Regulations | Proper Helmet Usage |
|---|---|
| Always wear a helmet while riding | Invest in a high-quality helmet that fits securely |
| Follow local laws and regulations regarding electric bikes | Ensure the helmet meets safety standards |
| Adhere to speed limits and road usage rules | Replace the helmet if it suffers any damage or is involved in an accident |
By adhering to these safety guidelines and regulations, you can enjoy a safe and compliant riding experience on your homemade electric bike.
Maintaining and Upgrading Your Electric Bike
To maintain and upgrade your e-bike, it’s important to regularly check and replace worn-out components for optimal performance.
One key aspect of upgrading your electric bike is to consider upgrading the battery capacity. A higher capacity battery will provide you with a longer range, allowing you to go on longer rides without worrying about running out of power.
Additionally, improving the motor performance can greatly enhance your riding experience. Upgrading to a more powerful motor will give you increased speed and acceleration, making your e-bike more versatile and enjoyable to ride.
When upgrading your battery and motor, it’s crucial to ensure compatibility with your current system and to follow manufacturer guidelines.
By maintaining and upgrading these key components, you can continue to enjoy the benefits of your homemade electric bike at its fullest potential.
Frequently Asked Questions
How much does it cost to build a homemade electric bike?
The cost analysis of building a homemade electric bike depends on various budget considerations such as the price of the bike frame, motor, battery, and other components. It can range from a few hundred dollars to several thousand dollars.
Can I use any bike frame for an electric conversion?
Yes, any bike frame can be used for an electric bike conversion. However, it’s important to ensure that the frame is sturdy enough to handle the additional weight and torque of the electric components.
How long does it take to install an electric conversion kit?
Installing an electric conversion kit can take anywhere from a few hours to a couple of days, depending on your experience and the complexity of the kit. Troubleshooting tips are essential for a smooth installation process, so be prepared.
Are there any legal requirements or restrictions for riding an electric bike?
There are legal requirements and restrictions for riding an electric bike. Electric bike regulations vary by country and region, but safety guidelines generally include wearing a helmet, following traffic laws, and not exceeding speed limits.
What are the advantages of maintaining and upgrading an electric bike?
Maintaining and upgrading an electric bike has several advantages. Regular maintenance ensures optimal performance and extends the lifespan of the bike. Upgrading components like the battery or motor can enhance speed, range, and overall riding experience.
Conclusion
In conclusion, building a homemade electric bike can be a rewarding and fulfilling project for any cycling enthusiast.
With the right frame, motor, and battery, along with the necessary tools and materials, you can transform an ordinary bike into a powerful and eco-friendly mode of transportation.
One interesting statistic to note is that electric bikes can reach speeds of up to 28 miles per hour, allowing you to effortlessly cruise through city streets or tackle challenging terrains.
So why not take on this exciting DIY project and experience the thrill of riding your very own electric bike?


