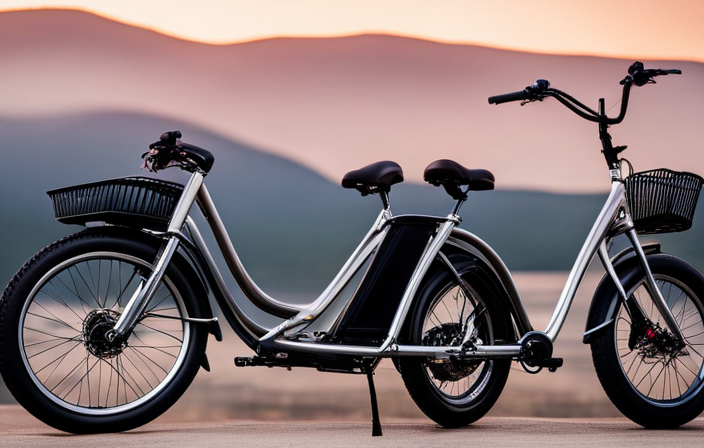

I’ve always had a passion for offroad adventures, but traditional bikes just couldn’t keep up with the rugged terrain. That’s when I discovered the incredible world of building my own electric bike for offroad adventures.
In this article, I’ll guide you through the step-by-step process of creating your own electric offroad bike. From researching the right electric bike kit to installing and testing the components, I’ll provide all the technical and detailed information you need to embark on thrilling offroad adventures.
Let’s dive in and unleash the power of electric offroading!
Key Takeaways
- Essential safety gear and precautions such as wearing a helmet, knee and elbow pads, and a reflective vest are crucial for offroad biking to protect against injuries.
- Troubleshooting and maintenance tips include regularly checking battery connection, inspecting chain tension, testing throttle and brakes, and monitoring motor temperature to ensure optimal performance.
- Prioritizing safety precautions, regularly inspecting the bike for wear and tear, and carrying a basic tool kit and first aid kit are important for enjoying offroad adventures.
- Building an electric bike for offroad kit offers an exhilarating and unique adventure, allowing individuals to connect with nature and push their personal limits.
Research and Choose the Right Electric Bike Kit
Before you start building your electric bike, it’s important to research and choose the right electric bike kit.
There are several electric bike kit brands available in the market, each offering different features and specifications. When comparing electric bike conversion kits, consider factors such as motor power, battery capacity, and compatibility with your existing bike.
Look for kits that are easy to install and have good customer reviews. It’s also essential to determine the type of riding you will be doing, whether it’s off-road or on paved surfaces, as this will affect the kit you choose.
Once you have done your research and decided on the right electric bike kit, it’s time to gather the necessary tools and equipment for the installation process.
Gather the Necessary Tools and Equipment
Once you’ve got all the tools and equipment ready, it’s time to start assembling your electric bike for offroad adventures.
Choosing the right tools is crucial to ensure a smooth and efficient conversion process. You’ll need a set of metric wrenches and Allen keys to remove the existing components from your bicycle. A torque wrench is essential for tightening bolts to the recommended specifications. A pair of wire cutters and strippers will come in handy for electrical connections.
Additionally, safety precautions are paramount during the conversion process. Always wear protective gloves and safety goggles to prevent injuries. Make sure to disconnect the battery before working on any electrical components to avoid electric shocks.
With the right tools and safety measures in place, you can now prepare your bicycle for the conversion by removing the pedals, front wheel, and any unnecessary accessories.
Prepare Your Bicycle for the Conversion
To start preparing your bicycle for the conversion, you’ll want to remove the pedals, front wheel, and any unnecessary accessories.
Choosing the right bicycle frame is crucial for a successful offroad electric bike build. Look for a sturdy frame that can handle the demands of rough terrain and provide enough space for the electric bike conversion kit components.
Once you have the right frame, it’s time to make the necessary modifications for offroad use. This may include adding a suspension fork, wider tires with aggressive tread, and installing disc brakes for better stopping power. These modifications will enhance your bike’s performance and ensure a smoother ride on challenging trails.
Now that your bicycle is ready, let’s move on to installing the electric bike conversion kit and turning it into a powerful offroad machine.
Install the Electric Bike Conversion Kit
Now that you’ve chosen the right bicycle frame, it’s time to start installing the conversion kit and transforming your bike into a powerful machine. The first step is to install the electric bike motor. This is the heart of your electric bike, providing the power needed to propel you forward. The motor should come with detailed instructions on how to properly mount it onto your frame. Make sure to secure it tightly and align it with the chainring for optimal performance.
Next, you’ll need to troubleshoot the conversion kit. It’s important to ensure that all the components are working properly before moving forward. Check the wiring connections, battery pack, and throttle to make sure everything is functioning as it should. If you encounter any issues, refer to the troubleshooting guide provided with the kit or seek assistance from the manufacturer.
Now that the motor is installed and the conversion kit is functioning correctly, you’re ready to move on to the next step: connecting and testing the electric components. This will involve connecting the battery, controller, and throttle to complete the electric system. Stay tuned for the next section to learn more about this process.
| Component | Function | Troubleshooting |
|---|---|---|
| Motor | Provides power | Check wiring connections |
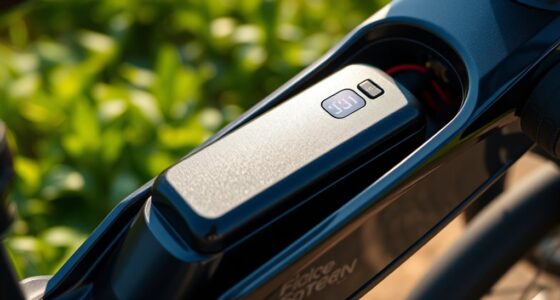
| Battery pack | Stores energy | Ensure it is fully charged |
| Throttle | Controls speed | Test for responsiveness |
With the motor installed and the conversion kit properly troubleshooted, it’s time to move onto the next step: connecting and testing the electric components.
Connect and Test the Electric Components
Make sure you connect the battery, controller, and throttle to complete the electric system and test their functionality.
This step is crucial in ensuring that all the components work together seamlessly.
Begin by connecting the battery to the controller, making sure to match the positive and negative terminals correctly.
Next, connect the controller to the throttle, ensuring a secure connection.
Once everything is connected, it’s time to test the system’s functionality.
Turn on the battery and check if the controller powers up.
Test the throttle by gently twisting it and observing if the motor responds accordingly.
Troubleshooting issues may arise during this process, such as loose connections or faulty components.
Address these problems promptly to optimize power efficiency.
With the electric system connected and tested, it’s time to move on to the next section and adjust and fine-tune the system for optimal performance.
Adjust and Fine-Tune the Electric System
Once you have connected and tested the electric components, it’s time to fine-tune the system for optimal performance. To ensure your electric bike is running smoothly, here are some adjustment techniques and troubleshooting tips:
-
Balance the power output: Adjust the power settings on your controller to find the right balance between speed and range. Increase the power for faster acceleration or decrease it for longer battery life.
-
Fine-tune the brakes: Make sure the brake pads are properly aligned with the wheel rims and adjust the tension on the cables if necessary. This will ensure efficient braking and prevent any accidents.
-
Check for any loose connections: Inspect all the connectors and wires for any signs of looseness or damage. Tighten any loose connections and replace any faulty components to avoid electrical issues while riding.
By following these adjustment techniques and troubleshooting tips, you can optimize the performance of your electric bike.
Now, it’s important to ensure proper safety measures are in place to protect yourself while riding.
Ensure Proper Safety Measures are in Place
To ensure your safety while riding, it’s essential to have proper safety measures in place. This includes wearing the appropriate safety gear and being familiar with emergency procedures. Before embarking on any electric bike adventure, make sure you have the following safety gear:
| Safety Gear | Purpose | Importance |
|---|---|---|
| Helmet | Protects the head from injuries in case of falls or accidents | High |
| Knee and Elbow Pads | Provides cushioning and protection for joints during impact | Medium |
| Reflective Vest | Increases visibility to other road users, especially at night | Medium |
In addition to the safety gear, it’s crucial to be familiar with emergency procedures. This includes knowing how to safely stop the bike, how to handle a flat tire, and what to do in the event of an accident. By being prepared and equipped with the necessary safety gear, you can minimize the risk of injuries while riding your electric bike.
Now that you have your safety measures in place, it’s time to test ride and make necessary adjustments to ensure a smooth and enjoyable off-road experience.
Test Ride and Make Necessary Adjustments
After ensuring all safety measures are in place, it’s time to take the electric bike for a test ride and make any necessary adjustments. Here are some important safety precautions to keep in mind during the test ride:
- Wear appropriate safety gear such as a helmet, gloves, and knee pads.
- Start the test ride in a spacious and open area to avoid any obstacles or collisions.
- Gradually increase the speed and test the brakes to ensure they are working effectively.
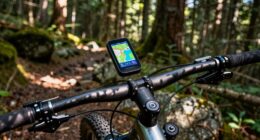
- Pay attention to the bike’s balance and stability, especially when maneuvering through rough terrains.
During the adjustment process, it’s common to encounter some issues. Here are a few troubleshooting tips:
- Check the battery connection and make sure it is securely attached.
- Inspect the chain tension and adjust it if necessary.
- Test the throttle and brakes for any responsiveness issues.
- Look out for any unusual noises or vibrations that may indicate a problem.
Now that you have completed the test ride and made the necessary adjustments, it’s time to move on to the next section on how to maintain and care for your electric offroad bike.
Maintain and Care for Your Electric Offroad Bike
Remember, regular maintenance and proper care are essential to keep your electric offroad bike running smoothly and to prolong its lifespan. Here are some important tips for maintaining and troubleshooting common issues with your electric offroad bike:
| Maintenance Tips | Troubleshooting Tips |
|---|---|
| Keep the battery charged | Check for loose connections |
| Clean the bike regularly | Inspect tires for wear and tear |
| Lubricate the chain | Test the brakes for proper function |
| Tighten any loose bolts | Check the motor for unusual noise |
| Inspect the frame for damage | Troubleshoot electrical issues |
| Check the suspension | Monitor temperature of the motor |
Regular maintenance not only helps prevent unexpected breakdowns, but also ensures optimal performance. Keeping the battery charged and maintaining proper tire pressure are crucial for a smooth ride. In addition, regularly inspecting the bike for any damage or loose connections can help detect and resolve issues early on. If you encounter any problems, such as unusual noise or electrical issues, refer to the troubleshooting tips provided. By following these maintenance and troubleshooting guidelines, you can enjoy your thrilling offroad adventures without any worries.
Enjoy Your Thrilling Offroad Adventures
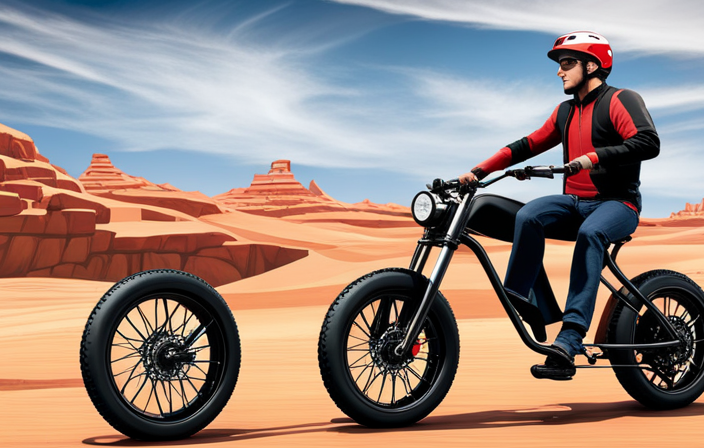
Get ready to experience an exhilarating and adrenaline-fueled offroad adventure like no other. Exploring thrilling offroad trails on an electric bike is a unique and exciting way to connect with nature and push your limits.
However, it’s important to prioritize safety precautions to ensure a smooth and enjoyable ride. Before hitting the trails, always wear a helmet and protective gear to minimize the risk of injuries. Familiarize yourself with the terrain and trail difficulty to choose the appropriate route for your skill level.
Regularly inspect your bike for any signs of wear and tear, especially the brakes and tires. Carry a basic tool kit and a first aid kit for emergencies.
Frequently Asked Questions
How much does an electric bike conversion kit cost?
The cost of an electric bike conversion kit can vary depending on the brand and features. When comparing costs, it is important to consider the quality and reputation of the brands. Some of the best brands include Bafang, Ebikeling, and Voilamart.
Can any bicycle be converted into an electric offroad bike?
Sure, any bike can be converted into an electric offroad bike. However, it’s important to consider bike frame compatibility and performance differences. Some frames may not handle the added weight and power as well.
How long does it take to install an electric bike conversion kit?
Installing an electric bike conversion kit typically takes around 2-4 hours, depending on your experience and the kit’s complexity. Common difficulties can include aligning the motor properly, routing cables, and ensuring all components are securely attached.
Are there any legal requirements or restrictions for riding an electric offroad bike?
When it comes to riding an electric offroad bike, there are some important regulations to keep in mind. Safety precautions, such as wearing a helmet and following traffic laws, are crucial for a smooth and secure ride.
What are the main advantages of using an electric offroad bike compared to a regular bike?
The main advantages of using an electric offroad bike compared to a regular bike are the electric motor for easier uphill climbs, longer range due to the battery, and the ability to switch between pedal-assist and full electric modes.
Conclusion
In conclusion, building my own electric offroad bike was an exhilarating experience. It required meticulous research, gathering the right tools, and preparing my bicycle for the conversion.
Installing the electric bike conversion kit was a breeze, and connecting and testing the electric components was a crucial step. Safety measures were paramount, and after a successful test ride, I made necessary adjustments to ensure optimal performance.
Regular maintenance and care will keep my bike running smoothly for many thrilling adventures to come. So hop on your bike and let the good times roll!