Get ready to revamp your ride and hit the roads with a thrilling twist!
In this step-by-step guide, I’ll show you how to transform an ordinary bicycle into an electrifying machine.
From selecting the perfect frame to wiring the components, we’ll dive into the nitty-gritty details to ensure you have a smooth and successful build.
So grab your tools, buckle up, and let’s embark on this electrifying journey of creating your very own electric bike!
Key Takeaways
- Adjust motor power settings
- Fine-tune pedal assist levels
- Optimize battery usage
- Regularly test and fine-tune
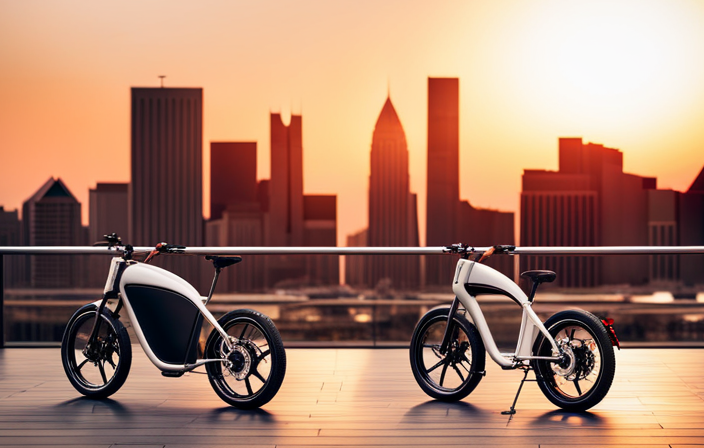
Choosing the Right Bike Frame
You should start by choosing the right bike frame for your electric bike. When it comes to choosing the right frame material, there are a few options to consider.
Aluminum frames are lightweight and durable, making them a popular choice for electric bikes. They offer good strength-to-weight ratio and are resistant to rust.
Another option is steel frames, which are known for their strength and durability. They can handle heavier loads and provide a smooth ride.
Carbon fiber frames, on the other hand, are lightweight and offer excellent stiffness, making them ideal for high-performance electric bikes.
Once you have chosen the frame material, you can customize it for an electric motor. This involves ensuring there is enough space for the motor and battery, as well as reinforcing the frame to handle the added weight and torque.
Overall, choosing the right frame for your electric bike is crucial for ensuring a safe and efficient ride.
Selecting the Electric Bike Conversion Kit
When selecting the conversion kit for your e-bike, it’s important to consider factors such as compatibility and power output. Choosing the appropriate motor power is crucial to ensure optimal performance. You need to determine the power you require based on your riding style and terrain. The motor power is typically measured in watts, and higher wattage means more power and better acceleration. Finding the best battery option is also essential. Look for a battery with a high capacity, as it determines the range your e-bike can cover. Consider factors like weight, size, and mounting options when selecting a battery. To help you make an informed decision, refer to the table below, which compares different conversion kits based on their compatibility, power output, motor type, and battery options.
| Conversion Kit | Compatibility | Power Output (Watts) | Motor Type | Battery Options |
|---|---|---|---|---|
| Kit 1 | Compatible | 500 | Hub Motor | 36V 10Ah |
| Kit 2 | Partially | 750 | Mid-Drive | 48V 12Ah |
| Kit 3 | Not | 1000 | Hub Motor | 48V 20Ah |
By considering these factors and using the table as a guide, you can select the right conversion kit for your electric bike project.
Gathering the Necessary Tools and Materials
To gather the necessary tools and materials, make sure you have a set of screwdrivers, pliers, and a wrench. These basic tools will be essential for the assembly process.
Additionally, finding affordable options for the tools is crucial to keep the overall cost of building the electric bike down. Look for reputable brands that offer quality tools at a reasonable price.
Moving on to the battery, exploring different battery types is essential to determine the most suitable option for your electric bike. Consider factors such as battery capacity, voltage, and weight.
Some popular battery types to consider include lithium-ion, lead-acid, and nickel-metal hydride. Each of these battery types has its own advantages and disadvantages, so thorough research is necessary to make an informed decision.
Installing the Electric Motor and Battery
First, I secure the electric motor and battery in their designated positions on the bike frame. The electric motor is mounted on the rear wheel hub, while the battery is usually positioned near the center of the frame for optimal weight distribution.
I carefully align the motor with the wheel, making sure it is securely fastened using the provided bolts and brackets.
Next, I connect the motor to the battery using the appropriate wiring harness, ensuring a proper and secure connection.
It is important to consider the battery range and motor power when installing them. The battery range determines how far the bike can go on a single charge, while the motor power determines the speed and performance of the bike.
By ensuring a correct installation, I can maximize the efficiency and performance of the electric bike.
Wiring and Connecting the Components
Next, you’ll need to wire and connect all the components together.
To ensure a proper connection, it is essential to use soldering techniques for a secure and reliable electrical connection. Start by carefully soldering the wires from the electric motor to the corresponding terminals on the battery. It is crucial to double-check the polarity to prevent any damage.
Additionally, make sure to connect the battery management system (BMS) to the battery to monitor and balance the cells’ voltage levels. The BMS will help prolong the battery life and prevent any potential issues.
Once the motor and battery are connected, it is necessary to wire the throttle and controller in line with the motor. Ensure all connections are secure and properly insulated to avoid any short circuits.
Taking the time to wire and connect the components correctly will result in a safe and functional electric bike.
Mounting the Controller and Throttle
Now that we have finished wiring and connecting all the components, it’s time to move on to the next step: mounting the controller and throttle. This is a crucial part of the electric bike assembly process as it ensures proper functioning and control of the bike.
First, find a suitable location on the bike frame to mount the controller. Make sure it is securely fastened with screws or zip ties.
Next, install the throttle on the handlebars, ensuring it is easily accessible and comfortable to use.
Now, let’s move on to installing the brakes. Start by attaching the brake calipers to the designated mounting points on the front and rear forks. Then, connect the brake cables to the brake levers and calipers, making sure they are properly tensioned and aligned.
Finally, adjust the chain tension. This can be done by loosening the rear wheel nuts, sliding the wheel forward or backward to achieve the desired tension, and then tightening the nuts securely.
Remember, precision and attention to detail are key throughout this process to ensure a safe and efficient electric bike.
Adding a Display and Control Panel
To add a display and control panel, you will need to choose a suitable location on the handlebars. It is important to position it within easy reach and ensure it does not obstruct your view while riding.
Once the location is determined, securely mount the display and control panel using the provided brackets or clamps.
Customizing the display features allows you to personalize your electric bike experience. You can adjust settings such as speed limit, pedal assist levels, and battery level display.
Additionally, troubleshooting common display issues may be necessary from time to time. If you encounter problems such as a blank screen or incorrect readings, check the connections, battery, and ensure that the display is compatible with your electric bike system.
Testing and Fine-Tuning the Electric Bike
Once you have added the display and control panel, it is important to test and fine-tune your electric bike for optimal performance.
To begin the testing process, start by checking all the electrical connections to ensure they are secure and functioning properly.
Next, test the throttle response and make any necessary adjustments to ensure smooth acceleration.
Additionally, test the brakes to ensure they are responsive and provide adequate stopping power.
During the test ride, pay attention to any unusual noises or vibrations, which may indicate a problem that needs to be addressed.
Once the initial testing is complete, focus on fine-tuning the electric bike for performance improvements.
This can include adjusting the motor power settings, fine-tuning the pedal assist levels, and optimizing the battery usage.
Regular testing and fine-tuning will help ensure that your electric bike delivers the best performance possible.
Ensuring Safety and Proper Maintenance
Make sure you prioritize safety and properly maintain your electric bike. When it comes to ensuring the safety of your electric bike, there are a few precautions you should take.
Firstly, always wear a helmet and other protective gear while riding. This will protect you from any potential accidents or injuries.
Secondly, regularly check the brakes, tires, and lights to ensure they are in good working condition. This will help prevent any unexpected malfunctions while riding.
Lastly, follow the manufacturer’s guidelines for weight limits and speed restrictions to prevent overloading or exceeding the bike’s capabilities.
In terms of battery maintenance, it is crucial to keep your electric bike’s battery in optimal condition. To do this, make sure you charge the battery correctly, using the provided charger and following the recommended charging times. Avoid overcharging or leaving the battery completely drained for extended periods.
Additionally, store the battery in a cool, dry place to prevent damage from extreme temperatures. Regularly inspect the battery for any signs of wear or damage and replace it if necessary.
By following these safety precautions and properly maintaining your electric bike and its battery, you can enjoy a safe and reliable riding experience.
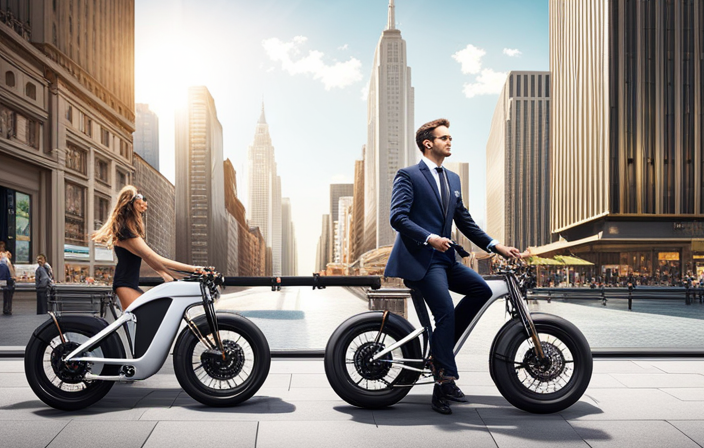
Enjoying Your DIY Electric Bike!
Having successfully assembled my DIY e-bike, now it’s time to fully embrace the joy of riding it!
To maximize speed, it is crucial to ensure that the tires are properly inflated and the brakes are in good working condition. Regularly inspecting the chain tension and lubricating it will also help in achieving optimal speed. Additionally, maintaining a proper riding position and pedaling smoothly will contribute to a more efficient ride.
To optimize battery life, it is important to avoid sudden acceleration and deceleration, as well as unnecessary use of the throttle. Utilizing the pedal-assist mode whenever possible will help conserve battery power. Furthermore, keeping the battery charged within the recommended voltage range and avoiding extreme temperatures will prolong its overall lifespan.
By following these guidelines, I can fully enjoy the benefits of my DIY electric bike while maximizing speed and optimizing battery life.
Frequently Asked Questions
How much will it cost to build an electric bike?
The cost estimation for building an electric bike depends on the components needed. Factors such as the motor, battery, controller, and accessories can vary in price. Additionally, the cost may also be influenced by personal preferences and customization choices.
How long will the battery last before needing to be recharged?
The battery lifespan of an electric bike varies based on factors such as usage, terrain, and weather. Regular maintenance and proper charging techniques can help maximize the battery’s life before needing a recharge.
Can the electric bike conversion kit be installed on any type of bike frame?
Yes, the electric bike conversion kit can be installed on any type of bike frame. The compatibility of the kit allows for easy installation and offers the advantages of transforming any regular bike into an electric one.
Are there any legal restrictions or regulations for riding an electric bike?
There are legal restrictions and regulations for riding an electric bike. Safety concerns and environmental impact are important factors to consider. It is crucial to follow speed limits, wear protective gear, and be aware of local laws regarding electric bikes.
How difficult is it to maintain and repair an electric bike?
Maintaining an electric bike is like tending to a delicate garden; it requires regular care and attention. Maintenance focuses on preventive measures, while repairing involves fixing issues. Common troubleshooting issues include battery problems, motor malfunctions, and electrical wiring complications.
Conclusion
In conclusion, building an electric bike is a challenging but rewarding experience. By carefully selecting the right bike frame and conversion kit, gathering the necessary tools and materials, and installing the electric motor and battery, you can create your own efficient mode of transportation.
With proper wiring and connection of the components, adding a display and control panel, and testing and fine-tuning the bike, you can ensure a smooth and enjoyable ride. Remember to prioritize safety and maintenance to keep your DIY electric bike running smoothly for years to come.
Coincidentally, the sense of accomplishment and freedom you’ll feel while riding your own creation is truly electrifying.