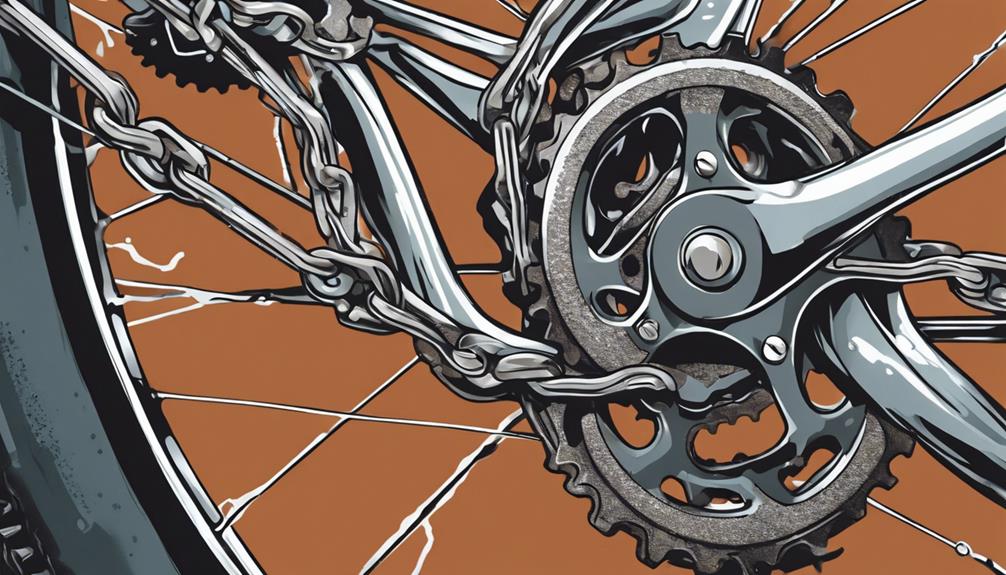
Imagine you’re cruising along on your electric bike, enjoying the wind in your hair and the freedom of the open road.
Suddenly, you hear a dreaded hissing sound and your rear tire goes flat.
Don’t panic! In this step-by-step guide, we’ll show you how to change the rear tire on your electric bike like a pro.
With the right tools and a little know-how, you’ll be back on the road in no time, leaving those flat tire blues behind you.
Key Takeaways
- Understanding the optimal tire pressure for your specific electric bike model is important for proper maintenance.
- Properly securing the bike and removing the rear wheel is crucial before starting the tire change process.
- Deflating and removing the tire should be done carefully to avoid potential damage to the rim.
- Inspecting the inner tube and replacing it if necessary is necessary to ensure the tire’s overall performance and safety.

Under Armour Squeeze Water Bottles, 32 oz Water Bottles, Sideline Sports Water Bottle with Quick-Shot Lid, Quick & Easy Hydration, Gym Water Bottles, Squeeze Bottle, 1 32oz Bottle
- Easy Hydration: Quick-shot lid and one-way valve
- On-the-Go Use: One-hand operation for active hydration
- Measurement Markings: Ounces and milliliters for tracking
As an affiliate, we earn on qualifying purchases.
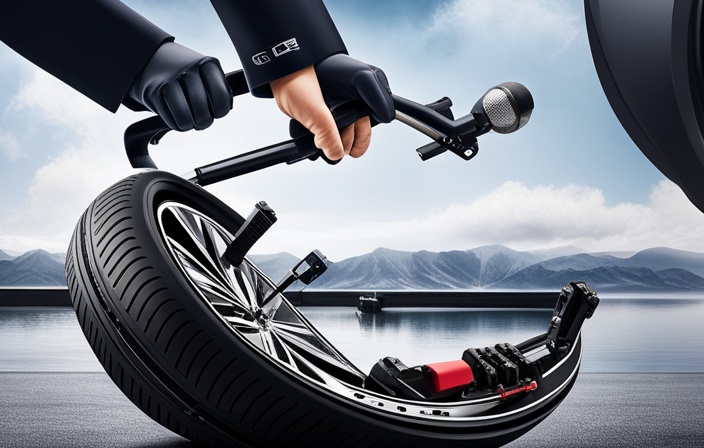
Gather the Necessary Tools and Equipment
You’ll need to gather the necessary tools and equipment to change the rear tire on an electric bike. Before starting, it’s important to understand the optimal tire pressure for your specific bike model. Using the correct tire pressure ensures optimal performance and a smoother ride.
Additionally, maintaining and cleaning the rear wheel and tire is crucial for prolonging their lifespan. Regularly inspect the tire for any signs of wear or damage, and clean it using a mild soap and water solution.
Once you have gathered the necessary tools and equipment, you can move on to securing the bike and removing the rear wheel. This step is essential to access the tire and replace it with a new one.
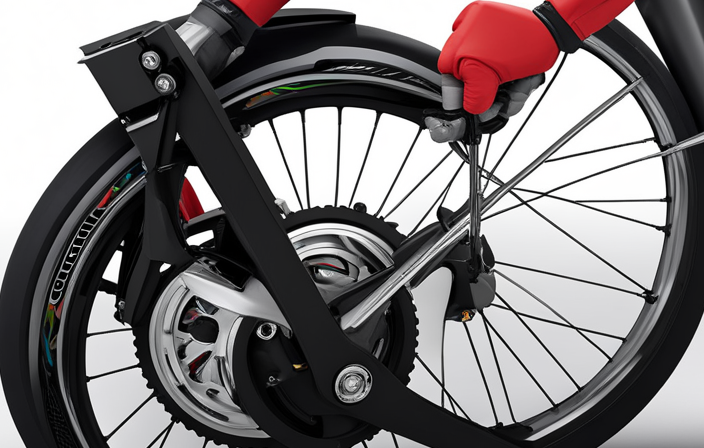
Secure the Bike and Remove the Rear Wheel
First, make sure to secure the bicycle and remove the back wheel. This step is crucial before proceeding with changing the rear tire on your electric bike.
To ensure a successful tire change, follow these steps:
-
Inspect the bike frame for any signs of damage, such as cracks or dents. It’s important to address any issues before continuing.
-
Check the brake alignment to ensure proper functioning. Make sure the brake pads are aligned correctly and are not rubbing against the tire.
-
Loosen the nuts or quick-release mechanism that holds the rear wheel in place. Carefully lift the bike off the ground and slide the wheel out of the dropouts.
Now that you have secured the bike and removed the rear wheel, you can proceed to the next section about deflating and removing the tire without any further delay.
Deflate and Remove the Tire
To start, make sure to deflate and remove the tire from your e-bike. Proper tire maintenance is crucial for optimal performance and safety. Riding with a deflated tire can lead to several consequences, such as decreased traction, increased rolling resistance, and potential damage to the rim. It is important to regularly check the tire pressure and ensure it is within the manufacturer’s recommended range.
When it comes to electric bikes, there are advantages and disadvantages to using tubeless tires. Tubeless tires eliminate the need for an inner tube, reducing the risk of flats caused by punctures. They also provide a smoother ride and better traction. However, they can be more challenging to install and require special tools and sealant. Additionally, tubeless tires may be more expensive than traditional tires with inner tubes.
Now, let’s move on to the next step and inspect the inner tube for any damage, and replace it if necessary.
Inspect the Inner Tube and Replace if Necessary
Check the inner tube of your e-bike for any signs of damage, such as punctures or tears, and replace it if needed. Inspecting the inner tube is an essential step to ensure a successful tire change. Start by deflating the tube completely and removing it from the tire. Look closely for any visible signs of wear, such as holes, cuts, or bulges. If you find any damage, it’s necessary to replace the inner tube before proceeding further.
To help you understand the process better, here’s a table summarizing the steps involved in inspecting the inner tube and replacing it if necessary:
| Step | Action |
|---|---|
| 1 | Deflate and remove the inner tube from the tire. |
| 2 | Carefully inspect the inner tube for any signs of damage. |
| 3 | If any damage is found, replace the inner tube with a new one. |
| 4 | If no damage is found, proceed to the next step of installing the new tire onto the rim. |
Once you have inspected the inner tube and replaced it if needed, you can move on to the next step of installing the new tire onto the rim.
Install the New Tire onto the Rim
Next, it’s time to put the new tire onto the rim of your e-bike. When installing a tubeless tire, make sure to choose the right one for your electric bike. Consider factors such as tread pattern, width, and durability.
Start by placing one side of the tire onto the rim, making sure the valve stem is aligned with the valve hole. Then, using your hands or tire levers, gradually work your way around the rim, pushing the tire onto the rim until it’s fully seated. Be careful not to pinch the inner tube if you’re using one.
Once the tire is in place, check for any bulges or unevenness. This will ensure a proper fit and prevent any issues while riding.
Now, you’re ready to move on to the next step of inflating the tire and checking for proper pressure.
Inflate the Tire and Check for Proper Pressure
Now it’s time to fill the tire with air and ensure it has the correct pressure.
First, locate the valve stem on the inner tube of the tire. Remove the valve cap and attach the pump nozzle securely to the valve stem.
Begin pumping air into the tire, making sure to check the tire pressure periodically using a pressure gauge. The correct tire inflation pressure can usually be found in the owner’s manual or on the side of the tire.
Once the tire reaches the recommended pressure, remove the pump nozzle and quickly replace the valve cap.
Now that the tire is properly inflated, you can move on to the next step of aligning the wheel and reinstalling it onto the bike.
Align the Wheel and Reinstall onto the Bike
To align the wheel, follow these steps:
- Ensure the wheel is straight and centered before reinstalling it onto the bike.
- Start by checking the alignment of the wheel in relation to the frame.
- Look at the gap between the tire and the frame on both sides.
- The gap should be equal on both sides, indicating that the wheel is centered.
- If the gap is not equal, you will need to adjust the wheel position.
- Loosen the axle nuts or quick release lever slightly to allow for adjustment.
- Gently push or pull the wheel until it is centered in the frame.
- Once the wheel is aligned, tighten the axle nuts or close the quick release lever securely.
- Now you can move on to the next step of tightening the axle nuts or quick release lever to ensure the wheel is securely attached to the bike.
Tighten the Axle Nuts or Quick Release Lever
After aligning the wheel, make sure to tighten the axle nuts or quick release lever securely. Properly tightening the axle nuts or quick release lever is crucial for the safe and efficient operation of your electric bike. Here are some important points to keep in mind:
- Use a wrench or quick release lever to tighten the nuts or lever.
- Apply firm pressure to ensure a tight fit.
- Do not overtighten, as this can damage the wheel or axle.
It is essential to understand the importance of proper tire maintenance. Neglecting to tighten the nuts or lever adequately can lead to loose wheels, which can be dangerous while riding.
Additionally, it is important to avoid common mistakes when tightening the axle nuts or quick release lever, such as using excessive force or not checking for proper alignment. Once you have tightened the nuts or lever securely, you can proceed to the next step and test the tire and wheel for proper functioning.
Test the Tire and Wheel for Proper Functioning
Once you’ve tightened the axle nuts or quick release lever, it’s important to test the tire and wheel to ensure they are functioning properly.
Start by checking the wheel alignment. Stand behind the bike and observe if the wheel is centered between the chainstays or seatstays. If it appears off-center, loosen the axle nuts or quick release lever and adjust the wheel until it is aligned properly.
Next, spin the wheel to check for any wobbling or rubbing against the brake pads. If you notice any issues, it may be due to improper tire seating or a bent rim. Troubleshoot these tire issues by deflating the tire, reseating it on the rim, and inflating it to the recommended pressure.
Once you’ve confirmed that the tire and wheel are functioning correctly, you can proceed to the next step of cleaning up and storing your tools.
Clean up and Store Your Tools
Now that you have successfully tested the tire and wheel for proper functioning, it’s time to clean up and store your tools. This step is crucial to ensure that your tools remain in good condition and are readily available for future maintenance or repairs. Begin by cleaning any dirt or grease off your tools using a mild detergent and water. Dry them thoroughly to prevent rusting. Next, organize your tools in a systematic manner, such as using a tool chest or hanging them on a pegboard. This will not only make it easier to find the tools you need but also prevent them from getting damaged or lost. Additionally, consider labeling your tools or using color-coded stickers to make identification even more convenient. By taking the time to clean and organize your tools, you are setting yourself up for success in your future bike maintenance endeavors.
| Emotion | Tool Maintenance | Benefits |
|---|---|---|
| Satisfaction | Cleaning tools regularly ensures their longevity. | Tools will last longer, saving you money in the long run. |
| Confidence | Organizing tools makes them easily accessible. | You’ll be able to quickly find the right tool for the job. |
| Pride | Labeling and color-coding tools adds a sense of professionalism. | Your work area will look more organized and impressive. |
| Efficiency | Well-maintained tools lead to faster repairs. | You’ll spend less time searching for tools and more time fixing your bike. |
| Preparedness | Storing tools properly reduces the risk of misplacing them. | You’ll always have the tools you need when you need them. |
Frequently Asked Questions
How long does it typically take to change the rear tire on an electric bike?
To change a flat tire on an electric bike, it typically takes around 10-15 minutes. Common causes of a flat tire include punctures from sharp objects or low tire pressure.
Can I use the same tools and equipment to change the rear tire on a regular bike?
To change the rear tire on a regular bike, you cannot use the same tools as for an electric bike. Regular bikes require a set of wrenches, tire levers, a pump, and a patch kit.
What should I do if I notice any damage to the inner tube while inspecting it?
If you notice any damage to the inner tube while inspecting it, you should repair it immediately. Start by deflating the tire and removing it from the rim. Patch the damaged area using a patch kit, ensuring a secure and airtight seal.
Is it necessary to use a tire lever to remove the tire from the rim?
No, you don’t NEED a tire lever to remove the tire from the rim of your electric bike. But hey, if you’re feeling adventurous, you can always try using your teeth or a spoon. Good luck!
How often should I check the tire pressure on my electric bike?
To properly inflate the tires on your electric bike, check the tire pressure at least once a week. Use a tire pressure gauge to ensure it matches the recommended PSI range provided by the manufacturer. Inflate or deflate as needed.
Conclusion
In conclusion, you’ve successfully changed the rear tire on your electric bike. You accomplished this by following a series of steps. First, you gathered the necessary tools for the task. Then, you secured the bike to ensure stability during the process. After that, you proceeded to remove the rear wheel.
Once the wheel was off, you deflated and removed the old tire. You carefully inspected the inner tube and replaced it if necessary. With the old tire out of the way, you installed the new tire onto the rim. You made sure to align the wheel properly before reinstalling it onto the bike.
To finish the job, you tightened the axle nuts or quick release lever. This step ensured that the wheel was securely attached to the bike. Finally, you tested the tire and wheel to ensure they were functioning correctly. Don’t forget to clean up and store your tools for future use.