
Cycling is a passion of mine, yet nothing detracts from a great ride more than a bicycle chain that’s dirty, gritty, or loud. Keeping the chain clean is crucial for the best performance and durability of the bike. However, for those new to it, the thought of cleaning a bike chain can be intimidating.
Don’t worry, though – in this article, I’ll walk you through the step-by-step process of how to clean a bicycle chain.
Before we dive in, let’s take a moment to understand why cleaning your bicycle chain is so important. Over time, dirt, dust, and grime can accumulate on your chain, causing it to wear out faster and perform poorly. A dirty chain can also negatively affect your bike’s shifting and braking, and can even make it harder to pedal.
By regularly cleaning your chain, you can extend its life, improve your bike’s performance, and enjoy a smoother, quieter ride. So, let’s get started!
Key Takeaways
- Regular chain maintenance can extend chain life and improve performance.
- Neglecting chain maintenance can lead to decreased performance, wear and tear, and rust buildup.
- Proper cleaning with degreaser and lubrication can reduce friction and wear.
- Removing the master link can make cleaning and lubrication easier, and reinstallation should be done properly using a chain tool and new quick link if necessary.

Schwinn Sporterra RX Gravel Bike, 700c Mens and Womens Bike, 14-Speed Drop Bar Gravel Bicycle, Mechanical Disc Brakes, Rigid Fork, Aerodynamic Riding Position, Quick Release Seat Post, Adult Bicycle
GRAVEL BICYCLE: Enjoy next level riding with the Sporterra RX by Schwinn. With 700c wheels, this mens and...
As an affiliate, we earn on qualifying purchases.
Understand the Importance of Cleaning Your Bicycle Chain
You need to understand why it’s crucial to clean your bike chain if you want to keep it in top condition. Regular chain maintenance offers several benefits, including smoother gear shifting, increased efficiency, and longer chain life.
If you neglect your chain, dirt, grime, and other contaminants will accumulate on it, leading to wear and tear that can cause it to stretch or break. A dirty chain also creates unnecessary friction, which can slow you down and make your ride less enjoyable.
To prevent chain wear and tear, there are a few tips you should keep in mind. First, avoid cross-chaining, which means using the largest chainring with the largest cog or the smallest chainring with the smallest cog. This puts extra stress on the chain and can lead to premature wear.
Second, shift gears smoothly and avoid sudden, jerky movements that can strain the chain.
Third, make sure your chain is properly lubricated to reduce friction and prevent rust buildup. With these tips in mind, you’ll be able to keep your bike chain in top shape and enjoy a smoother, more efficient ride.
Now, let’s move on to gathering the necessary supplies for cleaning your chain.

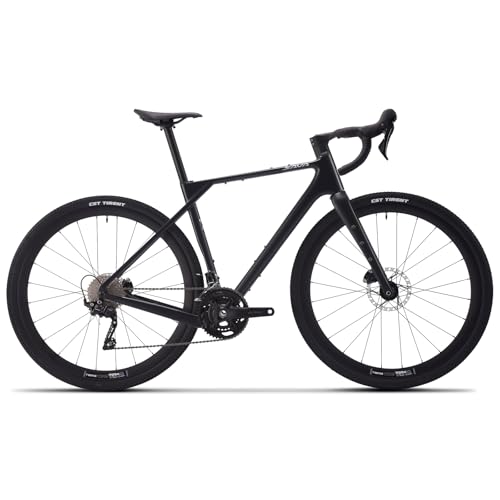
SAVADECK T800 Carbon Gravel Bike, with Shimano GRX610 12-Speed, Hydraulic Disc Brakes, 700x40c Tires for Road & Off-Road Adventure, Men's/Women's Bicycle(Elegant White, 51cm)
【With SHIMANO GRX Drivetrain Setup】Equipped with SHIMANO GRX610 shifters and RX822 rear derailleur, matched with a 12-speed M6100...
As an affiliate, we earn on qualifying purchases.
Gather the Necessary Supplies
First, grab a rag and a bottle of lubricant to prepare for the maintenance of your trusty two-wheeler. It’s important to have a clean rag to wipe off any dirt and grime from the chain, as well as a high-quality lubricant to keep it running smoothly. Additionally, you may want to invest in a chain degreaser to remove any stubborn build-up.
Proper storage of your bike also plays a crucial role in the longevity and efficiency of your chain. When not in use, it’s best to store your bike in a dry, cool place. This will prevent rust and minimize wear and tear on the chain.
With the necessary supplies on hand and a bit of care, you can ensure your bike chain stays in top condition. Now, let’s move on to the next step of removing the chain from your bike.
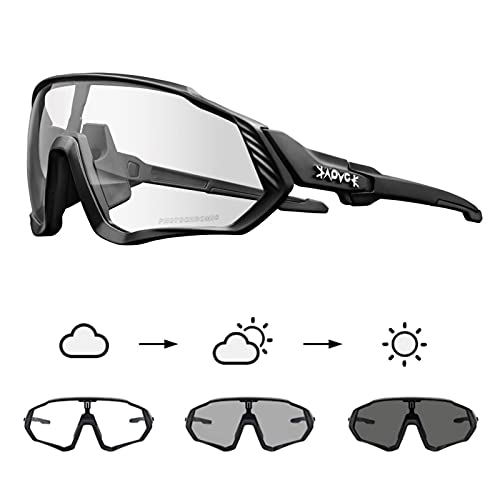
KAPVOE Photochromic Cycling Glasses Men Women Mountain Bike Sunglasses Clear MTB Bicycle Riding - K9408
【Photochromic Glasses】 Lenses will change from clear to dark gray in response to the intensity of the ultraviolet,...
As an affiliate, we earn on qualifying purchases.
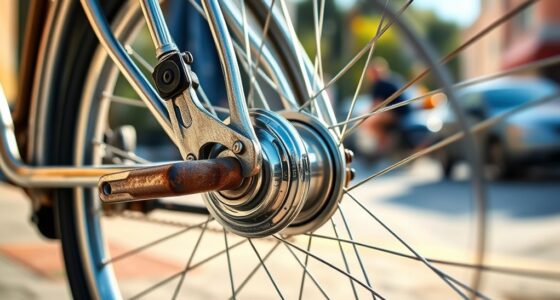
Remove the Chain from Your Bike
Now, it’s time to get down and dirty and wrench that stubborn chain off your bike like a biker boss. First, you need to locate the master link on your chain. The master link is the link that can be easily removed without the need for a chain tool. It usually has a clip or a pin that holds it in place. Check your chain for any chain wear indicators, such as stretched links or kinks, which may indicate that the chain needs to be replaced.
Once you’ve identified the master link, use a pair of pliers to remove the clip or pin that holds it in place. Gently wiggle the chain until the master link comes apart. Now, the chain is free from your bike. Be careful not to lose the master link and keep it somewhere safe. With the chain removed, you can now proceed to clean and lubricate it for optimal chain maintenance.
Without further ado, let’s dive into the next step of the process: clean and lubricate the chain.
SAVADECK Carbon Gravel Bike - T800 Carbon Frame & Fork, Shimano GRX400 10-Speed Groupset, Hydraulic Disc Brakes, 700C x 40mm Tires - Lightweight Design for Road & Off-Road Adventures (Black, 58cm)
【Ultra-Lightweight T800 Carbon Frame】Built with a T800 R21 carbon fiber frame and fork, this bike weighs just 10.4kg...
As an affiliate, we earn on qualifying purchases.
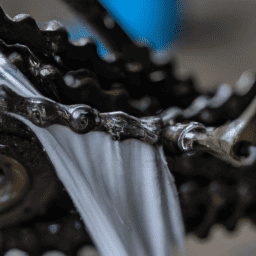
Clean and Lubricate the Chain
To ensure smooth and efficient cycling, it’s important to regularly maintain the health of your bike’s chain by keeping it free of dirt and debris while also providing proper lubrication. Proper lubrication is essential for reducing friction and wear on the chain, allowing for smoother shifting and a longer lifespan for the chain. However, it’s important to avoid common mistakes such as over-lubricating, which can attract more dirt and debris, or using the wrong type of lubricant, which can lead to a buildup of gunk on the chain.
To properly clean and lubricate your bike’s chain, follow these steps:
- Use a degreaser to remove dirt and grime from the chain.
- Use a brush or rag to scrub the chain thoroughly.
- Wipe off any excess degreaser and let the chain dry completely.
Apply a small amount of lubricant to the chain, making sure to cover all the links. Wipe off any excess lubricant with a clean rag.
By following these steps, you can ensure that your bike’s chain is clean and properly lubricated, leading to a smooth and efficient ride. Now that the chain is clean and lubricated, it’s time to reinstall it and test your bike’s performance.
Reinstall the Chain and Test Your Bike’s Performance
Ready to feel the difference in your ride? Get your hands dirty and reinstall that chain, then take your bike for a spin to see how smooth and efficient it runs.
Before you start, make sure you’ve got all the necessary tools and equipment. This includes a chain tool, a new quick link, and a degreaser.
Once you’ve got everything you need, you can begin the chain maintenance process. Start by checking the chain wear indicators. If they’re showing signs of wear, it may be time to replace the chain altogether. If the indicators are still within the acceptable range, you can begin reinstalling the chain.
Use the chain tool to break the chain and remove it from the bike. Then, clean it thoroughly with a degreaser before installing the new quick link.
Finally, test your bike’s performance to make sure everything is running smoothly. If you encounter any issues, use troubleshooting tips to identify and resolve any problems.
With proper chain maintenance, your bike will run like new for years to come.
Frequently Asked Questions
What is the best way to store a bicycle chain when it’s not in use?
When not in use, I store my bicycle chain in a dry, cool place to prevent rust. Consistent chain maintenance is crucial to extend its lifespan. Regular cleaning and lubrication will prevent buildup and rust.
Can I use dish soap or other cleaning products to clean my bike chain?
Using dish soap to clean your bike chain can be effective, but it can also strip away lubrication and cause rust. Instead, try bike-specific degreasers or citrus-based cleaners. Always lubricate your chain after cleaning.
How often should I clean my bike chain?
Regular chain maintenance is crucial for optimal bike performance. Signs of a dirty chain include rust, grime buildup, and noisy gear shifts. Clean your chain every 100-200 miles or after riding in wet or muddy conditions.
Is it necessary to remove the chain from the bike in order to clean it?
To ensure optimal bike performance, chain maintenance is crucial. While cleaning the chain, I recommend removing it for a thorough cleaning. This allows for access to hard-to-reach areas and ensures a more effective cleaning process.
What kind of lubricant is best for bike chains?
For optimal performance, I recommend using a bike chain lubricant that is water-resistant. When it comes to spray vs oil, I prefer oil as it lasts longer. Apply the lubricant to the chain while rotating the pedals to ensure even coverage.
Conclusion
In conclusion, cleaning your bicycle chain is an essential task that shouldn’t be overlooked. Neglecting to clean your chain can lead to decreased performance, increased wear and tear, and even chain failure.
To clean your chain, gather all necessary supplies, including a chain cleaning tool, degreaser, and lubricant. Remove the chain from your bike before cleaning and thoroughly clean each link.
Once cleaned, apply a high-quality lubricant to the chain and reinstall it on your bike. Test your bike’s performance and make any necessary adjustments. By following these simple steps, you can keep your bike running smoothly for years to come.