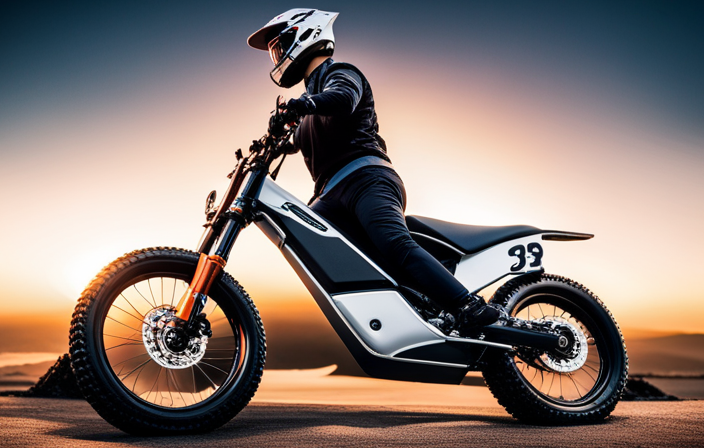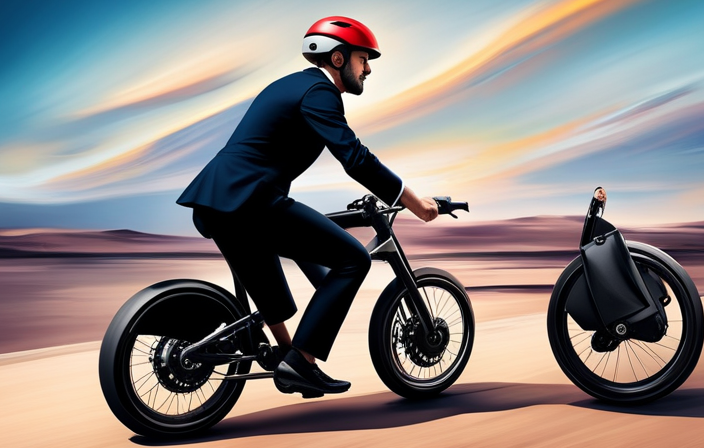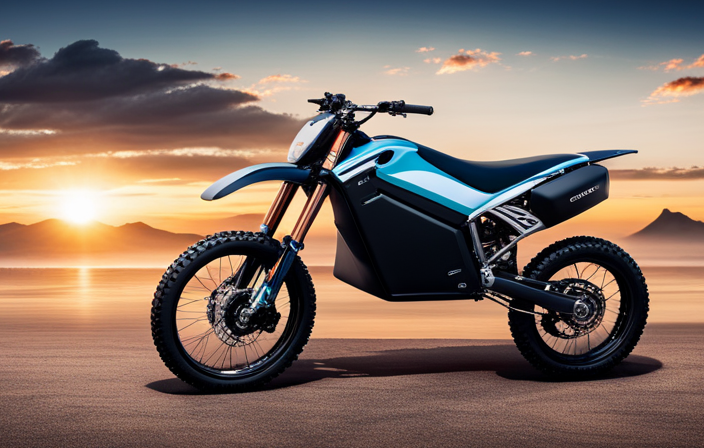
Do you have an old bicycle sitting in the garage unused, but you’re craving a faster and more efficient ride? Well, your search stops here!
In this article, I’ll guide you through the step-by-step process of converting your ordinary bicycle into an electrifying e-bike. Get ready to experience the thrill of effortless pedaling as we dive into the world of electric bike conversions.
With just a few tools and a sprinkle of technical know-how, you’ll be cruising on your new electric bike in no time. Let’s get started!
Key Takeaways
- Double-check wiring diagrams and ensure correct connections for a successful conversion.
- Properly align and securely attach throttle and brake sensors for effortless speed control and quick response.
- Thoroughly test and fine-tune the electric bike’s acceleration, top speed, and handling for optimal performance.
- Regularly maintain and care for the electric bike by checking tire pressure, cleaning after muddy or dusty rides, and inspecting brakes, gears, and chain for wear and tear.
Assess Your Bicycle’s Compatibility
Before you can convert your bike to electric, you’ll need to assess its compatibility. Evaluating the compatibility of your bicycle is crucial to ensure a successful conversion.
Start by checking the specifications of your bike, such as frame size and type, to determine if it can accommodate an electric conversion kit. Look for a suitable location to mount the battery pack and motor, ensuring there is enough space and proper alignment.
Additionally, consider the weight capacity of your bike and make sure it can handle the additional weight of the electric components. Assess the condition of the bike’s drivetrain, brakes, and wheels to ensure they are in good working order before installing the conversion kit.
Once you have evaluated the compatibility of your bike, you can proceed to gather the necessary tools and materials for the conversion process.
Gather the Necessary Tools and Materials
To get started, you’ll need to gather all the tools and materials necessary for the project.
First and foremost, you need to choose the right conversion kit for your bicycle. There are various types available, so make sure to select one that fits your specific bike model and size. Look for a kit that includes a motor, controller, throttle, and all the necessary wiring.
Additionally, finding the right battery is crucial for a successful electric bike conversion. Consider factors such as voltage, capacity, and size when deciding on the battery. It’s important to choose a battery that provides sufficient power and can fit securely on your bike.
Now that you have all the tools and materials, let’s move on to the next section to learn how to choose the right electric bike conversion kit.
Choose the Right Electric Bike Conversion Kit
Once you’ve gathered all the necessary tools and materials, you’ll want to make sure you choose the right conversion kit for your specific needs.
When it comes to electric bike conversion kit options, there are a few factors to consider.
First, determine the type of motor you want: geared or direct-drive. Geared motors are smaller, lighter, and provide more torque, while direct-drive motors are larger, heavier, and offer a smoother ride.
Next, consider the battery capacity and range. Higher watt-hour batteries will give you a longer distance per charge.
Additionally, think about the type of pedal-assist system you prefer, such as cadence or torque sensor.
Lastly, check compatibility with your bike’s frame and wheel size.
With these key considerations in mind, you can confidently select the right electric bike conversion kit for your needs.
Now, let’s move on to the next step: removing the rear wheel and installing the motor.
Remove the Rear Wheel and Install the Motor
Now that you’ve gathered all the necessary tools and materials, it’s time to remove the rear wheel and install the motor. Here’s a step-by-step guide to help you install the motor correctly and troubleshoot common issues:
-
Begin by supporting the bike securely on a stand or by flipping it over so that the rear wheel is facing upwards.
-
Use a wrench to loosen the nuts or quick-release skewer that holds the rear wheel in place. Carefully slide the wheel out of the dropouts and set it aside.
-
Next, attach the motor to the frame using the provided brackets and bolts. Make sure it is aligned properly and securely fastened.
-
Connect the motor cables to the controller, following the manufacturer’s instructions. Double-check all the connections to ensure they are tight and properly insulated.
Install the Battery and Controller
When it comes to installing the battery and controller for your electric bike conversion, proper wiring and connections are essential for a smooth and efficient operation.
It is crucial to follow the manufacturer’s instructions carefully and ensure that all wires are securely connected and insulated to prevent any potential electrical issues.
Additionally, mounting the battery securely in a suitable location is important to maintain balance and stability while riding.
Proper Wiring and Connections
Make sure you’re using the correct gauge wire for all the necessary connections when converting your bicycle to an electric bike. Wiring safety is crucial to ensure a reliable and safe electric bike conversion.
Here are some troubleshooting tips to help you with your wiring:
-
Double-check the wire gauge: Using the correct wire gauge is essential to prevent overheating and potential electrical fires. Refer to the manufacturer’s guidelines or consult an expert for guidance.
-
Insulate all connections: Properly insulating your connections will protect them from moisture and corrosion, reducing the risk of short circuits or malfunctions.
-
Test for continuity: Before finalizing your wiring, use a multimeter to check for continuity in all connections. This step will help you identify any faulty or loose connections that need to be addressed.
-
Secure cables and wires: Use zip ties or cable clips to secure cables and wires, preventing them from getting tangled or damaged during your rides.
Ensuring proper wiring and connections lays a solid foundation for a successful electric bike conversion.
Now, let’s move on to the next step – mounting the battery.
Mounting the Battery
To securely mount your battery, you’ll need to locate a suitable spot on your frame that provides both stability and accessibility. The ideal mounting position is usually on the downtube or the seat tube, as these areas are strong enough to support the weight of the battery. Make sure to choose a position that doesn’t interfere with your pedaling motion or any other components of your bike.
Additionally, consider the battery range when deciding on the mounting position. Placing the battery closer to the rear wheel can help distribute the weight more evenly and improve the balance of your electric bike.
Once you have found the right spot, use sturdy mounting brackets or straps to secure the battery firmly in place. This will ensure that it stays in position even when riding on rough terrain.
Now that you have successfully mounted the battery, it’s time to connect the motor and controller to it, which I will explain in the next section.
Connect the Motor and Controller to the Battery
Once you’ve got all the necessary components, you’ll need to connect the motor and controller to the battery. This step is crucial for the proper functioning of your electric bike.
One common mistake to avoid is mismatching the wires. Make sure to double-check the wiring diagrams provided by the manufacturer and ensure that the positive and negative terminals are correctly connected. Additionally, make sure that all connections are secure and tight to avoid any loose connections that could cause malfunctions or even damage to the motor or controller.
If you encounter any issues during the connection process, such as the motor not turning on or the controller not responding, try troubleshooting by checking the connections, ensuring that the battery is fully charged, and consulting the manufacturer’s troubleshooting guide.
With the motor and controller properly connected, you’re now ready to move on to the next step: installing the throttle and brake sensors.
Install the Throttle and Brake Sensors
When installing the throttle and brake sensors, ensure that they are properly aligned and securely attached to the handlebars. Throttle and brake sensors are essential components in an electric bike conversion as they provide control and safety features. Here are the benefits of using throttle and brake sensors in an electric bike conversion:
- Increased control: Throttle sensors allow you to adjust the speed of your electric bike effortlessly, giving you precise control over acceleration.
- Safety enhancement: Brake sensors automatically cut off power to the motor when the brakes are applied, ensuring a quick response and reducing the risk of accidents.
- Seamless integration: Throttle and brake sensors are designed to seamlessly integrate with the electric bike conversion kit, making the installation process easier and more efficient.
However, there are common challenges faced when installing throttle and brake sensors:
- Proper alignment: Ensuring that the throttle and brake sensors are aligned correctly with the handlebars can be tricky, requiring precise adjustments.
- Secure attachment: It is crucial to securely attach the sensors to the handlebars to prevent any movement or dislodging during rides.
- Wiring complexity: The wiring process can be complex, especially if you are not familiar with electrical connections.
By carefully installing and configuring the throttle and brake sensors, you can enjoy the benefits of increased control and safety in your electric bike conversion.
Now, let’s move on to testing and fine-tuning your electric bike to ensure optimal performance.
Test and Fine-Tune Your Electric Bike
Make sure you carefully test and fine-tune your e-bike to ensure it is performing at its best. After completing the conversion process, it’s important to evaluate the functionality and performance of your electric bike.
Start by conducting a thorough test ride, paying close attention to the acceleration, top speed, and overall handling. Take note of any issues or abnormalities you encounter during the test ride. This will help you identify any areas that may need troubleshooting or adjustments.
Additionally, check the battery life and charging time to ensure they align with your expectations. If you notice any problems or inconsistencies, consult the troubleshooting tips provided in the conversion kit manual or seek assistance from a professional.
By thoroughly testing and fine-tuning your e-bike, you can ensure optimal performance and ride satisfaction.
Now, it’s time to enjoy your new electric bike and all the benefits it brings.
Enjoy Your New Electric Bike
Now that you have your new e-bike, it’s time to experience all the joy and excitement it brings. Converting your bicycle to an electric bike comes with several benefits, such as increased speed, extended range, and reduced effort when riding uphill.
To ensure a long-lasting and smooth performance, here are some tips for maintaining and taking care of your new electric bike:
- Regularly check tire pressure and ensure they are inflated to the recommended level.
- Clean your e-bike regularly, especially after riding in muddy or dusty conditions.
- Keep the battery charged, but avoid overcharging it to prolong its lifespan.
- Inspect the brakes, gears, and chain regularly for any signs of wear and tear.
By following these maintenance tips, you can ensure that your new electric bike remains in optimal condition for years to come.
Now, it’s time to share your experience and spread the electric bike love.
Share Your Experience and Spread the Electric Bike Love
As you ride your new e-bike, you’ll be amazed at how quickly you’ll fall in love with the electric biking experience. The benefits of electric bikes for commuting are numerous. Not only do they provide a more enjoyable and efficient way to get to work, but they also reduce your carbon footprint and save you money on fuel costs. But, like any other mode of transportation, electric bikes require regular maintenance to ensure optimal performance. Here are some tips for maintaining your electric bike:
-
Keep your battery charged: This is crucial for maximizing the range of your e-bike. Make sure to charge it fully before each ride.
-
Clean and lubricate regularly: Dirt and grime can build up on your bike, affecting its performance. Clean it with water and mild soap, and lubricate the chain and moving parts to prevent wear and tear.
-
Check tire pressure: Proper tire pressure ensures a smooth and comfortable ride. Inspect your tires regularly and inflate them as needed.
By following these maintenance tips, you can enjoy your electric bike for years to come. Share your experience with others and spread the love for electric biking!
| Benefits of Electric Bikes for Commuting | Tips for Maintaining an Electric Bike | Share Your Experience |
|---|---|---|
| Reduces carbon footprint | Keep battery charged | Tell friends and family |
| Saves money on fuel costs | Clean and lubricate regularly | Write online reviews |
| Provides an enjoyable way to commute | Check tire pressure | Join local e-bike groups |
Frequently Asked Questions
How much does it typically cost to convert a bicycle to an electric bike?
Converting a bicycle to an electric bike typically costs between $500 and $2000. The cost comparison depends on the quality of components used. Benefits include increased speed and ease of riding, while drawbacks include added weight and limited range.
Can any type of bicycle be converted to an electric bike?
Converting a mountain bike to electric has its pros and cons. DIY conversion kits offer affordability and customization, but lack professional expertise. Professional electric bike conversions ensure quality, but can be more expensive.
How long does it take to complete the conversion process?
The conversion time to convert a bicycle to an electric bike depends on various factors such as experience level, availability of necessary tools, and complexity of the conversion.
Are there any legal regulations or restrictions for riding an electric bike?
Electric bike laws and safety regulations vary by country and region. It’s crucial to consult local authorities to understand speed limits, age restrictions, and helmet requirements. Failure to comply with these regulations may result in legal consequences.
Can the electric bike conversion be reversed if desired?
The electric bike conversion can be reversed if desired. However, there are pros and cons to converting a bicycle to an electric bike. It’s important to consider the cost, weight, and potential damage to the bicycle before making a decision.
Conclusion
So there you have it, converting your bicycle to an electric bike is a challenging but rewarding project. I hope this guide has provided you with the necessary information and steps to successfully complete the conversion.
Now, I know some of you may be thinking, ‘But isn’t it easier to just buy an electric bike?’ While it may seem like a simpler option, converting your own bike allows you to customize and personalize your ride to your liking. Plus, the sense of accomplishment and pride you’ll feel when cruising around on your very own electric bike is truly unbeatable.
So why not give it a try and join the growing community of electric bike enthusiasts? Happy riding!