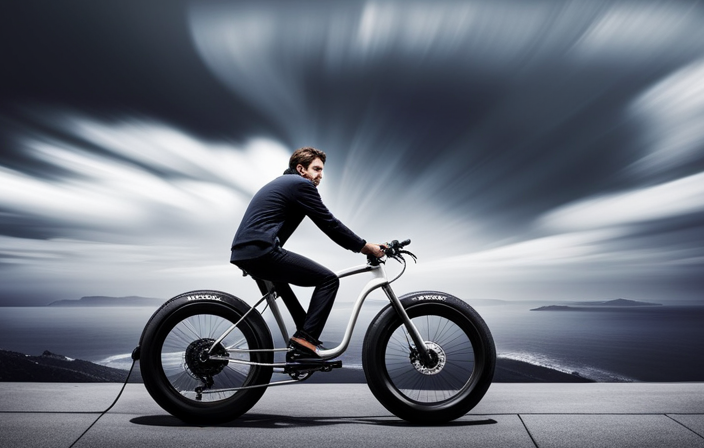

Imagine effortlessly gliding through the streets on your trusty bicycle, the wind in your hair and the freedom to go wherever you please. Now, what if I told you that you could transform your ordinary bike into an electric powerhouse?
Yes, you heard it right! In this step-by-step guide, we will show you how to convert your normal bike into an electric one. Get ready to unlock a whole new world of biking possibilities as we dive into the technical details and walk you through the process.
Let’s get started!
Key Takeaways
- The conversion process involves connecting the battery and controller, as well as the display and throttle.
- Fine-tuning and maintenance are necessary steps in the conversion process, including adjusting and fine-tuning the conversion and making any necessary test ride adjustments.
- Safety and comfort should be enhanced during the conversion process, focusing on improving safety measures and increasing comfort for the rider.
- Additional upgrades can be made to the electric bike, such as adding a bike computer or installing a cargo rack, to further enhance its functionality and convenience.
Assess Your Bike and Determine Compatibility
Before you can convert your bike to electric, you’ll need to assess it and determine if it is compatible with the conversion process.
Start by evaluating your bike’s frame and components to ensure they can handle the added weight and power of an electric motor. Check for any signs of wear or damage that may affect the overall stability and safety of your bike.
Next, determine the battery capacity you’ll need based on your desired range and power requirements. Consider factors such as terrain, rider weight, and intended use. Once you have determined the battery capacity, you can choose an appropriate motor size that can deliver the necessary power to meet your needs.
With these assessments complete, you can now move on to the next step of choosing the right conversion kit, which will provide all the necessary components for your electric bike transformation.
Choose the Right Conversion Kit
To start, you should pick the appropriate kit for transforming your bicycle into an e-bike. Choosing the right conversion kit is crucial in ensuring a successful and efficient conversion process. There are several factors to consider when selecting a kit, such as the size and type of your bike, your desired level of power assistance, and your budget.
Electric bike conversion kits come in various options, including front wheel, rear wheel, and mid-drive systems. Each type has its own advantages and limitations, so it’s important to research and understand which one suits your needs best.
By converting your bike into an electric one, you can enjoy the benefits of electric bike conversion, such as increased speed, extended range, and easier uphill climbs.
Once you have chosen the right conversion kit, you can move on to the next step of gathering the necessary tools and equipment for the conversion process.
Gather the Necessary Tools and Equipment
Once you’ve chosen the right conversion kit, you’ll need to gather all the tools and equipment you’ll need for the transformation. Here’s a list of essential items you’ll need to assess compatibility and choose the conversion kit:
- Wrench set: You’ll need a set of wrenches to loosen and tighten bolts and nuts during the conversion process.
- Screwdriver set: A variety of screwdrivers will be necessary for removing and installing different components of the bike.
- Wire cutters and strippers: These tools will come in handy for modifying the wiring of your bike to accommodate the electric components.
Now that you have all the tools and equipment ready, you can move on to the next step of the conversion process: removing the existing components. This will prepare your bike for the installation of the electric conversion kit.
Remove the Existing Components
To begin converting your normal bike to electric, you’ll need to remove the existing components.
Start by removing the pedals and crankset, which will require a pedal wrench.
Next, take off the front wheel and fork using a wrench and possibly an Allen key.
Finally, detach the rear wheel and freewheel, making sure to release any tension in the chain.
By following these steps, you’ll be ready to move on to the next stage of your electric bike conversion.
Remove the Pedals and Crankset
First, you’ll need to take off the pedals and crankset to convert your normal bike to electric. Pedal-less conversion challenges, such as removing the pedals and crankset, can be overcome by following these steps:
- Use a pedal wrench to loosen the pedal from the crank arm.
- Rotate the pedal counterclockwise to remove it completely.
- Remove the dust cap from the crank arm using a flathead screwdriver.
- Use a crank puller tool to remove the crankset from the bottom bracket.
Finding alternative propulsion options is essential when converting your bike to electric. By removing the pedals and crankset, you create space for the electric motor and battery, paving the way for a smoother and more efficient ride.
Next, we’ll discuss how to take off the front wheel and fork.
Take Off the Front Wheel and Fork
Before you can proceed, you’ll need to remove the front wheel and fork from your bicycle. This step is crucial in converting your normal bike to electric.
Removing the front wheel will allow you to access the front fork, which will need to be replaced with an electric-compatible fork. By removing the front wheel and fork, you create space for the installation of the electric motor and battery, ensuring a seamless conversion.
The benefits of front wheel removal are twofold. Firstly, it provides easy access to the fork, allowing for a smooth transition to an electric-compatible fork. Secondly, removing the front wheel makes the bike lighter, which is advantageous for overall performance.
Now that you have removed the front wheel and fork, the next step is to detach the rear wheel and freewheel. This process will further prepare your bike for the electric conversion, allowing you to seamlessly integrate the necessary components.
Detach the Rear Wheel and Freewheel
Once you have successfully removed the front wheel and fork, it’s time to detach the rear wheel and freewheel.
This step is crucial in converting your normal bike into an electric one.
To begin, locate the rear wheel axle nuts or quick-release levers and loosen them using a wrench or your hands. Once the rear wheel is loose, gently lift it off the bike frame.
Next, you will need to remove the freewheel, which is the component that allows the rear wheel to spin freely. To do this, use a freewheel removal tool and a wrench to unscrew the freewheel from the rear wheel hub.
Now that you have successfully detached the rear wheel and freewheel, you can move on to the next step of finding a suitable motor and choosing the right battery to install the new components.
Install the New Components
To install the new components, start by attaching the motor to the frame securely using the provided brackets and screws. Make sure it is aligned properly and tightened to avoid any issues later on.
Next, mount the battery and controller in a convenient location, ensuring they are securely fastened and easily accessible for maintenance.
Finally, connect the display and throttle to the controller, following the manufacturer’s instructions for proper wiring and connections. Double-check all the connections before proceeding to the next step.
Attach the Motor to the Frame
Now, you can easily attach the motor to your bike frame using a few simple steps.
First, determine the mounting technique that works best for your bike. There are various methods to choose from, such as bottom bracket mounts or rear wheel mounts.
Make sure to select a motor that is compatible with your bike’s frame and size. Once you have chosen the right motor and mounting technique, you can begin the installation process.
Start by removing the bottom bracket or rear wheel, depending on the mounting technique you have selected. Then, attach the motor to the frame using the appropriate brackets and screws. Ensure that it is securely fastened before moving on to the next step.
Now, you are ready to mount the battery and controller for your electric bike conversion.
Mount the Battery and Controller
To mount the battery and controller for your e-bike conversion, you’ll need to find a secure location on your bike frame. Look for a spot that is easily accessible and can handle the weight of the components. Common mounting positions include the downtube, rear rack, or even a custom-made bracket.
Once you’ve chosen the mounting position, use zip ties or mounting brackets to secure the battery and controller in place. Make sure they are tightly fastened to prevent any movement during rides.
Next, you’ll need to make the necessary wiring connections. Connect the battery to the controller using the provided cables, ensuring a secure and tight connection. Also, connect the controller to the motor using the appropriate wiring.
Once everything is securely mounted and connected, you can move on to the next step of connecting the display and throttle to complete your e-bike conversion.
Connect the Display and Throttle
After securely mounting the battery and controller, it’s time to connect the display and throttle to complete the electric conversion of your bike. This step is essential as it allows you to monitor and control the electric system. Follow these steps to ensure a successful connection:
- Locate the display and throttle connectors on the controller.
- Match the corresponding connectors on the display and throttle.
- Insert and secure the connectors, ensuring a firm connection.
Troubleshoot common issues that may arise during this process, such as loose connections or compatibility problems. Double-check the wiring and consult the user manual if needed.
Once the display and throttle are connected, you’re ready to adjust and fine-tune the conversion to suit your preferences. This next section will guide you through this process smoothly.
Adjust and Fine-Tune the Conversion
Make sure to fine-tune and adjust the conversion for optimal performance. Here are some fine tuning techniques and troubleshooting tips to help you get the most out of your electric bike:
| Stage | Action | Purpose |
|---|---|---|
| 1 | Check the tire pressure | Ensures smooth and efficient rides |
| 2 | Adjust the brakes | Improves stopping power and safety |
| 3 | Balance the weight distribution | Enhances stability and handling |
| 4 | Calibrate the pedal assist sensor | Provides accurate and seamless power assistance |
| 5 | Inspect all connections | Prevents loose wires and potential issues |
By following these steps, you’ll fine-tune your electric bike conversion for optimal performance. Once you’ve completed the adjustments, it’s time to move on to the next step: test ride and adjust as needed.
Test Ride and Adjust as Needed
Now that you’ve adjusted and fine-tuned your electric bike conversion, it’s time to take it for a test ride and make any necessary adjustments. This is where the real fun begins!
Before you hop on, make sure you have chosen the right motor controller for your electric bike. This component is crucial for controlling the power output and ensuring a smooth and safe ride.
Once you’re ready to go, start with a short test ride to see how the bike performs. Pay close attention to the acceleration, top speed, and overall handling. If you notice any issues, don’t worry! Troubleshooting common problems like motor noise, poor battery performance, or uneven power delivery can easily be done.
Make adjustments as needed, and don’t be afraid to experiment with different settings to find the perfect balance.
Now, as you prepare to enjoy your electric bike, let’s move on to the next section and explore how to maximize your riding experience.
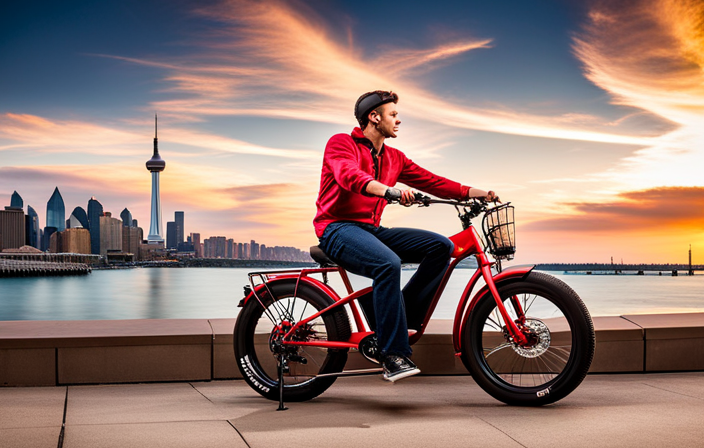
Enjoy Your Electric Bike
Once you’ve fine-tuned your e-bike conversion, it’s time to fully enjoy the ride.
Electric bikes offer a multitude of benefits that make them a great option for commuting or leisurely rides. One of the main advantages is the ease of maintenance. Unlike traditional bikes, electric bikes require minimal upkeep.
Regularly check the tire pressure, brakes, and chain tension to ensure optimal performance. Additionally, keep the battery charged and inspect the electrical connections for any signs of wear or damage. These simple tasks will keep your electric bike running smoothly for years to come.
Now that you’re ready to hit the road, it’s time to explore additional upgrades and accessories that can enhance your e-bike experience without compromising safety or functionality.
Explore Additional Upgrades and Accessories
To enhance your e-bike experience, consider exploring additional upgrades and accessories. These upgrades and accessories can help enhance safety and improve comfort during your rides.
Here are a few options to consider:
-
Enhancing safety: explore additional upgrades and accessories such as rearview mirrors, lights, and reflective gear. These additions will improve visibility and make you more noticeable to other riders and drivers on the road.
-
Improving comfort: explore additional upgrades and accessories like a comfortable saddle, ergonomic grips, and suspension seat posts. These upgrades will help reduce fatigue and provide a smoother ride, especially on rough terrains.
-
Adding a bike computer: a bike computer can track your speed, distance, and time, giving you valuable data about your rides. It can also provide navigation assistance, allowing you to explore new routes with ease.
-
Installing a cargo rack: a cargo rack can be useful for carrying groceries, backpacks, or any other items you need during your rides.
By exploring these additional upgrades and accessories, you can enhance your e-bike experience and make your rides safer and more comfortable.
Now, let’s move on to the next section and share your experience to inspire others.
Share Your Experience and Inspire Others
Share your e-bike experience and inspire others by sharing how these upgrades and accessories have improved your rides.
Converting a normal bike to electric brings numerous benefits. You can enjoy the thrill of riding while effortlessly tackling hills and longer distances. The additional power provided by the electric motor allows you to maintain a faster pace and arrive at your destination quicker. Plus, you can still pedal for exercise whenever you desire.
However, it’s important to be prepared for potential conversion issues. To troubleshoot common problems, ensure all connections are secure, check the battery level, and inspect the wiring for any damage. Additionally, double-check that the motor is properly aligned and the throttle or pedal assist settings are correctly adjusted.
By sharing your experiences and offering tips for troubleshooting, you can help others make the most of their electric bike conversions.
Frequently Asked Questions
Can any bike be converted to electric?
Yes, any bike can be converted to electric. You’ll need to consider the battery capacity and motor power. This process involves installing an electric motor and battery onto your bike, allowing it to run on electric power.
How long does it typically take to convert a bike to electric?
Converting a bike to electric typically takes 6-8 hours. It costs around $500-$1000, while a new electric bike can cost $1000-$5000. Challenges include finding the right conversion kit and ensuring proper installation of the motor and battery.
What range can I expect from an electric bike after conversion?
After converting your normal bike to electric, you can expect a range of around 20-50 miles, depending on the battery capacity and terrain. Electric bike batteries have their pros and cons, but they provide a convenient and eco-friendly transportation option.
Are there any legal requirements or restrictions for riding an electric bike?
To ensure a safe and legal riding experience with an electric bike, it is important to understand the electric bike regulations and follow safety precautions. This informative guide will outline the necessary steps to ride legally and responsibly.
Can I still pedal the bike if the battery runs out?
Yes, you can still pedal the bike if the battery runs out. The pedaling efficiency will be the same as a normal bike, and the battery life impact will be eliminated since you won’t be using the electric motor.
Conclusion
Congratulations! You’ve successfully converted your normal bike into an electric one. Now it’s time to enjoy the thrill of effortless rides and the convenience of longer distances.
Remember, always stay safe and follow traffic rules while riding your electric bike.
As you explore additional upgrades and accessories, you’ll discover new ways to enhance your riding experience.
Don’t forget to share your journey with others and inspire them to embark on their own electric bike conversion adventure.
Pedal on, trailblazer!