I’ve always enjoyed biking, but there are times when I wish I had a little extra assistance to tackle those hills or increase my distance. This is why I chose to transform my ordinary bike into an electric one. It has made a significant difference in my biking experience!
In this article, I’ll guide you through the process step by step, so you can experience the joy of effortless riding and extended range too.
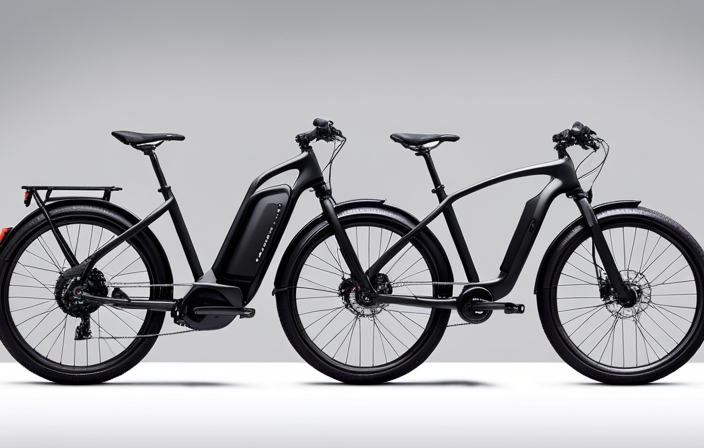
Get ready to transform your bike into a powerful electric machine!
Key Takeaways
- Familiarize yourself with the bike’s functions and features
- Follow manufacturer’s instructions for converting the bike to electric
- Properly maintain and charge the electric bike battery
- Ensure safety by wearing protective gear and following safety guidelines
Assess Your Bike and Determine Compatibility
First, you’ll need to assess your bike and figure out if it’s compatible for conversion to electric.
There are several compatibility factors to consider before proceeding with the bike modification. First, check if your bike has enough space to accommodate the necessary components, such as the battery pack and motor.
Additionally, consider the weight of your bike and whether it can handle the added weight of the electric conversion kit. Another important factor is the type of frame your bike has. Some frames may not be suitable for the installation of an electric motor.
Lastly, evaluate the current condition of your bike. Ensure that it is in good working order and doesn’t have any major structural issues.
Once you have determined the compatibility of your bike, you can move on to gathering the necessary tools and materials for the conversion process.
Gather the Necessary Tools and Materials
Next, you’ll want to make sure you have all the tools and materials you need for the conversion. Here’s a list of the essential items you’ll need:
-
Battery: Choosing the right battery capacity is crucial. Consider factors like range, weight, and cost when making your selection.
-
Motor: Understanding the power requirements of your bike is important to choose the right motor. Consider factors like terrain, desired speed, and weight capacity.
-
Controller: This device regulates the power flow from the battery to the motor. Make sure to choose one that is compatible with your motor and battery.
-
Wiring and connectors: You’ll need appropriate wiring and connectors to connect the battery, motor, and controller.
Now that you have all the necessary tools and materials, let’s move on to the next section where we will discuss how to choose the right electric conversion kit.
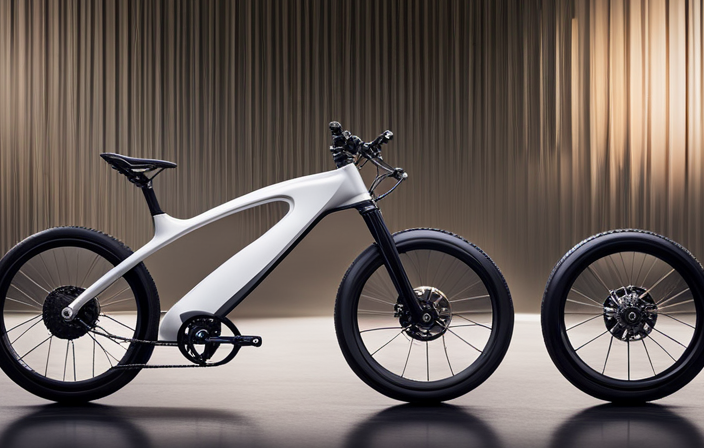
Choose the Right Electric Conversion Kit
Now that you know what tools and materials you need, it’s important to select the right electric conversion kit for your specific needs. Electric conversion kits offer a convenient way to transform your regular bike into an electric one. They come with various pros and cons that you should consider before making a decision.
One of the key factors to consider is the battery. Finding the right battery for your electric bike is crucial as it determines the range and performance of your bike. Consider factors such as battery capacity, weight, and charging time. Look for a battery that offers a good balance between range and weight.
Once you have selected the perfect conversion kit, it’s time to remove the front wheel and install the electric hub motor.
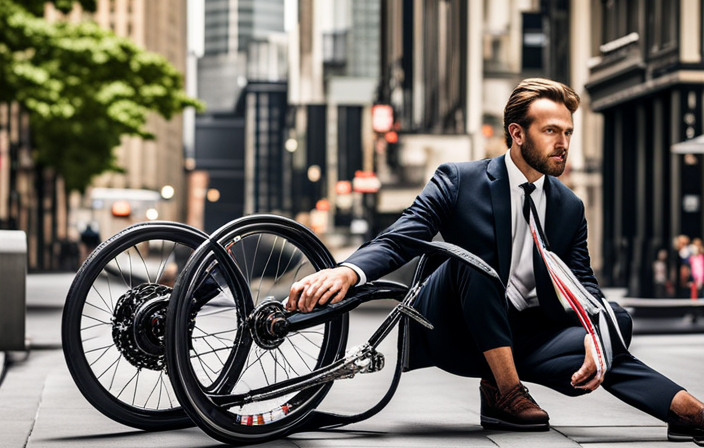
Remove the Front Wheel and Install the Electric Hub Motor
To begin the installation process, you’ll need to remove the front wheel and attach the electric hub motor.
Installing an electric hub motor on a regular bike has numerous benefits, including increased speed and reduced effort while pedaling.
To remove the front wheel, I recommend using a wrench to loosen the axle nuts and then sliding the wheel out of the fork dropouts.
Next, attach the electric hub motor by aligning the axle with the fork dropouts and tightening the nuts securely. Make sure the motor is centered and straight to ensure proper functioning.
Once the electric hub motor is securely attached, you can move on to the next step of installing the battery and controller, which will provide power to the motor and control its functions.
Install the Battery and Controller
Once you’ve securely attached the electric hub motor, it’s time to install the battery and controller.
The battery is a crucial component that powers your electric bike, so it’s important to install it properly. Start by finding a suitable location on your bike frame to mount the battery. Ensure that it is securely fastened and won’t interfere with any moving parts.
Next, connect the battery to the controller using the provided wiring harness. The controller is responsible for regulating the power flow from the battery to the motor. Find a secure spot to mount the controller, ensuring it’s easily accessible for future maintenance.
Once the battery and controller are installed, you can proceed to connect the wiring and test the system, ensuring everything is functioning correctly.
Connect the Wiring and Test the System
Make sure you securely connect the wiring and test the system to ensure everything is functioning correctly. Proper wiring is essential for a successful electric bike conversion. Start by carefully following the manufacturer’s instructions to connect the wires from the battery to the controller and the motor. Double-check all connections to ensure they are tight and secure. If you encounter any issues during the wiring process, troubleshoot by checking for loose or damaged wires, and make any necessary repairs or replacements.
Once the wiring is complete, it’s crucial to test the system before riding. Turn on the battery and controller, and check if the motor engages smoothly and responds to the throttle. Additionally, ensure that the brakes and gears are adjusted properly for electric assist, which will be discussed in the next section.
Transition: Now that the wiring is securely connected and the system has been tested, it’s time to adjust the brakes and gears for electric assist.
Adjust the Brakes and Gears for Electric Assist
Now, you’ll need to ensure that your brakes and gears are properly adjusted to accommodate the electric assist. This is an important step to ensure your safety and the smooth operation of your electric bike.
Start by checking the brake pads for wear and replace them if necessary. Next, adjust the brake levers so that they engage the brake pads properly. Test the brakes to make sure they provide enough stopping power.
Moving on to the gears, you’ll want to adjust the derailleur to ensure smooth shifting. Check the cable tension and make any necessary adjustments. Additionally, make sure the chain is properly lubricated and in good condition.
Fine-tune the Settings and Controls
To optimize your riding experience, you’ll want to fine-tune the settings and controls of your electric bike. Customizing the settings will allow you to personalize your ride and make it more comfortable and efficient.
Start by adjusting the pedal assist level to match your desired level of assistance. Most electric bikes offer multiple levels, so experiment with different settings to find the one that suits you best.
Additionally, you can customize the speed limit, throttle response, and display settings to meet your preferences.
Troubleshooting techniques are also important to ensure your electric bike is functioning properly. Familiarize yourself with the user manual and learn how to diagnose and resolve common issues.
Learn How to Ride and Maintain Your Electric Bike
Learning how to ride and maintain your e-bike is crucial for a safe and enjoyable experience. When it comes to electric bike safety, it’s important to familiarize yourself with the bike’s features and functions. Start by reading the owner’s manual to understand the specific safety guidelines and recommended practices.
Always wear a helmet and use appropriate protective gear. Additionally, regularly inspect your e-bike for any signs of wear and tear, such as loose bolts or damaged components.
As for electric bike battery maintenance, it’s essential to follow the manufacturer’s instructions for charging and storing the battery. Avoid exposing the battery to extreme temperatures and always use the correct charger.
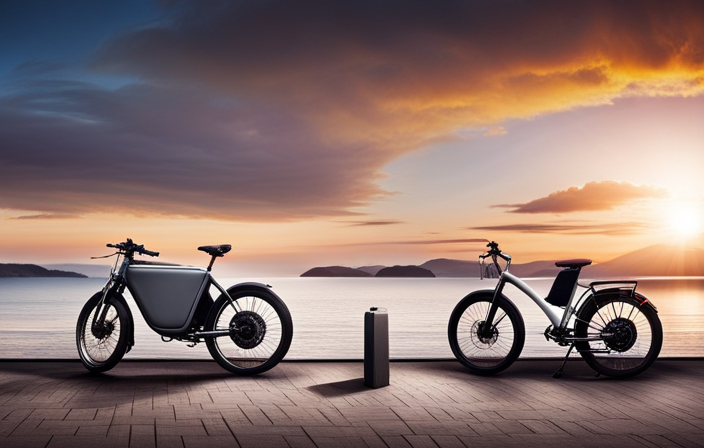
Enjoy the Benefits of Effortless Riding and Extended Range
By properly maintaining your e-bike’s battery and following recommended charging practices, you can enjoy effortless riding and an extended range.
To ensure an extended battery life, it’s crucial to store your e-bike in a cool and dry place, away from extreme temperatures. Regularly inspect the battery for any signs of damage or corrosion, and clean it with a soft cloth if necessary.
When charging, always use the provided charger and avoid overcharging the battery, as this can shorten its lifespan. It’s also important to avoid fully draining the battery before recharging it and to keep it at a moderate charge level when not in use.
Frequently Asked Questions
How long does it typically take to convert a regular bike to electric?
It typically takes an average of a few hours to a few days to convert a regular bike to electric. Common challenges include selecting the right motor, battery, and controller, as well as ensuring proper installation and integration of the components.
Can any type of bike be converted to electric, or are there specific requirements?
When considering converting a regular bike to electric, it is important to assess compatibility factors such as frame strength, wheel size, and mounting options. Additionally, it is necessary to comply with local regulations regarding electric bike conversions.
Are there any potential risks or safety concerns to be aware of when converting a bike to electric?
Safety precautions and best practices should be followed when converting a bike to electric. Potential risks include improper wiring, overheating, and battery explosions. To mitigate these risks, ensure proper insulation, use high-quality components, and follow manufacturer instructions.
What is the average cost of an electric conversion kit?
The average cost of an electric conversion kit depends on the quality and features you want. Prices can range from $200 to $1000. The electric conversion process involves installing a motor, battery, controller, and other necessary components onto a regular bike.
How does the added weight of the electric components affect the overall performance and handling of the bike?
The added weight of electric components on a bike is like carrying a backpack full of rocks. It affects performance by reducing speed and acceleration, and handling by making the bike feel less nimble and stable.
Conclusion
In conclusion, converting a regular bike to electric can be a rewarding and cost-effective way to enjoy effortless riding and extended range.
Some may argue that the process is complicated and time-consuming, but with the right tools and information, it can be a relatively straightforward DIY project.
By following the steps outlined in this article and taking the time to fine-tune the settings and controls, anyone can successfully convert their bike to electric.
This allows them to reap the benefits of a greener and more convenient mode of transportation.
So don’t let any doubts hold you back – get started on your electric bike conversion today!