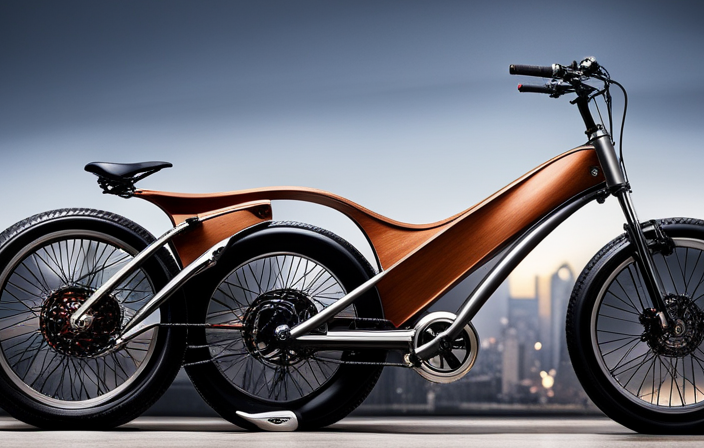
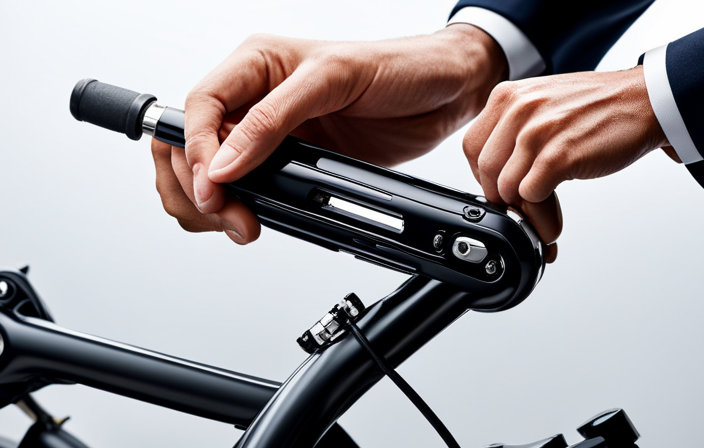
If you’re ready to take your ordinary bike and transform it into an electrifying ride, you’ve come to the right place.
Converting your electric bike is like giving it a turbo boost, propelling you forward with ease and excitement.
In this article, we’ll guide you through the step-by-step process of converting your bike into an electric powerhouse.
From assessing compatibility to choosing the right conversion kit, we’ll provide all the knowledge, tips, and tricks you need to successfully convert your bike and embark on thrilling rides like never before.
Key Takeaways
- Properly mount the motor to ensure stability and optimize efficiency and performance.
- Securely attach the battery to the bike frame for stability and safety.
- Follow the manufacturer’s wiring diagram to correctly connect the wiring and controls.
- Test and adjust the motor performance, assist levels, and overall functionality for a smooth and enjoyable riding experience.
Assess Your Bike and Determine Compatibility
Before you can convert your electric bike, you’ll need to assess it and determine if it’s compatible. Assessing your bike’s compatibility is crucial because not all bikes are suitable for conversion.
Start by examining the frame and ensuring it’s sturdy enough to handle the additional weight of the electric components. Check the fork and rear dropout spacing to confirm if it matches the requirements of the conversion kit you’re considering. Evaluate the brakes and make sure they are in good condition and capable of stopping the bike safely. Additionally, consider the wheel size and tire clearance as some conversion kits are designed for specific wheel sizes.
Once you have assessed your bike’s compatibility, you can move on to determining the conversion options that are suitable for your bike. Now, let’s move on to choosing the right conversion kit for your bike.
Choose the Right Conversion Kit for Your Bike
When choosing the right conversion kit for your bike, there are a few key points to consider.
Firstly, you’ll need to select the motor type that best suits your needs and preferences.
Secondly, choosing the right battery type and capacity is crucial for optimal performance and range.
Lastly, don’t forget to consider additional features such as a throttle or pedal-assist system, which can greatly enhance your riding experience.
By carefully considering these factors, you’ll be able to find the perfect conversion kit for your electric bike.
Selecting the Motor Type
Choosing the motor type is an important step in converting an electric bike. The motor power determines the speed and torque of your bike, so it’s crucial to select the right one. Consider your needs and preferences when choosing the motor power.
If you want more speed, go for a higher power motor, but if you prioritize torque for climbing hills, opt for a lower power motor. Another factor to consider is the battery range. A higher power motor may consume more battery, reducing your range. On the other hand, a lower power motor may offer a longer battery range.
Ultimately, the motor type you choose should align with your biking style and the terrain you’ll be riding on. Now, let’s move on to the next step of choosing the battery type and capacity.
Choosing the Battery Type and Capacity
To determine the ideal battery type and capacity for your needs, consider factors such as your riding style, desired range, and terrain.
When it comes to battery types, there are mainly two options: lithium-ion and lead-acid. Lithium-ion batteries are lightweight, have a longer lifespan, and offer better performance. On the other hand, lead-acid batteries are more affordable but are heavier and have a shorter lifespan.
As for battery capacity, it is measured in ampere-hours (Ah) and determines the range your electric bike can cover. A higher capacity battery will allow for a longer range but will also increase the weight of your bike. Consider your daily commute or the distance you plan to ride before selecting the battery capacity.
Once you have chosen the battery type and capacity, you can move on to considering additional features such as a throttle or pedal-assist for an enhanced riding experience.
Consider Additional Features (e.g., throttle, pedal-assist)
You should also take into account any additional features, such as a throttle or pedal-assist, to enhance your riding experience. These features provide different ways to control your electric bike and can greatly impact your overall enjoyment.
When considering whether to choose a throttle or pedal-assist system, it’s important to understand the differences. A throttle allows you to control the speed of your bike with a simple twist of the handle, similar to a motorcycle. On the other hand, a pedal-assist system provides assistance while you pedal, making it feel like you have supercharged legs.
Both options have their benefits. A throttle gives you instant power and control, which is great for quick acceleration or maintaining a constant speed. On the other hand, a pedal-assist system provides a more natural riding experience and can help you go further distances with less effort.
To help you visualize the benefits of each option, here’s a comparison table:
| Throttle | Pedal-Assist |
|---|---|
| Instant power | Natural riding experience |
| Easy speed control | Helps you go further |
| Great for quick rides | Less effort required |
Considering these additional features will ensure you choose the right system for your needs. Once you have made your decision, it’s time to gather the necessary tools and equipment for the conversion process.
Gather the Necessary Tools and Equipment
First, make sure you have all the tools and equipment required for the conversion. To successfully convert your electric bike, you’ll need the following:
- Wrench set: This will help you remove and install various components during the conversion process.
- Torque wrench: It’s crucial for tightening bolts to the correct specifications, ensuring a secure and safe conversion.
- Wire cutters and strippers: These tools are necessary for cutting and preparing the wires during the electrical installation.
- Multimeter: This device will be handy for assessing compatibility and troubleshooting common issues with the electrical components.
Having these tools on hand will make the conversion process smoother and more efficient. Once you have everything ready, you can move on to the next step of removing the existing components, such as pedals and crankset.
Remove the Existing Components (e.g., pedals, crankset)
Now that you have gathered all the necessary tools and equipment, it’s time to dive into the exciting process of converting your electric bike. In this step, you will be removing the existing components of your bike, such as the pedals and crankset, to make way for the new modifications. This will require some physical effort and attention to detail, but with the right tools and instructions, it shouldn’t be too challenging.
To help you visualize the process, here is a table that outlines the components you need to remove and their corresponding functions:
| Component | Function |
|---|---|
| Pedals | Allow the rider to apply force and propel the bike forward |
| Crankset | Transfers power from the rider’s legs to the drivetrain |
Remember to take note of how these components are attached before removing them, as it will make reassembly easier later on. Additionally, during this step, you may encounter some troubleshooting tips to ensure a smooth removal process.
With the existing components successfully removed, you are now ready to install the electric motor and battery, which will be discussed in the next section.
Install the Electric Motor and Battery
To install the electric motor on your bike frame, begin by selecting a suitable location that provides stability and accessibility. Use the provided brackets and screws to securely attach the motor to the frame, ensuring it is aligned with the bike’s drivetrain.
Next, attach the battery to the bike using the provided mounting brackets or straps, ensuring it is positioned in a way that maintains balance and does not interfere with your pedaling.
Make sure all connections are secure and follow the manufacturer’s instructions for wiring and safety precautions.
Mounting the Motor on the Bike Frame
You’ll need to mount the motor on the bike frame. The mounting position of the electric motor is crucial for optimal performance and safety. It is recommended to place the motor towards the center of the frame to ensure balanced weight distribution. This will help maintain stability and prevent any unnecessary strain on the bike’s components.
To mount the motor, follow these steps:
-
Start by identifying a suitable location on the frame where the motor can be securely attached.
-
Use the provided mounting brackets to attach the motor to the frame. Make sure the brackets are securely fastened to prevent any movement during rides.
-
Align the motor in a way that the sprocket or pulley lines up with the bike’s chain or belt drive system.
-
Double-check all the bolts and screws to ensure everything is tightened properly.
By mounting the motor correctly, you’ll be able to maximize the efficiency and performance of your electric bike. Now, let’s move on to the next step of attaching the battery to the bike.
Attaching the Battery to the Bike
First, securely attach the battery to the bike frame. This is an important step in converting your electric bike, as it ensures the stability and safety of the battery during your rides. To do this, you will need to find a suitable location on the bike frame where the battery can be securely mounted. Use sturdy straps or a mounting bracket specifically designed for electric bike batteries to hold it in place.
Now, let’s talk about the emotional aspect of this process. Imagine the thrill of knowing that your electric bike is powered by a reliable and secure battery. Picture the freedom and excitement you’ll experience as you effortlessly ride through your favorite trails. Think about the peace of mind that comes with knowing your battery is securely attached to your bike frame, ready to provide you with hours of fun and adventure.
Next, we will discuss the crucial step of connecting the wiring and controls for your electric bike conversion.
Connect the Wiring and Controls
Next, connect the wiring and controls of the electric bike. This step is crucial to ensure the smooth functioning of your converted electric bike.
Before proceeding, it’s important to familiarize yourself with the wiring diagram provided by the manufacturer. This will help you troubleshoot any issues that may arise during the process.
Begin by connecting the battery’s positive and negative terminals to the corresponding wires on the controller. Make sure to secure them tightly to prevent any loose connections.
Then, connect the throttle and brake sensors to the controller, ensuring they are properly aligned.
Finally, connect the motor to the controller, following the manufacturer’s instructions.
Throughout this process, always prioritize safety precautions such as wearing protective gloves and goggles.
Once the wiring and controls are connected, you can proceed to test and adjust your electric bike conversion.
Test and Adjust the Electric Bike Conversion
When testing and adjusting your electric bike conversion, there are a couple of key points to focus on.
First, you should check the motor performance to ensure it is running smoothly and efficiently. This involves testing the acceleration, top speed, and responsiveness of the motor.
Additionally, if your conversion kit includes an assist level feature, you should adjust it to your desired level of assistance. This allows you to customize the amount of help the motor provides while pedaling.
By carefully testing and adjusting these aspects, you can optimize the performance of your electric bike conversion for an enjoyable riding experience.
Checking the Motor Performance
To start, you should check the motor performance of the electric bike. Assessing motor efficiency is crucial to ensure a smooth and reliable ride.
Begin by troubleshooting motor performance to identify any potential issues. Check the motor’s power output by observing how quickly it accelerates and reaches its top speed. Listen for any unusual noises or vibrations during operation, as this could indicate a problem. Additionally, pay attention to the motor’s responsiveness when you engage the throttle or pedal assist.
If you notice any irregularities or inconsistencies, it may be necessary to make adjustments.
Next, we will delve into adjusting the assist levels (if applicable) to fine-tune your electric bike’s performance.
Adjusting the Assist Levels (if applicable)
If applicable, you can adjust the assist levels to fine-tune your ride. Adjusting the power of your electric bike can enhance your overall experience and make it more tailored to your preferences. Most electric bikes come with different assist levels that allow you to choose the amount of assistance you receive from the motor.
If you find that the bike is providing too much or too little power, you can easily make adjustments. Start by referring to your bike’s user manual to locate the controls for adjusting the assist levels. Typically, this can be done through the display panel or a separate control unit.
Experiment with different levels to find the one that suits your needs best. Troubleshooting common issues, such as uneven power delivery or sudden surges, can also be resolved by adjusting the assist levels.
Once you’ve adjusted the power, you can move on to the next section and install and adjust the new components, such as brakes and gears.
Install and Adjust the New Components (e.g., brakes, gears)
Once you’ve purchased the new components, it’s time to install and adjust them on your electric bike. Here’s a step-by-step guide to help you through the process:
-
Installing handlebars:
- Start by removing the old handlebars.
- Align the new handlebars with the stem and tighten the bolts securely.
- Make sure they are at a comfortable height and angle for your riding position.
-
Adjusting the derailleur:
- Begin by shifting the chain onto the smallest chainring and the smallest rear cog.
- Loosen the derailleur cable and adjust the high and low limit screws to align the derailleur with the chain.
- Fine-tune the shifting by turning the barrel adjuster until the gears shift smoothly.
-
Test and fine-tune:
- Take your electric bike for a test ride to ensure everything is working properly.
- Pay attention to the brakes, gears, and overall functionality.
- Make any necessary adjustments to ensure optimal performance.
Now that your new components are installed and adjusted, it’s time to move on to the next section on how to maintain and care for your electric bike.
Maintain and Care for Your Electric Bike
Make sure you regularly maintain and care for your e-bike to ensure its longevity and optimal performance. Electric bike maintenance is essential to keep your bike running smoothly.
One of the most important things to do is to check the battery regularly and charge it when needed.
Inspect the tires for any signs of wear and tear and replace them if necessary.
Keep the chain clean and well-lubricated to prevent rust and ensure smooth shifting.
Additionally, troubleshoot common issues such as loss of power or strange noises by checking the connections, inspecting the motor, and adjusting the brakes.
By taking these steps to maintain your electric bike, you can enjoy its benefits for a long time.
Now, it’s time to enjoy your newly converted electric bike!
Enjoy Your Newly Converted Electric Bike!
Congratulations on successfully converting your bike into an electric one! Now, it’s time to sit back, relax, and enjoy the amazing benefits that come with your newly transformed ride.
To enhance your experience, consider investing in some new electric bike accessories. These can make your rides even more enjoyable and convenient. From sleek and comfortable seats to stylish and functional panniers, there’s a wide range of accessories available to suit your needs and preferences.
Now that you’re riding an electric bike, you’ll notice a significant boost in speed and efficiency. Say goodbye to sweaty commutes and hello to effortless rides. Not only will you save time, but you’ll also reduce your carbon footprint and contribute to a cleaner environment.
So, hop on your newly converted electric bike, embrace the freedom it offers, and let the adventure begin!
Here are four must-have electric bike accessories to enhance your riding experience:
- LED lights for increased visibility and safety.
- A powerful and reliable battery to ensure long rides without any interruptions.
- Fenders to protect yourself from mud and water splashes.
- A comfortable saddle that provides support and reduces fatigue on longer rides.
Frequently Asked Questions
How long does it take to convert an electric bike?
Converting an electric bike can take anywhere from a few hours to a few days, depending on your experience and the complexity of the conversion process. Factors to consider include removing the old components, installing the new ones, and ensuring everything is properly connected and functioning.
Can any type of bike be converted into an electric bike?
Yes, any type of bike can be converted into an electric bike. There are various types of electric bike conversions, including hub motor and mid-drive motor conversions. Converting a bike into an electric bike offers benefits such as increased speed, convenience, and reduced effort while riding.
Is it difficult to connect the wiring and controls during the conversion process?
Connecting the wiring and controls during the conversion process of an electric bike may vary in difficulty level, depending on your previous experience. It is essential to have the necessary tools, such as wire cutters, crimpers, and electrical tape, to ensure a successful and safe conversion.
What is the average cost of converting a bike into an electric bike?
Converting a bike into an electric one can cost around $500 to $1000. The average time it takes depends on your skill level, but it usually takes a few hours. Common challenges include selecting the right components and ensuring proper wiring connections.
Are there any legal requirements or restrictions for riding an electric bike?
To ride an electric bike legally, there are some important considerations. You must follow local laws regarding speed limits, age restrictions, and helmet requirements. It’s also crucial to take safety precautions like using lights and reflectors, signaling properly, and being aware of your surroundings.
Conclusion
Congratulations! You have successfully transformed your ordinary bike into an electrifying ride! By assessing your bike’s compatibility, choosing the right conversion kit, and gathering the necessary tools, you have taken the first steps towards an exciting transformation.
Removing existing components and installing the electric motor and battery were key moments in this conversion journey. With careful testing and adjustments, you have fine-tuned your electric bike to perfection.
Now, it’s time to install and adjust the new components, ensuring a smooth and safe ride. Remember to maintain and care for your electric bike, and soon enough, you’ll be enjoying the thrill of your newly converted electric bike!
