Are you aware that a standard bicycle chain is made up of approximately 112 links? It is crucial to count the links accurately in order to preserve the performance and lifespan of your bike.
In this article, I will guide you through the process of counting bicycle chain links step by step. By understanding the anatomy of the chain and using the right tools, you can ensure a smooth and efficient ride.
So, let’s dive in and learn how to count those links like a pro.
Key Takeaways
- Counting chain links is an accurate method to determine if a new chain is needed.
- It ensures a smoother ride and helps maintain the efficiency of power transfer.
- Use the provided table for chain link measurements in inches and centimeters.
- Keeping track of chain links helps with maintenance and determining when to replace the chain.

Under Armour Squeeze Water Bottles, 32 oz Water Bottles, Sideline Sports Water Bottle with Quick-Shot Lid, Quick & Easy Hydration, Gym Water Bottles, Squeeze Bottle, 1 32oz Bottle
- Easy Hydration: Quick-shot lid and one-way valve
- On-the-Go Use: One-hand operation for active hydration
- Measurement Markings: Ounces and milliliters for tracking
As an affiliate, we earn on qualifying purchases.
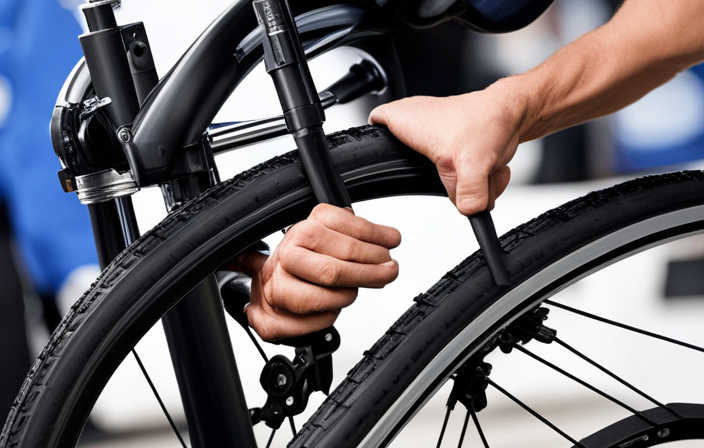
Gather the necessary tools
You’ll need a ruler or tape measure to measure the length of the bicycle chain. When counting bicycle chain links, it’s important to be aware of common mistakes that can lead to inaccurate results.
One common mistake is not accounting for the master link, which is an additional link used to connect the chain. Another mistake is not counting the half links correctly, as they are often overlooked.
To ensure accurate and efficient chain link counting, start by finding the master link and counting from there. Take note of any half links and count them as separate links. Make sure to count each link individually, including the outer plates and the inner pins.
Understanding the anatomy of a bicycle chain is crucial in accurately counting the chain links, so let’s move on to that next.
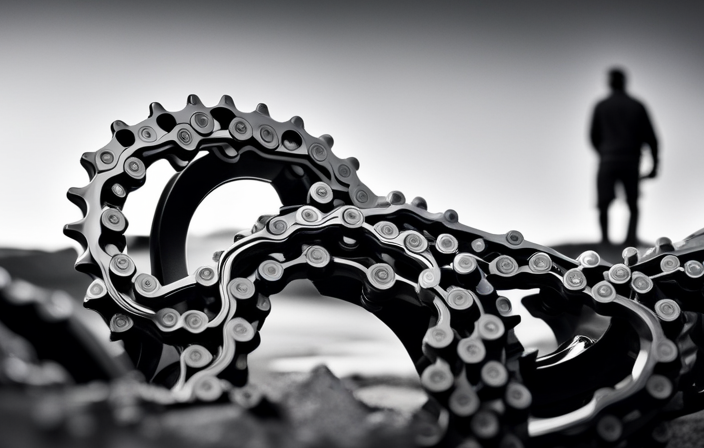
Understand the anatomy of a bicycle chain
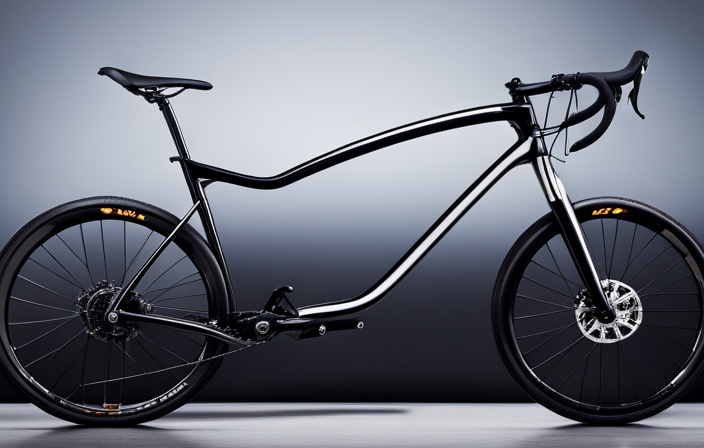
To understand the anatomy of a bike chain, it’s important to familiarize yourself with its various components. The chain is composed of a series of links that connect the front chainring to the rear cassette, allowing the transfer of power from the pedals to the wheels.
Regular chain maintenance is crucial to ensure optimal performance and longevity. Neglecting chain maintenance can lead to common problems such as chain wear, stretching, and skipping. To fix these issues, it’s necessary to regularly clean and lubricate the chain, as well as replace it if it becomes too worn.
By understanding the anatomy of a bike chain and the importance of chain maintenance, you can address these common chain problems and ensure a smoother riding experience.
Moving on to the next step, let’s locate the master link or quick link.
Locate the master link or quick link
First, find the spot where the master link or quick link is located on your bike chain. This special link allows for easy removal and installation of the chain, making maintenance a breeze.
Here are some benefits of using a master link in bicycle chains:
- Quick and easy chain removal for cleaning or replacement
- Eliminates the need for a chain tool
- Allows for easy installation of a new chain without breaking the chain
- Makes it convenient to carry a spare chain for emergencies
Locating the master link can sometimes be a challenge, especially if it is not clearly marked. Look for a link that is different from the others, often with a clip or a different color. It may be located anywhere on the chain, so be thorough in your search.
Once you have found the master link, you can proceed to identify the outer and inner plates of the chain.
Identify the outer and inner plates of the chain
To identify the outer and inner plates of the chain, look for the plates that are closer to the gears and those that are further away from them. The inner plates are the ones that are closer to the gears, while the outer plates are the ones that are further away.
The inner plates are usually narrower than the outer plates, and they have a slightly different shape. They are designed to fit between the teeth of the gears and allow the chain to smoothly transition from one gear to another. On the other hand, the outer plates are wider and provide more stability to the chain.
Once you have identified the inner and outer plates, you can move on to counting the number of links between the master link, which will be explained in the next section.
Count the number of links between the master link
Start by determining the number of links between the master link. To count the chain links, you will need a ruler or a specialized chain measuring tool.
Place the chain on a flat surface and locate the master link, which is usually different in appearance from the other links.
Next, measure the length of the chain by counting the number of links between the master link. This can be done by aligning the ruler or chain measuring tool with the outer edges of the links and counting each one. Make sure to include both the inner and outer plates of the chain in your count.
By accurately counting the chain links and measuring the chain length, you can determine the appropriate size and replacement for your bicycle chain.
Moving forward, we will determine the total number of chain links to complete the chain counting process.
Determine the total number of chain links
Next, we’ll need to figure out the total number of links in the chain. Calculating the chain length is essential for different types of bicycles, as each one has specific requirements.
To determine the total number of links, we must consider the number of gears on the rear cassette and the number of chainrings on the crankset. These factors vary between bicycles and can affect the chain length needed.
Proper chain maintenance is crucial for optimal performance, as a worn or improperly sized chain can cause damage to the drivetrain and reduce efficiency. Regularly checking for wear and tear in the chain is important to ensure its longevity and prevent any potential issues.
With this in mind, let’s move on to the next section where we’ll discuss how to check for wear and tear in the chain.
Check for wear and tear in the chain
Checking for wear and tear in the chain is crucial for maintaining optimal performance and preventing potential issues.
To ensure the chain is in good condition, it is important to check for rust and corrosion, as they can weaken the chain and affect its durability. Start by examining the chain for any signs of rust or corrosion, such as discoloration or rough surfaces.
Additionally, measuring chain stretch is essential to determine if it has elongated over time. Use a chain wear indicator tool to measure the chain’s stretch, ensuring it falls within the acceptable limits.
If any rust, corrosion, or excessive chain stretch is detected, it is important to replace or repair any damaged links promptly. Neglecting these issues can cause further damage to the chain and compromise your cycling experience.
Replace or repair any damaged links
To maintain optimal performance and prevent potential issues, it is crucial to promptly replace or repair any damaged links in the chain.
When inspecting the chain for wear and tear, it is not uncommon to find links that are bent, twisted, or even broken. Luckily, repairing damaged chain links is a relatively straightforward process.
To do this, you will need a chain tool, a replacement pin or quick link, and a pair of pliers. First, identify the damaged link and remove it from the chain using the chain tool.
Next, insert the replacement pin or quick link to reconnect the chain. Ensure that it is securely fastened before testing the chain’s functionality.
By promptly addressing any damaged links, you can maintain a smooth and efficient cycling experience.
Moving forward, it is important to understand how to maintain and lubricate your chain regularly, ensuring its longevity and performance.
Maintain and lubricate your chain regularly
After replacing or repairing any damaged links in your bicycle chain, it’s crucial to maintain and lubricate it regularly to ensure optimal performance.
Using the right lubricant for your bicycle chain is of utmost importance. The correct lubricant will reduce friction, prevent rust and corrosion, and prolong the lifespan of your chain. It’s essential to choose a lubricant specifically designed for bicycle chains, as using the wrong type can cause damage and attract dirt and debris.
When maintaining and lubricating your chain, there are common mistakes to avoid. One is over-lubricating, as excess lubricant can attract dirt and create a messy buildup. Another mistake is not cleaning the chain before applying new lubricant, which can cause the old dirt and grime to mix with the new lubricant, reducing its effectiveness.
By properly maintaining and lubricating your chain, you can enjoy a smooth and efficient ride with a properly counted chain.
Enjoy a smooth and efficient ride with a properly counted chain
To ensure you enjoy a smooth and efficient ride, make sure your chain is properly maintained and lubricated. Proper chain maintenance is essential for a smooth ride as it helps reduce friction and ensures optimal power transfer. Neglecting your chain can lead to decreased performance and even damage to other components. One way to determine if your chain needs attention is by checking for common signs of wear, such as chain stretch, skipping gears, or excessive noise. If you notice any of these signs, it’s important to address them promptly. Regular cleaning and lubrication can help extend the life of your chain, but eventually, it will need to be replaced. Counting the chain links is a simple and accurate method to determine if it’s time for a new chain. Use the table below to keep track of the chain links and ensure a smoother ride.
| Number of Links | Measurement (Inches) | Measurement (Centimeters) |
|---|---|---|
| 24 | 12.125 | 30.798 |
| 25 | 12.625 | 32.068 |
| 26 | 13.125 | 33.338 |
| 27 | 13.625 | 34.608 |
| 28 | 14.125 | 35.878 |
Frequently Asked Questions
How do I determine if my bicycle chain needs to be replaced or repaired?
To determine if my bicycle chain needs to be replaced or repaired, I can inspect it for signs of wear, such as stretched links or excessive rust. If the damage is minor, I can try lubricating or cleaning it. Otherwise, I should consider replacing the chain entirely.
What are some common signs of wear and tear in a bicycle chain?
Common signs of wear and tear in a bicycle chain include rust, stretched links, and excessive noise. Regular cleaning and lubrication can prevent these issues. Additionally, avoiding cross-chaining and using proper shifting techniques can minimize wear and tear.
Are there any specific lubricants or maintenance tips for keeping a bicycle chain in good condition?
To keep a bicycle chain in optimal condition, it is crucial to use appropriate bicycle chain lubricants and follow best practices for maintenance. Regular cleaning, lubrication, and proper tension adjustment are key to prolonging the chain’s lifespan and ensuring smooth operation.
Can I count the chain links without using any special tools?
Counting chain links without tools can be challenging, but there are alternatives. One method is to mark a link with a pen, then rotate the chain and count the marks. Another option is to measure the length of the chain and calculate the number of links based on the pitch.
Is it necessary to remove the chain from the bicycle in order to count the links accurately?
Yes, it is necessary to remove the chain from the bicycle in order to count the links accurately. This allows for a clear view of each link and ensures an accurate count.
Conclusion
In conclusion, mastering the art of counting bicycle chain links is like deciphering the intricate code of a finely tuned machine. Armed with the right tools and knowledge, one can navigate the labyrinth of plates and links with ease.
By ensuring each link is accounted for and maintained, you’ll unlock the secret to a smooth and efficient ride. Remember, the chain is the lifeline of your bicycle, so treat it with the respect it deserves.
Happy cycling!