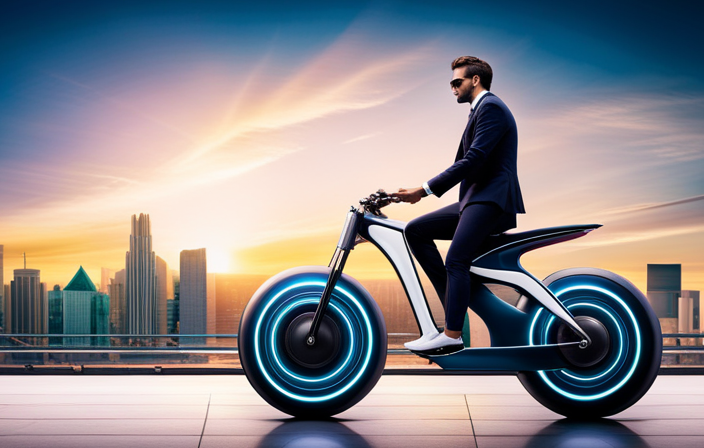
I’m here to show you how to make an electric bike motor, a symbolic leap towards a greener future.
With the right materials and tools, we’ll transform your ordinary bike into an eco-friendly marvel.
Together, we’ll choose the perfect motor, prepare your bike, and seamlessly install the motor onto your frame.
Once connected to your bike’s drivetrain, you’ll experience the exhilarating benefits of an electric bike.
Join me on this electrifying journey and let’s revolutionize the way we commute.
Key Takeaways
- Properly secure and connect the motor
- Test and adjust the motor’s voltage and current draw
- Troubleshoot common motor problems
- Regularly clean and maintain the electric bike

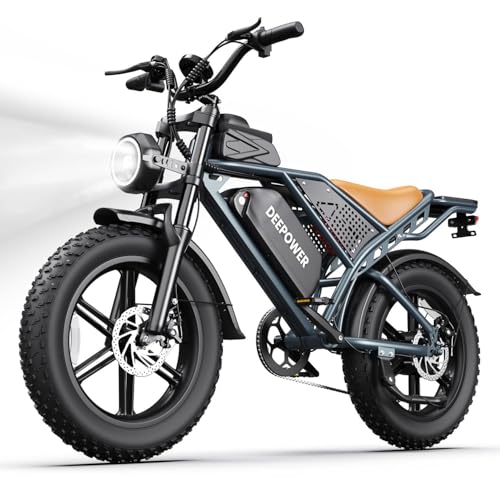
RKJ Electric Bike for Adults, 2200W, 30/32MPH, 75 Miles, 48V 15.6AH Removable Battery, 7-Speed, 3 Modes, Full Suspension, Dual Disc Brakes, 20" All-Terrain Fat Tires, UL 2849 Certified Ebike
🔥 2200W PERFORMANCE: Powerful 750W motor (2200W Peak) delivers massive torque for 30° hills. Default 20MPH for city...
As an affiliate, we earn on qualifying purchases.
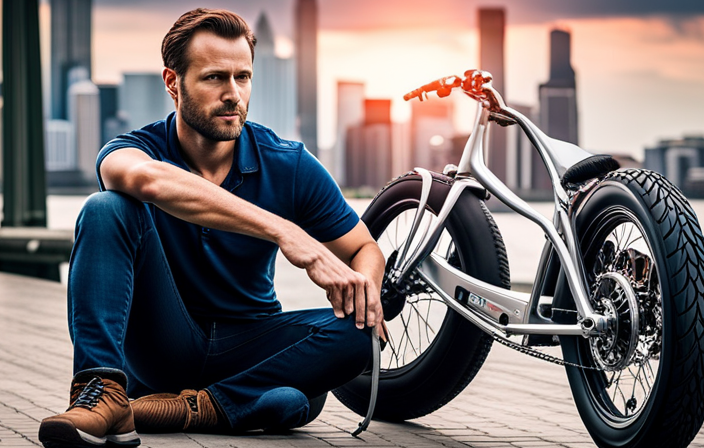
Gather the necessary materials and tools
You’ll need to gather all the necessary materials and tools before you can start building your electric bike motor.
First, let’s talk about choosing the right motor. It’s essential to select a motor that suits your bike’s specifications and your desired performance. Consider factors like power output, voltage, and motor type.
Now, let’s move on to gathering the necessary materials and tools. To build your electric bike motor, you’ll need a motor kit, batteries, a controller, throttle, wires, connectors, and various hand tools such as wrenches, pliers, and screwdrivers. It’s crucial to ensure that all the components are compatible and of high quality.
With all the required materials and tools at hand, you’re ready to move on to the next section and choose the right motor for your bike, maximizing its performance and efficiency.
DEEPOWER QS7 Electric Bike for Adults, 2000W Peak Power 28MPH E-Bike, 48V 20Ah/35Ah/60Ah Battery Options, 35–180 Mile Range, 20” Fat Tire Ebike, 7-Speed All-Terrain Electric Bicycle
【High-Torque Electrified Thrills】 The Deepower electric motorcycle for adults delivers unmatched power with its Peak 2000W motor, reaching...
As an affiliate, we earn on qualifying purchases.
Choose the right motor for your bike
When selecting the appropriate motor for your bike, ensure it is compatible with your desired specifications. Here are three important factors to consider when choosing the right motor for your electric bike:
-
Motor Power: Determine the power you need based on your riding preferences and terrain. Higher power motors provide more acceleration and hill-climbing ability, but they may consume more battery.
-
Motor Specifications: Understand the motor’s voltage, current, and RPM ratings. Higher voltage motors generally offer more speed, while higher current motors can handle heavier loads. RPM rating indicates how fast the motor can spin.
-
Motor Type: Choose between hub motors and mid-drive motors. Hub motors are easier to install and maintain, while mid-drive motors provide better weight distribution and efficiency.
By carefully considering these factors, you can select the motor that best suits your needs and preferences.
Now, let’s move on to preparing your bike for the motor installation.

TST Electric Bike for Adults 1500W Peak 20" Fat Tire All- Terrain E-Bike 60 Miles 28 MPH Electric Dirt Bike - 48V 15 AH Battery Tested to Safety Tested to UL 2849 Powered Electric Bicycle
𝗣𝗼𝘄𝗲𝗿𝗳𝘂𝗹 𝗘𝗹𝗲𝗰𝘁𝗿𝗶𝗰 𝗕𝗶𝗸𝗲: This adult electric bike is equipped with a 1500W peak power motor and 90N.M torque,...
As an affiliate, we earn on qualifying purchases.
Prepare your bike for the motor installation
Before starting the motor installation process, it’s important to prepare your bike accordingly.
First, make sure your bike frame is in good condition and free of any cracks or damage. Check the frame for any loose or missing bolts and tighten or replace them as necessary.
Next, adjust the bike components such as the brakes, gears, and chain. Ensure that the brakes are properly aligned and functioning correctly. Adjust the gears so they shift smoothly and efficiently.
Finally, check the chain tension and lubricate it if needed. By properly preparing your bike frame and adjusting its components, you’ll ensure a smooth and successful installation of the motor onto your bike frame.
Now, let’s move on to the next section and learn how to install the motor onto your bike frame.

TST Electric Bike for Adults, 1500W Peak Motor, 28 MPH, 20" x 4.0" Fat Tire E-Bike, 48V 15Ah Removable Battery, Dual Disc Brakes, Dual Suspension, LCD & APP, UL 2849 Certification
Powerful 1500W Peak Motor (90 N.m) – Conquer steep 30° inclines with ease, delivering explosive acceleration and a...
As an affiliate, we earn on qualifying purchases.
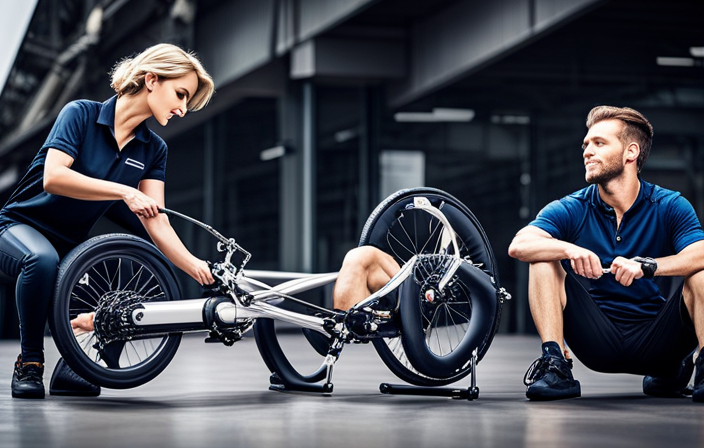
Install the motor onto your bike frame
To properly install the motor onto your bike frame, it’s crucial to ensure a secure and stable attachment. Proper motor installation techniques are essential for the smooth and efficient operation of your electric bike. Improper installation can lead to various risks, such as loose connections, vibrations, or even accidents while riding.
It is important to take into consideration the type of bike frame you have, as different frames can affect the motor installation process. For example, a step-through frame may require additional brackets or adapters to securely mount the motor. On the other hand, a diamond frame may offer more straightforward installation options.
Understanding the specific requirements of your bike frame will ensure a proper and safe motor installation.
Now, let’s move on to connecting the motor to the bike’s drivetrain.
Connect the motor to the bike’s drivetrain
Once you have securely attached the motor to your bike frame, it’s time to connect it to the drivetrain. This step is crucial in ensuring that power from the motor is efficiently transferred to the bike’s wheels, allowing for a smooth and powerful ride. To connect the motor to the drivetrain, you will need to follow these steps:
| Step | Procedure |
|---|---|
| 1 | Locate the chain on your bike. |
| 2 | Remove the chain from the rear derailleur. |
| 3 | Attach the motor sprocket to the bike’s rear cassette. |
| 4 | Reinstall the chain onto the motor sprocket and the front chainring. |
| 5 | Ensure that the chain is properly tensioned and aligned. |
Install the battery and controller
You’ll need to install the battery and controller to complete the electric bike conversion. Here’s a step-by-step guide on how to do it:
-
Connect the battery to the controller:
Start by locating the battery compartment on your electric bike. Open it up and identify the positive (+) and negative (-) terminals on both the battery and the controller. Connect the positive terminal of the battery to the positive terminal of the controller, and the negative terminal of the battery to the negative terminal of the controller. -
Troubleshoot common battery and controller issues:
If your battery or controller is not functioning properly, here are a few common issues to check for: loose connections, faulty wiring, depleted battery, or a malfunctioning controller. Make sure all connections are secure, check the wiring for any damage, charge the battery if needed, and consider replacing the controller if it is not working correctly.
Now that the battery and controller are installed, it’s time to connect the wiring and ensure proper connections for a seamless electric bike conversion.
Connect the wiring and ensure proper connections
Now that the battery and controller are in place, it’s important to ensure that all the wiring is properly connected for a successful conversion.
Check for loose connections and troubleshoot any wiring issues that may arise. Begin by carefully inspecting each wire and connector to make sure they are securely fastened. Look for any signs of damage or fraying that could lead to a faulty connection.
If you encounter any loose or damaged wiring, tighten or replace it as needed. Use a multimeter to test the continuity of the circuits and verify that electricity is flowing properly. Pay close attention to the connections between the battery, controller, and motor, as these are critical for the functioning of your electric bike.
Once all the connections are secure, you can move on to testing the motor and making any necessary adjustments.
Test the motor and make necessary adjustments
To ensure optimal performance, start by testing the motor and making any adjustments needed for smooth operation. Adjusting motor performance is crucial to achieve the desired speed and efficiency in an electric bike.
One common issue that may arise is a lack of power or torque. In such cases, troubleshooting the motor can help identify the problem. This may involve checking the wiring connections, ensuring they are secure and properly connected. Additionally, testing the motor’s voltage and current draw can provide valuable information about its performance. If necessary, adjusting the motor’s controller settings can also improve its overall performance.
By taking these steps, you can troubleshoot common motor issues and ensure that your electric bike is running smoothly.
Now, let’s move on to the next section, where we will discuss how to install additional accessories, such as a throttle or display, to enhance the functionality of your electric bike.
Install additional accessories, such as a throttle or display
Once you’ve tested and adjusted the motor, it’s time to install additional accessories like a throttle or display to enhance your electric bike’s functionality. The throttle installation is a crucial step in controlling the speed of your electric bike. It allows you to regulate the power output of the motor, giving you the freedom to choose how fast or slow you want to go. The display installation, on the other hand, provides you with important information such as speed, battery level, and distance traveled. It’s like having a dashboard for your electric bike. To make it easier for you to understand the process, I have created a table below that outlines the steps for both throttle and display installation.
| Throttle Installation | Display Installation |
|---|---|
| Step 1: Locate the appropriate position on the handlebar | Step 1: Identify the suitable location for the display |
| Step 2: Attach the throttle securely using the provided screws | Step 2: Mount the display using the included bracket |
| Step 3: Connect the throttle wires to the motor controller | Step 3: Connect the display wires to the main wiring harness |
| Step 4: Test the throttle to ensure proper functionality | Step 4: Test the display to verify its accuracy |
| Step 5: Adjust the throttle sensitivity if needed | Step 5: Calibrate the display settings according to your preferences |
Ensure proper safety measures, such as wearing a helmet
Ensure that you wear a helmet to properly protect yourself while enjoying the benefits of your electric bike. Helmet safety is crucial when riding any type of bicycle, and electric bikes are no exception. A helmet should fit snugly on your head, with the straps securely fastened under your chin. It should also meet safety standards and have proper certification.
When riding your electric bike, it is important to follow proper riding techniques. This includes maintaining a steady speed, using appropriate hand signals, and being aware of your surroundings. Additionally, always obey traffic laws and be mindful of pedestrians and other vehicles on the road.
By wearing a helmet and practicing safe riding techniques, you can ensure a safer and more enjoyable experience on your electric bike.
Now, let’s learn how to operate and maintain your electric bike.
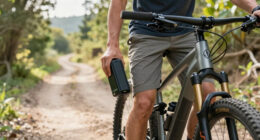
Learn how to operate and maintain your electric bike
Now that we’ve covered the importance of safety gear, let’s delve into the operation and maintenance of your electric bike. Understanding how to properly use and care for your bike will ensure its longevity and optimal performance. Here are some essential maintenance tips and a troubleshooting guide to keep your electric bike running smoothly:
Maintenance Tips:
- Regularly clean the bike to remove dirt and debris.
- Keep the battery charged and stored in a cool, dry place when not in use.
Troubleshooting Guide:
- If the bike doesn’t start, check the battery connections and charge level.
- In case of motor issues, inspect the wiring and connectors for any damage.
Enjoy the benefits of your newly transformed electric bike
After following the maintenance tips and troubleshooting guide, you’ll be able to fully enjoy the advantages of your newly transformed e-bike.
Joining an electric bike club is a great way to connect with fellow enthusiasts and learn more about the world of electric bikes. These clubs often organize group rides, where you can explore new routes and share your experiences with others.
Additionally, being part of a club allows you to promote the environmental benefits of electric bikes to a wider audience. By showcasing your e-bike and sharing your knowledge, you can inspire others to consider making the switch to greener transportation.
So, join a club and spread the word about the positive impact of electric bikes.
As you become more familiar with your electric bike, you may want to consider upgrading or customizing it to better suit your needs.
Consider upgrading or customizing your electric bike
If you want to enhance your riding experience, you might consider personalizing your e-bike with accessories that reflect your style and needs. There are various upgrading options and customization ideas available to make your electric bike truly unique.
One popular option is upgrading the battery to extend your bike’s range and power. You can also install a suspension fork to improve the bike’s performance on rough terrains.
Another customization idea is adding fenders and a rear rack for practicality and convenience. Additionally, you can upgrade the lights for better visibility and safety during night rides.
Don’t forget about the saddle and handlebars, as finding the right fit can greatly improve comfort and control. By customizing your e-bike, you can personalize it to suit your preferences and make it stand out from the crowd.
And if you’re looking for more support and resources, joining a community of electric bike enthusiasts is a great way to connect with like-minded individuals who can offer advice and assistance.
Join a community of electric bike enthusiasts for support and resources
Joining a community of e-bike enthusiasts provides valuable support and resources for electric bike riders. By connecting with like-minded individuals, you can gain access to a wealth of knowledge and expertise that can enhance your electric bike riding experience.
One way to do this is by joining local meetups where you can meet other electric bike enthusiasts, share tips and tricks, and even go on group rides together.
Another benefit of joining a community is the opportunity to explore DIY electric bike projects. Through discussions and collaborations with fellow enthusiasts, you can discover new ideas for customizing and upgrading your electric bike. Whether it’s modifying the motor or adding new features, the community can offer guidance and insights.
Spread the word about the benefits of electric bikes and encourage others to make the switch
You can help promote the advantages of e-bikes and inspire others to switch by sharing your personal experiences and recommending them to friends and family. E-bikes offer numerous benefits that encourage sustainability and promote health and fitness.
Here are five compelling reasons why you should consider making the switch:
-
Environmental Impact: E-bikes emit fewer greenhouse gases and reduce air pollution compared to traditional vehicles, contributing to a cleaner and healthier environment.
-
Cost Savings: By using an e-bike for commuting or running errands, you can save money on fuel, parking fees, and maintenance expenses.
-
Physical Fitness: Riding an e-bike provides a low-impact form of exercise that can improve cardiovascular health, build muscle strength, and enhance overall fitness levels.
-
Convenience: E-bikes allow you to navigate through traffic effortlessly, avoid parking hassles, and reach your destination faster than a conventional bicycle.
-
Fun and Adventure: E-bikes provide an enjoyable and exciting way to explore your surroundings, discover new routes, and embark on memorable outdoor adventures.
Frequently Asked Questions
What are the necessary materials and tools needed to make an electric bike motor?
To properly install an electric bike motor, it is crucial to choose the right motor for your needs. Consider factors such as power output, voltage, and compatibility with your bike frame.
How do I choose the right motor for my bike?
To choose the right motor for your bike, consider the desired motor power and efficiency. Motor power determines the speed and capacity to climb hills, while motor efficiency affects battery life. Assess these factors to ensure optimal performance.
What are the steps to prepare my bike for the motor installation?
To prepare my bike for motor installation, I first ensure the bike frame is sturdy and in good condition. Then, I carefully determine the optimal placement for the battery, considering weight distribution and accessibility.
How do I connect the motor to the bike’s drivetrain?
To connect the motor to the bike’s drivetrain, first, remove the existing crankset. Then, attach the motor bracket to the frame and secure the motor onto it. Finally, connect the motor chainring to the bike’s chain and adjust the tension for optimal performance.
What safety measures should I take when operating and maintaining my electric bike?
When operating an electric bike, it is crucial to prioritize safety. Always wear a helmet, follow traffic rules, and be mindful of your surroundings. Additionally, proper maintenance is essential for longevity. Regularly check the brakes, tires, and battery to ensure optimal performance.
Conclusion
In conclusion, I have successfully transformed my regular bike into an electric bike by following the step-by-step process outlined above.
It was a rewarding experience to gather the necessary materials, choose the right motor, and install it onto my bike frame.
The statistic that adds depth to this process is that electric bikes can achieve a range of up to 50 miles on a single charge, making them a practical and sustainable mode of transportation.
I am excited to continue upgrading and customizing my electric bike, and I encourage others to join the electric bike community for support and resources.
Let’s spread the word about the numerous benefits of electric bikes and inspire others to make the switch.