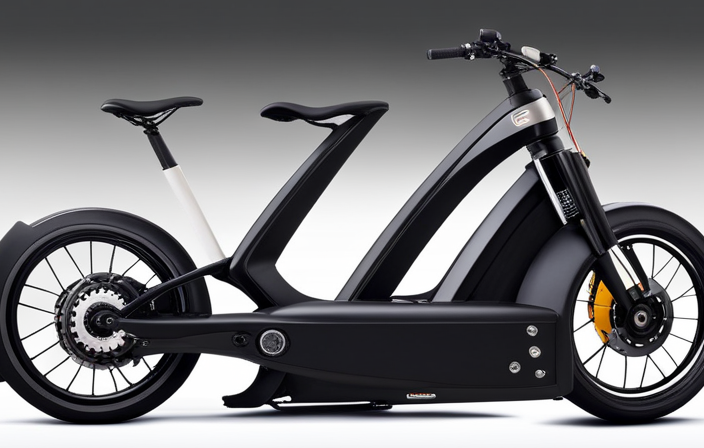
So you want to give your bike a little extra boost? Look no further! In this article, I’ll show you how to make an electric motor for your bike.
With just a few materials and tools, you’ll be able to transform your ordinary bike into an electrifying ride. We’ll cover everything from choosing the right motor to properly connecting it to your bike’s drive system.
Get ready to take your cycling experience to a whole new level!
Key Takeaways
- Safety measures and regular maintenance are important for electric bikes
- Securing and protecting wiring and components is crucial to prevent damage
- Troubleshooting and addressing common issues can prevent costly repairs
- Upgrading features of an electric bike can enhance overall performance and range

Under Armour Squeeze Water Bottles, 32 oz Water Bottles, Sideline Sports Water Bottle with Quick-Shot Lid, Quick & Easy Hydration, Gym Water Bottles, Squeeze Bottle, 1 32oz Bottle
- Easy Hydration: Quick-shot lid and one-way valve
- On-the-Go Use: One-hand operation for active hydration
- Measurement Markings: Ounces and milliliters for tracking
As an affiliate, we earn on qualifying purchases.
Gather the Necessary Materials and Tools
Before getting started, make sure you’ve gathered all the necessary materials and tools for making an electric motor for your bike.
Choosing the right batteries is crucial for ensuring optimal performance and range. Look for lithium-ion batteries that are lightweight, durable, and have a high energy density. Consider factors such as voltage and capacity to match your motor’s power requirements.
Additionally, finding the best motor controller is essential for controlling the speed and torque of your electric motor. Look for a controller that is compatible with your motor and batteries, and offers features like regenerative braking and thermal protection.
Now that you have the right batteries and motor controller, let’s move on to the next section where we will discuss how to choose the right motor for your bike.
Choose the Right Motor for Your Bike
To choose the right motor for your bicycle, you’ll need to consider factors such as power output, voltage requirements, and compatibility with your bike’s frame.
When selecting the appropriate motor power, it’s essential to take into account your intended use. If you plan to ride on flat terrain, a lower power motor may suffice, but if you anticipate tackling steep hills, a higher power motor would be more suitable.
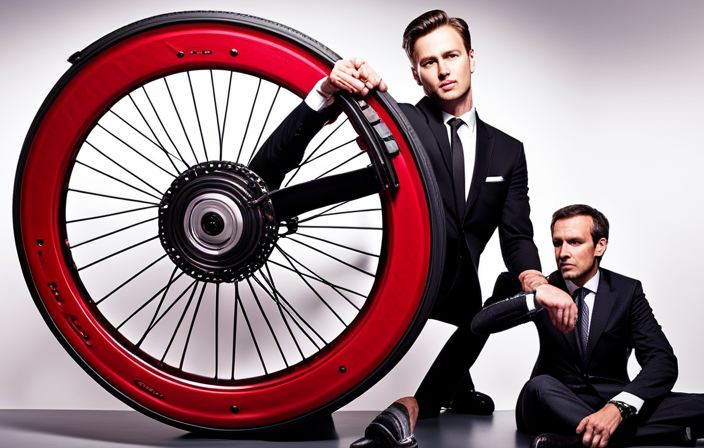
Understanding the different motor types for bikes is also crucial. There are hub motors, which are located in the wheel hub and provide a smooth and integrated look, and mid-drive motors, which are positioned near the pedals and offer better weight distribution.
By considering these factors, you can make an informed decision and select the perfect motor for your bike.
Now, let’s move on to preparing your bike for the motor installation, ensuring a seamless integration.
Prepare Your Bike for the Motor Installation
Now that you’ve considered the power and type of motor, it’s time to get your bike ready for installation. Before you can enjoy the benefits of bike modification and performance improvement, there are a few key steps you need to take. First, ensure that your bike is in good working condition, with all components properly maintained and adjusted. Next, assess the frame and determine if any modifications or reinforcements are necessary to support the motor. Finally, gather all the necessary tools and materials, such as brackets, bolts, and wiring harnesses, to ensure a smooth installation process. By properly preparing your bike, you are setting a solid foundation for a successful motor installation.
| Steps | Actions | Tools/Materials |
|---|---|---|
| 1 | Assess bike condition | Bike maintenance kit |
| 2 | Check frame integrity | Reinforcement materials |
| 3 | Gather installation materials | Brackets, bolts, wiring harnesses |
Now that your bike is ready, it’s time to mount the motor onto your bike without any further delay.
Mount the Motor onto Your Bike
Ensure that you’re following the manufacturer’s instructions carefully when attaching the motor to your bicycle. Proper mounting techniques are crucial for ensuring stability and safety during operation.
Start by identifying an appropriate location on your bike frame where the motor can be securely attached. Consider factors such as weight distribution to maintain balance while riding.
Use mounting brackets or clamps provided with the motor kit to securely fasten the motor to the frame. Ensure that all connections are tight and secure to prevent any movement or vibrations.
Once the motor is properly mounted, you can proceed to connect it to the bike’s drive system. This will allow the motor to transfer power to the wheels and propel your bike forward.
Connect the Motor to the Bike’s Drive System
Once you’ve securely mounted the motor onto your bike, it’s time to connect it to the drive system. This step is crucial for ensuring optimal performance and efficiency. To do this, you’ll need to identify the appropriate connections and make sure they are properly secured. Refer to the table below for a visual representation of the connections:
| Motor | Drive System |
|---|---|
| Red | Positive |
| Black | Negative |
| Green | Signal |
| Blue | Ground |
When connecting the motor to the drive system, it’s important to avoid common mistakes such as reversing the polarity or failing to secure the connections tightly. These mistakes can lead to issues like poor motor performance or even damage to the drive system. If you encounter any problems, here are some troubleshooting tips: double-check your connections, ensure proper insulation, and consult the motor and drive system manuals for guidance.
Now that the motor is connected, the next step is to install the battery and controller, which will power and control the motor’s operation seamlessly.
Install the Battery and Controller
After securely connecting the motor to the drive system, it’s time to install the battery and controller to power and control its operation seamlessly.
The first step is to install the battery. Locate a suitable position on the bike frame where the battery can be securely mounted. Ensure that it is easily accessible for charging and maintenance.
Next, connect the battery to the motor using the appropriate wiring harness, ensuring proper polarity.
Once the battery is installed, it’s time to place the controller. Find a suitable location near the motor where the controller can be mounted securely. Make sure there is enough space for proper ventilation and cooling.
Connect the controller to the motor and the battery using the provided wiring harnesses.
With the battery and controller installed, it’s time to test the motor and ensure proper functioning.
Test the Motor and Ensure Proper Functioning
To test the motor and make sure it’s functioning properly, you should turn on the power and engage the throttle or pedal assist to see if the motor engages and provides the desired level of assistance. This will help you identify any issues with the motor and determine if further troubleshooting is required.
When testing the motor, pay close attention to any unusual noises, vibrations, or lack of power. If the motor does not engage or provide the expected assistance, there are a few troubleshooting tips you can try.
First, check the wiring connections to ensure they are secure and properly connected. Additionally, inspect the motor for any signs of damage or wear. If necessary, consult the manufacturer’s instructions or seek professional assistance.
Once the motor is tested and functioning properly, it’s important to secure and protect the wiring and components to prevent any damage or accidents.
Secure and Protect the Wiring and Components
To secure and protect the wiring and components, you should carefully wrap them in electrical tape and use zip ties to keep them in place. Cable management is crucial in ensuring that the wires are organized and secure, minimizing the risk of damage or interference.
Start by identifying the main wiring routes and secure them using zip ties at regular intervals. Make sure to leave enough slack for any necessary movement.
Additionally, consider using waterproofing techniques to safeguard your electric bike from moisture and other environmental factors. Apply a layer of silicone sealant or use heat shrink tubing to cover exposed connections or vulnerable areas. This will help prevent water damage and ensure the longevity of your electric bike.
With proper cable management and waterproofing, you can enjoy your upgraded electric bike worry-free.
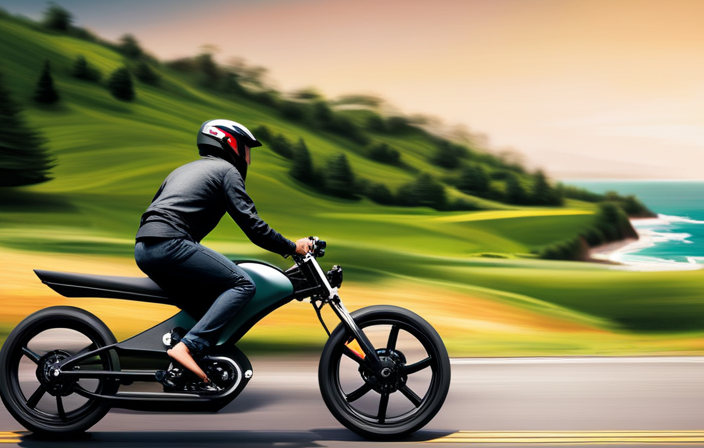
Enjoy Your Upgraded Electric Bike
You can now fully enjoy the enhanced features of your upgraded electric bike. By upgrading the battery capacity, you have significantly increased the range and power of your bike. The optimized motor performance ensures a smoother and more efficient ride.
With the upgraded battery, you can now go on longer rides without worrying about running out of power. The enhanced motor performance provides better acceleration and improved hill-climbing capabilities. You will experience a noticeable difference in the overall performance and enjoyment of your electric bike.
However, it is important to remember that regular maintenance and servicing are crucial to keep your bike running smoothly. By taking good care of your electric bike, you can ensure its longevity and continue to enjoy the benefits of your upgrades.
Maintain and Service Your Electric Bike Regularly
Regular maintenance and servicing are essential for keeping your upgraded electric bike running smoothly. Neglecting these tasks can lead to reduced performance and potential damage to your bike’s components.
To ensure the longevity of your electric bike, it is important to follow a regular maintenance schedule. This includes checking and tightening all bolts and connections, inspecting the tires for wear and tear, and lubricating the chain. Additionally, monitoring the battery’s charge level and keeping it properly charged will help prevent any unexpected power loss during rides.
As for troubleshooting, common issues for electric bike owners include motor malfunctions, electrical system failures, and battery problems. Familiarizing yourself with these potential problems and knowing how to address them will save you time and money in the long run.
Frequently Asked Questions
How much does it cost to make an electric motor for a bike?
The cost of making an electric motor for a bike depends on the materials used. The total cost includes components like batteries, motor, controller, and wiring. Prices can range from a few hundred to several thousand dollars.
Can I use any type of motor for my electric bike conversion?
Yes, the compatibility of the motor is crucial for an electric bike conversion. It should be selected based on its power output, voltage, and weight capacity to ensure optimal motor performance and efficiency.
Are there any legal regulations or restrictions for using an electric motor on a bike?
Yes, there are legal requirements and regulations for using an electric motor on a bike. These regulations ensure electric bike safety and include speed limits, age restrictions, and the need for helmets and lights while riding.
How long does it take to install the motor onto the bike?
Installing an electric motor onto a bike depends on the motor’s compatibility with the bike. The installation time varies but can typically range from a few hours to a full day, depending on the complexity of the motor and the bike’s design.
What kind of maintenance does an electric bike motor require?
The maintenance requirements for an electric bike motor include regular cleaning, lubrication, and inspection of components such as the battery, motor, and wiring. Common issues may include overheating, battery degradation, and motor malfunctions.
Conclusion
In conclusion, I have successfully transformed my regular bike into an electric one. It was a challenging but rewarding process that required gathering the right materials and tools, choosing the appropriate motor, and mounting and connecting it to my bike’s drive system.
One interesting statistic I discovered is that electric bikes have been growing in popularity, with sales increasing by 91% from 2019 to 2020. This shows that more and more people are recognizing the benefits of electric bikes and taking steps to make their own.
By following the steps outlined in this article, you too can enjoy the convenience and efficiency of an electric bike. Remember to regularly maintain and service your electric bike to ensure its optimal performance.