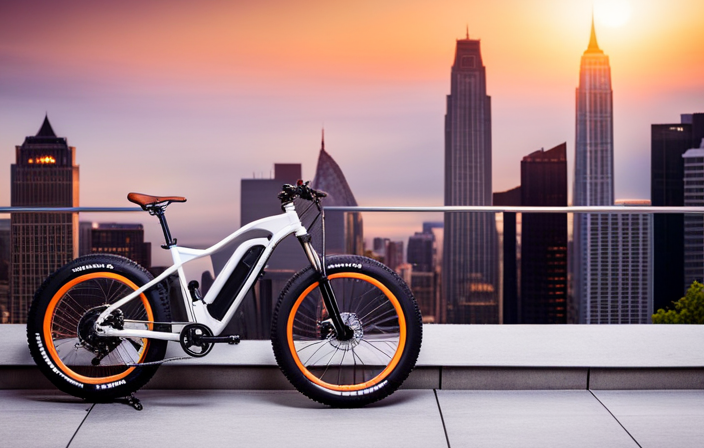
Did you know that by making your own electric bike at home, you can save up to 70% on transportation costs? With the right materials and tools, you can transform an ordinary bike into an eco-friendly and cost-effective mode of transportation.
In this article, we will guide you through the step-by-step process of creating your own electric bike. From selecting the right bike frame to installing the motor and battery, we will provide you with all the technical knowledge and detailed instructions you need.
So let’s get started on this exciting DIY project!
Key Takeaways
- Regular maintenance and care are important for the longevity of your e-bike.
- DIY electric bikes offer cost savings compared to traditional transportation methods.
- Building your own electric bike provides a sense of satisfaction and the opportunity to learn new skills.
- Electric bikes are an eco-friendly mode of transportation that contributes to a cleaner environment.

Under Armour Squeeze Water Bottles, 32 oz Water Bottles, Sideline Sports Water Bottle with Quick-Shot Lid, Quick & Easy Hydration, Gym Water Bottles, Squeeze Bottle, 1 32oz Bottle
- Easy Hydration: Quick-shot lid and one-way valve
- On-the-Go Use: One-hand operation for active hydration
- Measurement Markings: Ounces and milliliters for tracking
As an affiliate, we earn on qualifying purchases.
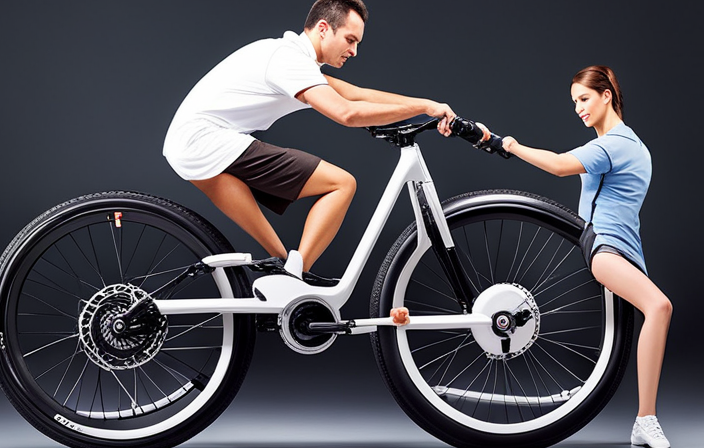
Gather the Necessary Materials and Tools
You’ll need to gather all the necessary materials and tools to make an electric bike at home.
Selecting the appropriate battery and motor for your electric bike is crucial. The battery is the power source, so choose one with a high capacity and long lifespan. Lithium-ion batteries are commonly used due to their high energy density and lightweight design.
As for the motor, opt for a brushless DC motor for its efficiency and low maintenance requirements.
Safety precautions during the installation process are essential. Ensure you have protective gear such as gloves and goggles to shield yourself from any potential harm. Remember to take necessary precautions when handling the battery, as it contains hazardous materials.
With the appropriate battery and motor selected, it’s time to move on to the next step of choosing the right bike frame.
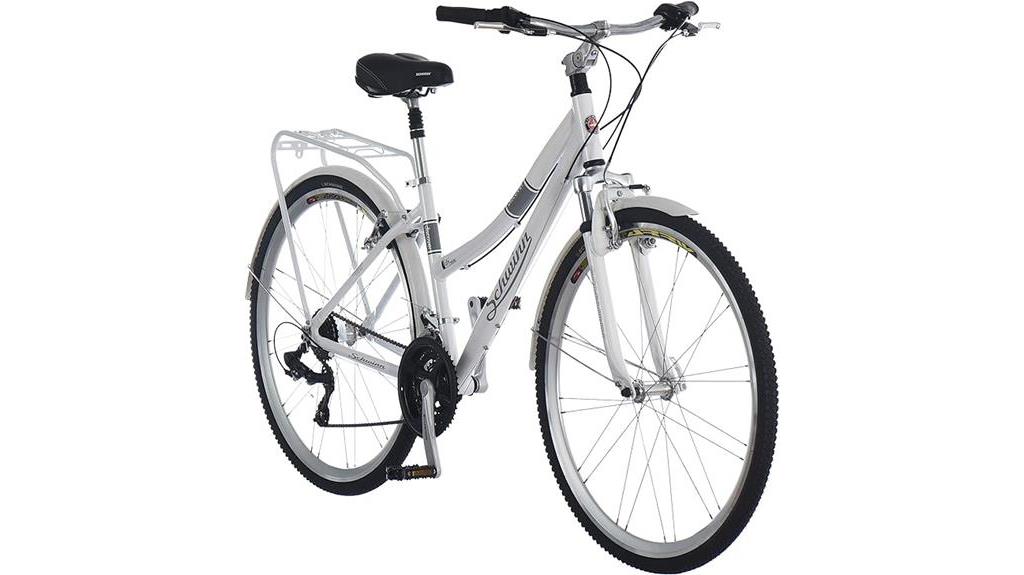
Choose the Right Bike Frame
When selecting the appropriate bike frame for your electric bike, it’s important to consider various factors.
The frame is the foundation of your bike, so it needs to be strong and durable enough to handle the weight and power of the electric components. Look for a frame made of lightweight yet sturdy materials like aluminum or steel.
Consider the frame’s geometry as well, as this can affect the bike’s stability and handling.
Additionally, you’ll need to modify the regular bike frame to accommodate the electric components. This may involve adding mounting brackets or reinforcements to ensure a secure fit.
By choosing the right bike frame and making the necessary modifications, you’ll be on your way to creating a reliable and efficient electric bike.
Now, let’s move on to the next step and select the motor and battery.
Select the Motor and Battery
To choose the motor and battery for your electric bike, consider factors such as power output, range, and compatibility with your bike frame.
The motor power determines the speed and acceleration of your electric bike, so you need to select one that suits your needs. Higher power motors provide greater speed, but they also consume more battery capacity.
Speaking of which, the battery capacity is crucial for determining the range of your electric bike. A larger capacity allows for longer rides without needing to recharge.
Additionally, make sure the motor and battery you choose are compatible with your bike frame. This ensures a seamless integration and prevents any potential issues.
Now that you have selected the perfect motor and battery, it’s time to install them onto the bike frame.
Install the Motor and Battery onto the Bike Frame
Now that the motor and battery have been selected, it’s time to install them onto the bike frame.
Before proceeding, ensure that the electric bike frame modifications are in place to accommodate the motor and battery securely.
Begin by positioning the motor onto the frame, aligning it with the chain and rear wheel. Use the appropriate mounting brackets and bolts to secure the motor in place.
Next, attach the battery onto the frame, ensuring it is well-balanced and won’t interfere with the bike’s functionality. Double-check all connections, making sure they are tight and secure.
Troubleshoot any motor and battery connections that may not be functioning properly, ensuring the wires are correctly connected.
Finally, connect the wiring and controls, ensuring they are well-insulated and protected. This will seamlessly transition into the subsequent section about connecting the wiring and controls, which is crucial for the overall functioning of the electric bike.
Connect the Wiring and Controls
First, ensure all wiring and controls are properly connected and insulated for the optimal functioning of the e-bike.
Start by carefully connecting the wires from the motor and battery to the corresponding terminals on the controller. Double-check that all connections are secure and free of any loose or exposed wires.
Next, insulate the connections using electrical tape or heat shrink tubing to prevent any potential short circuits.
Once the wiring is complete, focus on the controls. Make sure the throttle, brake sensors, and display are properly connected to the controller. Test the controls to ensure they are responsive and functioning correctly.
If you encounter any issues, such as the motor not responding or the throttle not providing accurate speed control, refer to the troubleshooting guide provided by the manufacturer.
With the wiring and controls properly set up, you can now move on to testing the electric bike’s functionality by taking it for a ride.
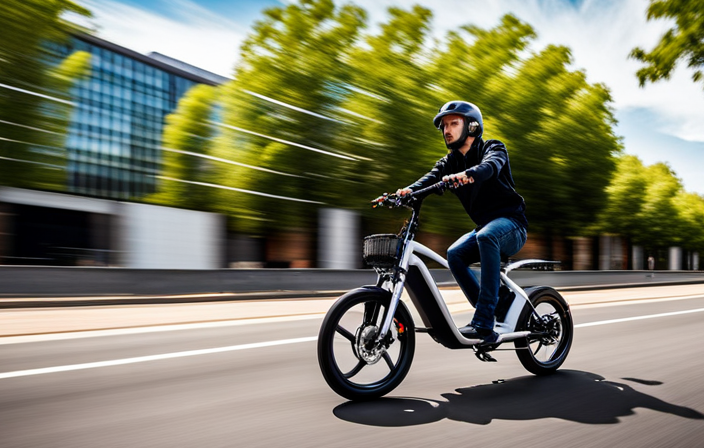
Test the Electric Bike’s Functionality
Once you have completed the wiring and controls, it’s time to test if your e-bike is functioning properly. Before you take it for a spin, follow these steps to ensure everything is in order:
-
Check the battery: Verify that the battery is fully charged and securely connected to the bike. Without a proper charge, your e-bike may not perform optimally.
-
Test the motor: Engage the motor by twisting the throttle or pedaling. Listen for any unusual sounds or vibrations, as these could indicate a problem with the motor.
-
Assess the brakes: Apply the brakes gently and gradually increase the force. Make sure they respond promptly and smoothly. Faulty brakes can lead to accidents, so it’s crucial to address any issues.
-
Examine the display and controls: Ensure that the display is providing accurate information, such as speed and battery level. Test the controls for responsiveness and ease of use.
Discussing the advantages and disadvantages of electric bikes and troubleshooting common issues will be covered in the subsequent section. Now, let’s move on to customizing and personalizing your electric bike.
Customize and Personalize Your Electric Bike
To add a personal touch to your e-bike, you can customize and personalize it according to your preferences and style. There are various modifications you can make to personalize your electric bike and enhance its performance. Some popular customizations include upgrading the battery capacity, installing a more powerful motor, adding a suspension system for a smoother ride, and integrating LED lights for improved visibility. You can also personalize the appearance of your e-bike by choosing a unique paint job, adding decals or stickers, and accessorizing with fenders, racks, or baskets. Personalizing your electric bike not only allows you to make it truly your own, but it can also improve the overall riding experience. However, it’s important to ensure that any modifications you make comply with safety regulations and legal requirements, which will be discussed in the next section.
Ensure Safety and Legal Compliance
Make sure you prioritize safety and legal compliance when customizing and personalizing your e-bike. Before making any modifications, it’s important to take safety precautions to ensure the overall functionality and stability of your electric bike.
This includes inspecting all components, such as the battery, motor, and brakes, for any signs of damage or wear. Additionally, make sure to follow all legal requirements set by your local jurisdiction. This may include registering your e-bike, obtaining the necessary permits or licenses, and adhering to speed and power restrictions.
By ensuring safety and legal compliance, you can enjoy a smooth and worry-free ride on your customized e-bike.
Moving forward, maintaining and caring for your electric bike is crucial to extend its lifespan and optimize performance.
Maintain and Care for Your Electric Bike
Ensuring the longevity and optimal performance of your e-bike is essential through regular maintenance and care. To keep your electric bike running smoothly, here are some key maintenance tips:
-
Keep the bike clean: Regularly clean your bike to remove any dirt, debris, or moisture that may accumulate and cause damage.
-
Perform regular checks: Check the tire pressure, brakes, and chain tension to ensure they are in good working condition.
-
Troubleshooting and repairs: Familiarize yourself with troubleshooting common issues such as motor malfunctions or electrical problems. Learn how to perform basic repairs or seek professional help when needed.
-
Extending the battery life: Follow the manufacturer’s guidelines for charging and storing your battery. Avoid overcharging or letting it fully discharge.
By following these maintenance practices, you can enjoy your DIY electric bike and save money in the long run!
Enjoy Your DIY Electric Bike and Save Money!
Get ready to have a blast riding your DIY e-bike while saving some cash! Building your own electric bike not only gives you the satisfaction of creating something from scratch, but it also allows you to enjoy the benefits of DIY projects.
One major advantage is the money you can save on transportation. With rising fuel costs and expensive public transportation, having your own electric bike can be a game-changer. You’ll no longer need to worry about spending a fortune on gas or monthly passes.
Additionally, maintaining and repairing your e-bike will be much more affordable compared to traditional bikes or cars. By taking on this project, you’re not only gaining a fun and eco-friendly mode of transportation, but you’re also pocketing some extra cash in the process.
So, get ready to hit the road and enjoy the freedom of your own DIY electric bike!
Frequently Asked Questions
How much does it cost to make an electric bike at home?
When it comes to the cost comparison between making an electric bike at home and buying one, DIY is often more cost-effective. By sourcing parts and assembling them yourself, you can save money while still creating a high-quality electric bike.
What are the legal requirements for riding an electric bike?
To legally ride an electric bike, you must adhere to specific regulations and legal restrictions. For example, in the US, electric bikes are typically limited to a maximum speed of 20 mph and require riders to be at least 16 years old.
Can I use any type of bike frame for an electric bike conversion?
Yes, you can use various types of bike frames for electric bike conversion. However, it’s important to consider the compatibility of the frame with the conversion kit and battery placement to ensure a successful and safe electric bike build.
How long does it take to install the motor and battery onto the bike frame?
Installing the motor and battery onto the bike frame typically takes around 2-4 hours, but it may vary depending on your experience and the complexity of the conversion kit. Troubleshooting tips can help you avoid common issues and streamline the process.
Are there any safety precautions I should take when working with the wiring and controls?
To ensure electrical safety while working with the wiring and controls, follow these precautions. First, always wear insulated gloves and goggles. Second, use proper wiring techniques such as soldering and heat shrinking. Lastly, double-check all connections and insulate exposed wires to prevent short circuits.
Conclusion
Congratulations on successfully making your own electric bike at home! By following the steps outlined in this article, you’ve not only saved money but also gained a valuable skill.
Did you know that the average American spends around $2,000 per year on transportation costs? With your DIY electric bike, you can significantly reduce this expense and contribute to a greener environment.
Remember to always prioritize safety and legal compliance. Enjoy the freedom and convenience of your homemade electric bike!