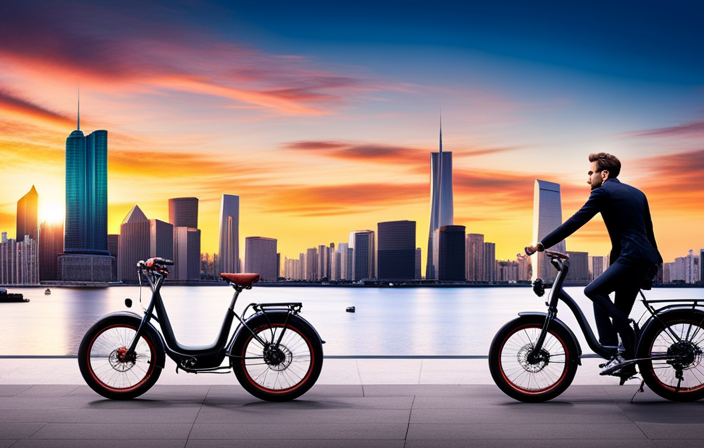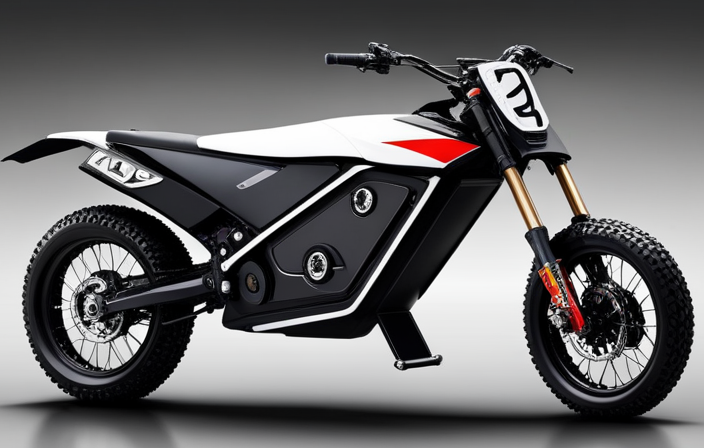
Building your own electric bike is like embarking on a thrilling DIY adventure. You have the power to transform a regular bicycle into a cutting-edge mode of transportation.
In this first part of our comprehensive guide, we will dive deep into the basics of electric bikes. We will help you select the right components and guide you through building the frame, mounting the motor, and installing the battery and wiring system.
Get ready to embark on an electrifying journey of innovation and sustainability!
Key Takeaways
- Understanding the components of electric bikes: motor, battery, wiring system
- Importance of selecting the right components for optimal performance
- Building a sturdy frame and properly mounting the motor
- Installing the battery and wiring system securely
Understanding the Basics of Electric Bikes
To understand the basics of electric bikes, you’ll need to familiarize yourself with their components and how they work. Understanding motor power is crucial in grasping the foundation of electric bikes. The motor is the heart of an electric bike and determines its performance. It converts electrical energy from the battery into mechanical power to propel the bike forward.
Knowing the different types of electric bike motors is also essential. There are three main types: hub motors, mid-drive motors, and friction drive motors. Hub motors are located in the front or rear wheel and are the most common type. Mid-drive motors are mounted in the center of the bike and provide better weight distribution. Friction drive motors are attached to the side of the wheel and offer simplicity and affordability.
Now that we understand the basics, let’s move on to choosing the right components for your electric bike.
Choosing the Right Components for Your Electric Bike
When building your electric bike, it’s crucial to select the appropriate components.
Choosing the appropriate battery for your electric bike is one of the most important decisions you will make. The battery is the heart of your electric bike, providing the power needed to propel you forward. It’s important to consider factors such as battery capacity, voltage, and weight when making your selection.
Additionally, understanding the motor specifications for your electric bike is essential. The motor determines the speed and torque of your bike, so it’s important to choose a motor that meets your needs. Consider factors such as motor power, efficiency, and compatibility with your battery.
By carefully choosing the right components, you’ll ensure that your electric bike performs optimally.
Now, let’s move on to building the frame and mounting the motor.
Building the Frame and Mounting the Motor
First, you’ll need to choose a sturdy frame and securely attach the motor to it. When it comes to mounting techniques, there are a few options to consider.
One popular method is using a bracket system that allows you to easily attach the motor to the frame. This ensures a secure fit and minimizes vibrations.
Another option is welding, which provides a strong and permanent connection. However, this requires some welding skills or professional help.
Additionally, frame customization may be necessary to accommodate the motor and other components. This can involve modifying the frame to create space or adding extra support for the motor.
Once the motor is securely mounted, you can move on to installing the battery and wiring system. This will be discussed in the subsequent section.
Installing the Battery and Wiring System
Now, you can easily install the battery and wiring system for your electric bike.
First, find a suitable location on your bike’s frame to mount the battery pack. Make sure it is secure and easily accessible for future maintenance. Once you have chosen the spot, use zip ties or straps to fasten the battery securely in place.
Next, connect the battery to the wiring system. Start by connecting the positive terminal of the battery to the positive wire of the controller and the negative terminal to the negative wire. Take extra care to ensure that the connections are tight and insulated properly.
After that, connect the wiring system to the motor, throttle, and display according to the manufacturer’s instructions.
With the battery and wiring system properly installed, you are now ready to move on to the next step of adding the electric bike controls and display, which will allow you to control your bike’s speed and monitor its performance.
Adding the Electric Bike Controls and Display
To add the electric bike controls and display, you can easily connect them to the wiring system according to the manufacturer’s instructions. The controls typically include a throttle, brake levers, and an on/off switch. These components are essential for controlling the speed and operation of the electric bike. The display, on the other hand, provides important information such as battery level, speed, and distance traveled. It is crucial to follow the manufacturer’s guidelines to ensure proper installation and functionality. Once connected, you can use the controls to accelerate or decelerate the bike, while the display keeps you informed about your ride. Additionally, it is important to understand electric bike charging and troubleshooting electric bike issues. These topics will be covered in the subsequent section on choosing the right wheels and tires.
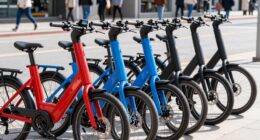
Choosing the Right Wheels and Tires
When choosing the right wheels and tires for your electric bike, consider factors such as terrain, weather conditions, and your riding style.
The wheel size plays a crucial role in determining the bike’s performance. Smaller wheels offer better acceleration and maneuverability, while larger wheels provide more stability and can handle rough terrains with ease.
Additionally, tire pressure is important for optimal traction and control. Higher tire pressure reduces rolling resistance on smooth surfaces, making it ideal for road biking, while lower tire pressure offers better grip and shock absorption for off-road adventures. Remember to check the manufacturer’s recommendations for the appropriate tire pressure range.
With the right wheels and tires, you’ll have a smooth and enjoyable ride. Now, let’s move on to adjusting the brakes and suspension for an even better biking experience.
Adjusting the Brakes and Suspension
In order to ensure a smooth and safe ride on your electric bike, it is crucial to properly adjust the brakes and suspension. When it comes to the brakes, it is important to make sure the brake pads are properly aligned and have the correct amount of clearance from the wheel. This can be done by adjusting the brake caliper and tightening or loosening the brake cable as needed. Additionally, adjusting the suspension settings is crucial for optimal performance and comfort. This can be done by adjusting the air pressure, rebound, and compression settings on your suspension fork or rear shock. By fine-tuning these settings, you can ensure that your bike absorbs bumps and impacts effectively, providing a more enjoyable riding experience. Now that the brakes and suspension are properly adjusted, it’s time to move on to the next step of testing and fine-tuning your electric bike’s performance.
Testing and Fine-Tuning Your Electric Bike
Once you have adjusted the brakes and suspension, it’s important to test and fine-tune your e-bike’s performance for optimal riding experience.
Here are some fine-tuning techniques to help you optimize your electric bike’s performance:
-
Speed and acceleration: Test your bike’s speed and acceleration by gradually increasing the throttle and observing how quickly it responds. Adjust the power settings accordingly to achieve the desired balance of speed and control.
-
Battery range: Ride your e-bike for a significant distance to gauge its battery range. Make note of any fluctuations in power or sudden drops in battery life. Adjust your riding style and power usage to maximize battery efficiency.
-
Gear shifting: Experiment with different gear combinations to find the most efficient and comfortable riding experience. Pay attention to any chain slippage or gear skipping, and make necessary adjustments to ensure smooth shifting.
-
Braking performance: Test your bike’s braking power and responsiveness at different speeds. Fine-tune the brake pads and adjust the brake lever tension to achieve optimal stopping power.
By fine-tuning these aspects, you can optimize your electric bike’s performance.
In the next section, we will discuss safety considerations and maintenance tips to ensure a safe and long-lasting riding experience.
Safety Considerations and Maintenance Tips
To ensure a safe and long-lasting riding experience, it’s important to prioritize safety and regular maintenance.
When it comes to electric bikes, there are some crucial safety precautions to keep in mind. First and foremost, always wear a helmet and protective gear to protect yourself in case of accidents or falls. Additionally, follow traffic rules and be aware of your surroundings to avoid collisions.
As for maintenance, establishing a regular maintenance schedule is essential. This includes checking the tires for proper inflation, inspecting the brakes for any wear or damage, and ensuring all electrical connections are secure. Regularly clean and lubricate the chain, and keep an eye on the battery’s charge level.
By taking these safety precautions and following a maintenance schedule, you can ensure that your electric bike remains in optimal condition for a safe and enjoyable ride.
Now, let’s move on to taking your electric bike for a test ride.
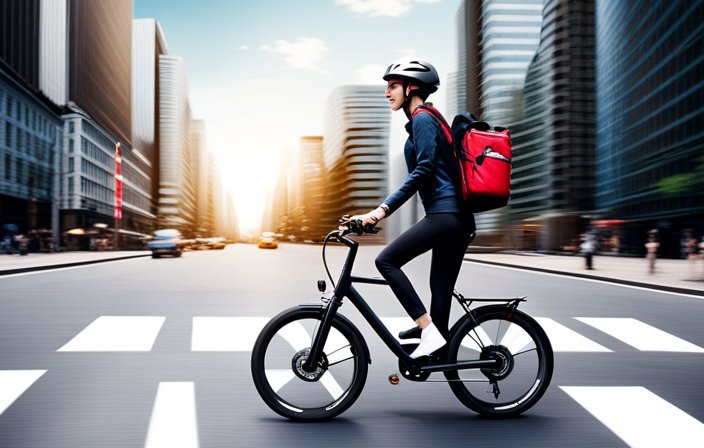
Taking Your Electric Bike for a Test Ride
Get ready to hop on your e-bike and take it for a test ride to experience the thrill of riding with electric assistance. Before you start, it’s essential to familiarize yourself with some riding techniques specific to electric bikes.
When starting from a complete stop, apply steady pressure to the pedals and gradually increase the power to avoid any sudden jolts. Additionally, when climbing a hill, shift to a lower gear and maintain a consistent cadence to ensure smooth power delivery.
During your test ride, it’s crucial to troubleshoot any common issues that may arise. If you experience a loss of power, check the battery level and make sure it’s adequately charged. Also, examine the connection between the battery and the motor to ensure it’s secure. If you encounter any strange noises or vibrations, check the tightness of all bolts and screws, paying particular attention to the motor mounts.
Lastly, if you notice any unusual handling or braking, check the tire pressure and inspect the brake pads for wear.
Taking your electric bike for a test ride allows you to fine-tune your riding techniques and identify and address any potential issues. Enjoy the ride and have fun exploring the possibilities of your new e-bike!
Frequently Asked Questions
How much does it cost to build an electric bike at home?
Building an electric bike at home can cost anywhere from $500 to $3000, depending on the components and quality chosen. DIY offers cost savings, but pre-built options provide convenience. A cost breakdown of parts like the motor, battery, and controller is essential for budgeting.
Can I use any type of bicycle frame to build an electric bike?
Yes, you can use various frame materials for building an electric bike. However, it is essential to consider their compatibility with different motor types to ensure optimal performance and safety.
Are there any legal restrictions or requirements for riding an electric bike?
When riding an electric bike, it is important to follow safety precautions such as wearing a helmet and using lights. Additionally, regulations for electric bikes vary between countries, so it’s crucial to understand the specific requirements in your area.
How long does it take to fully charge the battery of an electric bike?
Charging time for an electric bike depends on the battery capacity. Larger capacity batteries take longer to charge. Typically, it can take anywhere from 3 to 6 hours to fully charge the battery.
What is the average lifespan of the components used in an electric bike?
The average lifespan of electric bike components varies depending on factors such as usage, maintenance, and quality. Batteries typically last 2-5 years, while motors and controllers can last 10-15 years. Regular maintenance can extend the lifespan of these components.
Conclusion
So there you have it, folks! After hours of hard work and dedication, we’ve successfully built our very own electric bike.
From understanding the basics to choosing the right components, building the frame, and installing the battery, we’ve covered it all.
Now it’s time to take our creation for a spin and experience the thrill of riding an electric bike that we built ourselves.
Remember, safety should always be a top priority, so make sure to follow all the necessary precautions and maintenance tips.
Happy riding!