Are you tired of pedaling uphill or struggling to keep up with traffic on your old bike?
Well, I’ve got a solution that will blow you away!
Imagine transforming your trusty old bike into a sleek and speedy electric bike. Yes, you heard me right – with just a few simple steps, you can convert your old bike into an electrifying ride that will have everyone turning their heads.
So grab your tools and get ready to embark on this exhilarating DIY adventure!
Key Takeaways
- Ensure secure connections and wiring organization to prevent damage and interference.
- Adjust brakes and gears for electric operation to ensure smooth functioning.
- Test the electric bike conversion to identify any issues or abnormal behavior.
- Make necessary adjustments and fine-tuning for optimal performance and safety.
Assess the Condition of Your Old Bike
You’ll need to assess the condition of your old bike before you can start converting it into an electric bike. Assessing the bike condition is crucial as it determines whether the bike is suitable for the conversion process.
Start by checking the overall frame integrity, ensuring there are no cracks or significant damages. Inspect the wheels, tires, and brakes to ensure they are in good working condition. Check the drivetrain components, such as the chain, cassette, and derailleur, for any signs of wear or damage. Additionally, evaluate the bike’s weight and dimensions to ensure it can handle the additional weight of the electric components.
By thoroughly assessing your old bike’s condition and compatibility, you can ensure a successful conversion.
Now, let’s move on to the next step: researching and choosing the right conversion kit.
Research and Choose the Right Conversion Kit
Start by researching and selecting the appropriate conversion kit for your existing bicycle. When it comes to choosing the right battery for your electric bike, there are a few key factors to consider.
First, determine the range you desire and select a battery with enough capacity to meet your needs. Additionally, consider the weight of the battery and how it will affect the overall balance and handling of your bike.
Understanding the different types of motors is also crucial in making the right choice. Hub motors are popular for their simplicity and ease of installation, while mid-drive motors provide better weight distribution and a more natural riding experience.
Once you have chosen the suitable conversion kit, transition into the next section about gathering the necessary tools and components.
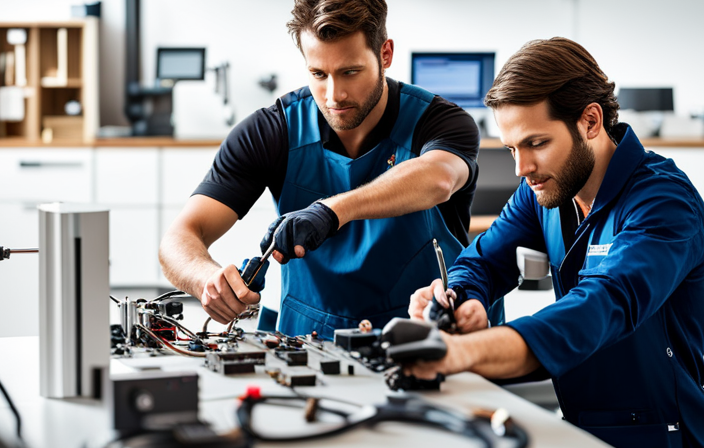
Gather the Necessary Tools and Components
To gather all the tools and components needed, check online retailers or local bike shops for the necessary items. When choosing the right conversion kit, consider factors such as motor power, battery capacity, and compatibility with your bike’s frame.
Safety considerations are crucial, so ensure that the kit includes features like a reliable braking system and proper wiring connections. Additionally, gather tools like wrenches, pliers, and screwdrivers to assist with the installation process.
You will also need components such as the electric motor, battery pack, controller, throttle, and wiring harness. These components will allow you to transform your old bike into an electric one, providing a more efficient and eco-friendly mode of transportation.
In the subsequent section about removing the pedals and crankset, we will further explore the conversion process.
Remove the Pedals and Crankset
After gathering the necessary tools and components, the next step is removing the pedals and crankset. Before starting, it is important to take safety precautions to avoid any accidents. Wear protective gloves and eyewear to prevent injuries. Begin by using a pedal wrench to loosen the pedal axle. Turn the wrench counterclockwise to unscrew the pedals from the crank arms. If they are stubborn, apply a penetrating oil to loosen them. Once the pedals are removed, focus on the crankset. Use a crank puller tool to extract the crank arms from the bottom bracket spindle. Attach the tool to the crank arm and turn it clockwise until the arms come off. If you encounter any difficulties, consult the troubleshooting tips in the instruction manual. With the pedals and crankset successfully removed, we can now move on to the next section and install the electric motor and battery.
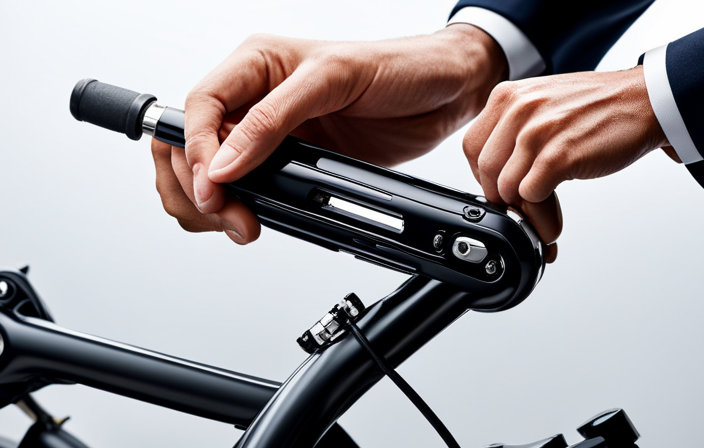
Install the Electric Motor and Battery
You’ll need to first position the electric motor and battery onto the bike frame. The motor should be mounted near the bottom bracket, where the crankset used to be. Ensure that it is securely attached and aligned with the drivetrain.
The battery and controller can be mounted on the downtube or the rear rack, depending on your preference and the available space. Make sure to use appropriate brackets and screws to secure them in place.
Once everything is mounted, it’s time to connect the motor to the bike’s drivetrain. This will involve attaching the motor’s sprocket to the chainring of the crankset. This connection is crucial for the motor to power the bike’s movement.
With the motor and battery securely mounted and the drivetrain connected, your electric bike is almost ready to go.
Connect the Motor to the Bike’s Drivetrain
After successfully installing the electric motor and battery, the next step is to connect the motor to the bike’s drivetrain. This is a crucial step in converting your old bike into an electric one. To connect the motor to the drivetrain, follow these steps:
- Begin by removing the bike’s chain from the rear wheel sprocket.
- Attach the motor sprocket to the same location where the old chain used to be.
- Align the motor sprocket with the bike’s rear wheel sprocket, ensuring that they are perfectly aligned.
By connecting the motor to the drivetrain, you enable the motor to propel the bike forward. This connection allows the motor to transfer power and torque to the rear wheel, giving you the desired electric assistance.
Once the motor is securely connected to the drivetrain, you can proceed to the next step of mounting the battery and controller, which is essential for controlling and powering the electric bike.
Mount the Battery and Controller
To mount the battery and controller, start by securing them onto the frame of your converted bicycle.
Begin by finding a suitable location on the frame where the battery and controller can be mounted securely. Use mounting accessories such as clamps, brackets, or straps to firmly attach them to the frame.
Ensure that the battery and controller are positioned in a way that doesn’t interfere with the bike’s balance or maneuverability. Double-check all connections to ensure they are tight and secure, minimizing any potential issues during rides.
It’s important to troubleshoot any issues that may arise, such as loose connections or vibrations that could affect the battery or controller. Once the battery and controller are securely mounted, you can proceed to the next step of installing the throttle or pedal assist system, which will allow you to control the electric assist functionality of your bike.
Install the Throttle or Pedal Assist System
Now, it’s time to install either the throttle or pedal assist system to control the electric assist functionality of your converted bicycle. Installing the throttle correctly is crucial to ensure smooth and precise control over the electric power. Begin by locating a suitable position on the handlebars for the throttle, keeping in mind ergonomic factors. Attach the throttle securely, making sure it is aligned properly and easily accessible while riding.
If you opt for a pedal assist system, troubleshooting common issues may arise. One common problem is incorrect sensor alignment, which can lead to inaccurate power delivery. Ensure that the sensor is positioned correctly near the crank arm and aligned with the magnet on the pedal. Another issue is improper calibration, which can cause inconsistent power assistance. Follow the manufacturer’s instructions to calibrate the sensor properly, avoiding any discrepancies.
With the throttle or pedal assist system successfully installed, we can now move on to the next section and connect and secure all electrical components.
Connect and Secure All Electrical Components
First, ensure that all electrical components are properly connected and securely fastened. Start by double-checking all wiring connections to make sure they’re tight and secure. Inspect each connection point for any signs of looseness or corrosion, and tighten or clean as necessary.
Use zip ties or cable clamps to neatly organize and secure the wiring along the frame of the bike, preventing any potential damage or interference.
Next, ensure that each electrical component is securely fastened to the bike. Use mounting brackets or straps to secure the battery, controller, and other components in their designated locations. This will prevent any movement or vibrations that could potentially damage the electrical system.
With all the electrical components properly connected and securely fastened, we can now move on to the next step of adjusting the brakes and gears for electric operation.
Adjust the Brakes and Gears for Electric Operation
Next, it’s important to adjust the brakes and gears to ensure smooth operation with the electric components. When converting an old bike into an electric bike, proper adjustment of the brakes and gears is crucial for optimal performance. To start, inspect the brake pads and replace them if necessary. Adjust the brake cables to ensure they are securely fastened and properly tensioned. This will guarantee responsive braking when riding. Additionally, check the chain tension and adjust it accordingly. A properly tensioned chain is essential for smooth gear shifting and prevents the chain from slipping off during operation.
To provide a visual aid, refer to the following table:
| Adjustment | Procedure |
|---|---|
| Brake Pads | Inspect and replace if necessary |
| Brake Cables | Securely fasten and adjust tension |
| Chain Tension | Check and adjust as needed |
By following these steps, you will ensure that your electric bike functions safely and efficiently. In the next section, we will discuss how to test the electric bike conversion without compromising its components.
Test the Electric Bike Conversion
To ensure the success of your conversion, it’s important to test the functioning of the electric components. Here are the steps to test the electric bike conversion:
-
Power up the electric system: Connect the battery and turn on the controller to activate the electric system.
-
Test the throttle: Twist the throttle and observe if the motor responds smoothly. If there are any delays or jerky movements, it could indicate a wiring issue or a faulty throttle.
-
Check the brakes: Squeeze the brake levers and ensure that the motor cuts off immediately. If the motor continues running, it may indicate a problem with the brake sensor that needs adjustment.
-
Assess the overall performance: Take the electric bike for a test ride and evaluate its speed, acceleration, and range. Note any abnormal behavior or issues that need attention.
By conducting these tests, you can identify any potential issues and ensure that your electric bike conversion is functioning optimally. If any problems arise, refer to the troubleshooting tips in the next section to make any necessary adjustments or fine-tuning.
Make any Necessary Adjustments or Fine-Tuning
After conducting the tests, if any issues arise, you may need to adjust or fine-tune certain components of your converted electric bicycle. To ensure optimal performance, here are some fine-tuning techniques and troubleshooting tips to consider:
| Component | Adjustment | Fine-Tuning |
|---|---|---|
| Brakes | Check pad alignment | Adjust cable tension |
| Chain | Ensure proper tension | Lubricate regularly |
| Gears | Adjust derailleur | Fine-tune shifting |
| Battery | Check connections | Monitor charging levels |
| Motor | Verify proper alignment | Adjust power settings |
When fine-tuning, pay close attention to each component’s functionality and make necessary adjustments accordingly. It’s important to troubleshoot any issues promptly to avoid potential safety hazards. Once you have fine-tuned your electric bike, you can proceed to the next step and ensure proper safety precautions are in place.
Ensure Proper Safety Precautions
Ensure that you have taken the necessary safety precautions to protect yourself while riding your converted e-bike. Ensuring safety is of utmost importance when it comes to any form of transportation, and an electric bike is no exception.
When choosing the right gear, opt for a well-fitting helmet, sturdy shoes, and appropriate clothing to protect yourself in case of any accidents.
Proper maintenance is crucial for the longevity of your electric bike. Regularly check the brakes, tires, and electrical components to ensure everything is in good working order.
Battery safety is also essential, so familiarize yourself with the manufacturer’s guidelines for charging and storage.
Lastly, practice safe riding techniques such as using hand signals, obeying traffic laws, and staying aware of your surroundings.
With these precautions in place, you can confidently enjoy your new electric bike.
Enjoy Your New Electric Bike
Get ready to fully experience the joy and freedom of riding your newly converted e-bike! As you embark on your journey, here are some key benefits of using an electric bike for commuting:
-
Increased Speed: With the assistance of the electric motor, you can effortlessly reach higher speeds, making your daily commute quicker and more efficient.
-
Reduced Effort: Say goodbye to sweaty rides! The electric motor provides a boost, reducing the effort required to pedal, especially when tackling hills or long distances.
-
Eco-Friendly: By choosing an electric bike, you’re actively contributing to a greener environment by reducing your carbon footprint.
-
Cost Savings: Compared to traditional vehicles, electric bikes are more affordable to operate, with lower maintenance and fuel costs.
To keep your electric bike in top condition, remember these maintenance tips:
-
Regularly clean and lubricate the chain and gears to ensure smooth operation.
-
Check the tire pressure and tread for optimal traction and efficiency.
-
Inspect the battery regularly and charge it as needed to maximize its lifespan.
-
Schedule periodic maintenance with a qualified technician to address any potential issues.
Now that you’re equipped with the knowledge to enjoy your new electric bike, let’s transition into the next section and share your experience and tips with others.
Share Your Experience and Tips with Others
After enjoying my new electric bike, I couldn’t wait to share my experience and tips with others. It’s important to share success stories to inspire and motivate fellow electric bike enthusiasts. One way to do this is by joining online forums or social media groups dedicated to electric biking. These platforms allow you to connect with like-minded individuals who can appreciate your journey and offer valuable advice. Additionally, sharing your experience can help troubleshoot common issues that arise during the conversion process. For instance, you can discuss how to overcome challenges such as battery life optimization or motor compatibility. By actively participating in these communities, you not only contribute to the collective knowledge but also foster a sense of camaraderie within the electric biking community. Let’s keep the conversation going and continue to empower each other in this exciting endeavor.
| Success Stories | Troubleshoot Common Issues |
|---|---|
| Share memorable moments when your electric bike surpassed expectations. | Discuss common problems and offer solutions to help others overcome hurdles. |
| Highlight the benefits and advantages you’ve experienced with your electric bike. | Analyze potential issues with battery life, motor compatibility, or other components. |
| Inspire and motivate fellow electric bike enthusiasts with your success story. | Collaborate with others to find innovative solutions to common electric bike problems. |
Frequently Asked Questions
What are some common safety precautions to take when converting an old bike into an electric bike?
When converting an old bike into an electric bike, it is crucial to prioritize safety. Wearing appropriate safety gear, such as a helmet and protective clothing, is essential. Additionally, ensure proper wiring installation to prevent any potential electrical hazards.
How long does it typically take to complete an electric bike conversion?
Converting an old bike into an electric one is like fitting a car engine into a bicycle frame. To choose the right battery, consider factors like voltage, capacity, and weight. Converting brings advantages like increased speed and reduced effort.
Can any type of battery be used for an electric bike conversion, or are there specific requirements?
Any electric bike conversion requires specific battery types and charging requirements. Different battery chemistries like lithium-ion, lithium polymer, or lead-acid can be used, but they must meet the voltage and capacity requirements of the conversion kit. Charging methods depend on the battery type chosen.
What are the main differences between a throttle and a pedal assist system for an electric bike?
Throttle and pedal assist systems are the two main options for electric bikes. The throttle system provides direct control with a twist grip, while pedal assist uses sensors to amplify your pedaling. Both have pros and cons, but choosing the right conversion kit depends on your preferences and riding style.
Are there any legal requirements or regulations to consider when using an electric bike on public roads?
When using an electric bike on public roads, it is important to comply with legal requirements and safety precautions. This includes ensuring the bike meets specific regulations, such as maximum speed limits and proper lighting, to ensure the safety of both the rider and others on the road.
Conclusion
In conclusion, converting an old bike into an electric bike is a rewarding and fulfilling project.
By carefully assessing the condition of the old bike, researching and choosing the right conversion kit, gathering the necessary tools and components, removing the pedals and crankset, and installing the electric motor and battery, you can transform your old bike into a powerful and eco-friendly mode of transportation.
Don’t forget to make any necessary adjustments and ensure proper safety precautions.
Once completed, you’ll be able to effortlessly zoom through the streets, feeling like you have superhuman strength propelling you forward. It’s a sight to behold!
Remember to share your experience and tips with others, as this is a fantastic DIY project worth spreading.