
Building your own electric motorbike is like embarking on a thrilling journey of creation, where you become the engineer, designer, and adventurer all at once.
With the right tools, materials, and a dash of determination, you can transform a simple frame into a powerful and eco-friendly mode of transportation.
In this article, I will guide you through the step-by-step process of crafting your very own electric motorbike, from selecting the perfect frame to testing and fine-tuning your creation.
So, let’s get ready to ride into the world of DIY electric mobility!
Key Takeaways
- Gathering the right tools and materials is essential for troubleshooting motorbike issues and selecting the appropriate battery, frame, and motor.
- Choosing the right frame is crucial for a comfortable and enjoyable ride, considering factors such as terrain, tire selection, and customization options.
- Installing the electric motor requires evaluating different motor types, determining power requirements, and considering factors like voltage, current, motor size, and weight.
- Properly connecting the battery system, controller, throttle, wheels, suspension, and braking system is important for the safety and performance of the electric motorbike.

Under Armour Squeeze Water Bottles, 32 oz Water Bottles, Sideline Sports Water Bottle with Quick-Shot Lid, Quick & Easy Hydration, Gym Water Bottles, Squeeze Bottle, 1 32oz Bottle
- Easy Hydration: Quick-shot lid and one-way valve
- On-the-Go Use: One-hand operation for active hydration
- Measurement Markings: Ounces and milliliters for tracking
As an affiliate, we earn on qualifying purchases.
Gather the Necessary Tools and Materials
You’ll need to gather the necessary tools and materials for making your electric motor bike at home. To ensure a smooth process, here are some tips for troubleshooting motorbike issues and choosing the right battery for your motorbike.
When it comes to troubleshooting, it’s important to have a basic understanding of electrical circuits and components. A multimeter and a set of small hand tools will be essential for diagnosing and fixing any potential problems.
As for the battery, consider factors such as voltage, capacity, and weight to find the right one for your motorbike. Lithium-ion batteries are popular due to their high energy density and longevity.
Once you have these tools and a suitable battery, you can move on to choosing the right frame for your motorbike, ensuring a sturdy and safe ride.
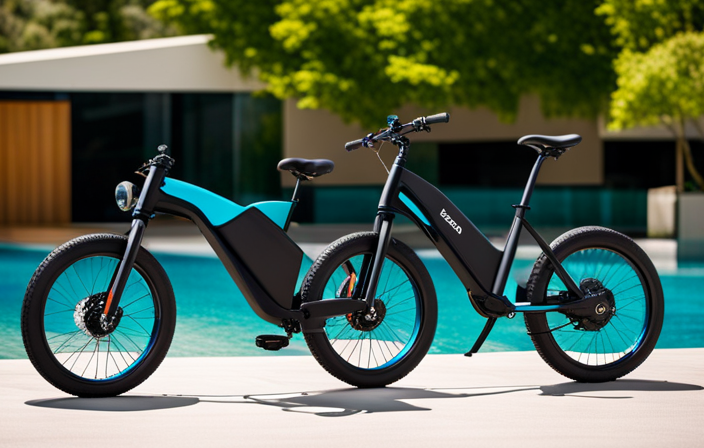
Choose the Right Frame for Your Motorbike
When selecting the appropriate frame for your motorbike, it’s important to consider various factors. One of the key aspects to take into account is choosing the right tires for your motorbike.
The tires you select should be suitable for the type of terrain you plan to ride on, whether it’s on-road or off-road. Additionally, you should consider the size and design of the tires to ensure they fit properly with your chosen frame.
Another consideration is customizing your motorbike frame to suit your preferences. You can add modifications such as a custom paint job, unique graphics, or additional accessories to make your motorbike truly yours. These customization options allow you to personalize your ride and make it stand out from the rest.
As you move forward, it’s time to install the electric motor and bring your motorbike project closer to completion.
Install the Electric Motor
When installing the electric motor on my motorbike, it was crucial to select the right motor for optimal performance.
I found a step-by-step guide that provided clear instructions on how to properly install the electric motor.
Following this guide ensured that the motor was securely and efficiently installed, allowing for a smooth ride.
Selecting the right motor for your motorbike
To select the right motor for your motorbike, you’re gonna need to consider factors such as power, weight, and efficiency. Here are the steps to choose the appropriate motor:
-
Evaluate motor types: Brushed motors are affordable and simple, suitable for light-duty applications. Brushless motors offer higher efficiency and power, making them ideal for high-performance bikes.
-
Determine power requirements: Calculate the power needed based on the weight of the bike and desired speed. Remember, higher power motors provide better acceleration and top speed.
-
Consider voltage and current: Choose a motor that matches your battery’s voltage and current capacity. It ensures compatibility and efficient energy utilization.
-
Assess motor size and weight: Opt for a motor that fits your bike’s frame and doesn’t compromise stability. Lightweight motors are preferable as they enhance maneuverability.
Selecting the right motor for your motorbike is crucial as it directly impacts the bike’s performance and efficiency. Now, let’s move on to the step-by-step guide for installing the electric motor.
Step-by-step guide for installing the electric motor
Now, let’s go through the step-by-step process of installing the electric motor on your motorbike. Before we begin, it’s important to ensure that you have selected the right motor for your bike, as discussed in the previous subtopic. Once you have your motor ready, follow these instructions:
| Step | Description |
|---|---|
| 1 | Remove the existing engine from your motorbike. |
| 2 | Mount the electric motor onto the frame securely. |
| 3 | Connect the motor to the rear wheel using a chain or belt drive system. |
| 4 | Install the motor controller, ensuring proper wiring and connections. |
| 5 | Test the motor to ensure it is functioning correctly before proceeding. |
By following these steps, you can successfully install the electric motor onto your motorbike. Now, let’s move on to the next section where we will discuss how to connect the battery system.
Connect the Battery System
First, you’ll need to connect the battery system for your electric motor bike. This is a crucial step in ensuring the smooth functioning of your bike. To begin, make sure you have a fully charged battery pack.
Locate the positive and negative terminals on the battery pack and corresponding terminals on the motor controller. Connect the positive terminal of the battery pack to the positive terminal of the motor controller using a suitable gauge wire. Similarly, connect the negative terminals of both components.
Ensure that the connections are secure and tight to avoid any loose connections or voltage drops. It is important to regularly check the battery system for maintenance and troubleshoot common issues such as low battery voltage or faulty connections.
With the battery system properly connected, you can now proceed to the next section and install the controller and throttle for your electric motor bike.
Install the Controller and Throttle
After connecting the battery system, you can proceed to install the controller and throttle for your e-bike.
The controller is a crucial component that regulates the flow of electricity from the battery to the motor, allowing you to control the speed and power of your bike.
To install the controller, first, locate a suitable spot on your bike’s frame and secure it using zip ties or mounting brackets. Make sure to position it away from any moving parts or areas prone to water damage.
Next, connect the wires from the battery system to the controller following the provided instructions.
Once the controller is securely installed, you can program the throttle. This involves adjusting the settings to match your desired acceleration and speed preferences.
Finally, with the controller and throttle in place, you are ready to mount the wheels and suspension, ensuring a smooth and enjoyable ride.
Mount the Wheels and Suspension
To mount the wheels and suspension, you’ll need to ensure a secure and stable attachment to your e-bike’s frame. Proper mounting techniques are crucial to guarantee the smooth and efficient functioning of your electric motor bike.
Begin by selecting the appropriate wheel size and type for your bike’s frame. Then, align the wheels with the fork and securely fasten them using the appropriate nuts and bolts.
Ensure that the suspension components are properly lubricated and maintained for optimal performance. Regular suspension maintenance, such as cleaning and inspecting for any damage, is essential to prolong the lifespan of your bike’s suspension system.
Once the wheels and suspension are securely mounted, you can proceed to the next section and connect the braking system, which is vital for ensuring your safety while riding.
Connect the Braking System
After mounting the wheels and suspension, it is important to connect the braking system in order to ensure a safe and controlled ride on your homemade electric motorbike. This involves discussing braking techniques and understanding the different brake components that play a crucial role in stopping the bike efficiently. To provide a visual representation of these ideas, I have created a table below:
| Brake Component | Function |
|---|---|
| Brake Calipers | Apply pressure to the brake pads, causing friction against the rotor to slow down or stop the wheel |
| Brake Pads | Press against the rotor to create friction and slow down the wheel |
| Brake Rotor | Rotating disc that is gripped by the brake pads to slow down or stop the wheel |
| Brake Levers | Control the movement of the brake calipers, allowing the rider to apply or release the brakes |
Now that we have a better understanding of braking techniques and the various brake components, we can move on to the next step of the process, which is installing the lights and accessories.
Install the Lights and Accessories
First, you should focus on installing the lights and accessories for your newly built electric motorbike. When it comes to choosing the right accessories, it’s important to consider their compatibility with your bike’s electrical system and overall design.
Look for high-quality LED lights that provide sufficient brightness for both the headlight and taillight. Additionally, consider adding turn signals for safer navigation on the road. During installation, make sure to follow the manufacturer’s instructions carefully, as improper wiring can lead to malfunctions or even damage to your electrical system.
Troubleshooting common installation issues may involve checking for loose connections, blown fuses, or faulty switches. Once you have successfully installed the lights and accessories, you can move on to the next section.
In the next section, you will test and fine-tune your electric motorbike for optimal performance.
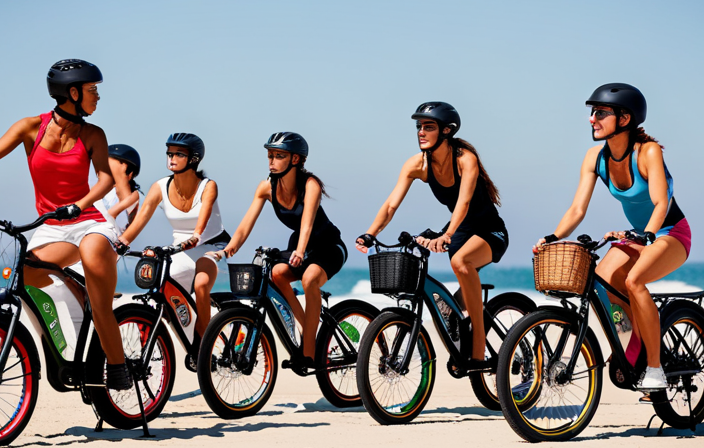
Test and Fine-tune Your Electric Motorbike
Before testing my electric motorbike, I need to ensure that I have taken all necessary safety precautions. This includes wearing protective gear such as a helmet, gloves, and sturdy footwear.
Additionally, I will make adjustments and optimizations as needed to improve the performance of the motorbike, such as fine-tuning the brakes, checking tire pressure, and adjusting the suspension.
These steps will help me to have a safe and enjoyable experience while riding my electric motorbike.
Safety precautions for testing the motorbike
To ensure your safety while testing the motorbike, make sure to wear a helmet and protective gear. Safety measures are crucial when dealing with any vehicle, especially an electric motorbike. Here are some tips for motorbike testing:
- Always conduct the test in a controlled environment, such as an empty parking lot or a closed circuit.
- Check the battery and electrical connections before each test to avoid any malfunctions or accidents.
- Start with low speeds and gradually increase as you become more comfortable with the bike’s handling.
- Keep a safe distance from other vehicles or obstacles to prevent collisions.
- Be aware of your surroundings and anticipate potential hazards.
By following these safety precautions, you can minimize the risks involved in testing your electric motorbike. Now, let’s move on to adjustments and optimizations for performance.
Adjustments and optimizations for performance
Now that we’ve covered the safety precautions for testing the motorbike, let’s delve into the adjustments and optimizations for performance.
Performance tuning and motorbike modifications are essential to maximize the efficiency and power of your DIY electric motorbike. There are several areas to focus on when it comes to improving performance.
Start by optimizing the battery pack for maximum voltage and capacity. This will enhance the overall range and speed of your motorbike.
Next, fine-tune the motor controller to ensure smooth acceleration and responsive handling. Additionally, consider upgrading the motor to a more powerful one if you desire greater speed and torque.
Lastly, make aerodynamic modifications to reduce drag and increase overall efficiency.
By implementing these adjustments and optimizations, you can transform your homemade electric motorbike into a high-performing machine.
In the next section, we will discuss how to enjoy your DIY electric motorbike to the fullest.
Enjoy Your DIY Electric Motorbike
If you’re looking to have some fun, why not start building your own DIY electric motorbike? Not only will you have the satisfaction of creating something with your own hands, but you’ll also enjoy the benefits of owning an electric motorbike. Maintenance for a DIY electric motorbike is relatively simple, requiring regular checks and adjustments to ensure optimal performance. Keeping the battery charged and monitoring the tire pressure are essential for a smooth ride. Additionally, you can optimize your motorbike’s performance by making adjustments to the controller and motor settings. By fine-tuning these components, you can improve acceleration, top speed, and overall efficiency. Enjoy the freedom of riding your own DIY electric motorbike and experience the thrill of electric power.
| Maintenance Tips | Benefits of Owning an Electric Motorbike |
|---|---|
| Regular battery checks | Environmentally friendly |
| Tire pressure monitoring | Cost-effective transportation |
| Controller adjustments | Noise reduction |
| Motor settings | Reduced maintenance costs |
Frequently Asked Questions
What are the specific tools and materials needed to make an electric motorbike at home?
To properly wire my electric motorbike’s electrical system, I need specific tools and materials. First, I must choose the right motor, considering factors like power and voltage. Then, I’ll need wiring, connectors, switches, batteries, and a controller to ensure proper functioning.
How do I choose the right frame for my motorbike?
Choosing the right frame for a motorbike is crucial. It’s like finding the perfect puzzle piece that fits flawlessly. Just like selecting the right motorbike tires and suspension system, a well-chosen frame ensures optimal performance and stability.
What are the steps to properly connect the battery system?
To properly connect the battery system for an electric motorbike, I first choose the right battery type. Then, I wire the charging system by connecting the positive and negative terminals correctly, ensuring a secure and efficient power supply for the bike.
How do I install the controller and throttle on my electric motorbike?
Installing the controller and throttle on your electric motorbike is crucial for smooth operation. Start by securing the controller and wiring it correctly. Then, connect the throttle and test for any common troubleshooting issues.
What are some tips for testing and fine-tuning the electric motorbike once it is complete?
To test and fine-tune the electric motorbike, I would recommend using various testing methods such as measuring speed and acceleration, checking battery performance, and analyzing motor efficiency. Troubleshooting techniques like diagnosing electrical connections and inspecting components will help identify and resolve any issues.
Conclusion
In conclusion, building an electric motorbike at home is an exhilarating and rewarding project. With the right tools and materials, along with careful installation and testing, you can create your very own eco-friendly and efficient mode of transportation.
So hop on your DIY electric motorbike and feel the wind in your hair as you zip through the streets, leaving a trail of gas-guzzling vehicles in your wake.
It’s time to embrace the future and make a statement with your one-of-a-kind ride.