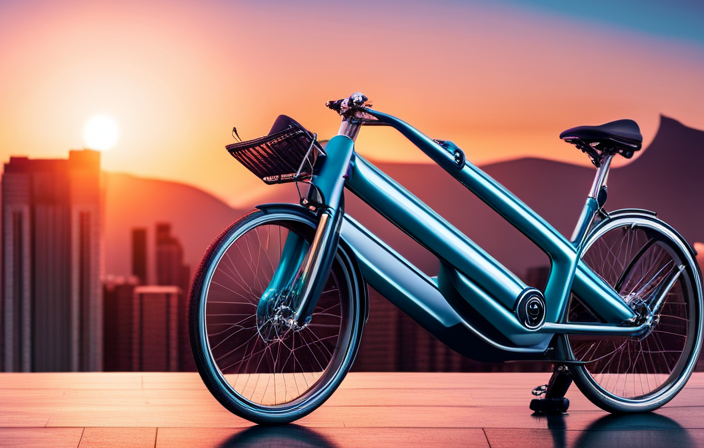
I’ve always loved the feeling of the wind against my face as I ride my bike. But lately, I’ve been craving a little extra speed and power. That’s why I decided to embark on a project to turn my regular bike into an electric one.
In this article, I’ll guide you through the process of making your bike’s front tire electric. Get ready to transform your ride and experience the thrill of an upgraded electric bike, all while maintaining the rhythm and flow of your cycling journey.
Key Takeaways
- Properly align and secure the front wheel to ensure stability and optimal handling.
- Regularly check tire pressure and keep the battery charged for optimal performance.
- Store the bike in a secure location to prevent theft and protect it from extreme weather conditions.
- Check brake caliper alignment and test the wheel for smooth rotation to ensure efficient braking and a safe riding experience.
Gather the Necessary Tools and Materials
First, you’ll need to gather all the tools and materials you’ll need for the project. This includes a battery pack, controller, throttle, and wiring harness, as well as wrenches, screwdrivers, and pliers. Having everything ready will streamline the process and ensure a smooth conversion.
Converting a bike to electric has its pros and cons. On the positive side, it allows you to transform your regular bike into a cost-effective and eco-friendly mode of transportation. However, it may add weight to your bike and require additional maintenance.
Choosing the right electric hub motor is crucial. Consider factors such as power, torque, and compatibility with your bike’s frame.
With your tools and materials prepared, the next step is to remove the front wheel of your bike.
Remove the Front Wheel of Your Bike
To begin, you’ll need to detach the wheel at the front of your bicycle. Removing the front wheel is a crucial step in bike maintenance, especially when installing an electric hub motor.
First, locate the quick release lever on the front axle. Open the lever by flipping it to the open position. Next, loosen the nuts or bolts on the axle using the appropriate tools.
Once loosened, you can now slide the wheel out of the front fork. Be careful not to damage the brake cables or any other components as you remove the wheel.
With the front wheel removed, you are now ready to move on to the next section and install the electric hub motor, transforming your bike into an electric-powered machine.
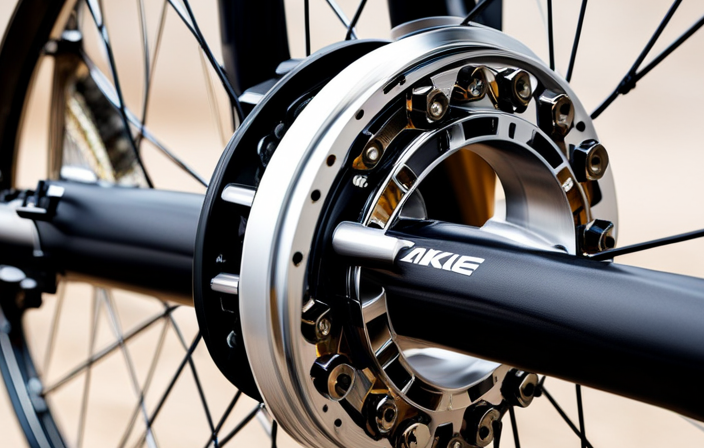
Install the Electric Hub Motor
Now that the wheel has been removed, it’s time to install the electric hub motor. This motor will transform your bike into an electric-powered machine, providing a range of benefits such as increased speed, improved efficiency, and reduced effort required while pedaling. To ensure a successful installation, it’s important to troubleshoot common issues that may arise.
Here are three key points to keep in mind:
-
Proper alignment: Position the electric hub motor correctly on the fork dropouts, ensuring that it is centered and aligned with the frame. This will prevent any interference or misalignment during operation.
-
Secure fastening: Use the appropriate tools to tighten the axle nuts or quick-release mechanism securely. This will ensure stability and prevent any movement or wobbling of the motor while riding.
-
Cable management: Route the motor cables neatly and securely along the frame, away from moving parts. This will minimize the risk of damage or tangling, ensuring smooth operation and longevity of the motor.
Now that the electric hub motor is installed, the next step is to connect it to the battery.
Connect the Motor to the Battery
Once the motor is aligned and securely fastened, you’ll want to focus on connecting it to the battery.
Before proceeding, ensure that the voltage requirements of your motor and battery are compatible. Check the specifications provided by the manufacturer to avoid any potential damage.
Begin by identifying the positive and negative terminals on both the motor and the battery. Make sure to connect the positive terminal of the motor to the positive terminal of the battery, and the negative terminal of the motor to the negative terminal of the battery.
To ensure proper wiring connections, use appropriate connectors or solder the wires together securely. It is crucial to double-check all connections and ensure they are tight and secure.
Once the motor is successfully connected to the battery, you can proceed to mount the battery on your bike frame, ensuring easy access and stability for your electric front tire conversion.
Mount the Battery on Your Bike Frame
First, ensure that the battery is securely mounted on the frame of your bicycle. Mounting the battery securely is crucial to ensure its stability and safety during your electric bike conversion process. When choosing the right location for the battery on your bike frame, consider factors like weight distribution, accessibility, and protection from external elements. To help you visualize this better, here’s a table showcasing three potential locations for mounting the battery on your bike frame:
| Location | Pros | Cons |
|---|---|---|
| Behind the seatpost | Balanced weight distribution, easy access | Limited space for larger battery sizes |
| Down tube | Lower center of gravity, protected from elements | Limited space for bottle cage or accessories |
| Rear rack | Ample space for larger batteries, easy installation | Higher weight distribution on the rear |
Now that the battery is securely mounted, we can move on to the next section and install the controller and throttle, seamlessly continuing our electric bike conversion process.
Install the Controller and Throttle
To begin installing the controller and throttle, you’ll want to locate a suitable position on your bike frame. Here are the steps to install the controller and throttle:
-
Mount the controller: Find a secure spot on the frame, preferably near the battery. Use zip ties or brackets to attach the controller. Ensure it is protected from water and debris.
-
Connect the throttle cable: Insert the throttle cable into the designated port on the controller. Make sure it is securely connected and free from any obstructions.
-
Troubleshooting common issues: If the throttle doesn’t respond, check the cable connections for any loose or damaged wires. Also, verify that the throttle is properly calibrated according to the manufacturer’s instructions.
Now that the controller and throttle are installed, it’s time to connect them to the motor and battery.
Connect the Controller to the Motor and Battery
Now that the controller and throttle are securely mounted, you’ll need to connect them to the motor and battery.
Begin by locating the wires coming from the controller. You will typically find three wires: one for power, one for ground, and one for the motor.
Connect the power wire to the positive terminal of the battery and the ground wire to the negative terminal. Next, connect the motor wire to the corresponding wire on the motor. Make sure the connections are tight and secure to avoid any electrical issues.
If you encounter any problems during the connection process, such as loose connections or faulty wires, refer to the troubleshooting guide provided with your electric bike conversion kit.
Once the controller is properly connected, we can move on to reattaching the front wheel.
Reattach the Front Wheel
After securing the controller and throttle, it’s time to reattach the wheel. Reattaching the front wheel is a crucial step in the process of making your bike electric. Here are four important things to keep in mind:
-
Ensure the axle is properly aligned with the dropouts: Misalignment can lead to instability and poor handling, so take the time to align the axle correctly.
-
Tighten the axle nuts or quick-release skewer securely: This will prevent the wheel from coming loose during rides, ensuring your safety and the longevity of the electric conversion.
-
Check the brake caliper alignment: Make sure the brake pads are centered on the wheel rim and not rubbing against the tire. Proper alignment ensures efficient braking.
-
Test the wheel for smooth rotation: Spin the wheel and check for any wobbling or rubbing. Troubleshoot any issues before moving on.
With the front wheel securely reattached, it’s time to test the electric front tire and experience the power and convenience it brings to your bike.
Test the Electric Front Tire
Ensure that you thoroughly check the functionality of the electric front tire before moving on to the next step.
Safety is paramount when dealing with electric components, so it is important to take the necessary precautions during the testing process.
First, make sure the bike is securely mounted or propped up to prevent any accidents.
When testing the electric front tire, always wear protective gloves and eyewear to avoid any potential injuries.
Additionally, ensure that all electrical connections are properly secured and insulated to prevent any shocks or short circuits.
If any issues arise during the testing process, here are some troubleshooting tips: check the battery connections, inspect the wiring for any damage, and confirm that the motor is receiving power.
By following these safety precautions and troubleshooting tips, you can ensure a smooth and successful testing process for your electric front tire.
Now, enjoy your upgraded electric bike experience.
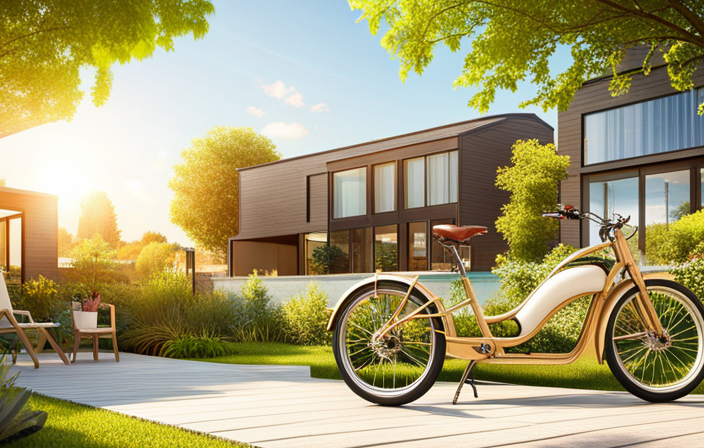
Enjoy Your Upgraded Electric Bike Experience
To fully appreciate the enhancements to your electric bike, take it for a ride and relish in the upgraded experience.
Converting a traditional bike to electric has numerous benefits. Firstly, it allows you to travel longer distances with less effort, making commuting or leisurely rides more enjoyable. The added power of the electric front tire also helps with uphill climbs and headwinds, reducing fatigue and making your ride smoother.
Secondly, maintaining an electric front tire bike is relatively simple. Regularly check the tire pressure to ensure optimal performance and grip on the road. Additionally, keep the battery charged and clean to maximize its lifespan.
Lastly, protect your electric bike from extreme weather conditions and store it in a secure location to prevent theft. By following these tips, you can ensure a long-lasting and enjoyable riding experience.
Frequently Asked Questions
How long does it typically take to complete the conversion process?
The conversion process typically takes a few hours to complete, depending on your familiarity with the process and any common challenges that may arise. It is important to carefully follow the instructions to ensure a successful conversion.
Can any type of bike be converted to electric with a front tire motor?
Yes, any type of bike can be converted to electric with a front tire motor. This bike compatibility allows for easy installation and the benefits of a front tire motor include improved balance, traction, and a smoother ride.
What is the average cost of converting a bike to electric with a front tire motor?
The average cost of converting a bike to electric with a front tire motor is around $500 to $1,500. The conversion process involves installing the motor, battery, and controller, and may require some modifications to the bike frame.
Are there any legal requirements or restrictions for using an electric front tire on a bicycle?
There are legal requirements and restrictions for using an electric front tire on a bicycle. Safety is a top priority, and regulations for electric bicycle modifications vary by jurisdiction. It is important to research and comply with local laws to ensure a legal and safe setup.
Can the electric front tire be easily removed and reinstalled if needed?
Yes, the electric front tire can be easily removed and reinstalled if needed. The removal process is straightforward and can be done without any specialized tools. Additionally, the tire is compatible with different bikes, making it versatile for use.
Conclusion
After following these steps, I successfully transformed my bike into an electrifying ride.
The feeling of effortlessly gliding through the streets with the wind in my hair is simply exhilarating.
The electric front tire has given my bike a new lease on life, making my daily commute a breeze.
With the power of technology at my fingertips, every pedal stroke is now filled with excitement and joy.
I highly recommend this upgrade to anyone looking to add a touch of magic to their cycling adventures.