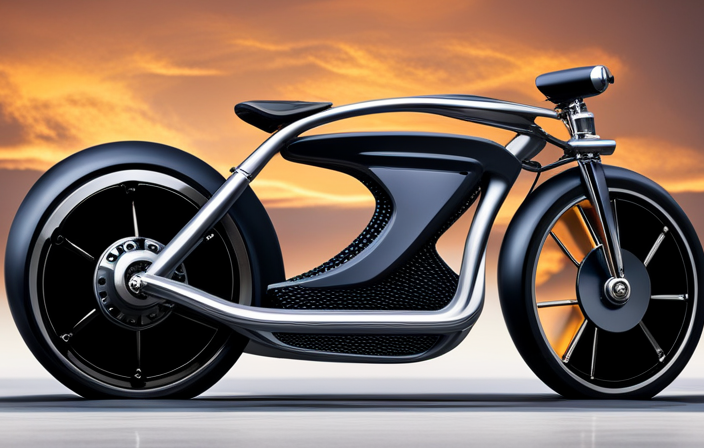

So you’ve got an electric bike with a wheel that needs some attention, huh? Well, you’re in luck because I’m about to show you how to open up that wheel and give it the TLC it deserves.
Don’t worry if you’re not a bike mechanic, because I’ll break down the steps for you in a clear and concise manner. Just grab your tools, follow along, and soon enough, you’ll be back on the road with a perfectly functioning electric bike wheel.
Let’s get started!
Key Takeaways
- Gathering the necessary tools and equipment is crucial for opening up an electric bike wheel, including Allen wrenches, pliers, torque wrench, gloves, and goggles.
- Properly removing the wheel from the bike frame involves loosening bolts, lifting the frame to release weight, disengaging the quick release mechanism, and disconnecting any wires or cables connected to the motor.
- Releasing the brakes and disconnecting the motor requires squeezing and releasing the brake lever and unplugging the motor wires from the bike frame.
- Loosening and removing the axle nuts or quick release skewer involves using appropriate tools, sliding the axle out of the dropouts, and separating the rim and tire from the wheel hub.

YITAHOME 700C Road Bike, 21 Speed Commuter Bicycle for Men Women, Lightweight Aluminum Frame Racing Bike, Adult Bicycle with Dual Disc Brake
All-Terrain 700 x 28C Wheels: Go further with less energy thanks to the road bike's large wheels; Enjoy...
As an affiliate, we earn on qualifying purchases.
Gather the Necessary Tools and Equipment
You’ll need to gather the necessary tools and equipment to open up an electric bike wheel.
First, you’ll need a set of Allen wrenches in various sizes, as these will be used to remove the bolts holding the wheel in place.
Additionally, a pair of pliers will come in handy for any stubborn bolts or nuts.
It’s also important to have a torque wrench to ensure that you don’t overtighten or undertighten any components when reassembling the wheel.
Safety precautions should also be taken into consideration, such as wearing protective gloves and goggles to protect yourself from any potential injuries.
Once you have all the necessary tools and equipment, you can move on to the next step of removing the wheel from the bike frame, which will be discussed in the next section.

RKJ Electric Bike for Adults, 2200W, 30/32MPH, 75 Miles, 48V 15.6AH Removable Battery, 7-Speed, 3 Modes, Full Suspension, Dual Disc Brakes, 20" All-Terrain Fat Tires, UL 2849 Certified Ebike
🔥 2200W PERFORMANCE: Powerful 750W motor (2200W Peak) delivers massive torque for 30° hills. Default 20MPH for city...
As an affiliate, we earn on qualifying purchases.
Remove the Wheel from the Bike Frame
To remove the wheel from the frame, start by loosening the bolts securing it in place. Use a wrench to turn the bolts counterclockwise until they are fully loosened. Once the bolts are loose, lift the bike frame slightly to release the weight on the wheel.
Next, disengage the quick release mechanism by pulling the lever or turning the knob, depending on the type of wheel attachment. This will allow the wheel to slide out easily. When removing the wheel, be careful not to damage any wires or cables connected to the motor. Gently disconnect any connectors or plugs between the wheel and the bike frame.
Now, you are ready to move on to the next step of releasing the brakes and disconnecting the motor.

Varstrom 48V 1000W 1500W Rear & Front Hub Motor Kit - Ebike Conversion Kit for 26"/27.5"/28"/29"/700C Front Rear Wheel,Electric Bike Conversion Set with Display & Ebike Battery (Optional)
【POWERFUL 48V 1000W Front Hub Motor Kit】: 48V 1000W front wheel motor kit is designed for a variety...
As an affiliate, we earn on qualifying purchases.
Release the Brakes and Disconnect the Motor
First, release the brakes by squeezing the brake lever and pulling it towards you. This will loosen the brake tension and allow for easier removal of the electric bike wheel.
Once the brakes are released, the next step is to disconnect the motor. Locate the motor wires that are connected to the bike frame and unplug them. Be careful not to damage the wires during this process. Once the motor is disconnected, you can then move on to reconnecting it later when reassembling the wheel.
With the brakes released and the motor disconnected, you can now proceed to the next section where you will learn how to loosen and remove the axle nuts or quick release skewer to fully remove the electric bike wheel from the frame.

SAVADECK Carbon Disc Road Bike, Integrated Design Racing Bicycle Carbon Frame Carbon Fork with Shimano SORA R3000 Derailleur System 18 Speed Disc Brake Road Bike for Men or Women(Black,54cm)
TORAY T800 Carbon Fiber:We use high quality Japanese Carbon fiber for frame, fork, rims and seat post.This provides...
As an affiliate, we earn on qualifying purchases.
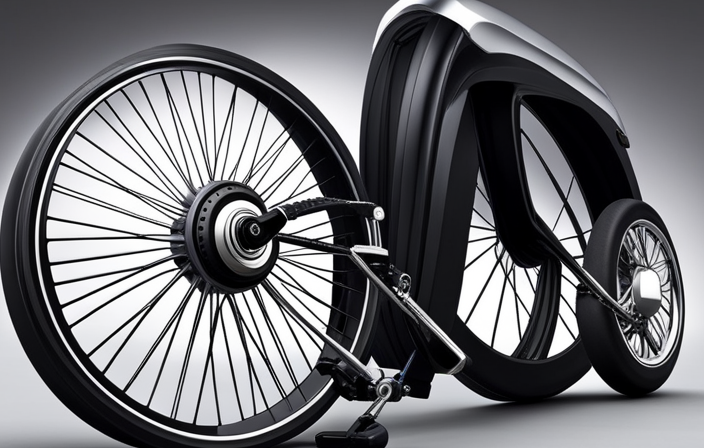
Loosen and Remove the Axle Nuts or Quick Release Skewer
To begin, gently loosen and remove the axle nuts or quick release skewer to detach the wheel from the frame. This step is crucial in opening up an electric bike wheel for axle maintenance. Axle nuts are typically found on traditional bikes, while quick release mechanisms are more common on modern electric bikes.
Using the appropriate tools, such as a wrench or Allen key, loosen the nuts or release the skewer by turning it counterclockwise. Once loosened, you can slide the axle out of the dropouts and carefully separate the rim and tire from the wheel hub.
This will allow you to access the inner components of the wheel, such as the motor and spokes, for further inspection or repairs.
Carefully Separate the Rim and Tire from the Wheel Hub
Carefully separate the rim and tire from the hub to access the inner components for inspection or repairs. Rim removal is an essential step in electric bike maintenance, allowing you to check for any damage or wear on the wheel’s vital parts. Tire maintenance is also easier when the rim is detached, as it provides better access to the tire and tube. To help you visualize the process, here is a table detailing the steps involved in separating the rim and tire from the wheel hub:
| Step | Action |
|---|---|
| 1 | Loosen the tire bead by pushing down on it with your hands or using tire levers. |
| 2 | Once the tire bead is loose, carefully slide the tire off the rim, working your way around the circumference. |
| 3 | Once the tire is removed, unscrew any remaining spokes or bolts connecting the rim to the hub. |
| 4 | Gently pull the rim away from the hub, ensuring not to damage any of the components during the process. |
After separating the rim and tire from the hub, you can proceed to inspect and replace any damaged components. This will ensure your electric bike wheel functions optimally and safely.
Inspect and Replace any Damaged Components
Once you’ve separated the rim and tire from the hub, it’s important to inspect and replace any damaged components to ensure optimal and safe function. Here is a 3 item list of things to consider during this step:
-
Inspect and replace damaged spokes: Give each spoke a thorough visual inspection, looking for any signs of bending, cracking, or looseness. Replace any damaged spokes to maintain the structural integrity of the wheel.
-
Check the condition of the wheel rim: Carefully examine the rim for any dents, cracks, or warping. These issues can affect the wheel’s performance and should be addressed promptly. Replace the rim if needed to avoid potential problems while riding.
-
Inspect the wheel hub: Take a close look at the wheel hub for any signs of wear or damage. Check for smooth rotation and listen for any unusual noises. If there are any issues, consider replacing the wheel hub to ensure a smooth and safe ride.
After inspecting and replacing any damaged components, it’s time to move on to the next step: clean and lubricate the wheel hub and bearings.
Clean and Lubricate the Wheel Hub and Bearings
Start by cleaning the wheel hub and bearings to ensure smooth and efficient performance. To clean the wheel hub, use a soft brush or cloth to remove any dirt or debris. Be sure to also clean the bearings thoroughly, as they can accumulate dirt and grime over time. Use a degreaser or a mild detergent mixed with water to clean the hub and bearings.
Gently scrub the surfaces and rinse them with clean water. After cleaning, allow the hub and bearings to dry completely before proceeding. Once dry, apply a suitable lubricant to the bearings and hub. There are various types of lubricants available, such as grease or oil. Choose the appropriate lubricant based on the manufacturer’s recommendations.
Apply the lubricant evenly and ensure that all moving parts are properly coated. This will help reduce friction and extend the lifespan of the components.
With the hub and bearings cleaned and lubricated, we can now move on to reassembling the wheel with the new components.
Reassemble the Wheel with the New Components
To reassemble the wheel with the new components, you’ll need to follow these steps:
-
Start by replacing the motor controller. Carefully disconnect the old controller and connect the new one, ensuring that all wires are properly secured.
-
Next, upgrade the battery. Remove the old battery and install the new one, making sure it is securely attached and all connections are tight.
-
Once the motor controller and battery are in place, reattach the wheel to the bike frame. Align the axle with the dropouts on the frame and tighten the nuts or quick-release skewer to secure the wheel. Double-check that the wheel spins freely without any wobbling or rubbing against the frame.
With the new components installed and the wheel reattached to the bike frame, you’re now ready to move on to the next step of the process: reattach the wheel to the bike frame.
Reattach the Wheel to the Bike Frame
Now, it’s time to reattach the wheel to the frame of the bicycle.
After fixing the puncture and replacing any necessary components, it is crucial to ensure proper alignment of the wheel on the bike frame.
Start by lining up the axle of the wheel with the dropouts on the frame. Carefully slide the axle into the dropouts, making sure it sits securely.
Next, tighten the axle nuts or quick-release skewer to hold the wheel in place. Use a wrench or quick-release lever to tighten the nuts or skewer, but be cautious not to overtighten which can damage the components.
Finally, test the wheel by spinning it and checking for any wobbling or misalignment. If necessary, make any adjustments to the axle or spokes to ensure a smooth and straight wheel rotation.
Test the Wheel and Make Any Necessary Adjustments
After fixing the puncture and replacing any necessary components, it’s important to test the wheel for any wobbling or misalignment and make any necessary adjustments. Here are some tips for troubleshooting common issues with an electric bike wheel and improving its performance:
-
Check for wobbling: Spin the wheel and visually inspect it for any wobbling. If you notice any, it could indicate a loose or damaged spoke or a misaligned rim. Use a spoke wrench to tighten any loose spokes and ensure they are evenly tensioned.
-
Align the wheel: Place a straight edge against the rim to check for any deviations from a straight line. If there is misalignment, loosen the axle nuts and adjust the position of the wheel until it is properly aligned.
-
Test the brakes: Ensure that the brake pads are properly aligned with the rim and adjust them if necessary. Test the brakes to ensure they engage smoothly and provide adequate stopping power.
-
Check tire pressure: Maintaining proper tire pressure is crucial for optimal performance. Use a tire pressure gauge to check the pressure and adjust accordingly.
By following these troubleshooting tips, you can ensure that your electric bike wheel performs at its best and enjoy a smooth and safe ride.
Frequently Asked Questions
How do I know if my electric bike wheel needs to be opened up?
If my electric bike wheel shows signs of wear and tear, such as unusual noises, wobbling, or decreased performance, I may need to open it up. Common issues that require opening up the wheel include damaged bearings or loose spokes.
Can I open up an electric bike wheel without any specialized tools?
Sure, you can totally open up an electric bike wheel without any specialized tools. Just grab a sledgehammer and go to town! But seriously, for common problems or upgrading options, specialized tools may be necessary.
What should I do if I encounter resistance when trying to separate the rim and tire from the wheel hub?
If I encounter resistance when trying to separate the rim and tire from the wheel hub, I can use a few techniques to remove stubborn tires. Common troubleshooting issues include using tire levers, lubricating the rim, or applying heat to the tire.
How often should I clean and lubricate the wheel hub and bearings?
Proper maintenance of electric bike wheel hubs and bearings involves cleaning and lubricating them regularly. Avoid common mistakes like using excessive lubricant or neglecting to clean the hubs properly. Regular maintenance ensures smooth operation and prolongs the lifespan of your electric bike wheel.
Are there any specific safety precautions I should take when reattaching the wheel to the bike frame?
When reattaching the wheel to the bike frame, it is important to ensure proper positioning for stability. Additionally, it is crucial to check and tighten all bolts and screws to guarantee a secure attachment.
Conclusion
In conclusion, opening up an electric bike wheel requires patience and precision.
As I carefully removed the wheel from the bike frame, I could feel the weight of the motor and the power it held.
Releasing the brakes and disconnecting the motor, I could sense the freedom and potential for customization.
Loosening and removing the axle nuts or quick release skewer was like unlocking a hidden treasure.
The process of separating the rim and tire from the wheel hub was delicate, like unraveling a secret.
Cleaning and lubricating the wheel hub and bearings was like breathing new life into the wheel.
Finally, reassembling the wheel with new components was like putting together a puzzle, each piece fitting perfectly into place.
As I reattached the wheel to the bike frame, I felt a sense of accomplishment and anticipation.
Testing the wheel and making any necessary adjustments was like taking a test drive, feeling the smoothness and efficiency of the newly opened wheel.