
Got an old bicycle that needs a new paint job? Look no further! This helpful guide will take you through the easy process of painting your bicycle like a pro. You won’t believe the transformation!
From gathering the necessary materials to preparing the surface and applying the perfect finish, I’ve got you covered.
Get ready to unleash your inner artist and transform your two-wheeled companion into a work of art.
Let’s dive in!
Key Takeaways
- Properly drying each coat of paint is essential for paint adherence and to prevent smudges, streaks, and damage.
- When reassembling the bicycle, make sure to securely attach the handlebars, tighten the front wheel, align the brake pads with the rim, and correctly install and tighten the pedals.
- Maintain the paint job by regularly cleaning with mild soap and water, avoiding abrasive cleaners, applying protective wax or sealant, and promptly addressing and repairing any chips or scratches.
- When storing the painted bicycle, choose a dry and protected area, avoid prolonged exposure to direct sunlight, and take measures to prevent potential damage to the paint.

WEIZE Road Bike, 700C Wheel City Commuter Bicycle, 14 Speed Drop Bar, Racing Adult Bike with Caliper Brakes, High-Carbon Steel Hybrid Bikes, Urban Adult Bicycle for Men and Women,Black
Caliper brake system: The road bike adopts a dual caliper brake design, which is lighter in overall weight...
As an affiliate, we earn on qualifying purchases.
Gather Your Materials
Gather all the materials you’ll need to paint your bicycle. First, choose the right paint type for your bike. Acrylic enamel paint is a popular choice as it provides a durable finish and is available in various colors. Make sure to select a paint that is specifically designed for metal surfaces.
Next, take proper safety precautions before you begin painting. Wear protective gloves, a mask, and safety glasses to protect yourself from any harmful fumes or particles. Additionally, work in a well-ventilated area to minimize the inhalation of paint fumes.
Once you have gathered all the necessary materials and taken the necessary safety precautions, you can move on to choosing a suitable workspace for painting your bicycle. This will ensure that you have enough space to work comfortably and efficiently.

VIRIBUS Hybrid Bikes, 28 inch Mens Bike with Lightweight Aluminum Frame, 700C Bikes for Men, 7 Speed Vintage Hybrid Bicycles for City Commuters, Adult Road Bike Male for Fitness, Blue
700C Wheel Hybrid Bike: Experience the ultimate comfort and style with Viribus's road bike, featuring a cushioned seat...
As an affiliate, we earn on qualifying purchases.
Choose a Suitable Workspace
Find a convenient area where you can comfortably work on your bike. Setting up a suitable workspace is crucial to ensure a smooth and efficient painting process. Choose a well-ventilated area with enough space to move around your bicycle.
Clear the workspace of any clutter or obstacles that may hinder your progress. It’s essential to have good lighting, either natural or artificial, to see the details clearly. Additionally, consider using a drop cloth or old newspapers to protect the surrounding area from paint splatters.
Safety precautions in the workspace are vital. Wear protective goggles, gloves, and a mask to shield yourself from fumes and potential paint splashes.
Now that you have your workspace ready, let’s move on to preparing your bicycle for painting, ensuring a flawless finish.

WEIZE 700C Hybrid Bike for Adults, 14 Speed Road Bike, City Commuter Bicycle with Caliper Brakes, High-Carbon Steel Racing Adult Bike, Urban Adult Bicycle for Men and Women, White
Caliper brake system: The hybrid bike adopts a dual caliper brake design, making daily maintenance more convenient and...
As an affiliate, we earn on qualifying purchases.
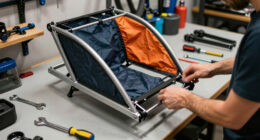
Prepare Your Bicycle for Painting
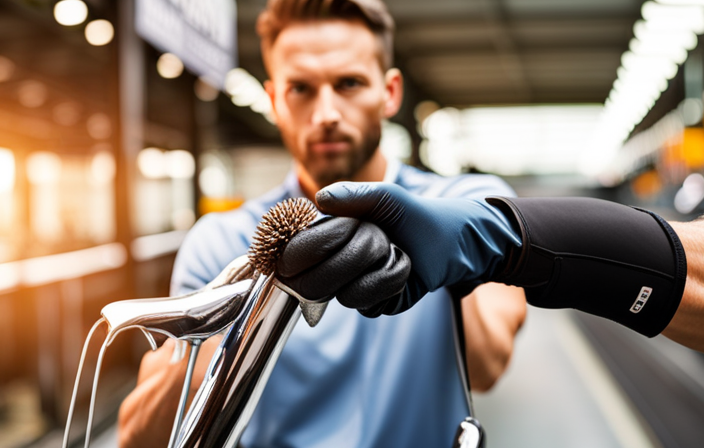
Clear out any debris or dust from your bike to ensure a smooth surface for painting. This step is crucial in properly prepping the bicycle frame for painting.
Begin by wiping down the entire bike frame with a clean cloth to remove any loose dirt or grime. Use a mild detergent mixed with water to gently scrub away any stubborn stains. Once the frame is clean, allow it to dry completely before moving on to the next step.
Now comes the fun part – choosing the right paint color! Consider your personal preferences and the overall aesthetic you want to achieve. Whether you opt for a classic black or a vibrant neon, the choice is yours.
Next, we’ll move on to removing any rust or imperfections to ensure a flawless finish on your newly painted bicycle.

Mongoose Men's Elroy Adventure Bike 700C Wheel Bicycle, Blue, 54cm frame size
Versatile adventure touring bike features capable adventure bike geometry, a sleek alloy frame and steel fork for the...
As an affiliate, we earn on qualifying purchases.
Remove Any Rust or Imperfections
Now it’s time to tackle any rust or imperfections on your frame to achieve a flawless finish.
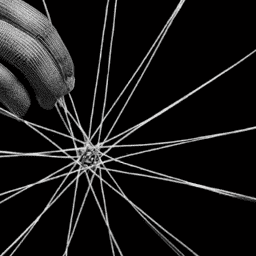
Rust can be a common issue on bicycles, but with the right techniques, it can be easily removed. Start by using a wire brush or sandpaper to scrub away any visible rust. For stubborn rust, a rust remover product can be applied and left to sit for a few minutes before scrubbing again.
To prevent rust in the future, consider applying a rust-resistant primer or paint specifically designed for metal surfaces. Additionally, regularly cleaning and drying your bicycle after riding in wet conditions can help prevent rust from forming.
Once you have successfully removed the rust, it’s time to move on to the next step of the process, which is cleaning and sanding the surface.
Clean and Sand the Surface
To start, you’ll want to make sure the surface is clean and smooth by using a sanding block or sandpaper. This is an important step in surface preparation as it helps remove any dirt, grime, or old paint that may be present.
Begin by wiping down the entire frame with a clean cloth to remove any loose debris. Next, use a sanding block or sandpaper to gently sand the surface of the frame. This will create a rough texture that will help the paint adhere better. Be sure to sand in the direction of the grain to avoid any scratches.
Once the surface is smooth and free of imperfections, you can move on to choosing your paint colors. Consider selecting a paint that is specifically designed for use on metal surfaces for optimal results.
With the surface clean and prepped, it’s time to move on to the next step: applying primer to the bicycle frame.
Apply Primer to the Bicycle Frame
Once the surface is properly prepped, you can begin applying primer to the frame for better paint adhesion. Choosing the right type of primer for your bicycle frame is crucial to ensure a long-lasting and professional-looking finish. Look for a primer specifically designed for metal surfaces, as it will provide the best adhesion and durability. Additionally, consider using a primer that offers rust inhibition properties, especially if your bicycle will be exposed to moisture or harsh weather conditions.
To achieve a smooth and even primer application, start by shaking the primer can vigorously to mix the contents thoroughly. Hold the can about 8-12 inches away from the frame and apply thin, even coats in a sweeping motion. Avoid applying too much primer at once, as it can lead to drips and an uneven finish. Allow each coat to dry completely before applying the next.
Now that the primer is applied, it’s time to choose your paint colors.
Choose Your Paint Colors
When choosing your paint colors, consider your personal style and the overall look you want to achieve. Color mixing techniques can help you create unique shades that perfectly match your vision. Experimenting with different finishes, such as matte or glossy, can also add depth and character to your bicycle frame. To help you visualize the possibilities, here is a table showcasing some popular color combinations:
| Primary Color | Secondary Color | Tertiary Color |
|---|---|---|
| Red | White | Black |
| Blue | Yellow | Silver |
| Green | Orange | Gold |
| Purple | Pink | Bronze |
By considering these options, you can select the colors that will best complement your bike’s design. Now that you have chosen your paint colors, it’s time to move on to the next step: applying the base coat.
Apply the Base Coat
Start by applying the base coat to your frame using smooth, even strokes. Choosing the right paint color is crucial for achieving the desired look. Consider factors such as your personal style and the overall aesthetic you want to create.
Once you have chosen the perfect color, prepare the frame by cleaning and sanding it to ensure a smooth surface. Use a high-quality primer to promote adhesion and enhance the durability of the paint. Apply the base coat in thin layers, allowing each layer to dry completely before adding the next. This will prevent the paint from running or clumping. Remember to follow the manufacturer’s instructions for the specific paint you are using.
After applying the base coat, you can move on to the next step of adding designs or patterns, if desired.
Add Designs or Patterns (if desired)
If you want to add some flair to your frame, go ahead and get creative with designs or patterns. Design inspiration can come from anywhere – nature, art, or even your own imagination.
Before you start, make sure you have the right tools and materials, such as stencils, masking tape, and different colors of paint.
To create a design, first, decide where you want it to be on your bicycle. Then, you can use stencils to trace the design onto the frame or use masking tape to create geometric patterns.
Once you have your design in place, carefully apply the paint using a brush or spray can, making sure to follow the painting techniques you learned earlier. Remember to allow the paint to dry completely before moving on to the next step of the process.
Allow the Paint to Dry
After applying the paint, it’s important to wait for it to dry completely before continuing with the process. Allowing paint to dry is a crucial step in achieving a smooth and professional finish on your bicycle. Patience is key during this stage, as rushing can lead to smudges, streaks, or even damage to the paint job. To emphasize the importance of waiting for the paint to dry, consider the following table:
| Time Needed for Drying |
|---|
| Primer Coat: 1 hour |
| Color Coat: 2-4 hours |
| Clear Coat: 24 hours |
By following these drying times, you ensure that each layer of paint properly adheres to the bicycle frame. Once the paint is thoroughly dry, you can proceed to the next step of applying a clear coat for protection. This additional layer will safeguard your newly painted bicycle from scratches, UV rays, and other potential damage.
Apply a Clear Coat for Protection
After allowing the paint to dry thoroughly, it is crucial to apply a clear coat for added protection. The clear coat acts as a shield, safeguarding the paint job from scratches, UV rays, and other environmental elements.
To ensure a successful application, it is essential to follow proper clear coat application techniques. Start by selecting a high-quality clear coat product that is compatible with the type of paint used. Apply the clear coat evenly and in thin layers, allowing each layer to dry before applying the next.
It is important to work in a well-ventilated area to prevent the inhalation of harmful fumes. Proper ventilation is crucial during the clear coat application process to maintain a safe working environment.
Once the clear coat is applied, it will provide a durable and glossy finish that will protect the paint for years to come.
Now, let’s move on to the next step, which is reassembling your bicycle.
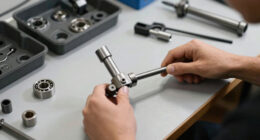
Reassemble Your Bicycle
To reassemble your bike, start by carefully attaching the handlebars and tightening them securely. Next, insert the front wheel into the fork dropouts and tighten the axle nuts or quick release lever. Ensure the wheel spins freely and align the brake pads with the rim. Then, reconnect the brake cables, making sure they are properly tensioned and securely fastened. Moving on, install the pedals, ensuring they are tightened in the correct direction. Finally, reattach the chain by threading it through the derailleur and onto the chainrings and cassette. Use a chain tool to connect the ends and check for proper tension. Reassembling your bicycle may present some challenges, such as aligning the brake pads or adjusting the derailleur. Once you have successfully reassembled your bike, it’s time to clean up your workspace and prepare for the next steps in the painting process.
Clean Up Your Workspace
Now that you’ve finished reassembling your bike, it’s time to tidy up your workspace.
Proper workspace organization is essential for a smooth painting process. Start by removing any tools or bike parts that you no longer need, and store them in their designated places.
Next, gather the cleaning supplies needed to ensure a clean and dust-free area. You will need a broom or vacuum cleaner to remove debris from the floor, as well as a damp cloth or sponge to wipe down any surfaces that may have accumulated dirt or grease.
Additionally, make sure to properly dispose of any leftover paint cans or other hazardous materials.
With your workspace cleaned and organized, you are now ready to move on to the next section and enjoy your newly painted bicycle.
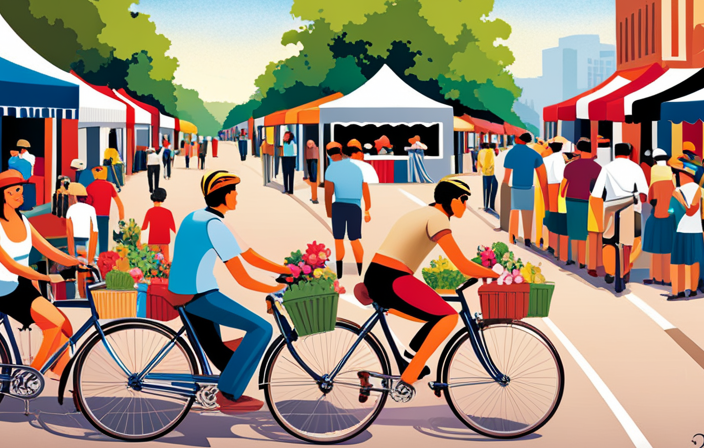
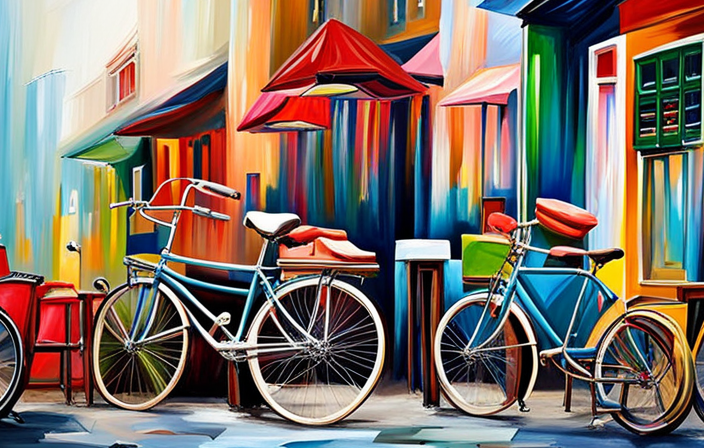
Enjoy Your Newly Painted Bicycle
Once you’ve finished painting your bike, take a moment to admire your handiwork and enjoy riding your freshly customized ride. Showcasing your painted bicycle is a great way to express your personal style and creativity. To properly maintain your painted bicycle, it is important to follow a few key steps. Firstly, always store your bike in a dry and protected area to prevent any potential damage to the paint. Additionally, avoid leaving your bike out in direct sunlight for extended periods of time, as this can cause the paint to fade. Regularly clean your bike using a mild detergent and water, being careful not to scrub too vigorously as this can scratch the paint. Finally, consider applying a clear protective coat to further protect your paint job. By following these maintenance tips, you can keep your painted bicycle looking fresh and vibrant for years to come. In the next section, we will discuss how to maintain and touch up your paint job without compromising its quality.
Maintain and Touch Up Your Paint Job
Proper maintenance and touch-ups will help preserve the quality of your freshly painted ride.
To maintain your paint job, it’s important to regularly clean your bicycle with a mild soap and water solution. Avoid using abrasive cleaners or scrub brushes, as they can damage the paint. Additionally, applying a protective wax or sealant can help prevent scratches and fading caused by UV rays.
When it comes to fixing paint chips, start by cleaning the affected area with a mild solvent to remove any dirt or debris. Then, using a small brush, carefully apply touch-up paint that matches the color of your bicycle. Allow the paint to dry completely before applying a clear coat to seal and protect the repair.
Regularly inspecting your bicycle for any new chips or scratches and promptly addressing them will ensure your paint job remains in pristine condition.
Frequently Asked Questions
How long does the paint need to dry before I can ride my bicycle?
The drying time of the paint on your bicycle depends on the painting technique used. It is important to allow the paint to dry completely before riding to avoid smudging or damaging the finish.
Can I use any type of paint on my bicycle?
Yes, you can use any type of paint on your bicycle. However, it is important to choose a paint that is durable and suitable for outdoor use. Consider paint color options and follow these tips for achieving a smooth and even finish.
Do I need to remove all the components of my bicycle before painting?
Yes, it is recommended to remove all the components of your bicycle before painting. This ensures that the paint job is even and thorough. Bicycle painting techniques involve disassembling the bike, sanding the frame, applying primer, and then painting over bike components.
How often should I touch up the paint on my bicycle?
To touch up bicycle paint and prevent paint chips, inspect the bike regularly for any damaged areas. Clean the surface, sand the affected area, and apply matching paint in thin layers, allowing each layer to dry before adding the next.
Can I use a regular brush to apply the paint, or do I need a special tool?
Using a regular brush to paint a bicycle is possible, but not ideal. For best results, a spray gun or airbrush is recommended. Additionally, using enamel or acrylic paint specifically designed for metal surfaces is crucial for a durable and long-lasting finish.
Conclusion
In conclusion, painting a bicycle can be a rewarding and cost-effective way to give your ride a fresh new look. By following the steps outlined in this article, you can achieve a professional-looking paint job that will make your bicycle stand out from the crowd.
Did you know that according to a survey conducted by Bicycle Retailer and Industry News, 85% of cyclists believe that a well-maintained and visually appealing bicycle increases their enjoyment of riding?
So why not take the time to paint your bicycle and enjoy the benefits of a personalized and eye-catching ride?